Winter's chill often brings a surge in fuel costs, leaving many seeking affordable and efficient heating solutions. Homemade briquettes offer a cost-effective alternative, but the drying process can be lengthy and inefficient, often hindering the benefits. This is where a DIY high-efficiency drying box comes into play; a simple yet ingenious solution to dramatically reduce drying time and maximize your winter fuel supply. By building your own, you'll gain complete control over the drying process, ensuring your briquettes are perfectly prepared for optimal burning efficiency and warmth throughout the colder months.
This guide will walk you through constructing a high-efficiency briquette drying box, empowering you to create a sustainable and economical heating source. Forget slow, unpredictable air drying – get ready to significantly boost your briquette production and enjoy a warmer, more cost-effective winter. Follow our step-by-step instructions to build your own and say goodbye to inefficient drying times.
Preparation and Safety Guidelines
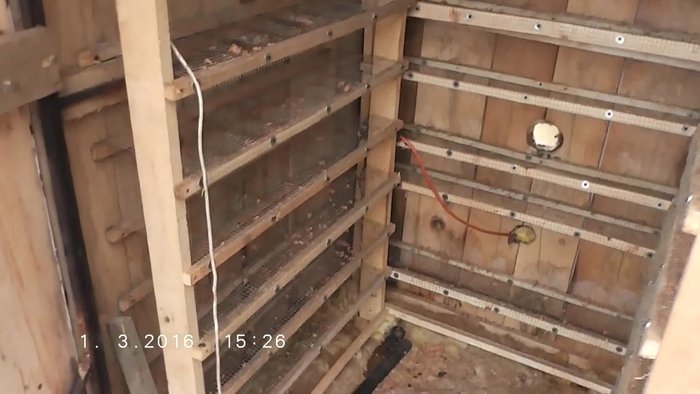
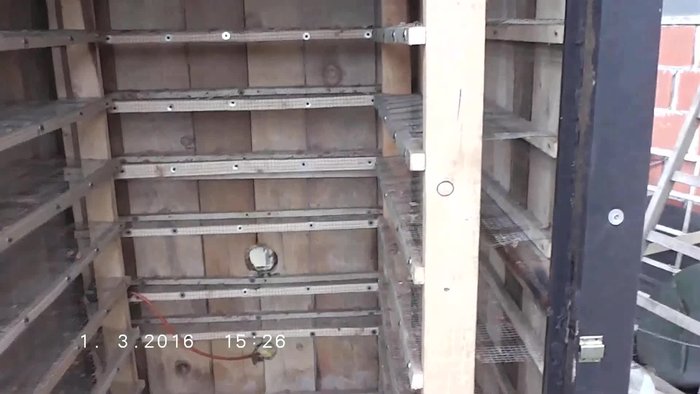
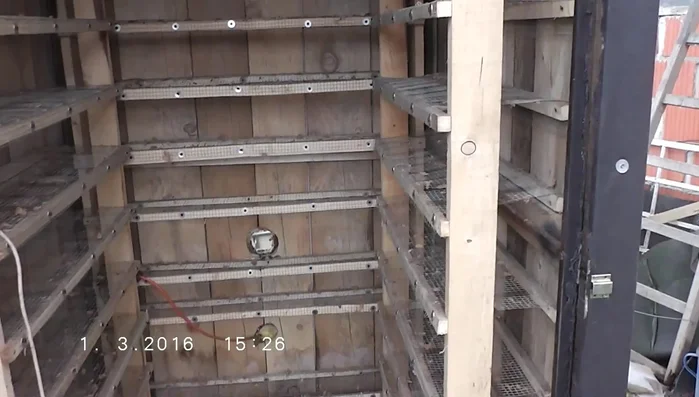
- Drying box
- Small boxes
- Stove
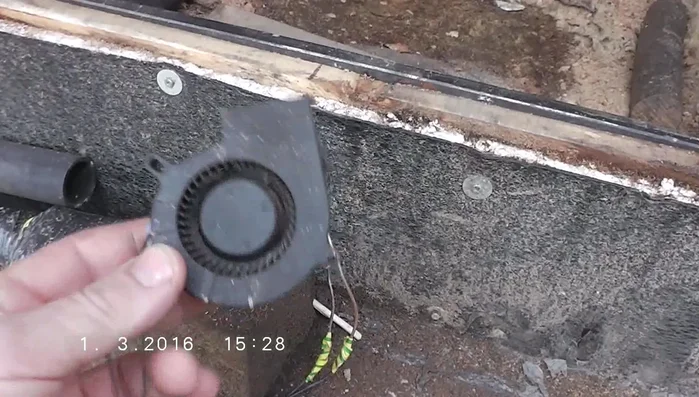
- Fan
- Shelves
- Always ensure adequate ventilation to prevent carbon monoxide buildup. A poorly ventilated drying box can be deadly.
- Never leave the drying box unattended, especially while using a heat source. Fire hazards are a serious concern.
- Use appropriate fire-resistant materials for construction. Avoid materials that can melt or easily ignite near a heat source.
Step-by-Step Instructions
Preparation
- Empty the drying box of dried briquettes.
- Prepare new briquettes for drying. Store excess briquettes in small boxes for later use.
- Clean the stove of any residue.

Preparation Setup and Enhancement
- Install small shelves on the drying box doors for additional drying space.
- Attach a fan to the stove to increase airflow and heat circulation for faster drying.
Setup and Enhancement Drying Process
- Place the new briquettes into the drying box.
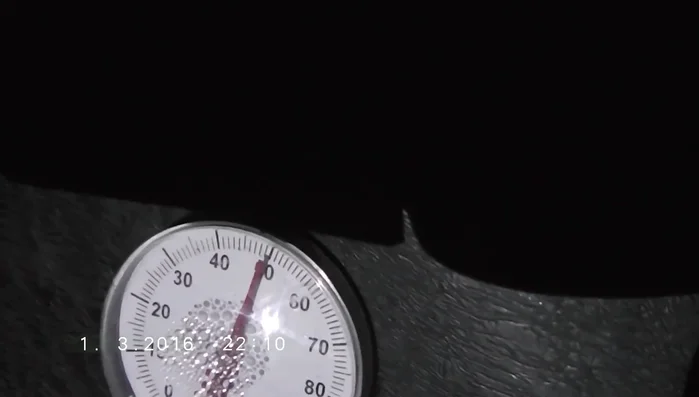
- Monitor the temperature inside the drying box. Aim for a temperature range of 50-80°.
- Repeat the process until the briquettes are completely dry. This may take several cycles of filling and drying.
Drying Process


Read more: Lump Charcoal vs. Briquettes: The Ultimate BBQ Fuel Showdown
Tips
- The drying box dries briquettes very fast.
- During summer, you can produce more briquettes than needed and store them for winter.
- Observe steam escaping from the drying box; this indicates effective moisture removal.
- The fan helps to maintain higher temperatures inside the drying box, even at night.
- Closing the drying box door helps to quickly raise the internal temperature after a refill.