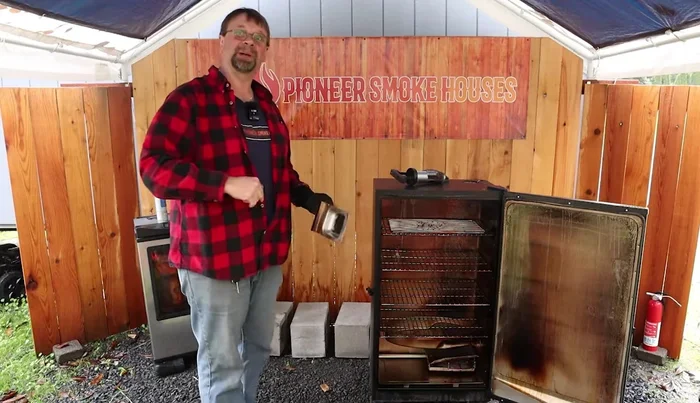
The Masterbuilt electric smoker, a popular choice for backyard chefs, offers the convenience of electric controls with the smoky flavor of traditional wood-fired cooking. However, achieving that perfect smoke ring and consistent flavor hinges on mastering the art of wood chip loading. Many users struggle with achieving the right balance of smoke and heat, often leading to inconsistent results. Understanding the nuances of wood chip management is crucial for unlocking your smoker's full potential, transforming ordinary meals into unforgettable feasts.
This guide will walk you through a comprehensive, step-by-step process for loading wood chips into your Masterbuilt electric smoker. We'll cover everything from choosing the right type of wood to the optimal loading technique for maximizing smoke production while maintaining a stable temperature. Get ready to elevate your smoking game with this essential guide to unlocking the secrets of perfect wood chip management.
Preparation and Safety Guidelines
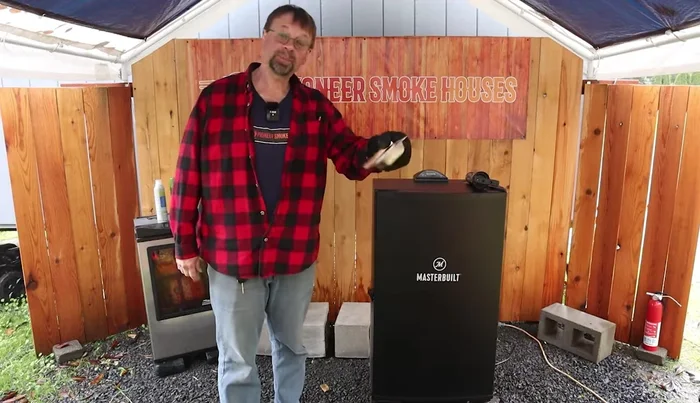
- Masterbuilt electric smoker
- Wood chips
- Wood chunks
- Wood chip pan
- Wood chip loading tube
- Never overload the wood chip tray. Overfilling can restrict airflow, leading to uneven smoking and potential fire hazards.
- Always use appropriate wood chips designed for smoking. Avoid using chemically treated wood or any materials that are not explicitly intended for food use.
- Ensure the wood chip tray is properly seated and secured before starting the smoker. Loose trays can cause uneven heat distribution and potentially spill chips.
Step-by-Step Instructions
Prepare the Smoker
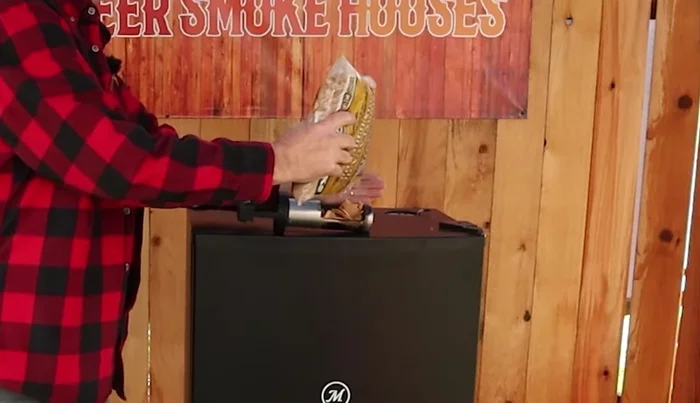
- Preheat the smoker and run a small amount of wood chips through it for the initial demonstration. Then open the smoker and carefully insert the loading tube, ensuring it's positioned correctly above the heating element.

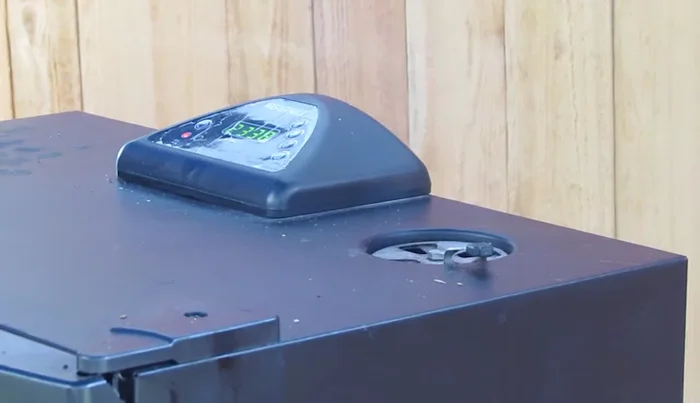
Prepare the Smoker Locate and Inspect the Wood Chip Pan
- Locate the wood chip pan in your Masterbuilt electric smoker. It's small but fits perfectly inside.
Locate and Inspect the Wood Chip Pan Insert the Loading Tube
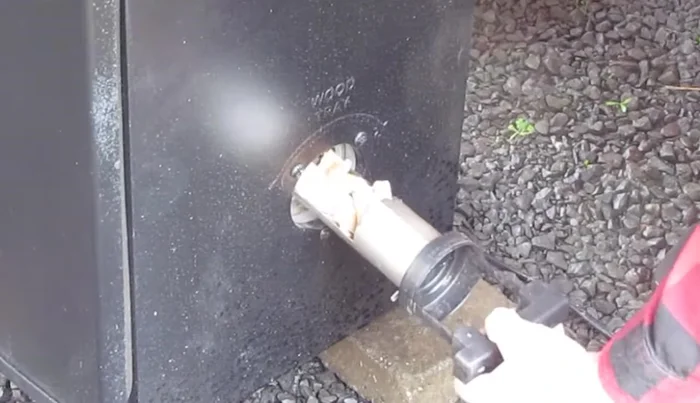
- Take the wood chip loading tube and insert it into the hole on the side of the smoker.
Load Wood Chips
- Pour approximately 1/2 cup of wood chips or chunks into the loading tube, guiding them in with your hand. Avoid overloading. The smaller the wood pieces, the faster they'll burn and the heavier the smoke will be.
Load Wood Chips Secure the Loading Tube
- Insert the loading tube into the smoker, turning it clockwise to lock it in place.
Secure the Loading Tube Monitor and Observe Smoke
- Observe the smoke production. It should start slowly then increase to a steady stream within a few minutes.
Monitor and Observe Smoke Complete Burn and Reload
- Allow the wood chips to burn completely, ensuring the ash is gone before reloading. This prevents wasted wood chips and flavor inconsistencies.
Read more: Adding Hickory Chips to Your Masterbuilt Electric Smoker: A Quick Guide
Tips
- Always use dry wood chips. Wet wood chips produce steam, not smoke.
- Standard-size wood chunks burn for about 45 minutes; smaller chips burn much faster (around 30 minutes). Let them burn completely before reloading.