This comprehensive guide details the step-by-step installation of a 2022 Toyota Tundra TRD Pro grille. Replacing the factory grille with the TRD Pro version enhances the truck's appearance, offering a cleaner, less cluttered aesthetic compared to grilles with integrated LED lighting. This guide covers the entire process, from initial disassembly to final reassembly, providing detailed instructions and addressing potential challenges encountered during the installation. Specific tool requirements and fastener sizes are implied, allowing for a smooth and efficient upgrade.The installation process involves several stages, including removing the front bumper cover, accessing and disconnecting various electrical components such as the active grille shutters and front-facing camera, and carefully removing the old grille. The guide then walks you through installing the new TRD Pro grille, highlighting a potential issue with the front-facing camera mounting and offering a temporary fix. Ultimately, this guide provides a practical, detailed account of the entire project, enabling even novice DIYers to successfully complete this upgrade.
Pros And Cons
- OEM part, easy installation
- Transforms the look of the truck
- Does not include LED light bar or three small lights
- Front-facing camera mounting points differ from OEM, requiring modification or a custom solution.
Read more: 10 Must-Have Cookina Grill Mats
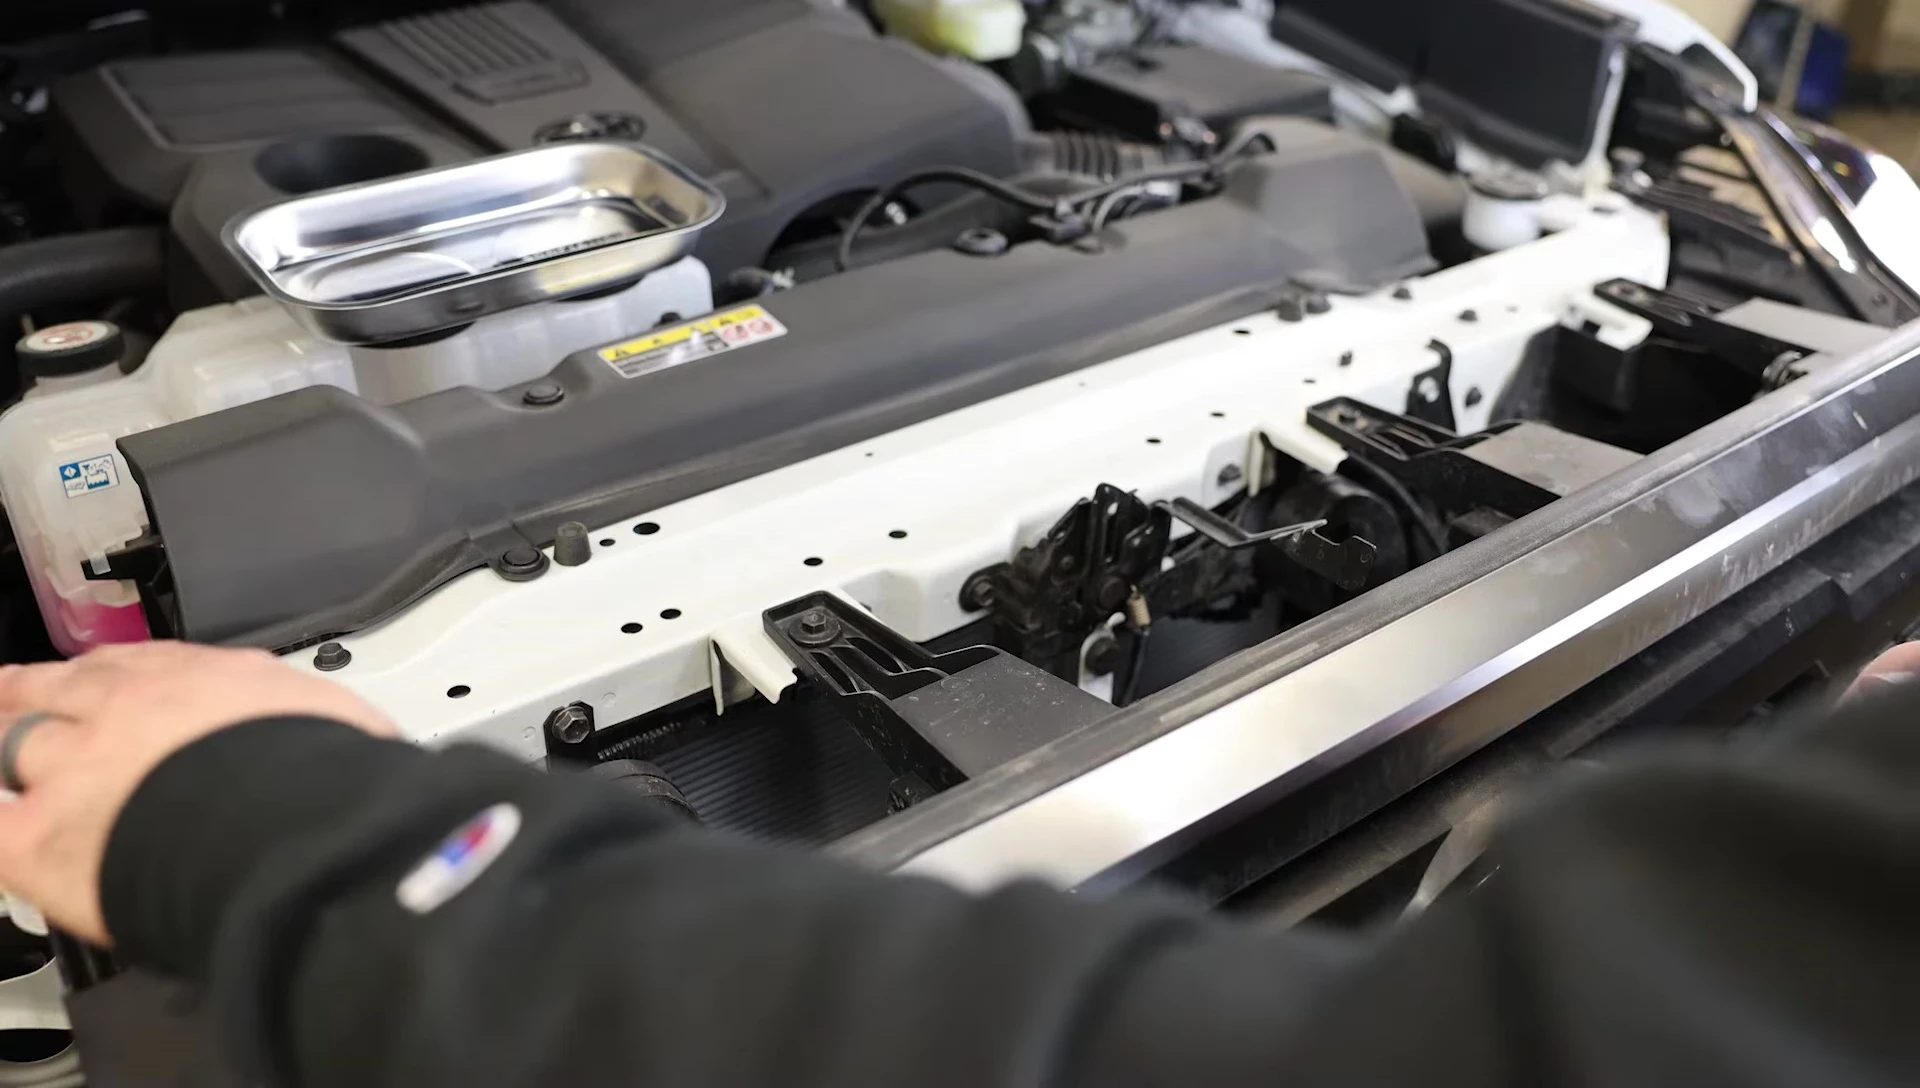
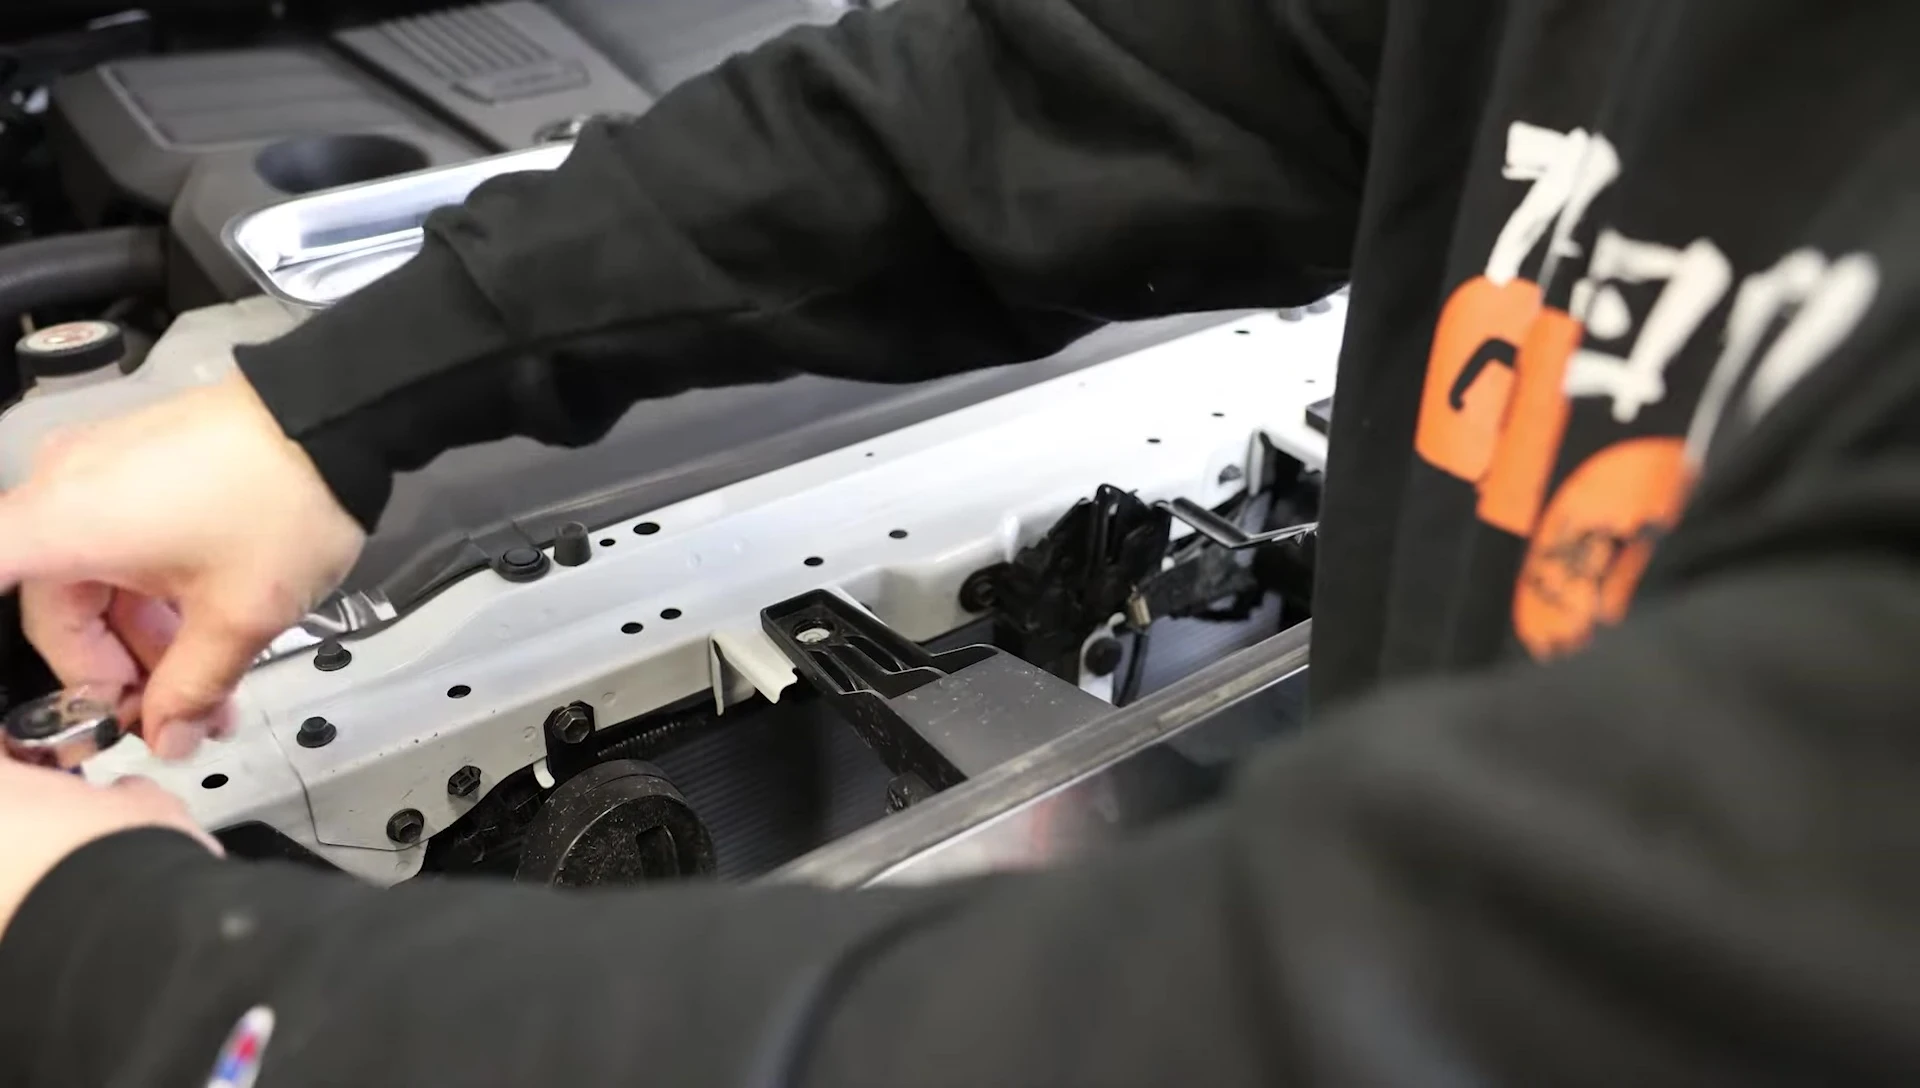
Initial Steps: Grille Removal
The installation begins with removing the four 14mm bolts securing the grille to the top of the radio support. Next, disconnect all electrical connectors from the grille – two on each side (passenger and driver). Finally, remove the push clips located on the driver's and passenger sides, easily accessed using a screwdriver.
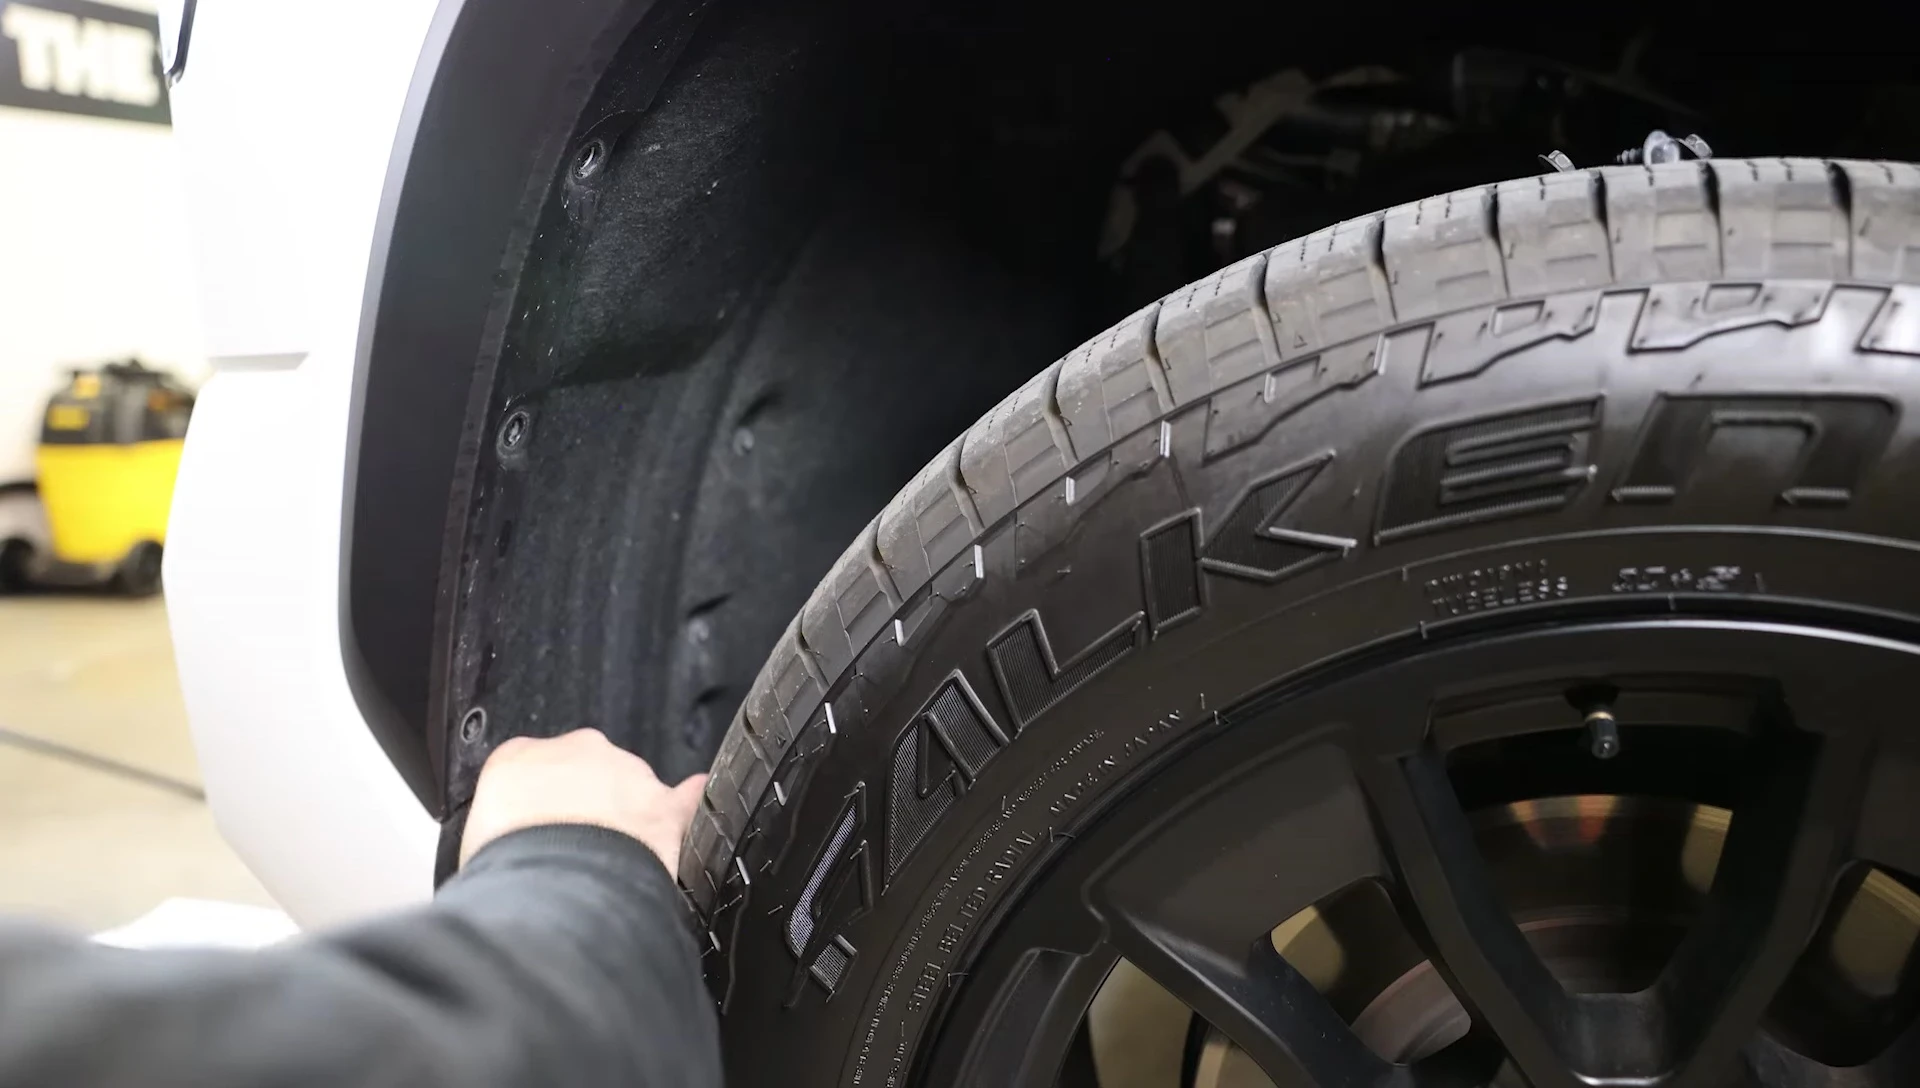
Once the clips are removed, the next stage involves removing four 10mm bolts from inside the front fender liner. Remember to do this on both sides of the vehicle before proceeding with the removal of the fender flares. Carefully pry these off using a panel removal tool, working from the bottom upwards to avoid damage.
Bumper Removal and Active Grille Shutter Disassembly
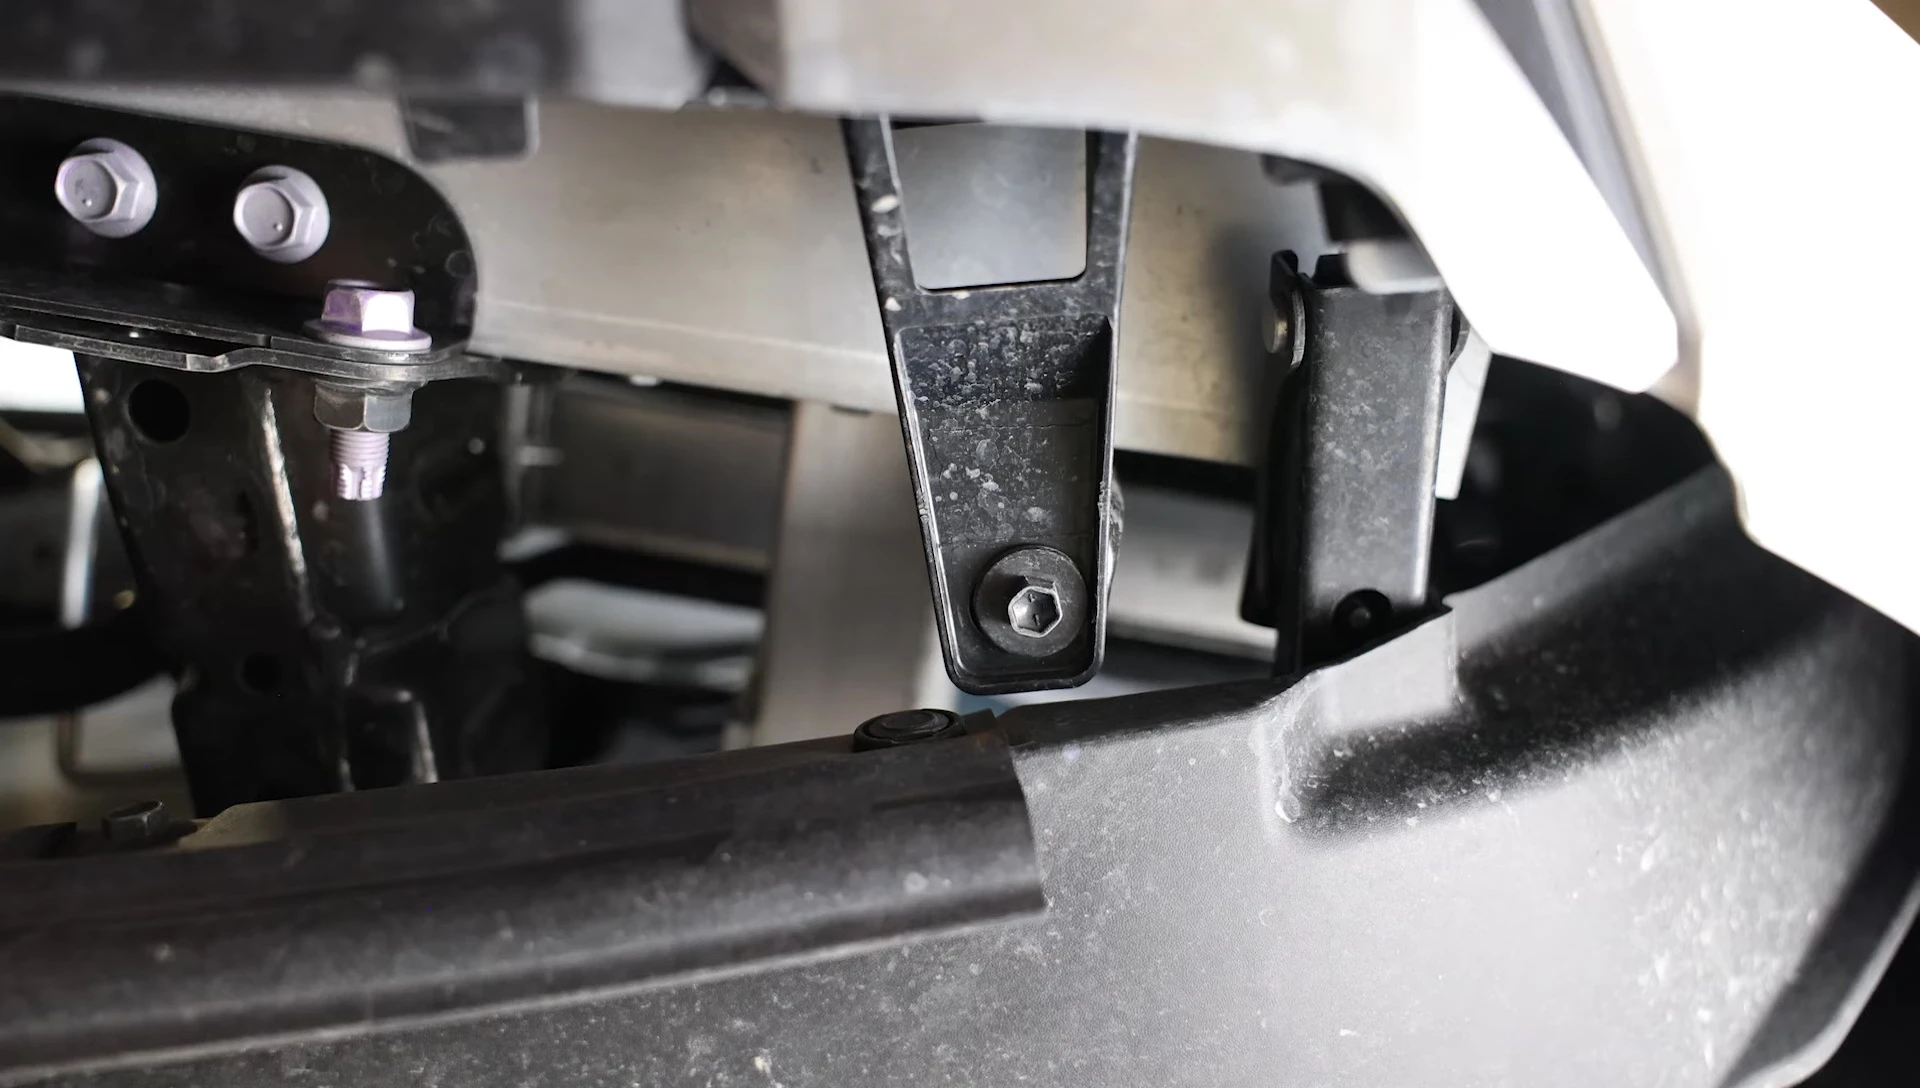
To access the remaining fasteners, slide under the truck and remove four 10mm bolts from the front brackets. This is followed by removing two more 10mm bolts located behind the grille; these are best accessed by reaching behind the grille. After these are removed, the bumper cover can be carefully separated from its hangers.
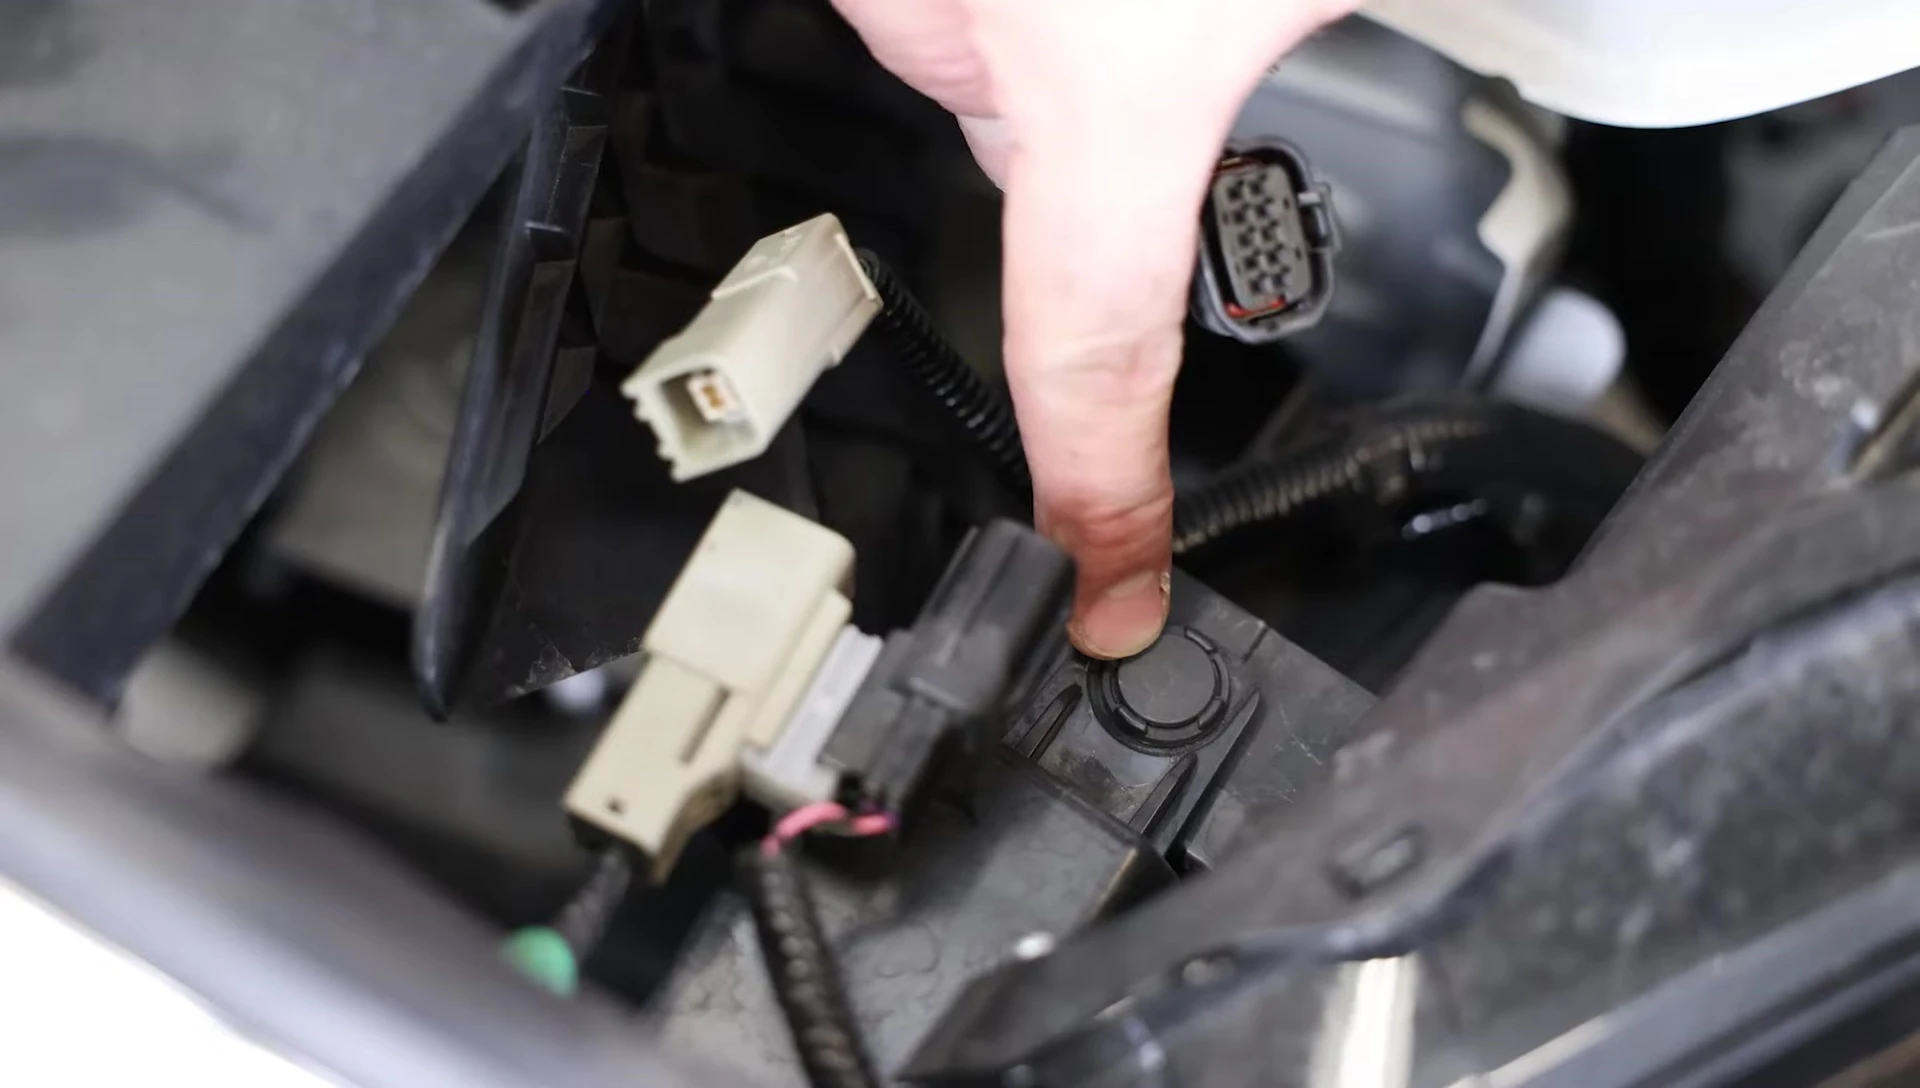
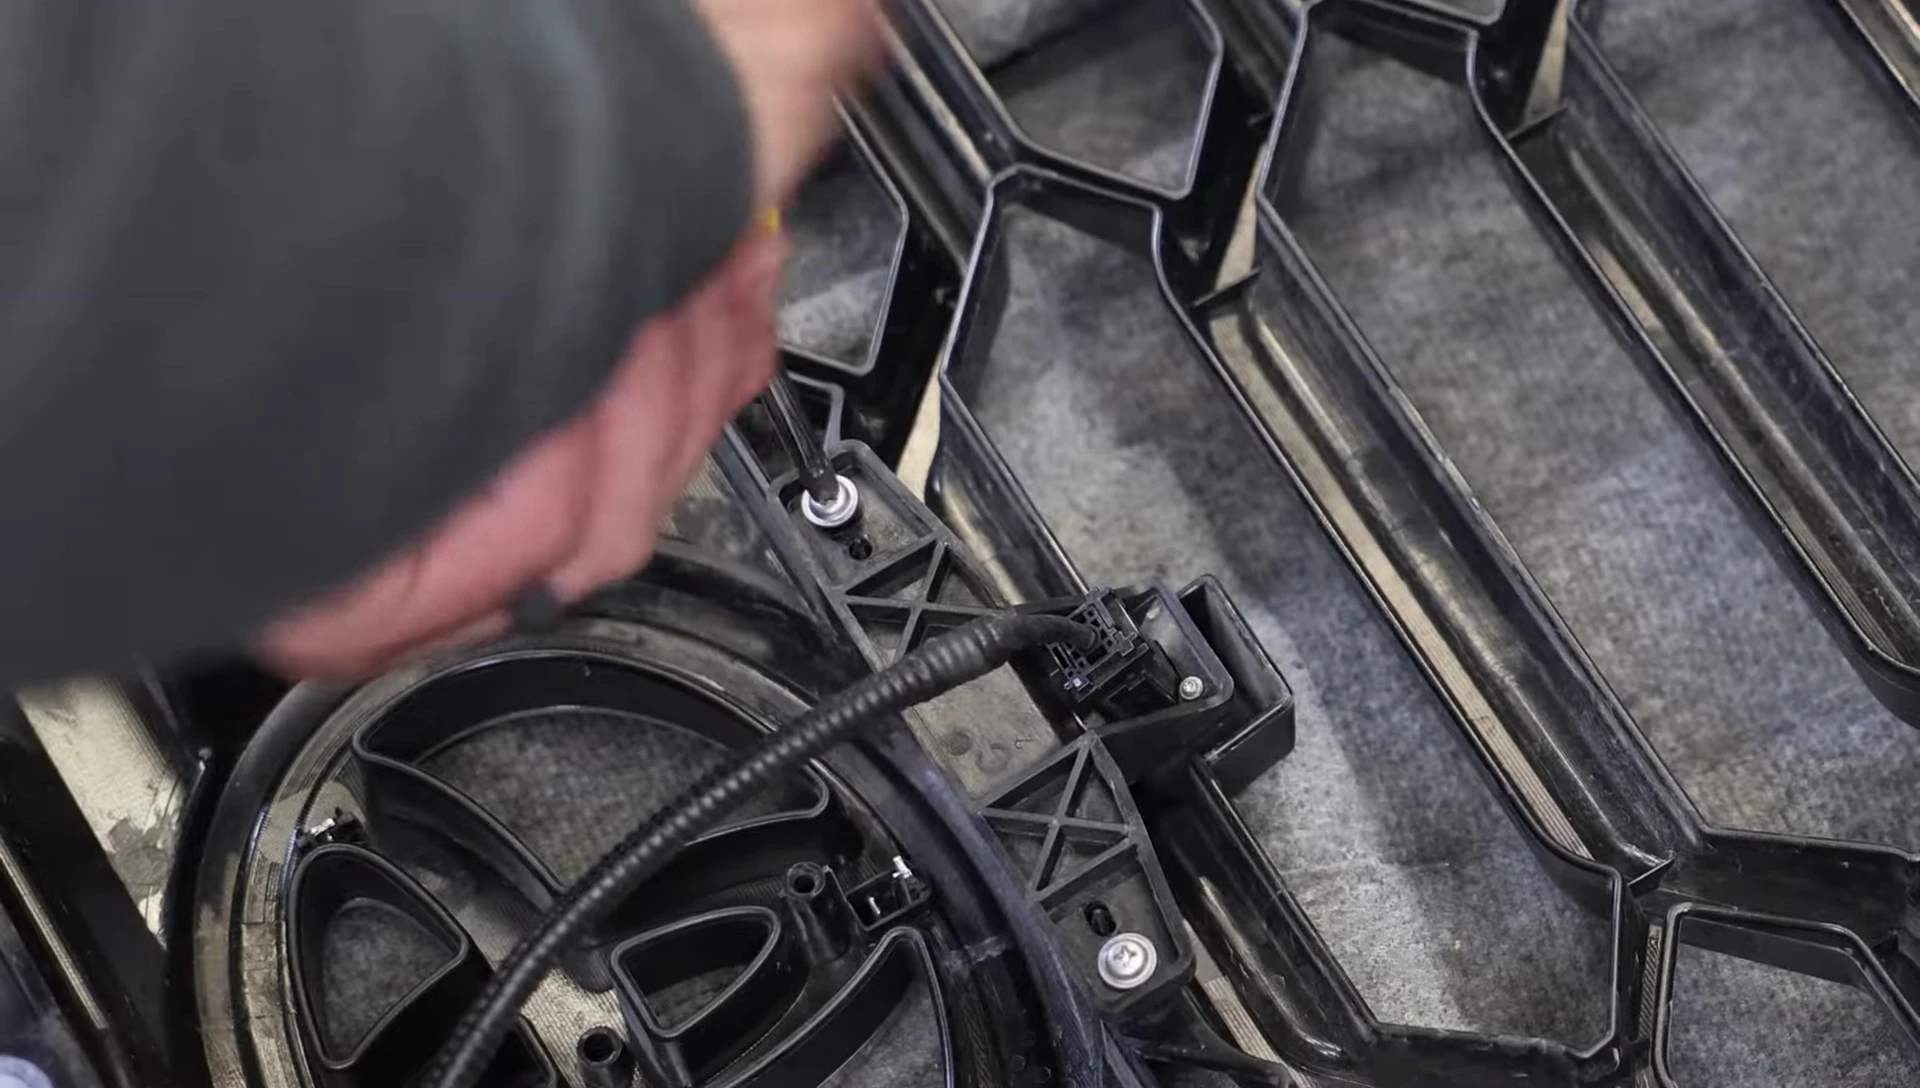
Next, disconnect the harness for the active grille shutters and remove the six 10mm bolts securing the active grille shutter mechanism to the grille. The mechanism will then slide out. Remember to disconnect the front-facing camera and TSS sensor before proceeding further.
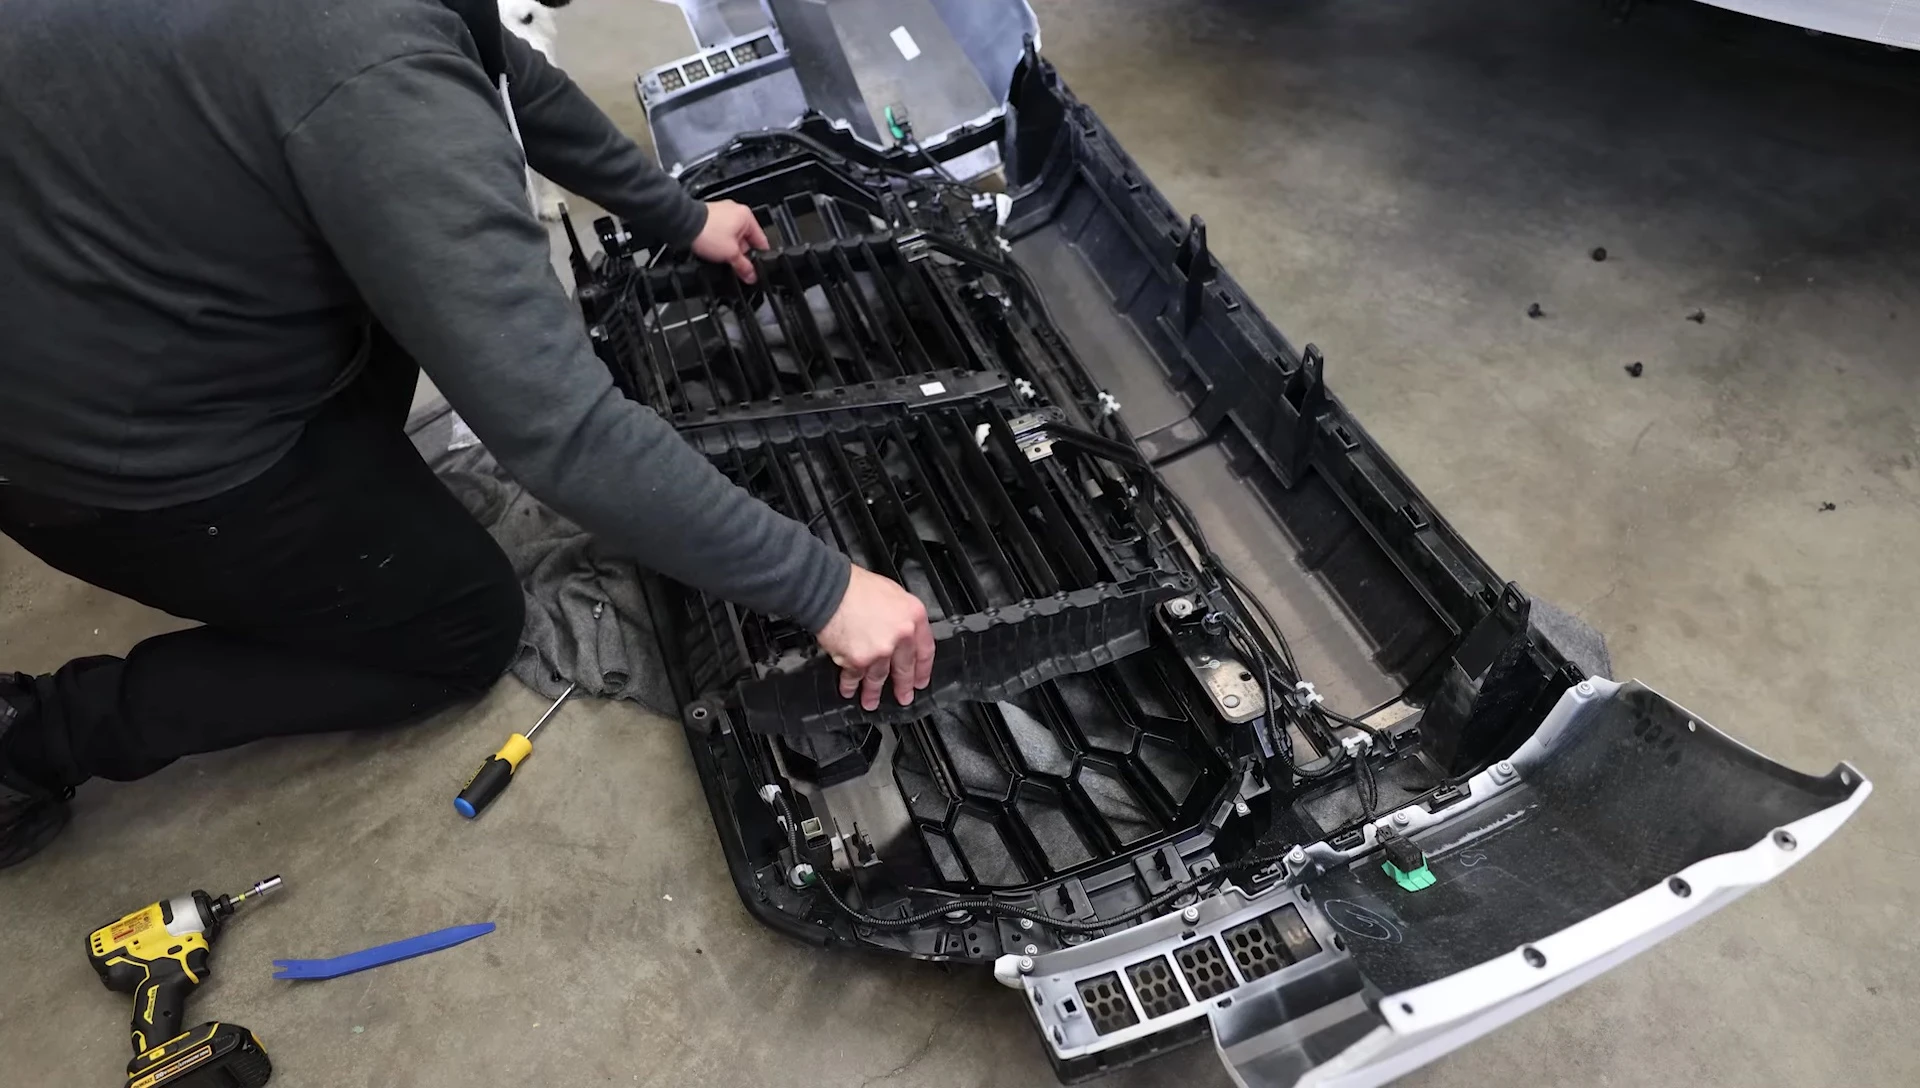
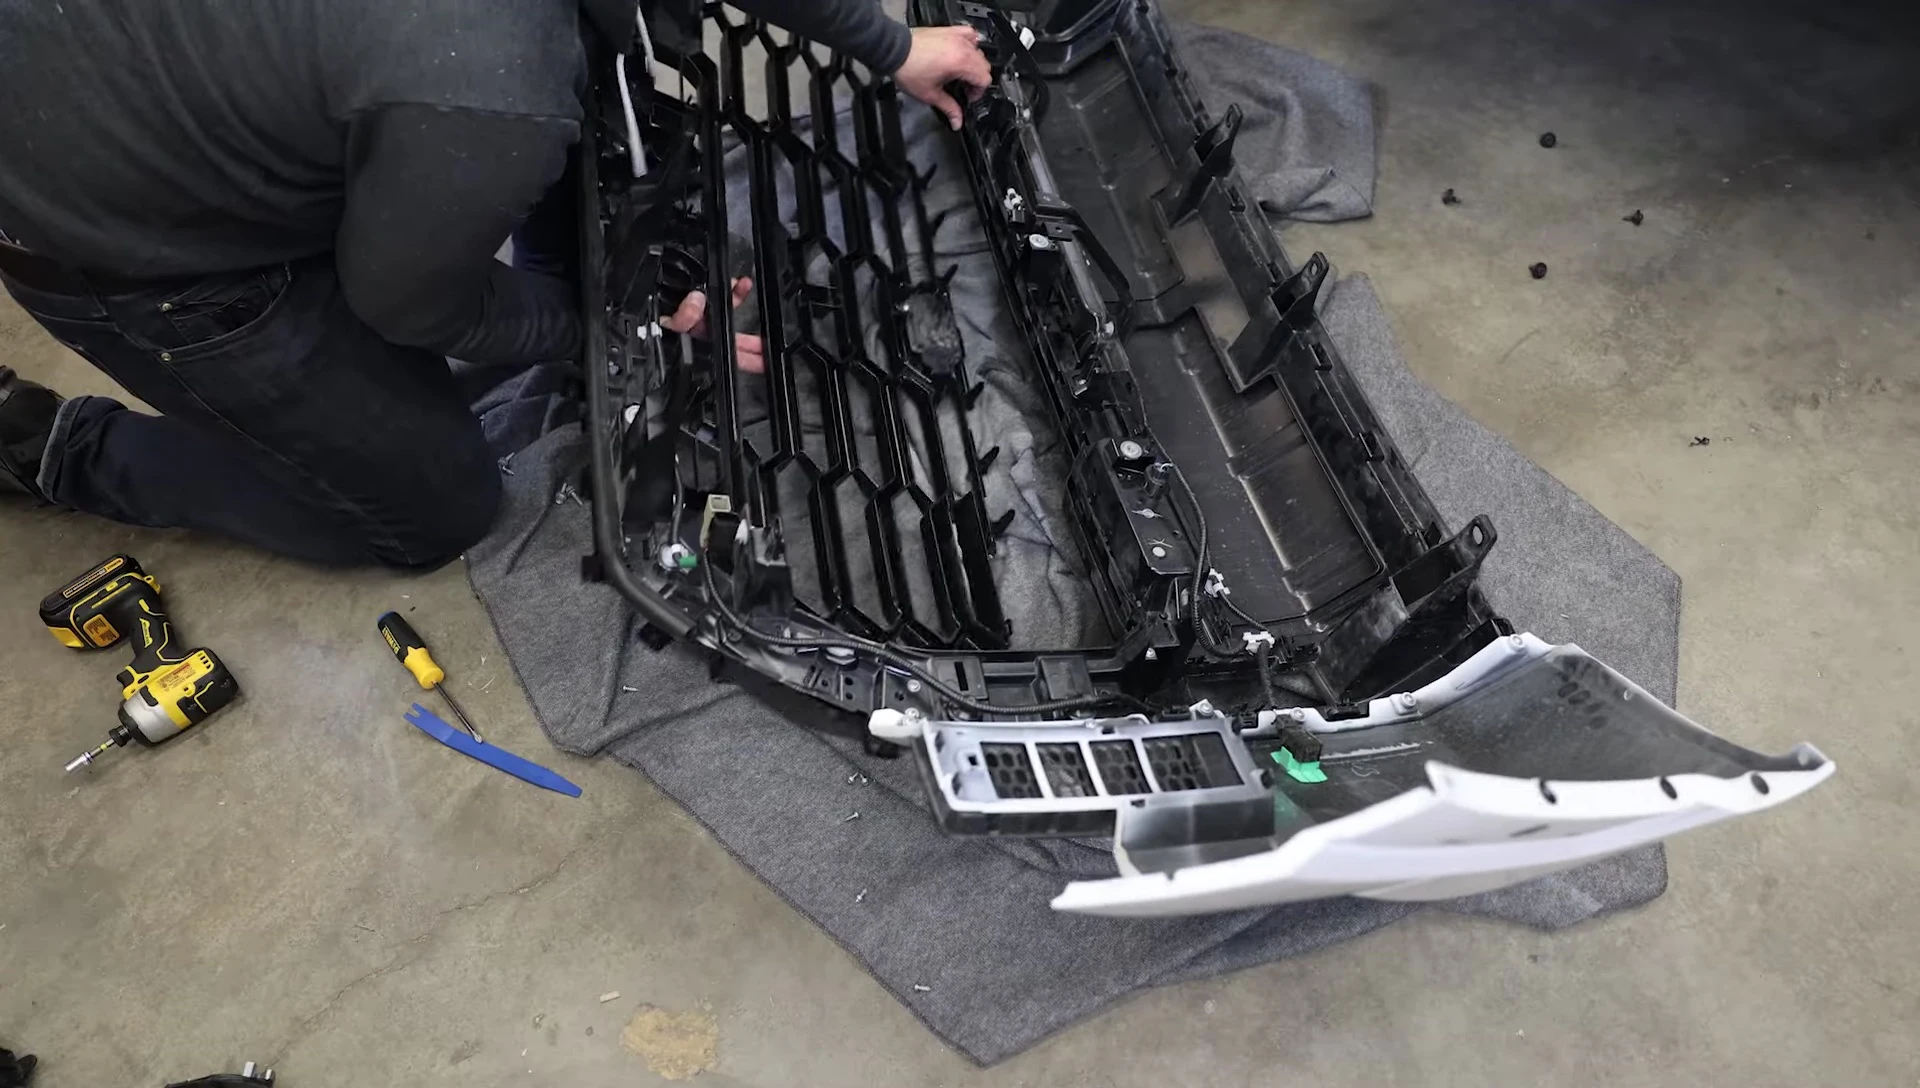
Grille Removal and TRD Pro Grille Installation
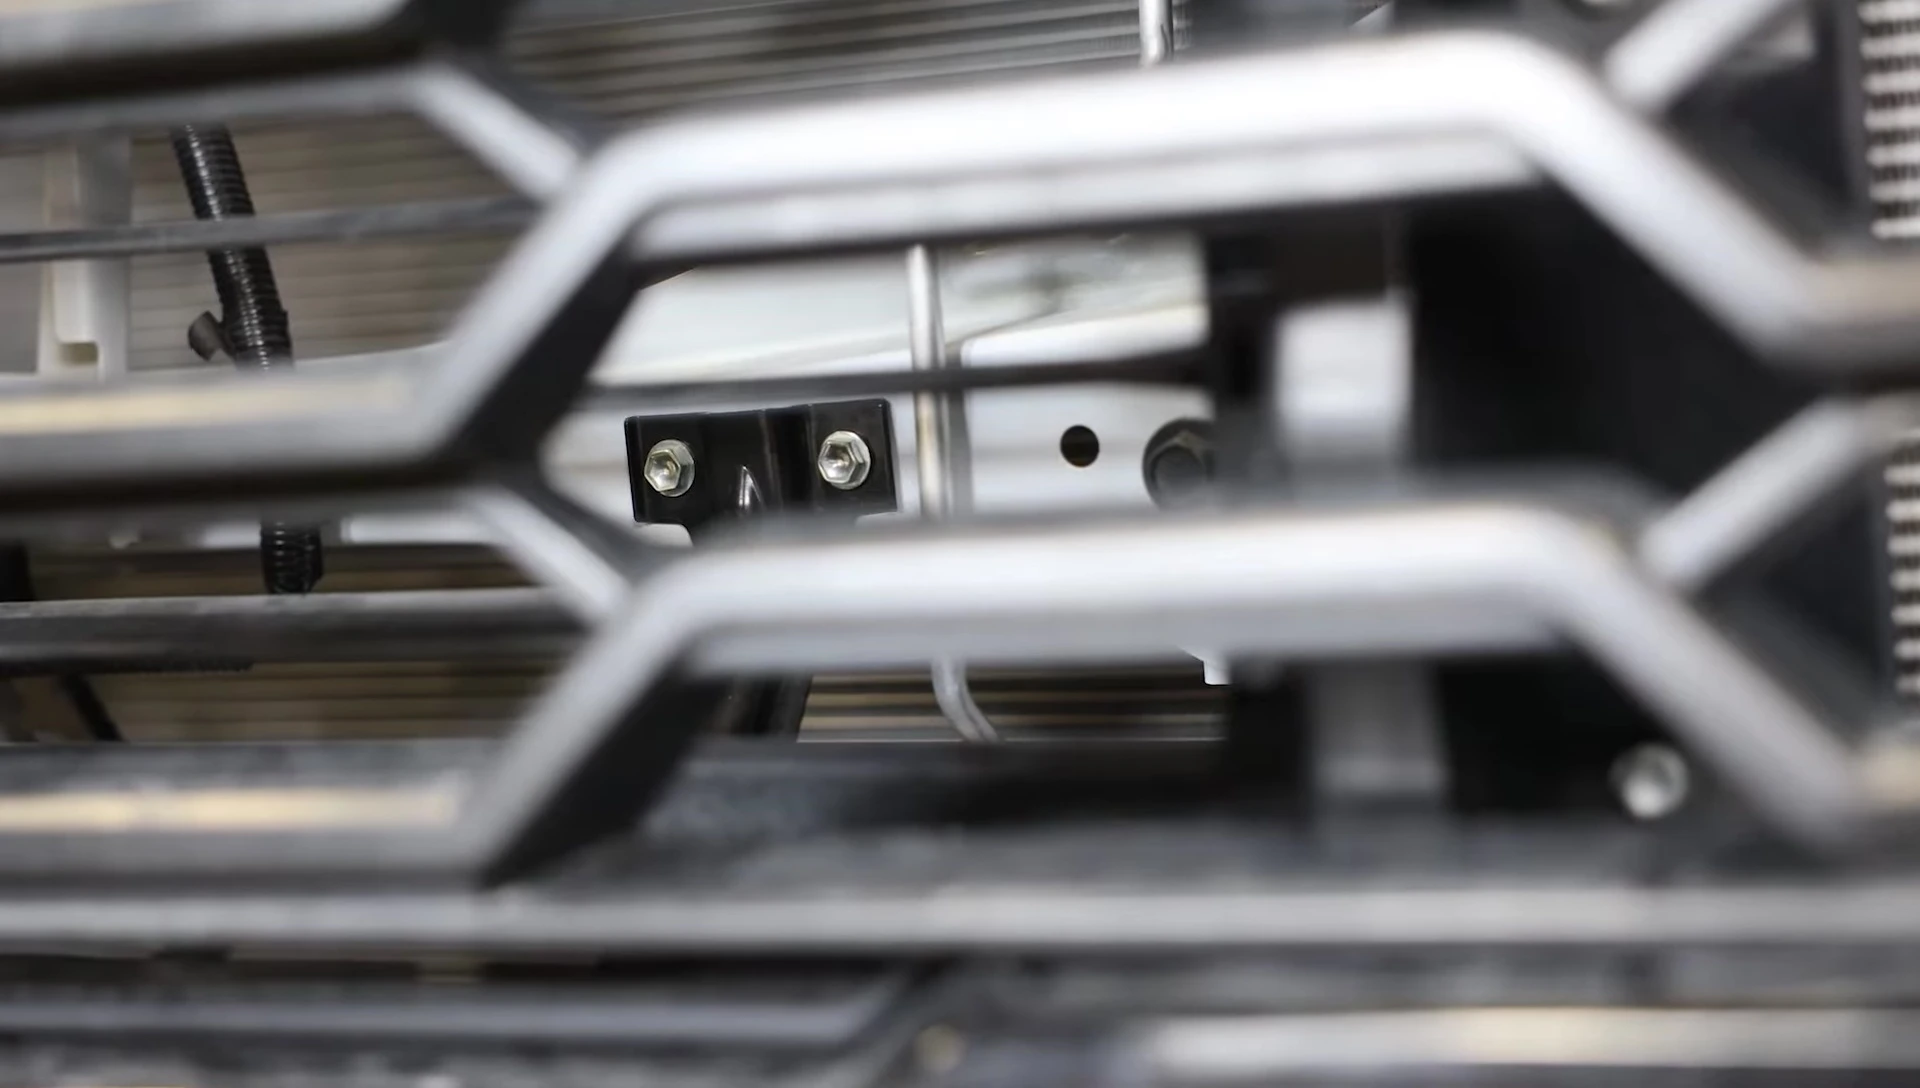
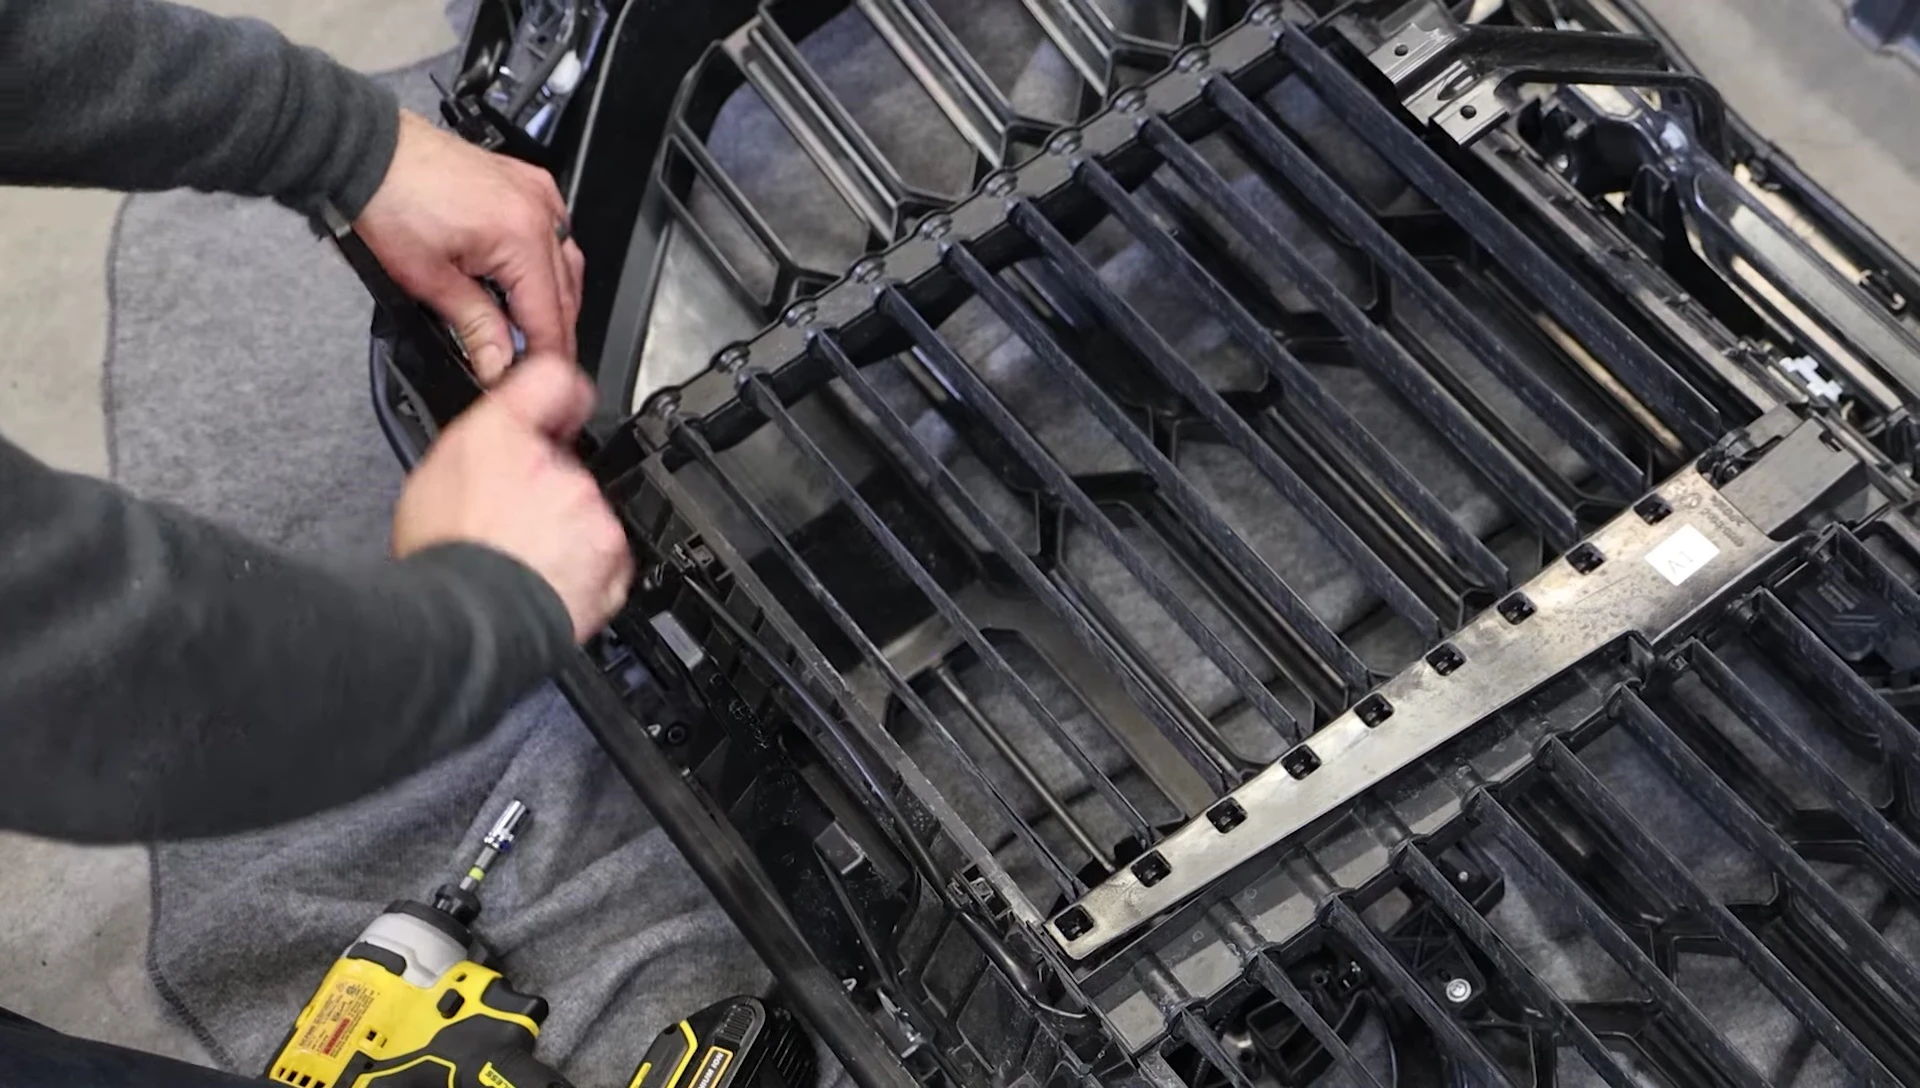
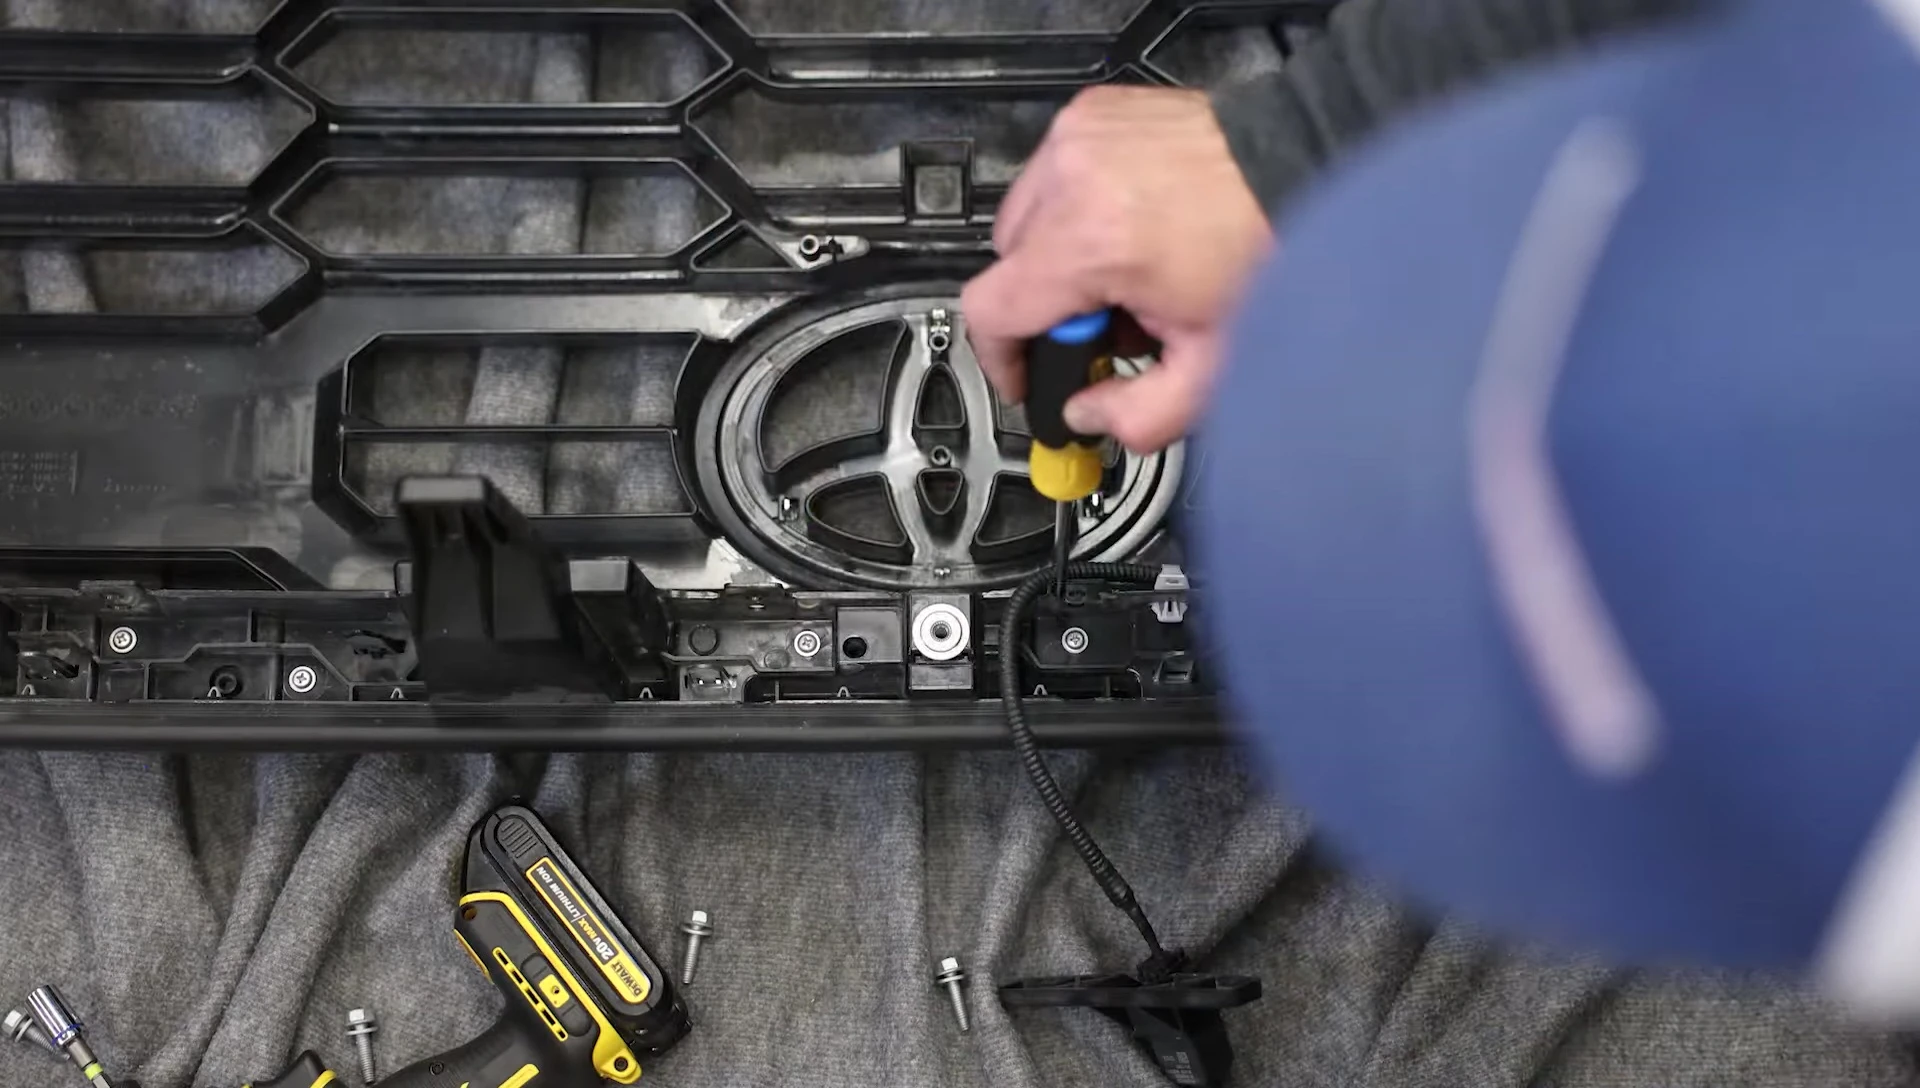
With the bumper removed, carefully remove all the screws holding the grille surround and grille insert in place. This includes screws on the bottom of the grille and the small bumper caps. Once removed, the grille surround and insert can be easily pulled out.
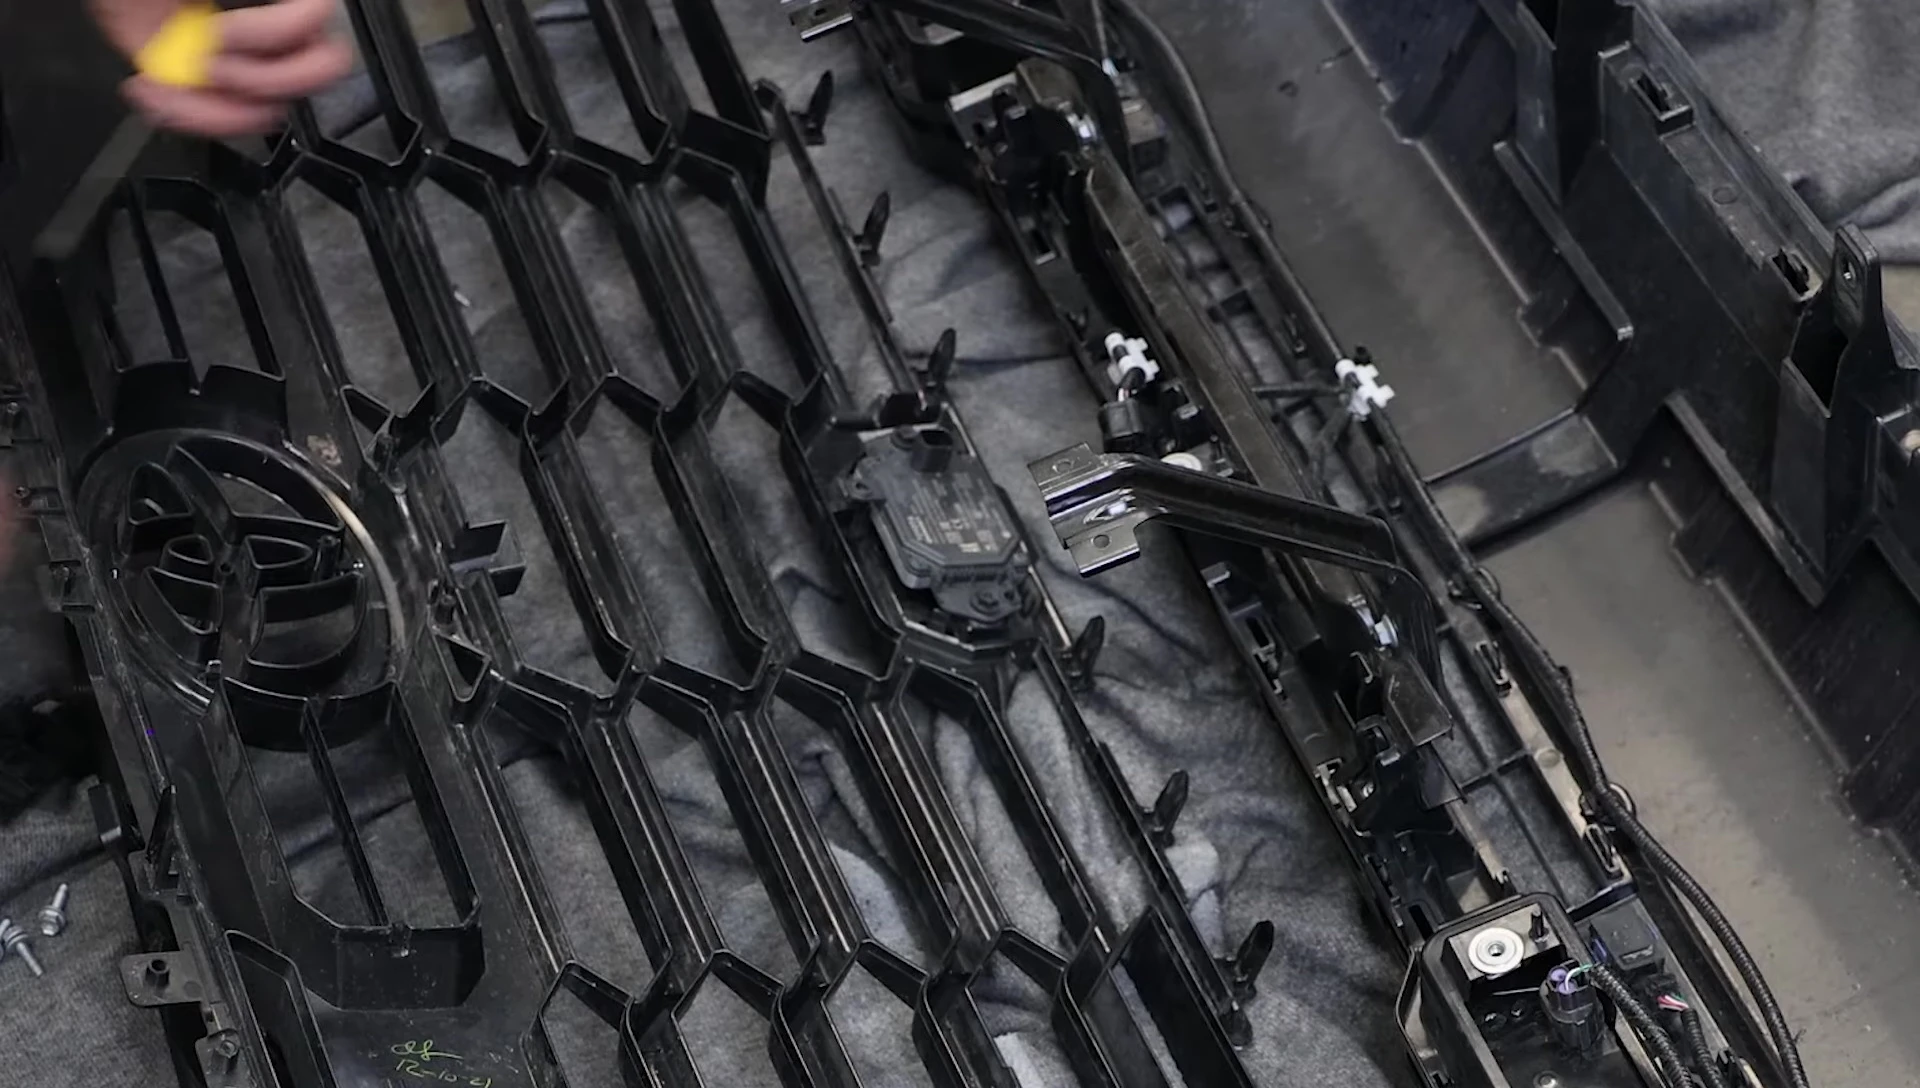
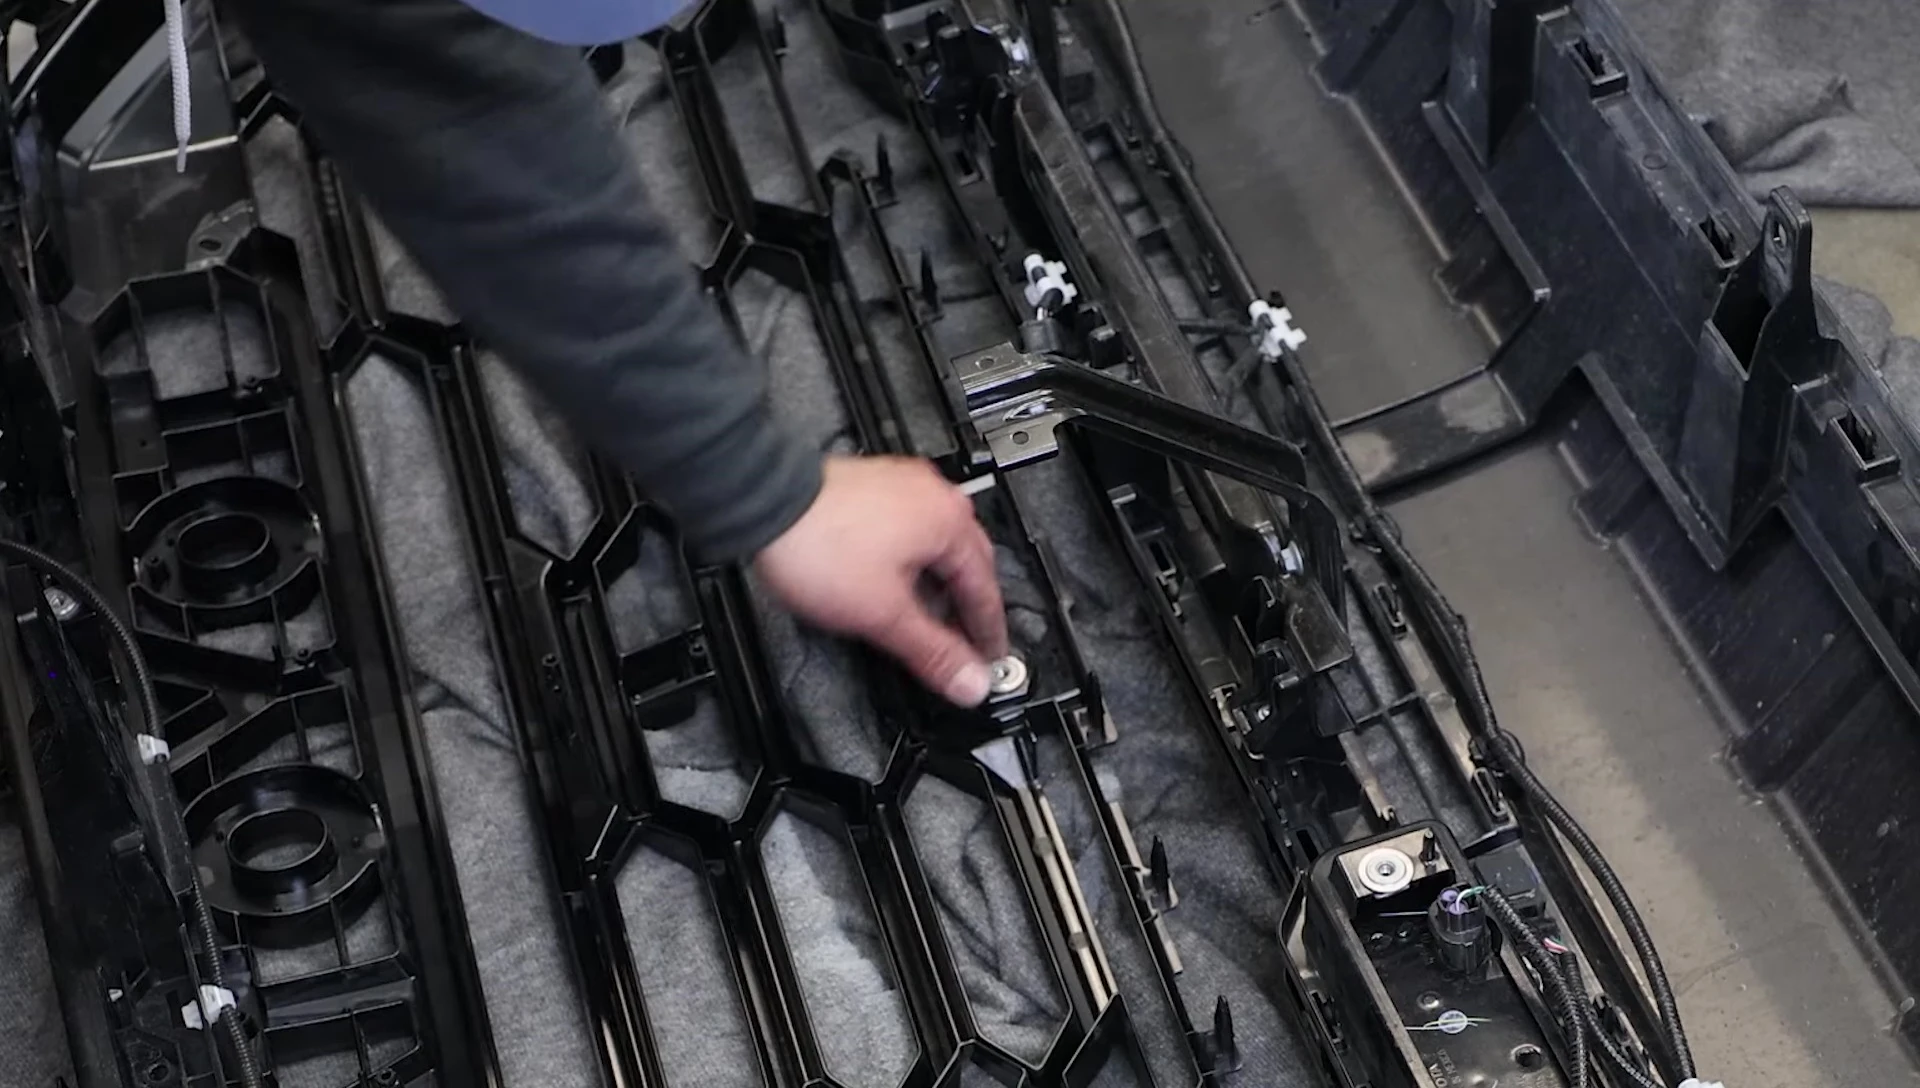
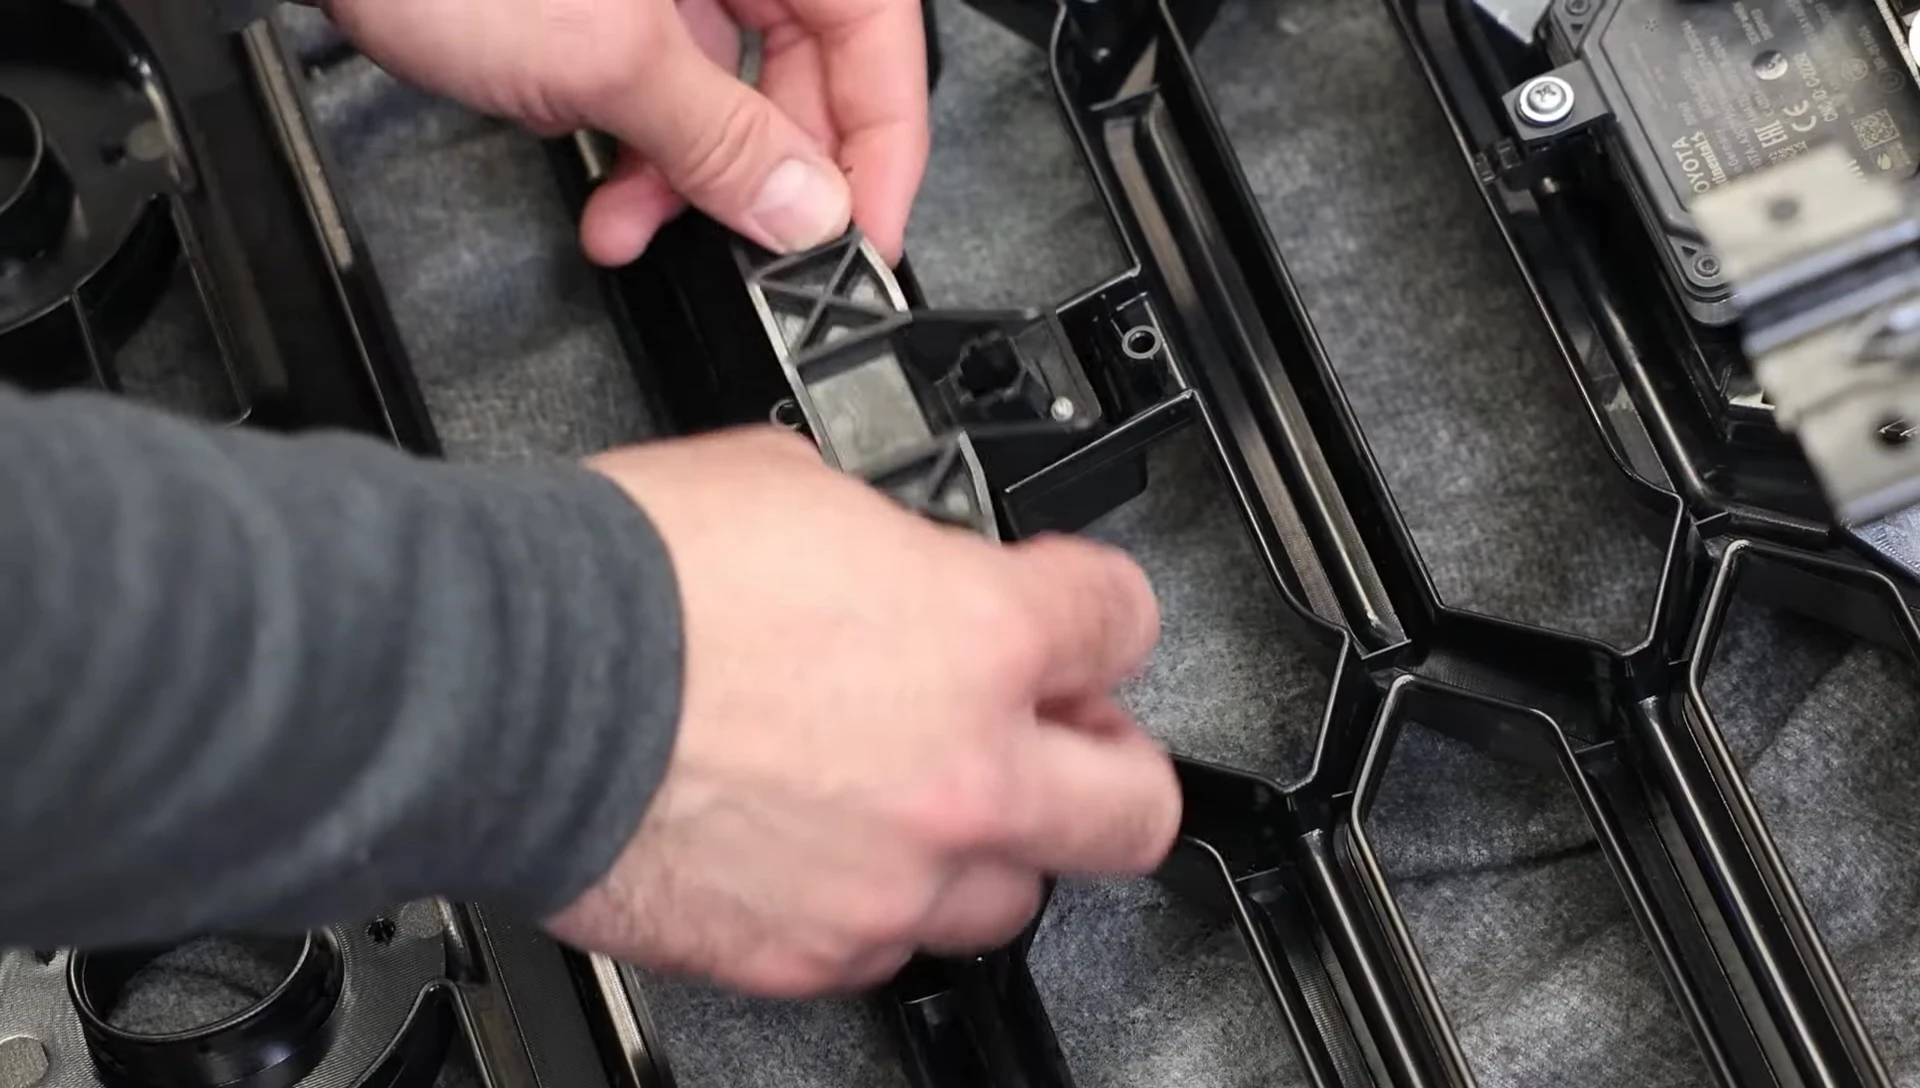
After removing the front TSS sensor, the old grille insert can be fully removed. The new TRD Pro grille insert can then be installed, using the existing clips for a secure fit. Reinstall the TSS sensor, reusing the grommets from the OEM grille. The sensor cover should also be transferred to the new grille.
Final Assembly and Conclusion
Reinstall the front-facing camera, noting the difference in mounting points between the OEM and TRD Pro grilles. A temporary solution using a trim screw and washer is used until a proper bracket is acquired. Reassemble the active grille shutters (AGS) and reinstall all grille surrounds, bumper caps, and other removed components.
The entire installation process, including the unexpected front camera issue, took around 1.5 to 2 hours. The resulting look is significantly improved, with a cleaner, less busy appearance than the TRD Pro grille with integrated LED lights. The installer expresses personal preference for the simpler aesthetic. While a minor issue arose with the front-facing camera mounting, an effective temporary solution was implemented.