Tired of messy charcoal in your smoker? This DIY charcoal basket project offers a quick, cheap, and surprisingly sturdy solution. For under $20 and in just 10 minutes, you can transform a simple sheet of expanded metal into a functional and efficient charcoal holder. No welding or specialized tools are required – just a hammer, pliers, and a few basic measurements. This project is perfect for budget-conscious BBQ enthusiasts who appreciate a hands-on approach.Forget expensive store-bought options! This tutorial provides step-by-step instructions for creating a durable charcoal basket that's perfect for managing your fuel and enhancing your smoking experience. Learn how to easily cut, fold, and secure the metal to create a robust basket that will withstand the heat of your smoker. Get ready to elevate your grilling game with this simple, cost-effective, and remarkably quick DIY project.
Pros And Cons
- Cheap (cost $20)
- Easy to make (took 10 minutes)
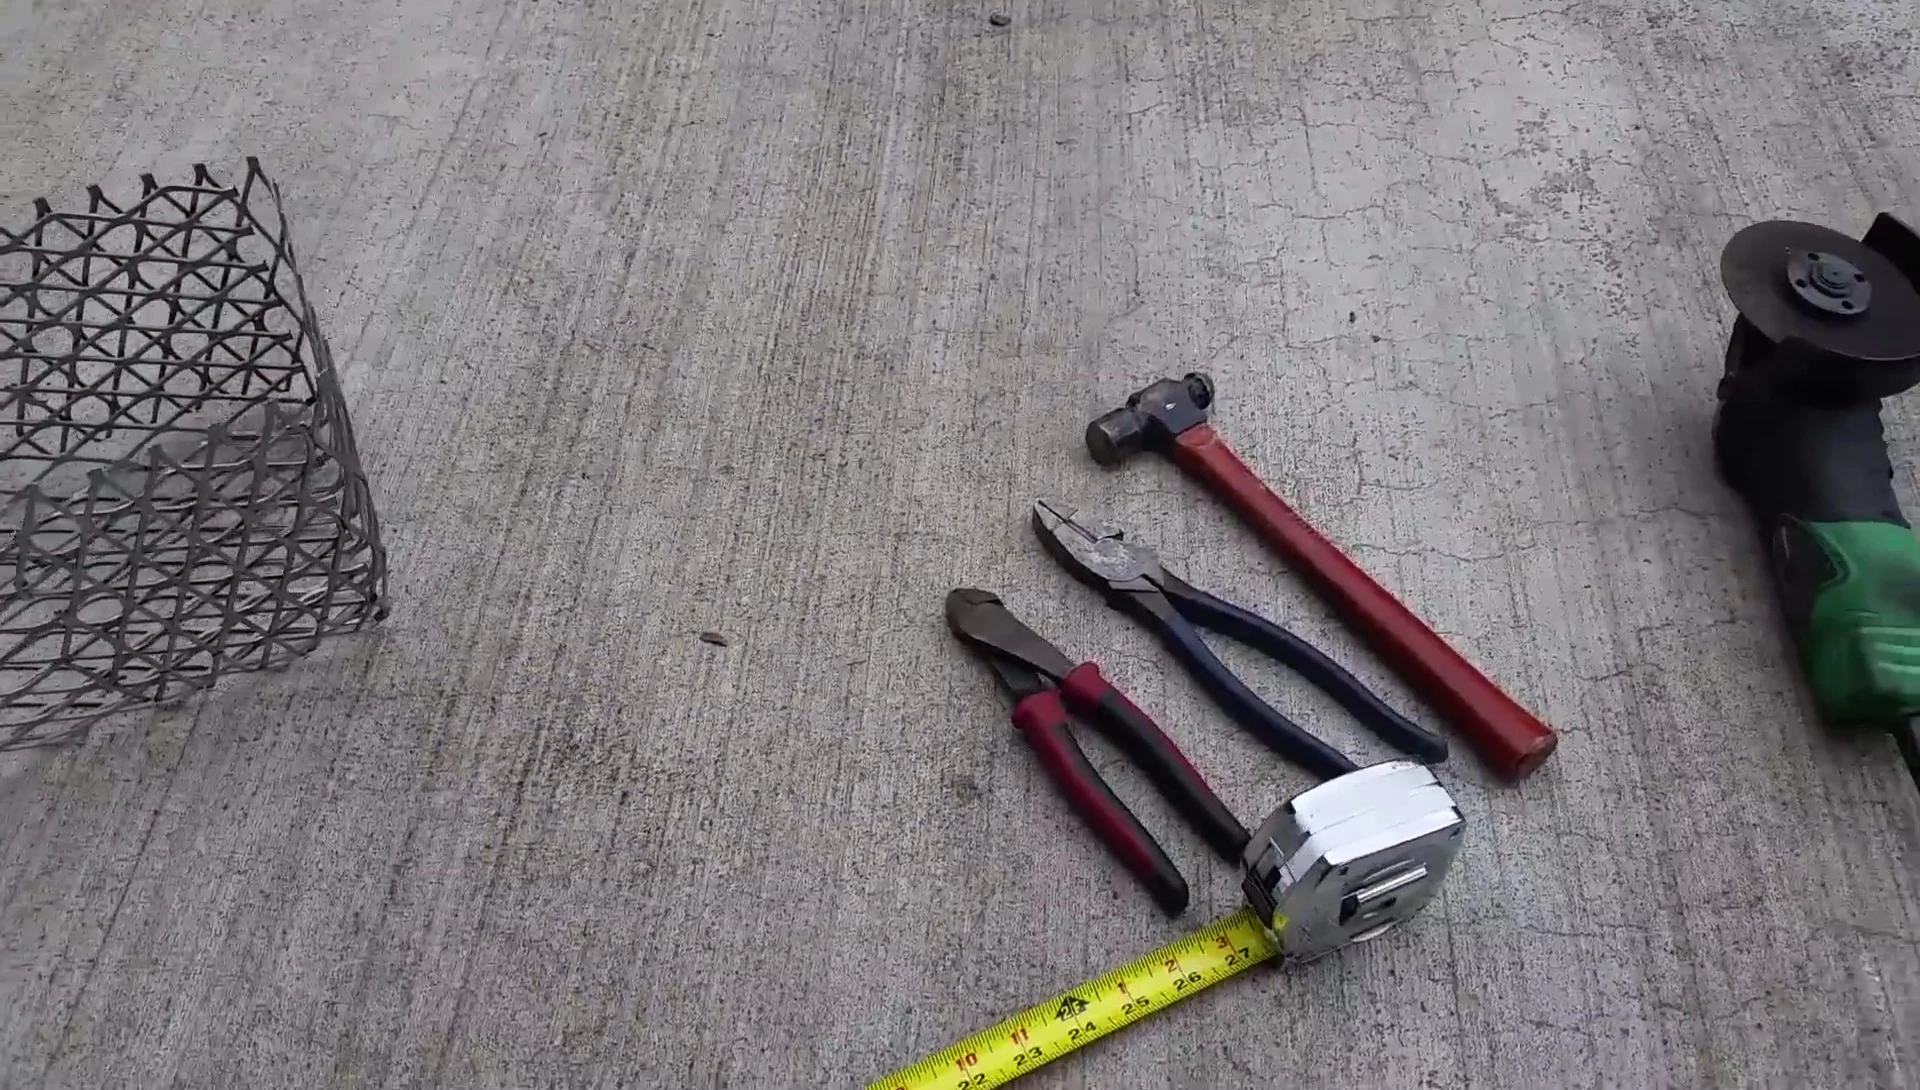
- Requires minimal tools (hammer, tape measure, linesman pliers)
- May not be as aesthetically pleasing as commercially available options
Read more: Top 10 Cast Iron Grill Baskets: Our Best Picks
Materials and Tools
This project requires minimal materials and tools, making it incredibly budget-friendly and accessible. You'll only need a 24x24 inch piece of expanded metal (around 18 gauge), readily available at most hardware stores. The total cost should be around $20. Tools needed are equally simple: a hammer, a tape measure, and a pair of linesman's pliers. An angle grinder can make cutting easier, but isn't strictly necessary.

Cutting and Shaping the Metal
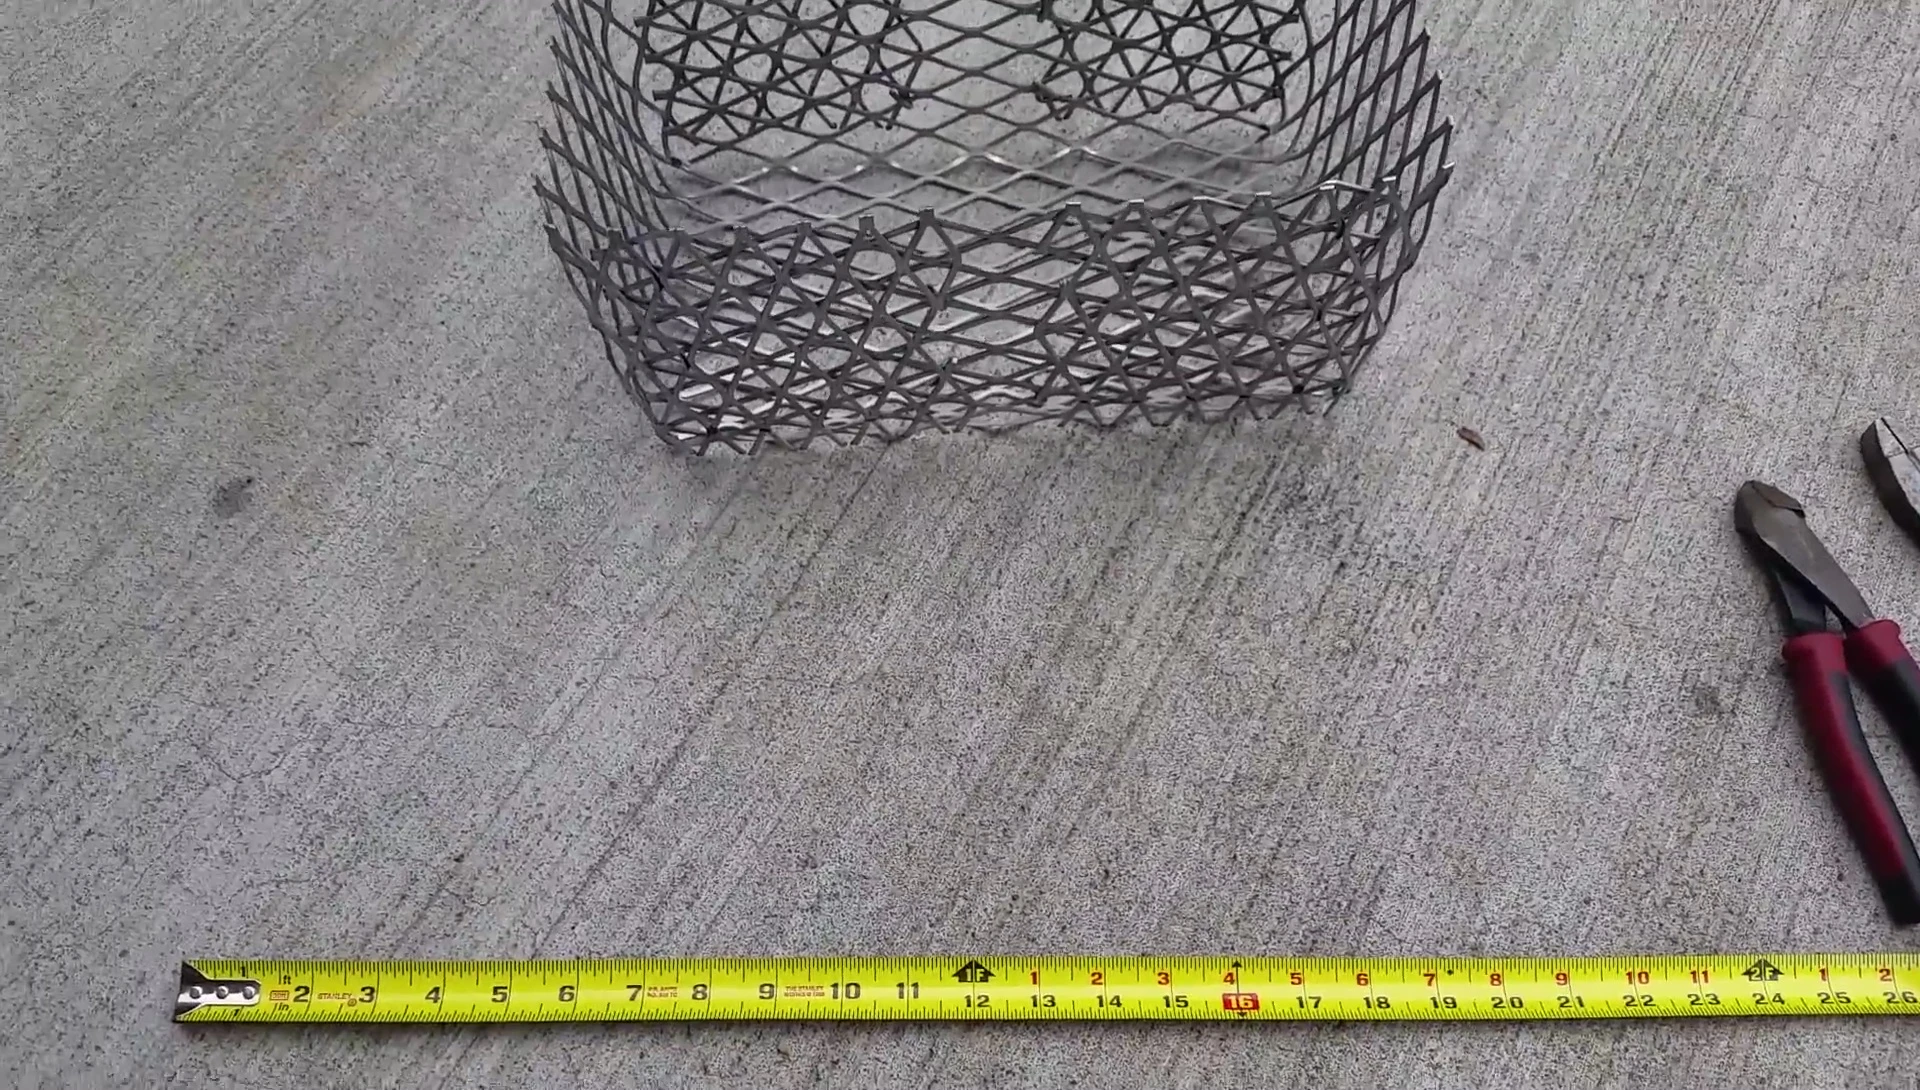
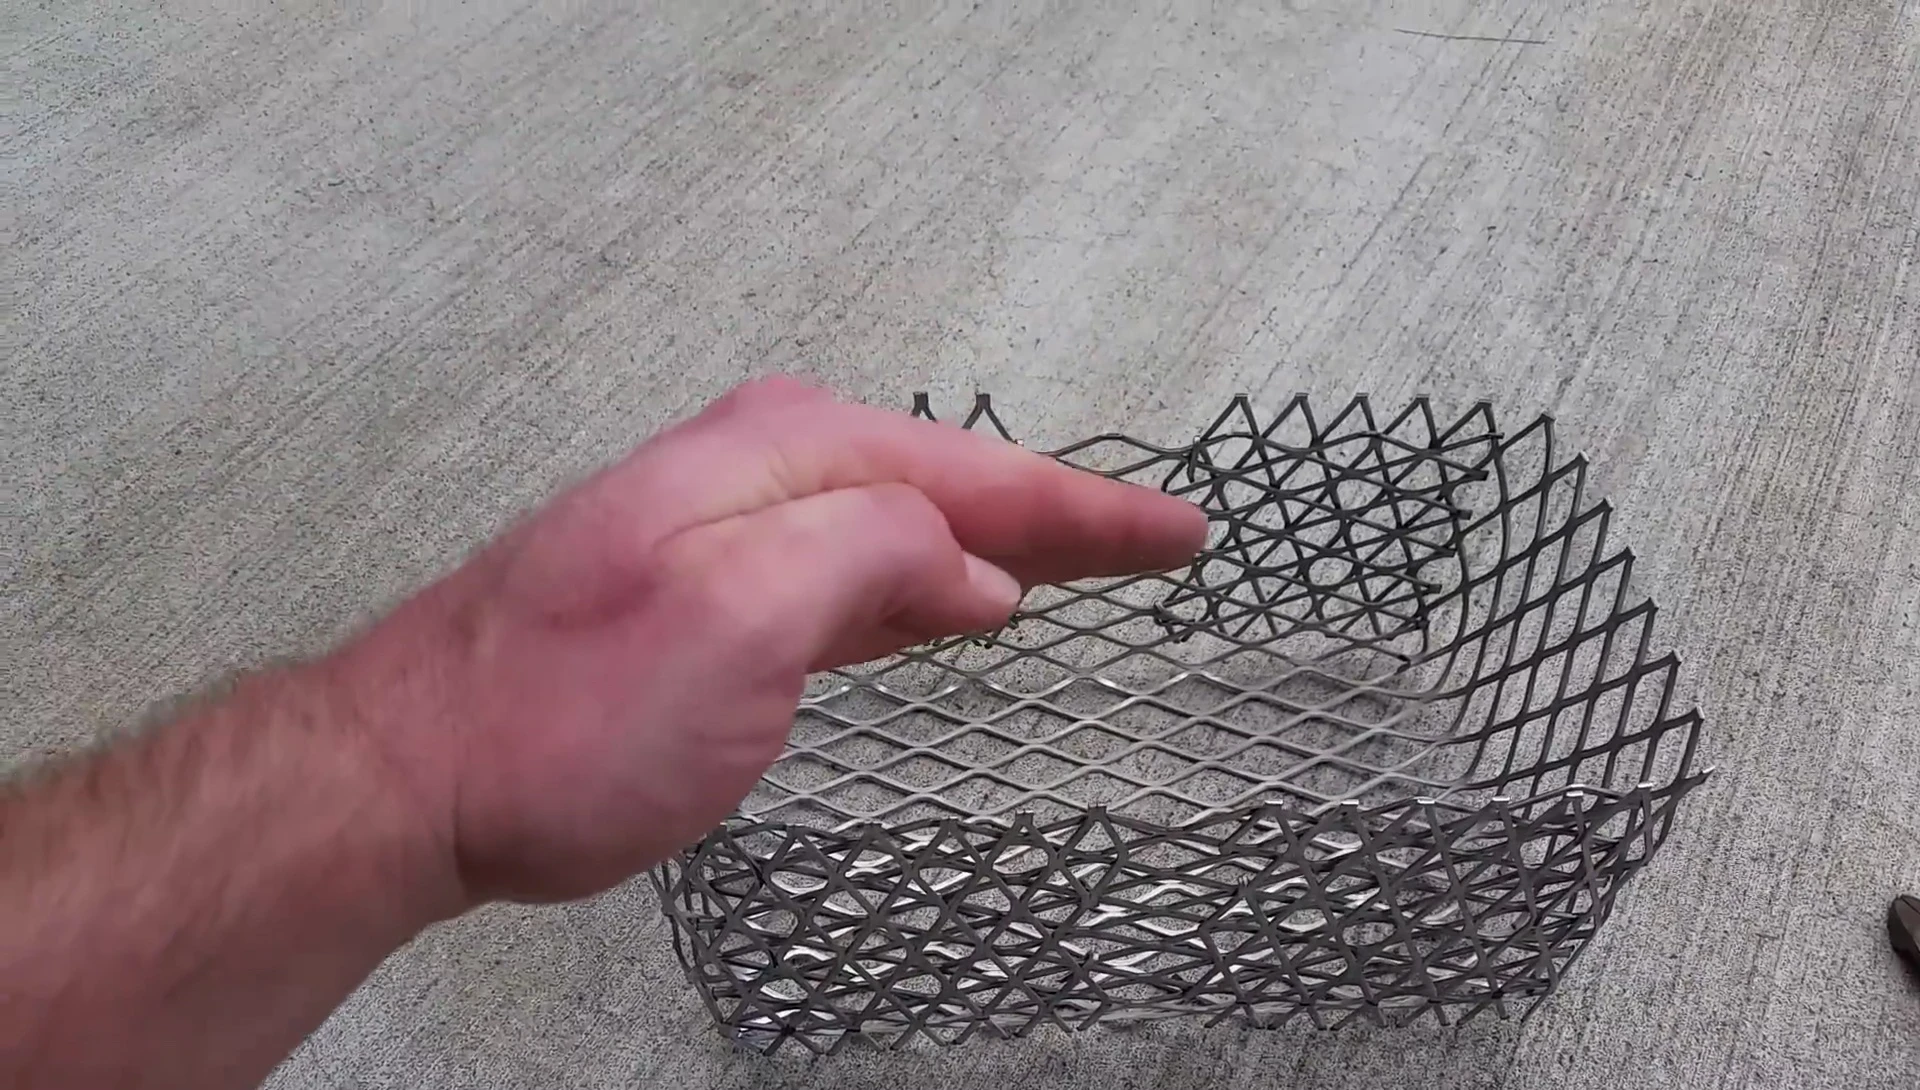
Start by cutting the 24x24 inch sheet down to 20x24 inches. Next, measure and cut 6-inch sections along the 24-inch side, creating three sections. Repeat this process on the opposite 24-inch side. Fold the 20-inch sides upwards to create the base of the basket. Finally, cut four more sections from the sides, fold them inwards, and secure the edges by folding them over and hammering them down.

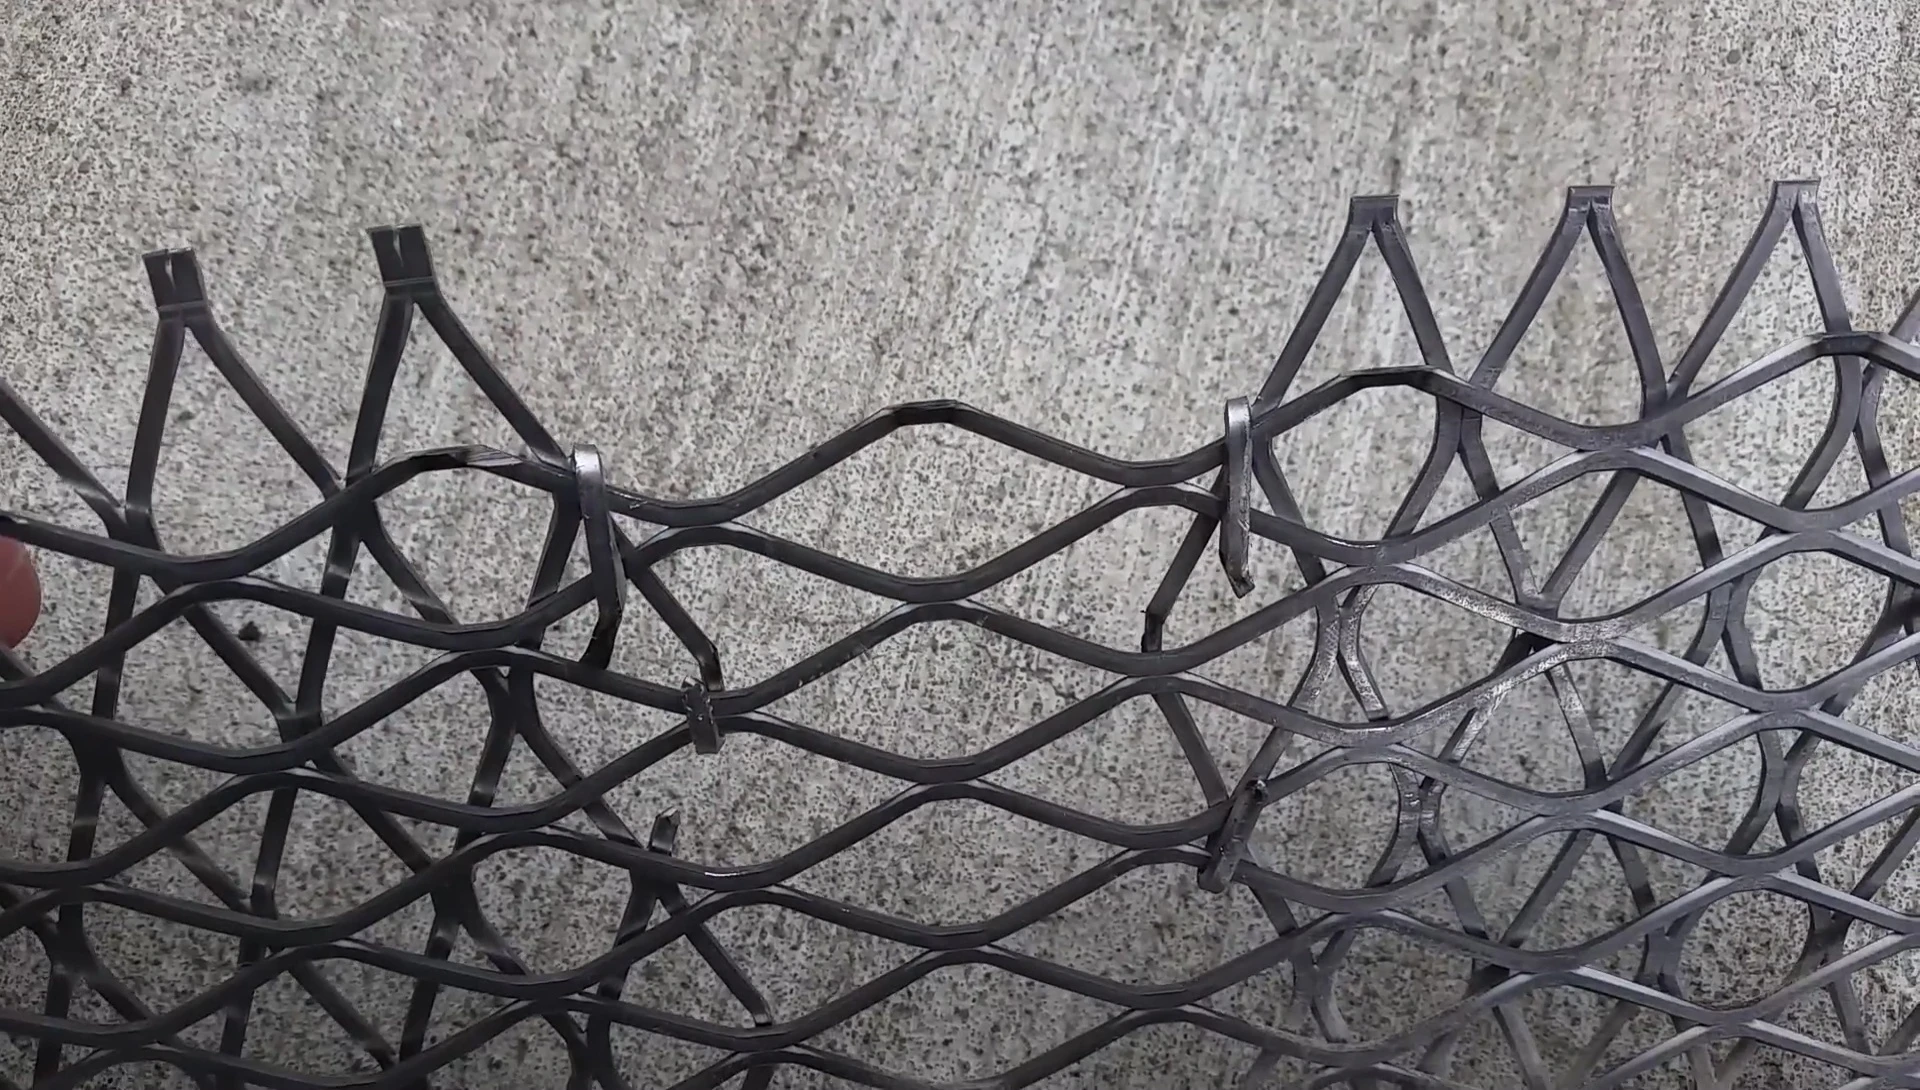
Assembly and Final Touches
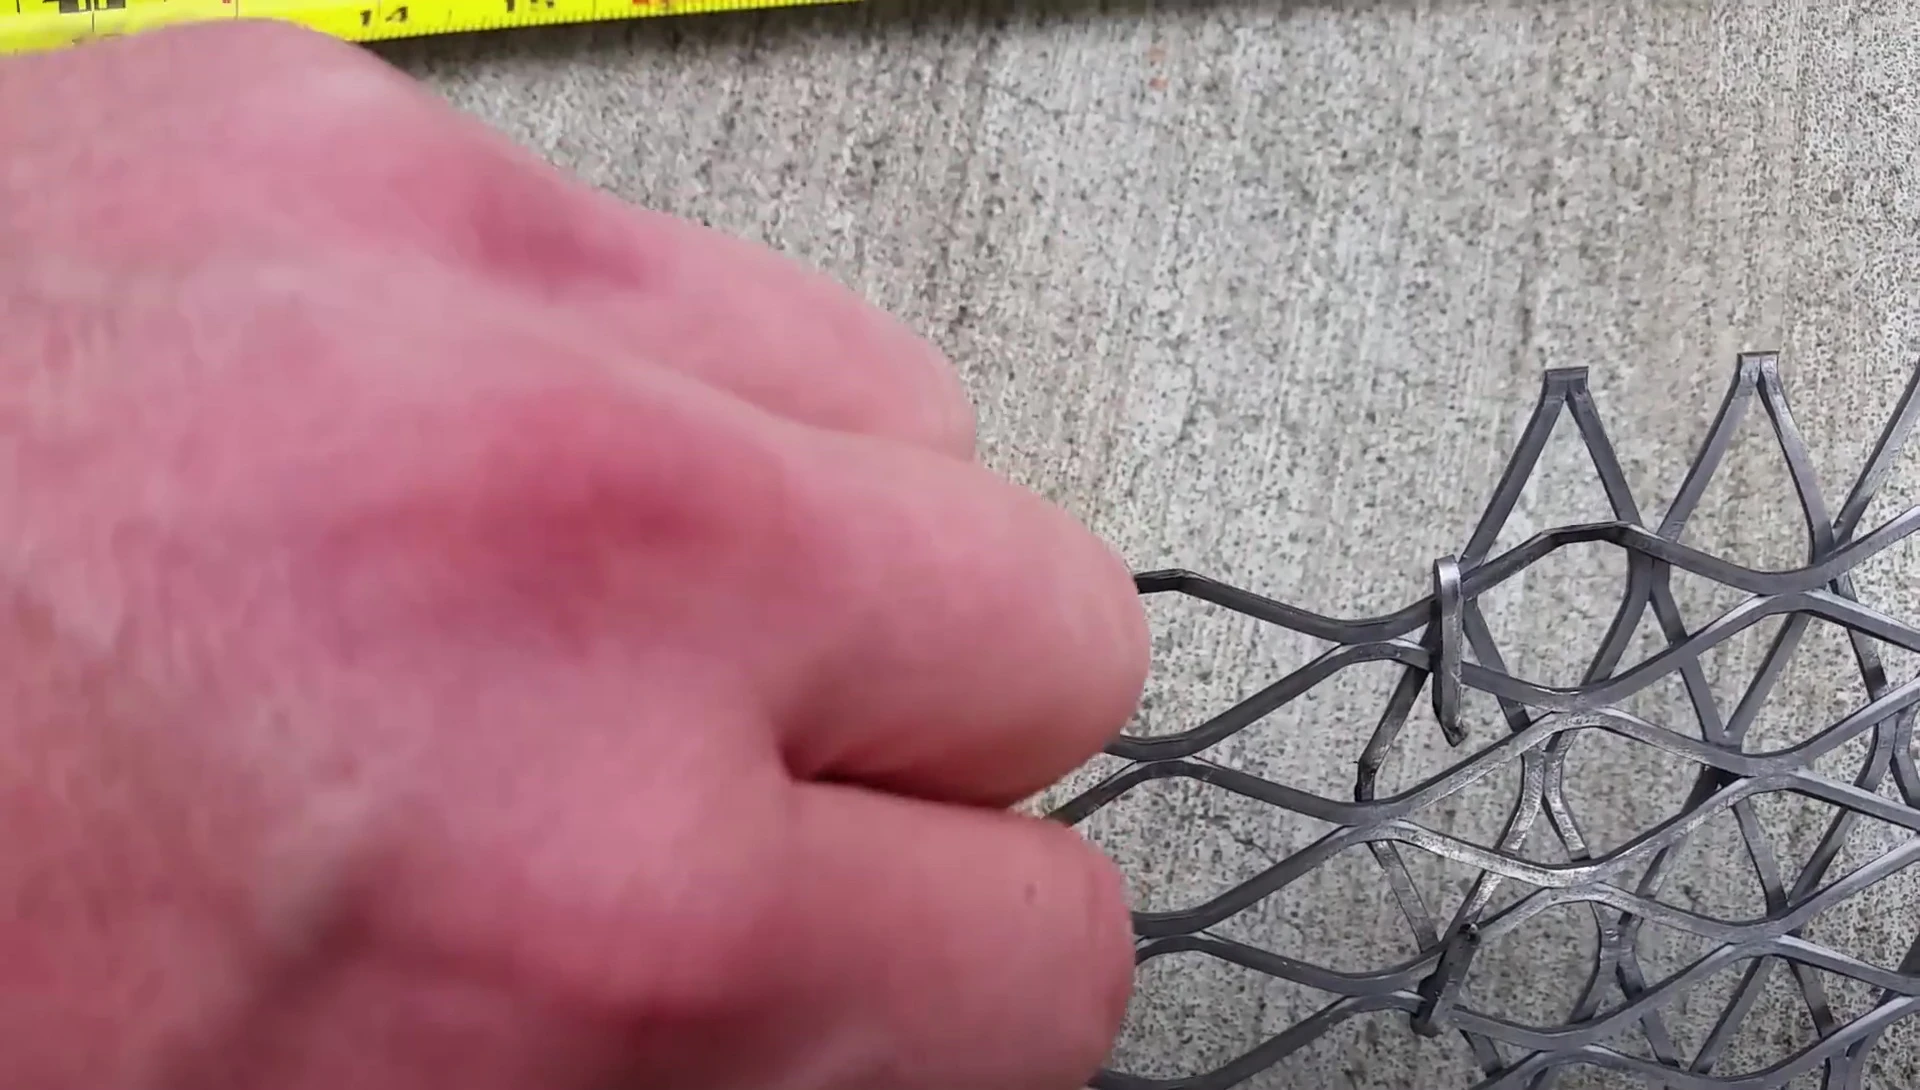
The key is securing the folded edges. Make small cuts in the metal at the folded points to create tabs. Then, fold these tabs over and hammer them firmly against the adjacent metal sections to create a strong and secure bond. No welding or additional hardware is needed.
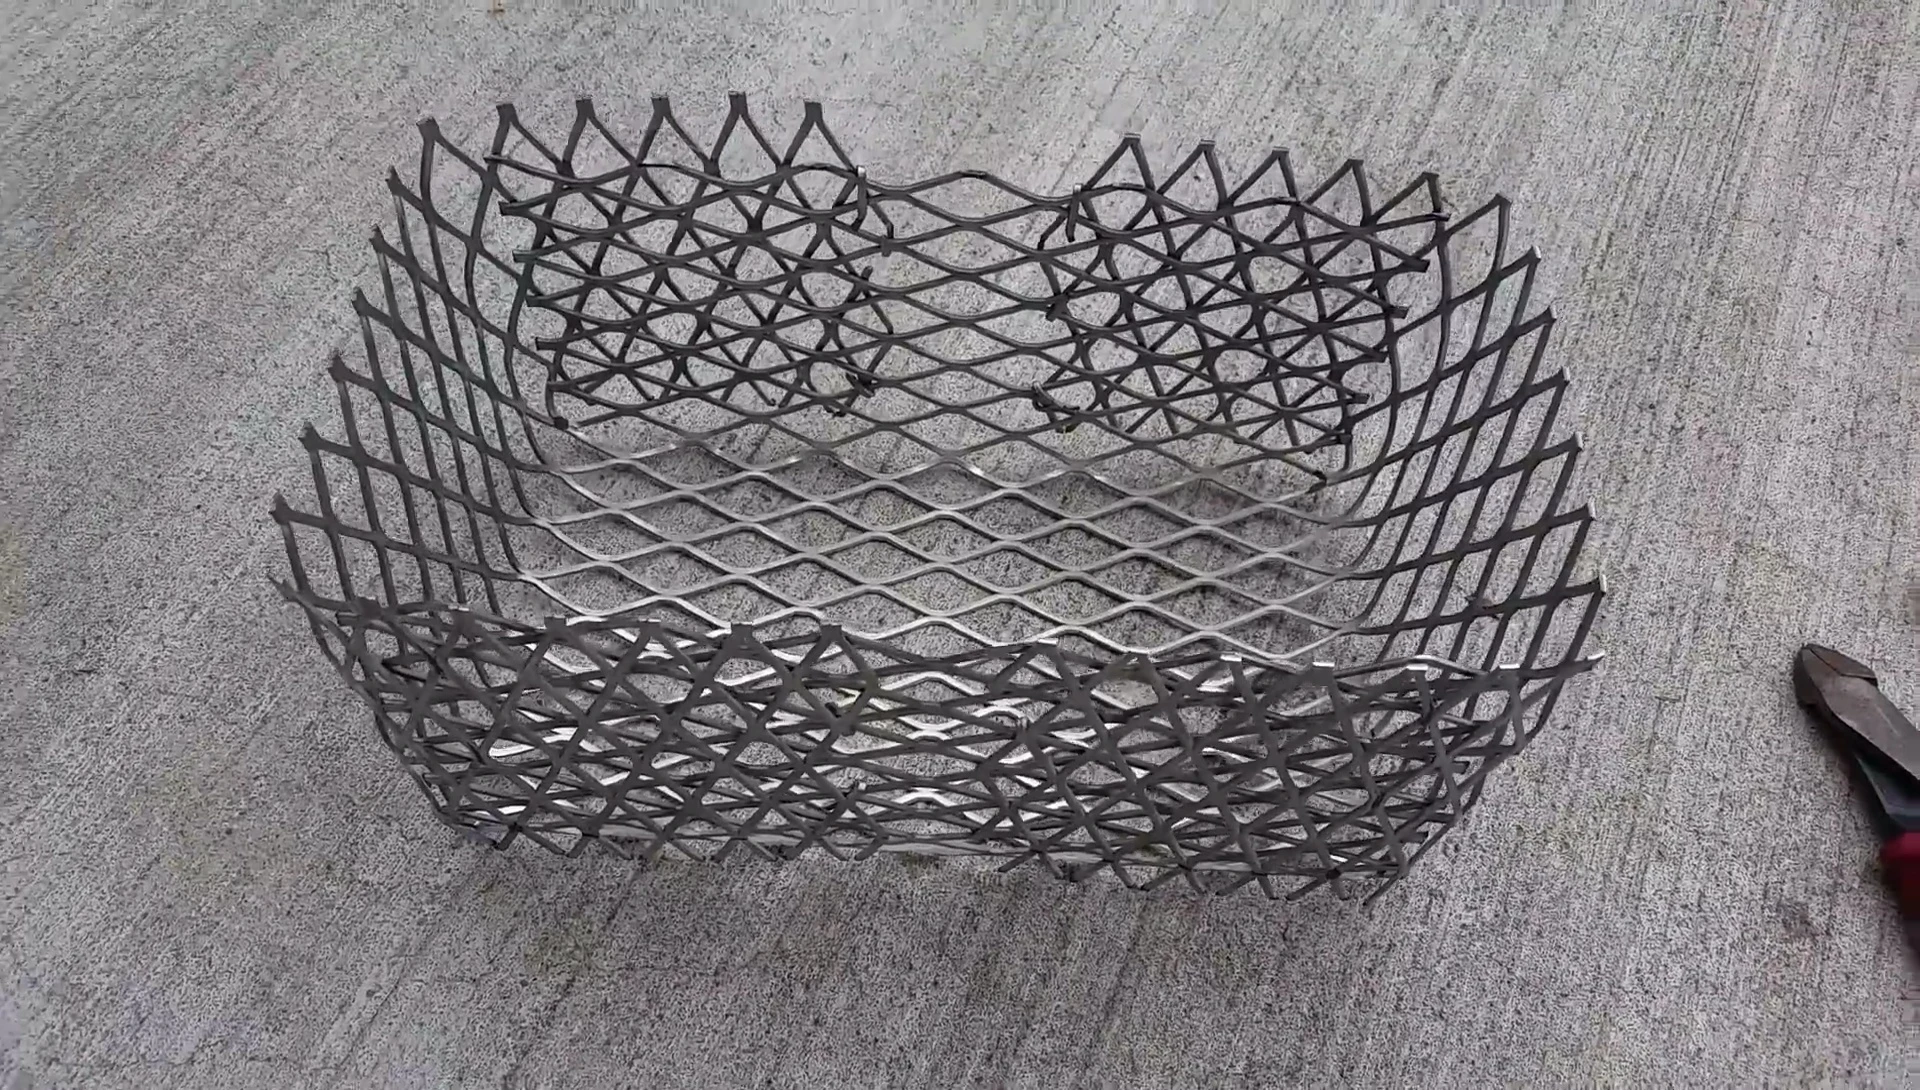
This method creates a surprisingly sturdy basket despite the lack of rivets or welds. This is a great advantage for those without welding equipment or experience.
Conclusion and Final Thoughts
This DIY charcoal basket is a cost-effective alternative to commercially available options. For approximately $20 and 10 minutes of effort, you can create a functional charcoal basket for your smoker. While store-bought options may offer a more polished aesthetic, this method provides a quick and simple solution for those on a budget or those who prefer a do-it-yourself approach. The resulting basket is surprisingly durable and perfectly functional for its intended purpose.

The ease of construction and the low cost makes this a very worthwhile project for any BBQ enthusiast. If you are looking for a quick and inexpensive solution for managing charcoal in your smoker, this is the project for you!