Spring cleaning extends beyond the house; your grill needs some TLC too! This guide details a simple yet effective method for deep cleaning severely soiled grill grates, transforming them from disgustingly greasy and unusable to sparkling clean. After a long winter of neglect, my grates were in dire need of a serious overhaul – completely clogged with built-up grease and grime. This deep clean wasn’t your average wipe-down; it required a powerful cleaning solution and a bit of elbow grease to restore them to their former glory.This step-by-step process uses readily available materials and a surprisingly effective soaking technique. We’ll tackle the stubborn debris, choose the right cleaning solution, and master the art of soaking for optimal results. Get ready to revitalize your grill grates and prepare for a season of delicious outdoor cooking with clean, efficient equipment. This guide promises a straightforward, chemical-light method that will leave your grates looking practically brand new, saving you time and effort.
Pros And Cons
- Cleaned effectively using Simple Green soak and scrubbing
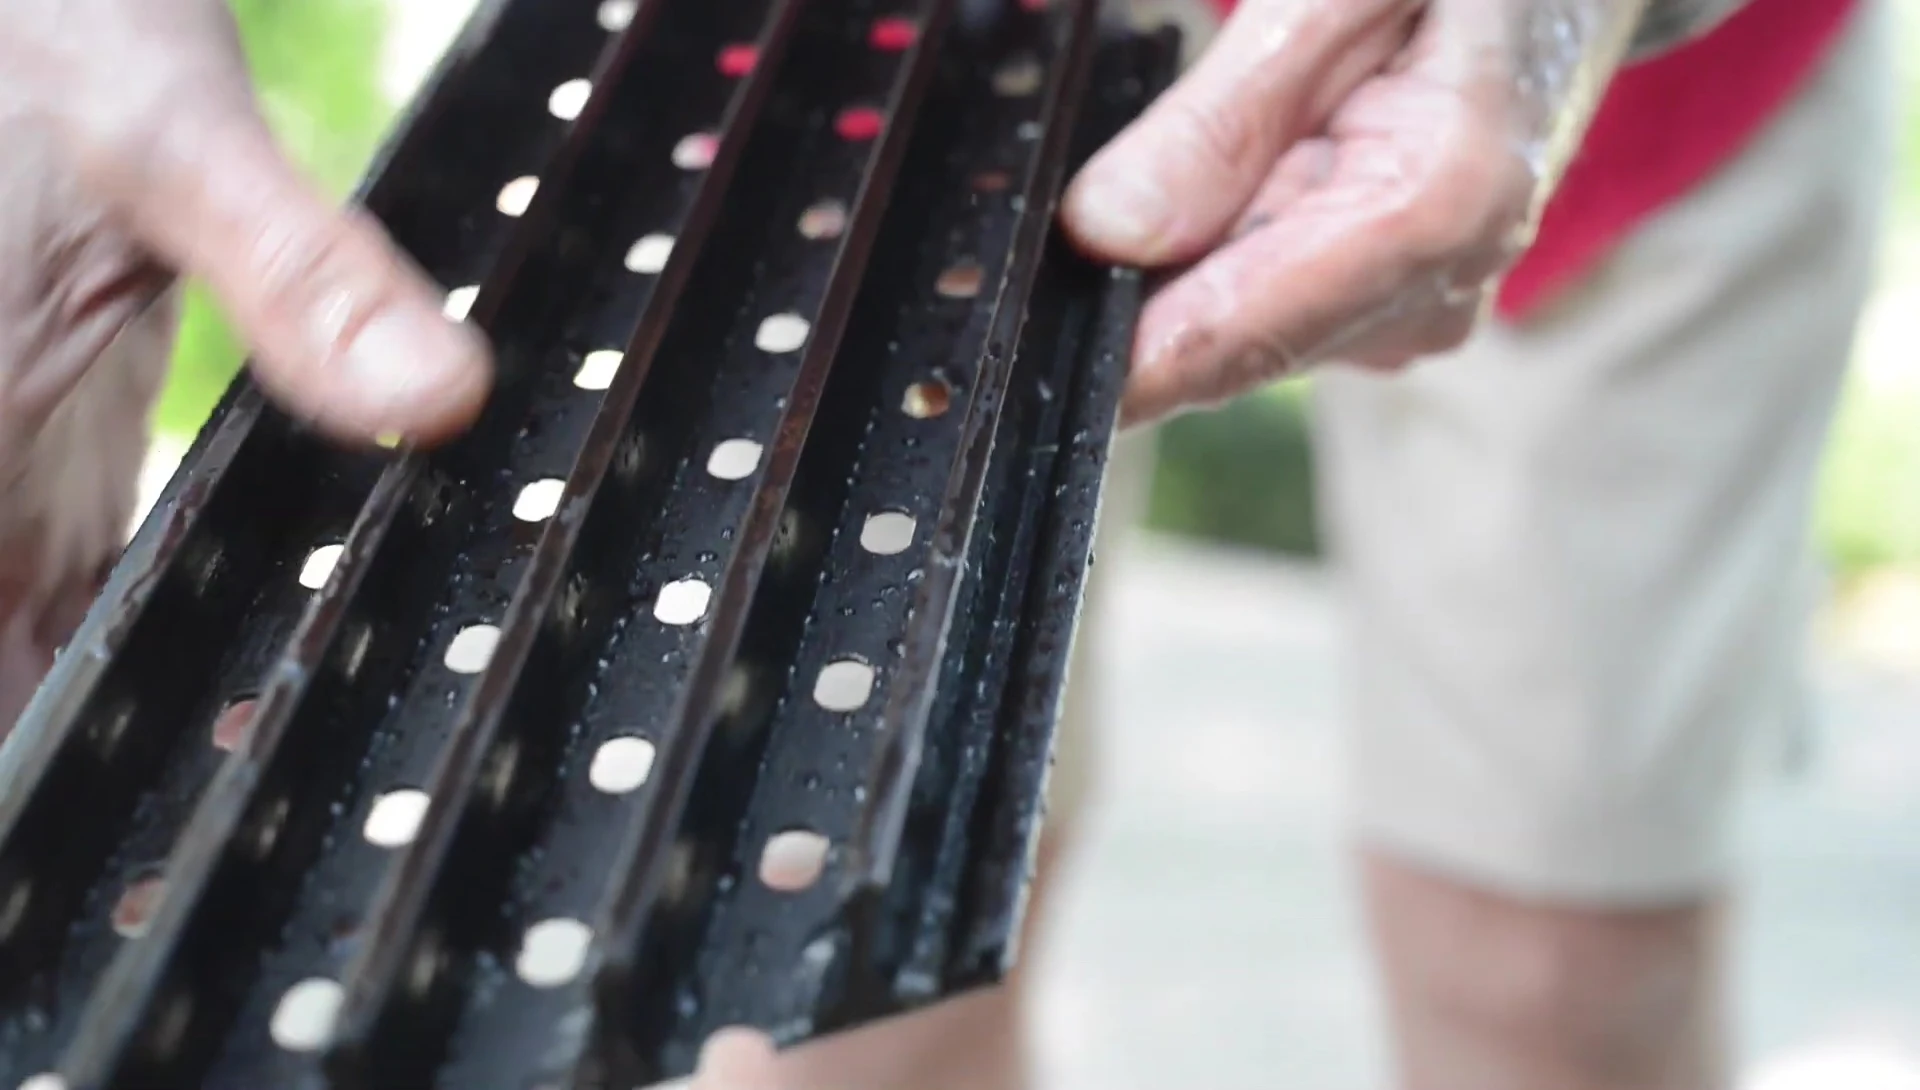
- Holes clogged with debris
- Grease buildup present before cleaning
Read more: Traeger Grill Grates: Top 10 Best Reviews & Buying Guide
The Grime Unveiled
Spring has sprung, and with it comes the annual ritual of grill cleaning. This year, my grill grates were particularly disgusting after a long winter of neglect. The holes were completely clogged with built-up grease and grime, rendering them practically unusable. It was clearly time for a serious deep clean.
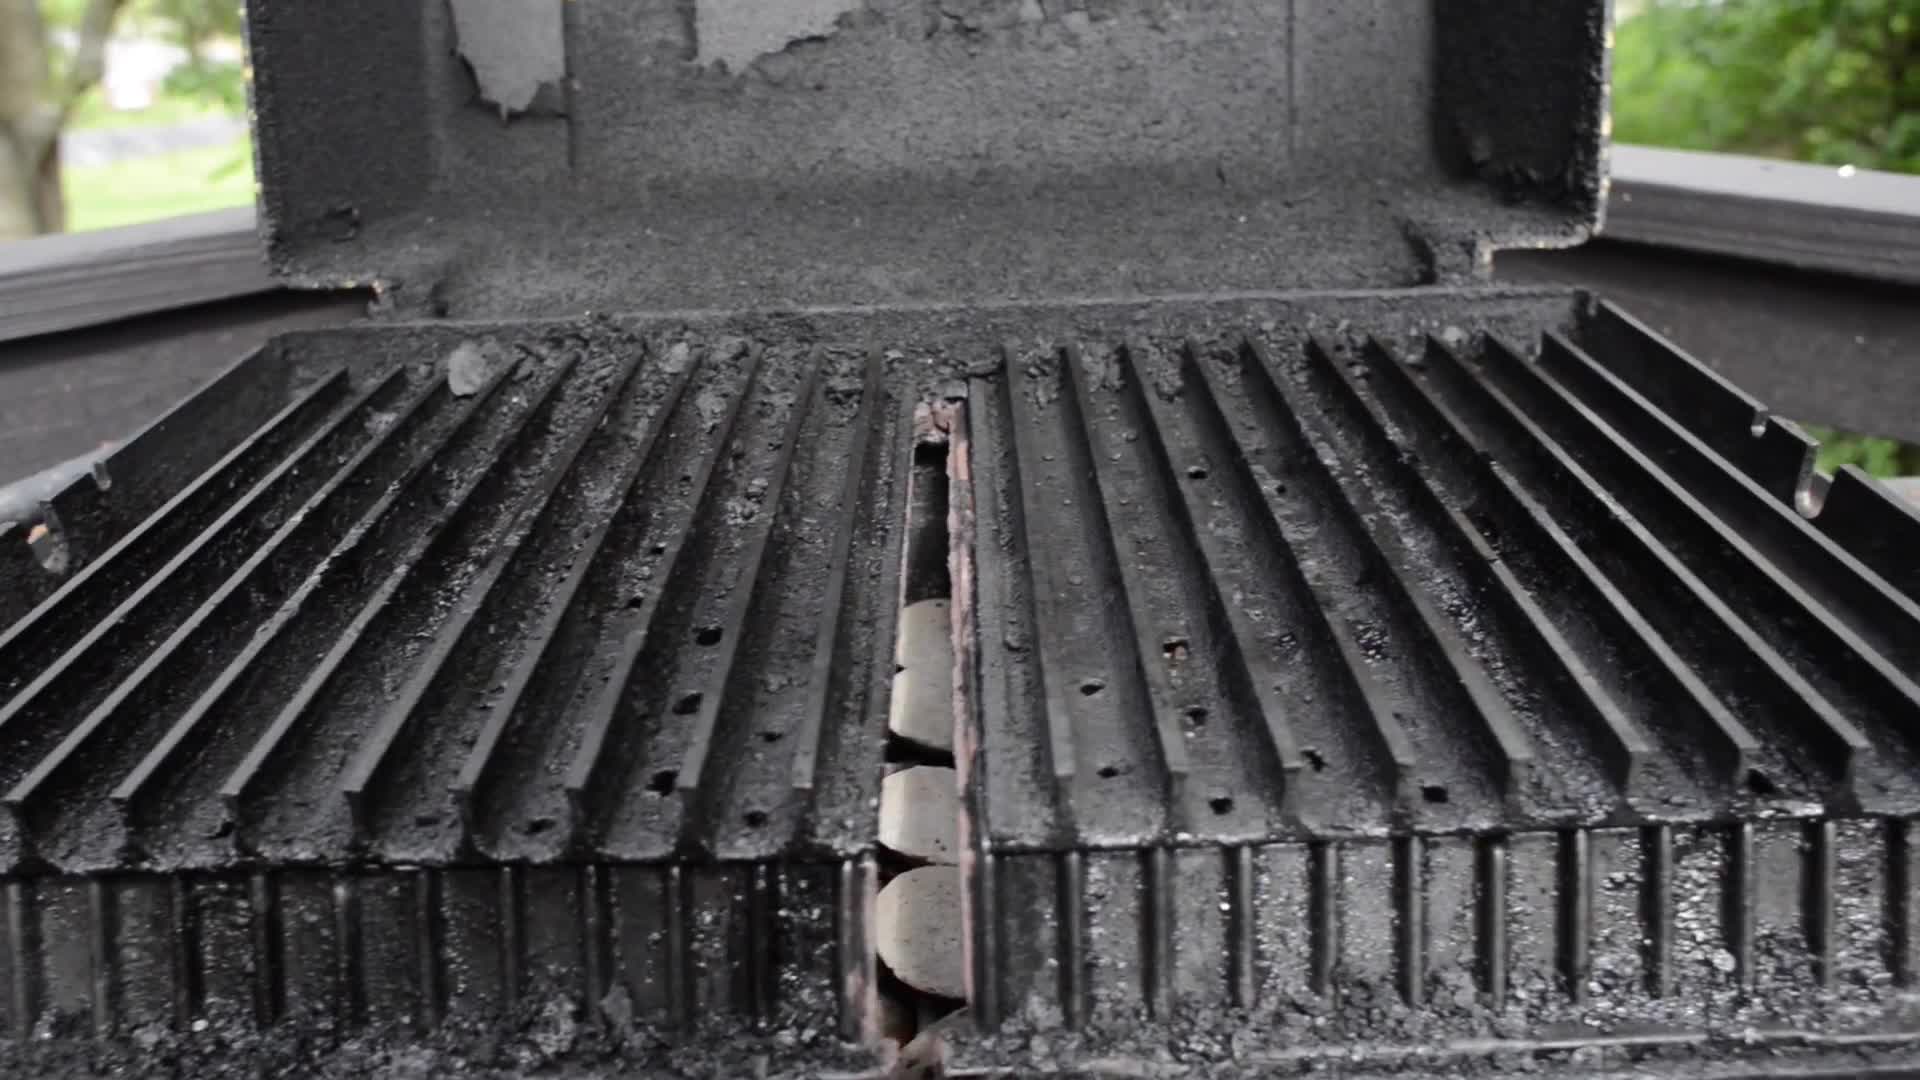
The level of caked-on residue was extreme. I knew a simple wipe-down wouldn't suffice. A more intense cleaning method was necessary to restore these grates to their former glory. The first step was to tackle the most stubborn debris before soaking them in cleaning solution.
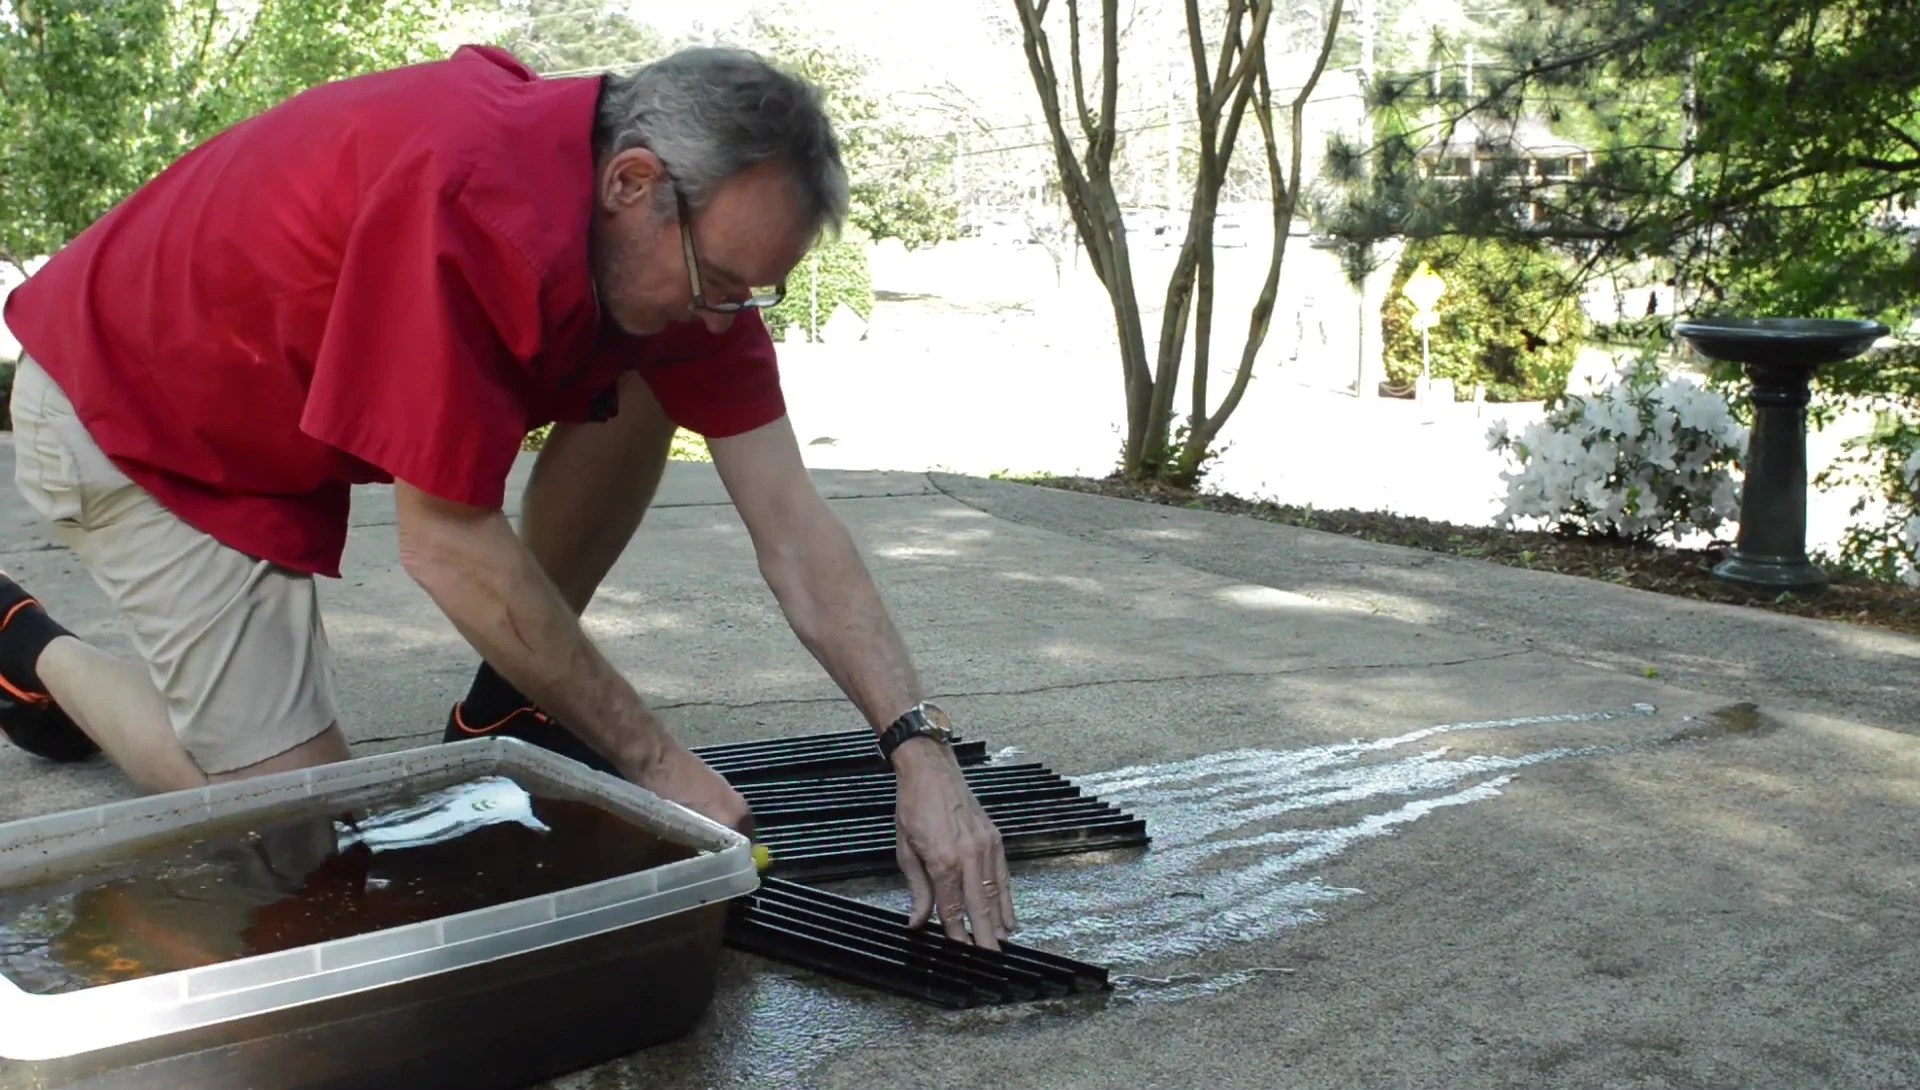
The Soaking Process
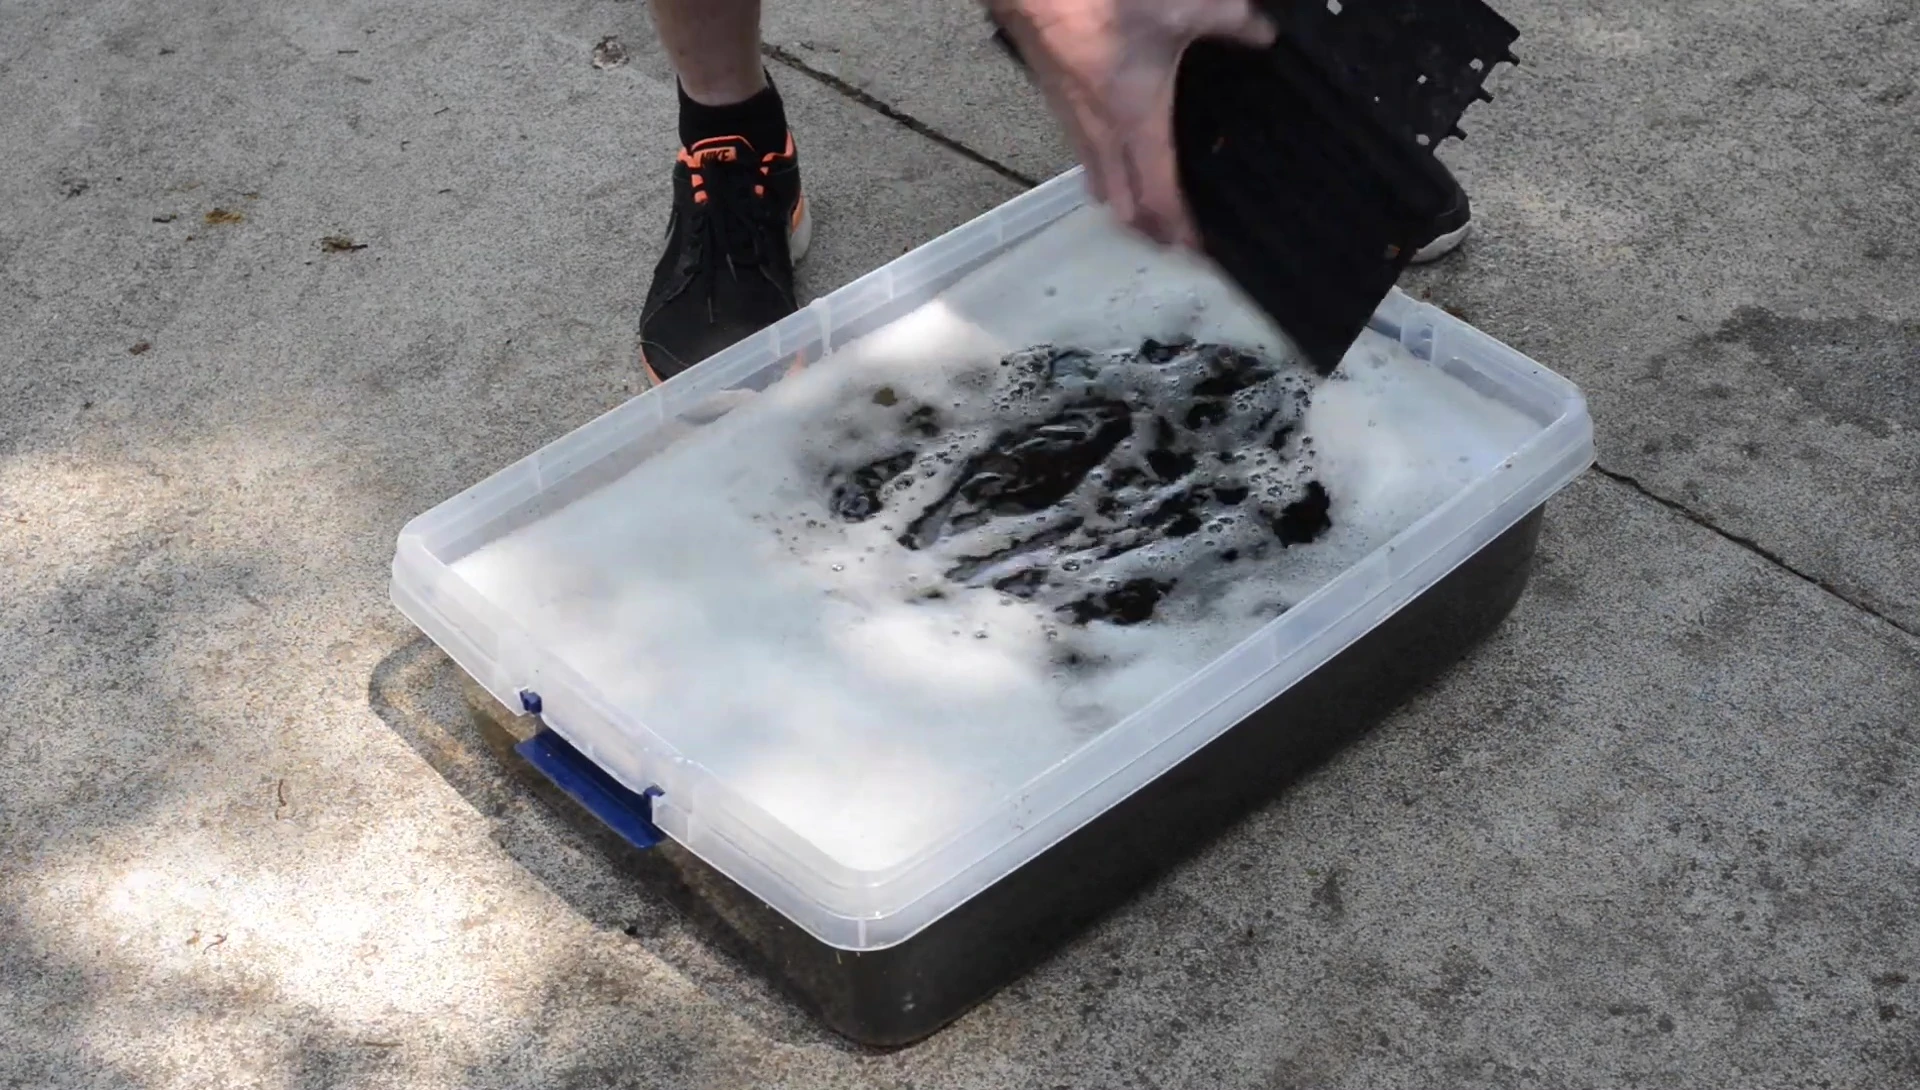
My chosen weapon of choice was Simple Green. I opted for a 10:1 dilution with hot water; there was no need for the heavy-duty concentration given the pre-soaking. I placed the grates in a large container and submerged them completely in the solution.
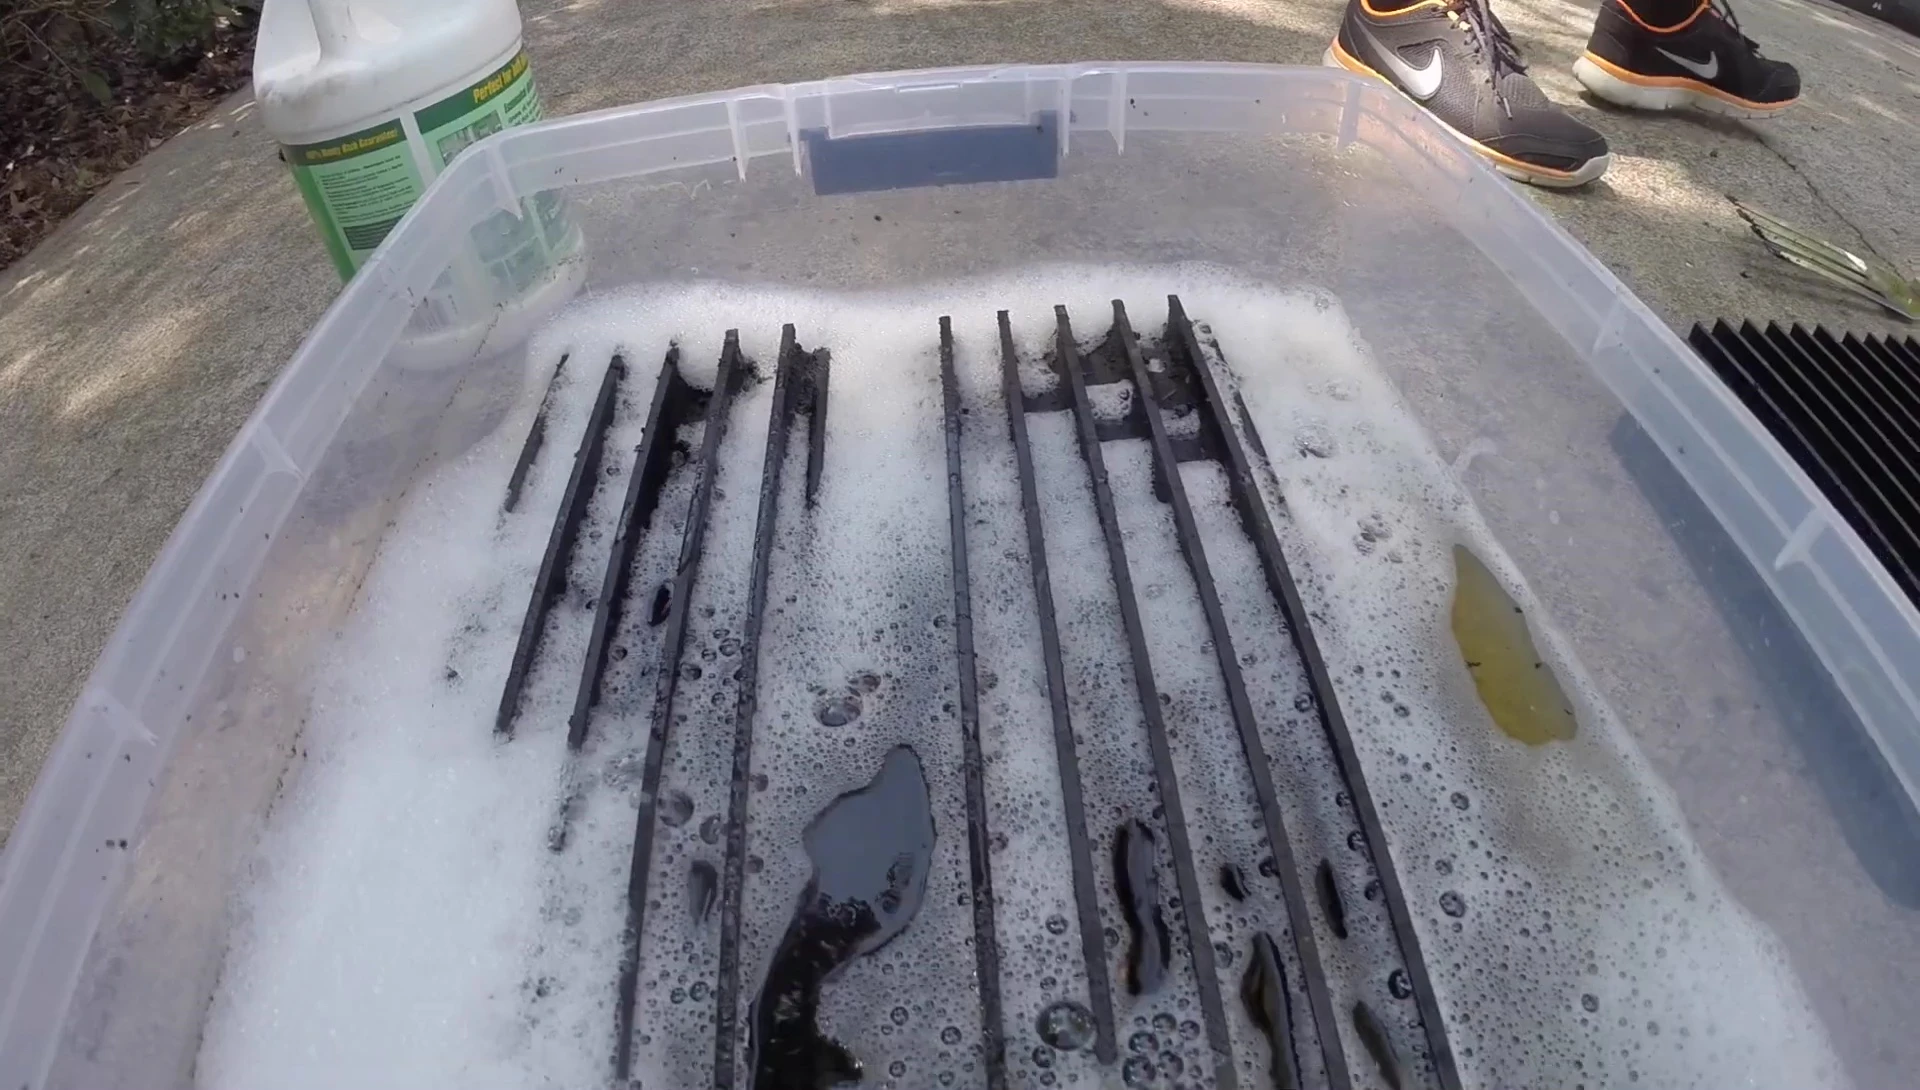
I let the grates soak for several hours (6-8) to allow the Simple Green to effectively break down the grease and grime. This soaking period is crucial for a thorough clean and makes the scrubbing process significantly easier. Patience is key during this step.
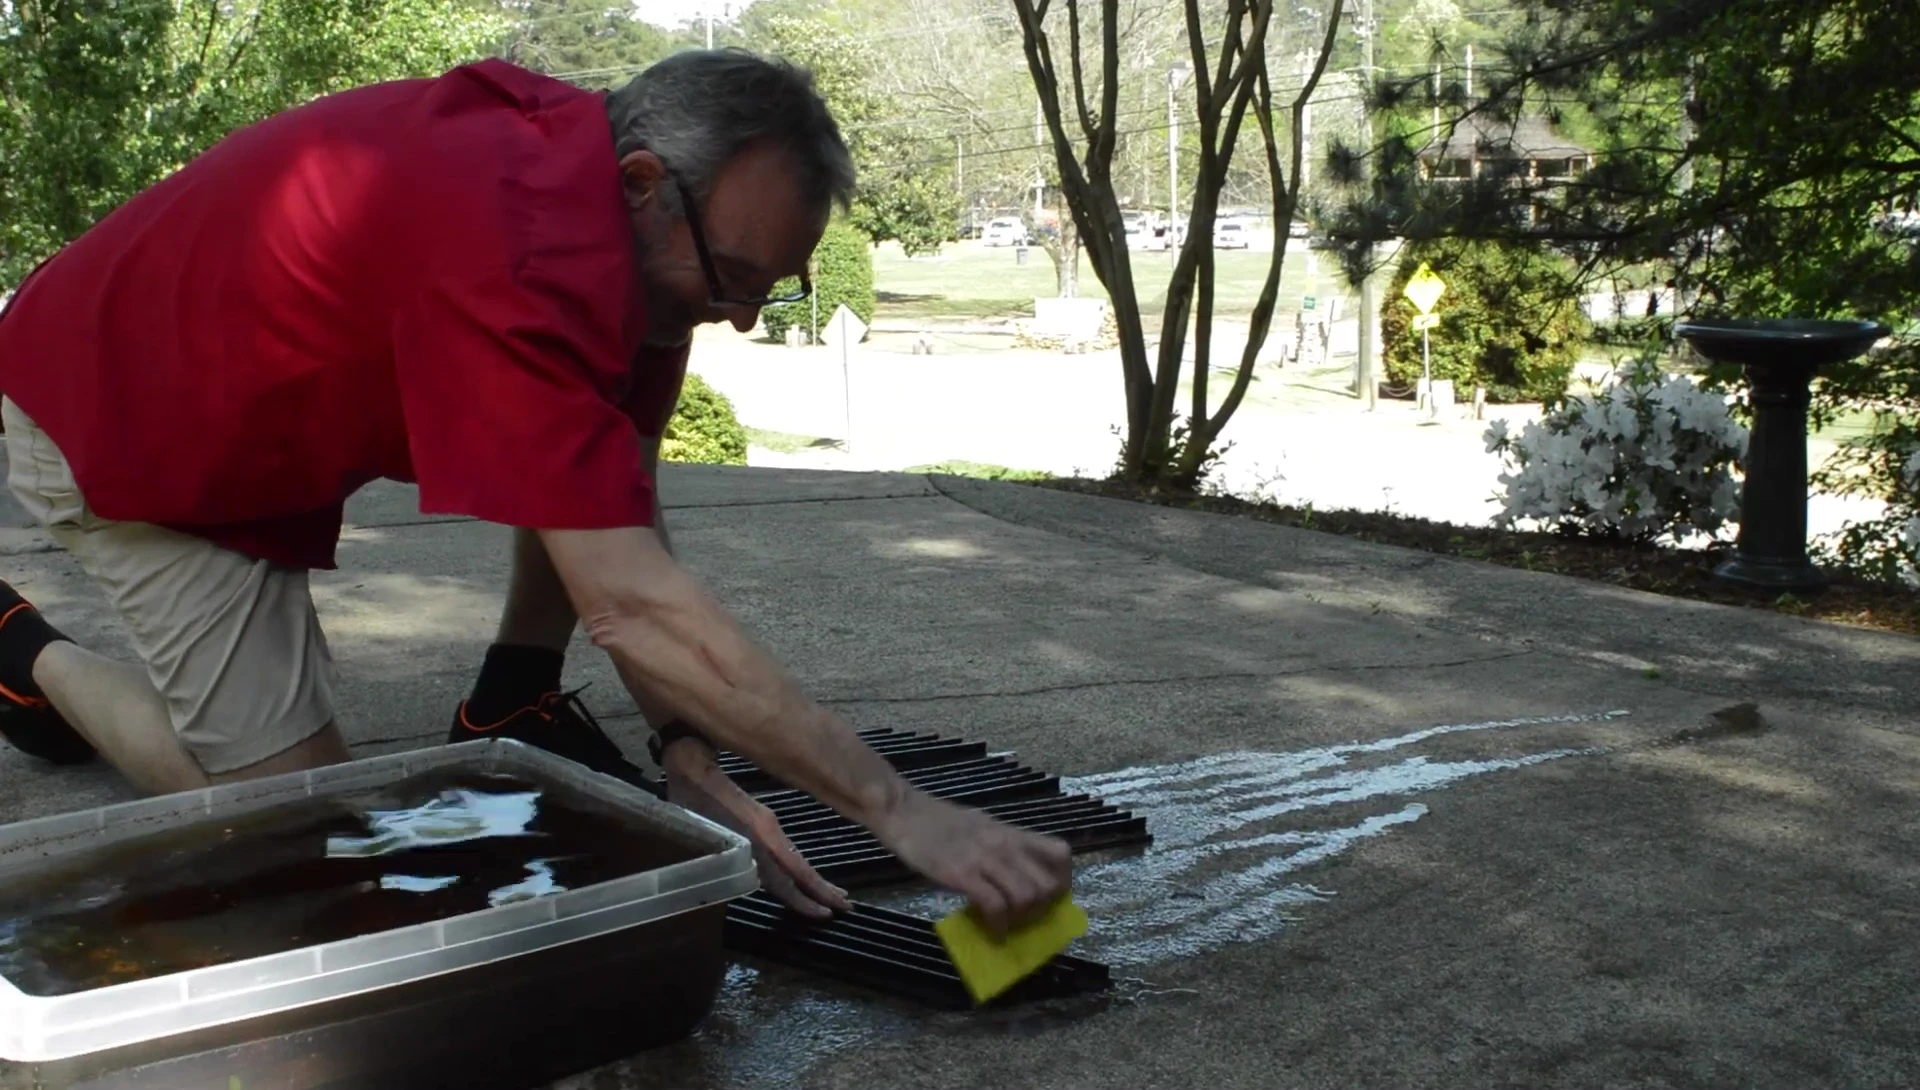
Scrubbing and Restoration
After the soak, I removed the grates and used a scrub brush and a Brillo pad to tackle any remaining residue. The Simple Green had already done most of the heavy lifting; the scrubbing was quick and easy. The results were remarkable.

The once-clogged grill grates were transformed. The grease and grime were completely gone, revealing the clean metal beneath. The grates felt surprisingly smooth, far exceeding my initial expectations. The cleaning process proved to be effective and efficient.
Conclusion: Sparkling Clean GrillGrates
Overall, this cleaning method was incredibly successful. The Simple Green, combined with a good soak and some elbow grease, revitalized my grill grates. They’re now practically like new, ready for another season of grilling adventures.
The process was straightforward and didn't require any specialized tools or harsh chemicals. The 10:1 Simple Green dilution is perfect for this level of grime. I highly recommend this method for anyone looking to restore their grill grates to their pristine condition. It’s a surprisingly simple, and effective way to maintain your equipment.