Discover the artistry and skill behind creating a truly unique cooking tool: a custom-forged BBQ and kitchen spatula. This detailed guide takes you through the entire process, from initial metal forging to the final polishing touches. Witness the transformation of raw metal into a beautifully crafted, durable, and ergonomic utensil, perfect for both backyard grilling and everyday kitchen use. We'll explore the techniques employed, highlighting the precision and control required at each stage, from shaping the blade and handle to creating the functional hanging eye.This isn't just about making a spatula; it's about showcasing the timeless craft of blacksmithing. Follow along as a skilled smith meticulously shapes and refines the metal, demonstrating the importance of balance, form, and function. Learn about the specialized hammering techniques used to achieve a perfectly tapered blade and a comfortable, well-balanced handle. The result is a testament to dedication and craftsmanship, a tool that is as visually stunning as it is practical and long-lasting.
Pros And Cons
- Food safe (when finished with hot oil)
- Ergonomic design
- Aesthetically pleasing
- Suitable for barbecue and kitchen use
Read more: Top 10 Spatula Grills: Best Picks for 2024
Forging the Spatula Blade
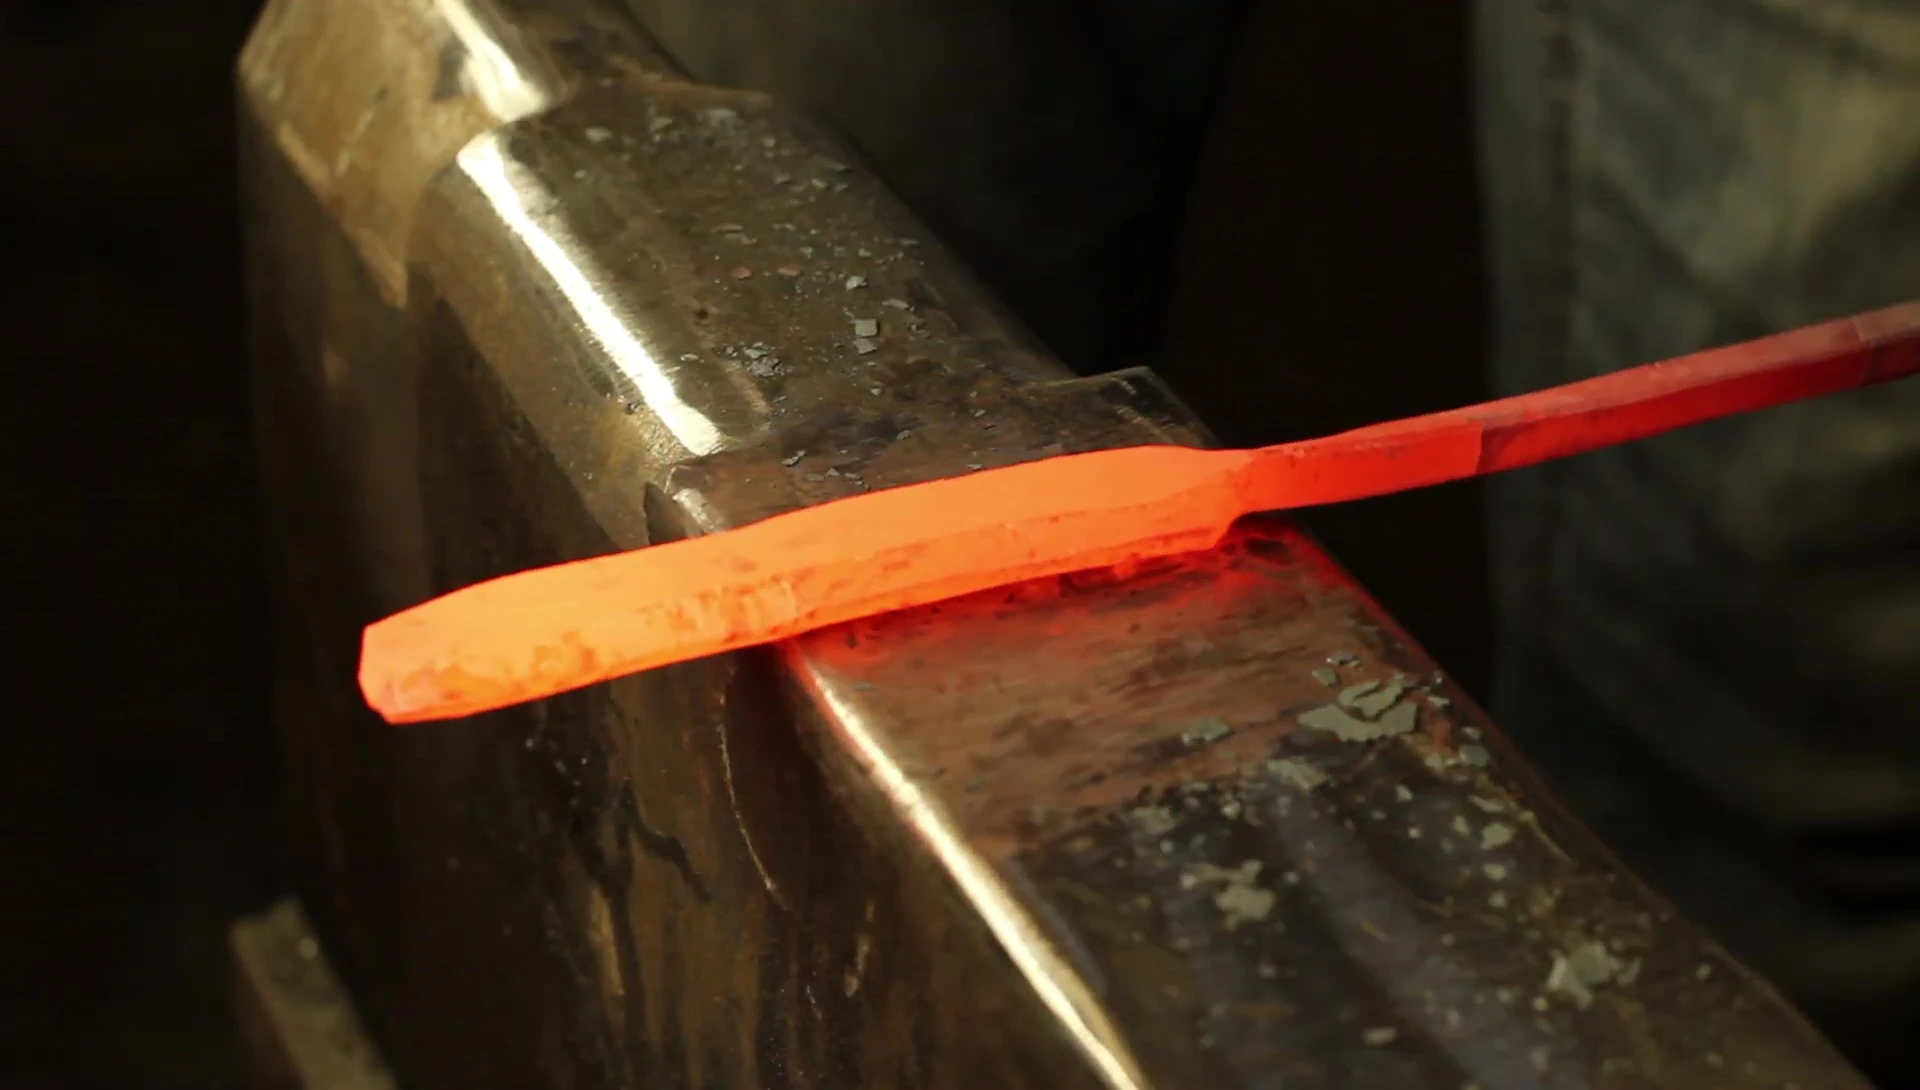
The process begins with forging the spatula blade. This involves working the metal on the anvil, using a combination of hammering techniques to shape and refine the piece. Precision is key to create the desired form and ensure a durable, even surface. The goal is to create a strong, well-balanced blade.
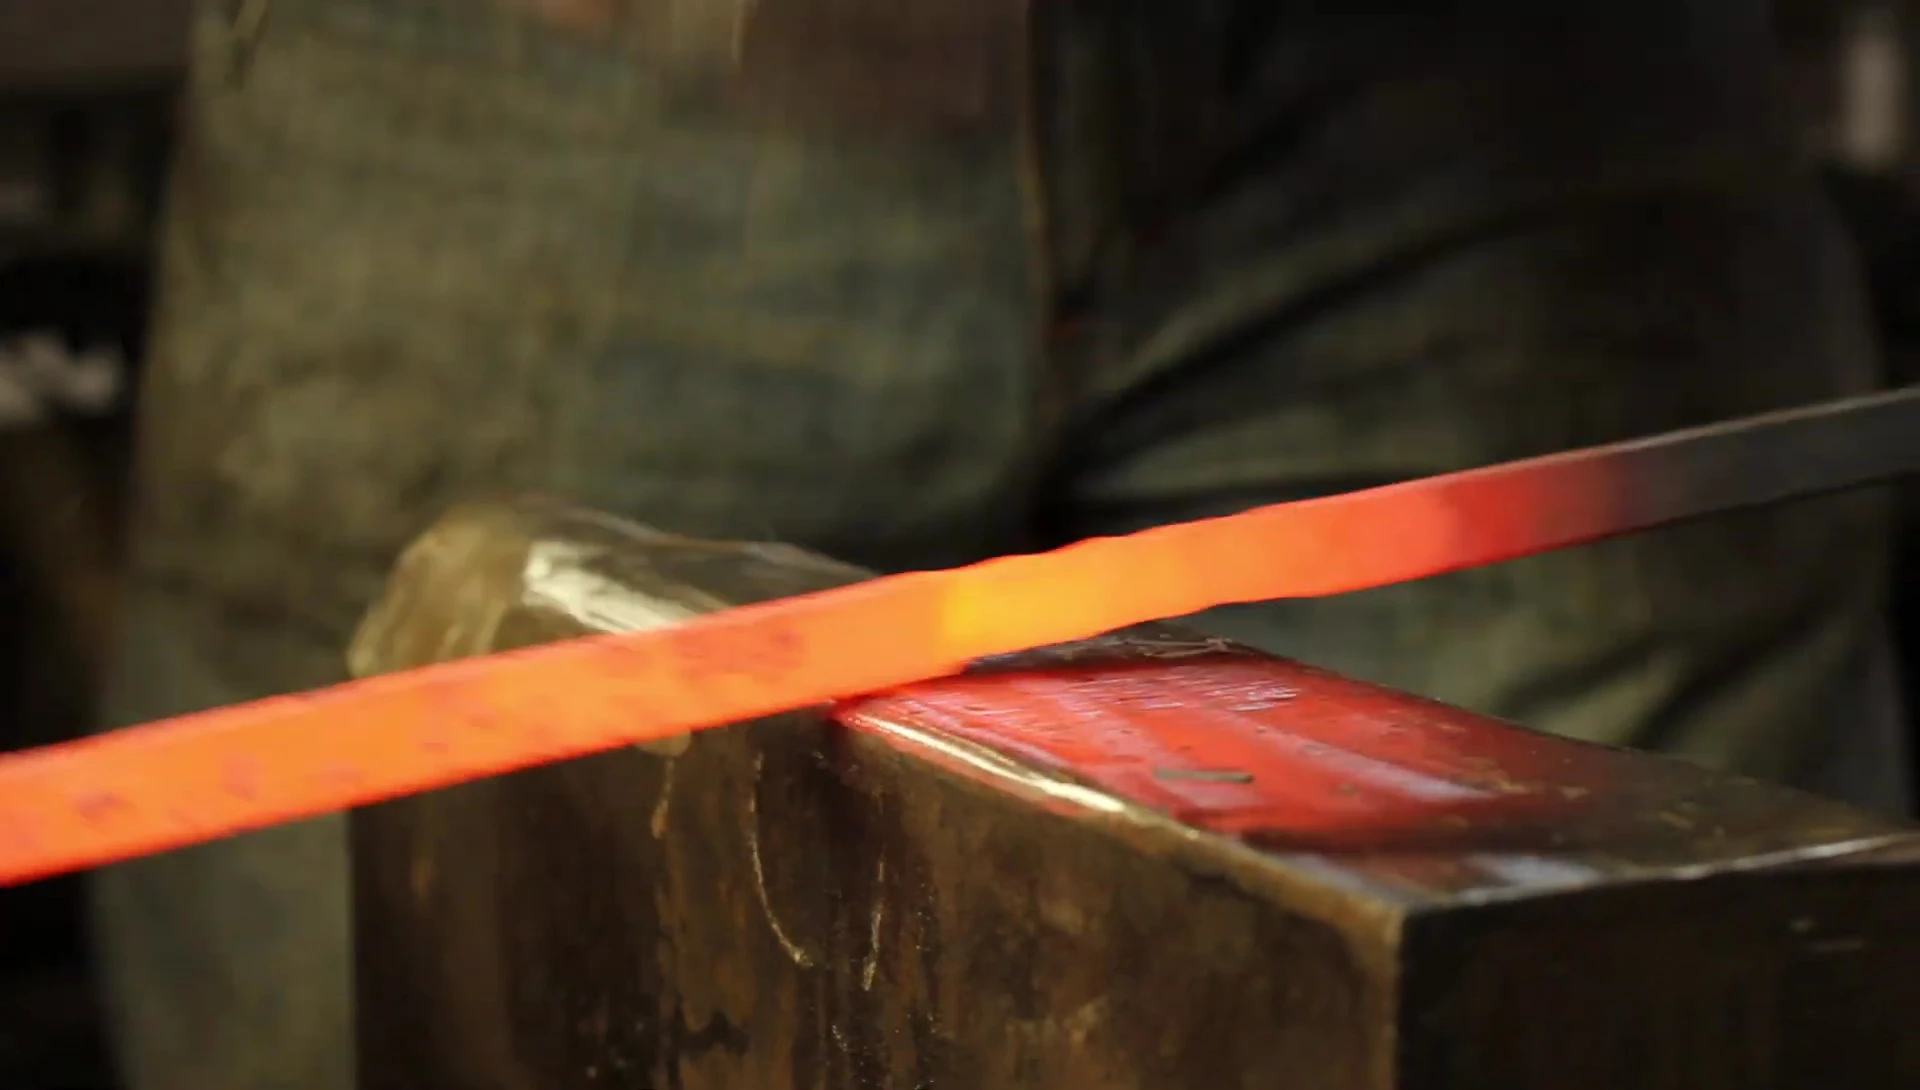
The smith utilizes a technique demonstrated by Brian Brazil, involving half-on, half-off hammering. This ensures that a clean taper is created while maintaining the even surface. This approach requires skill and control but results in a high-quality, professional-looking blade.
Creating the Spatula Shoulder and Taper
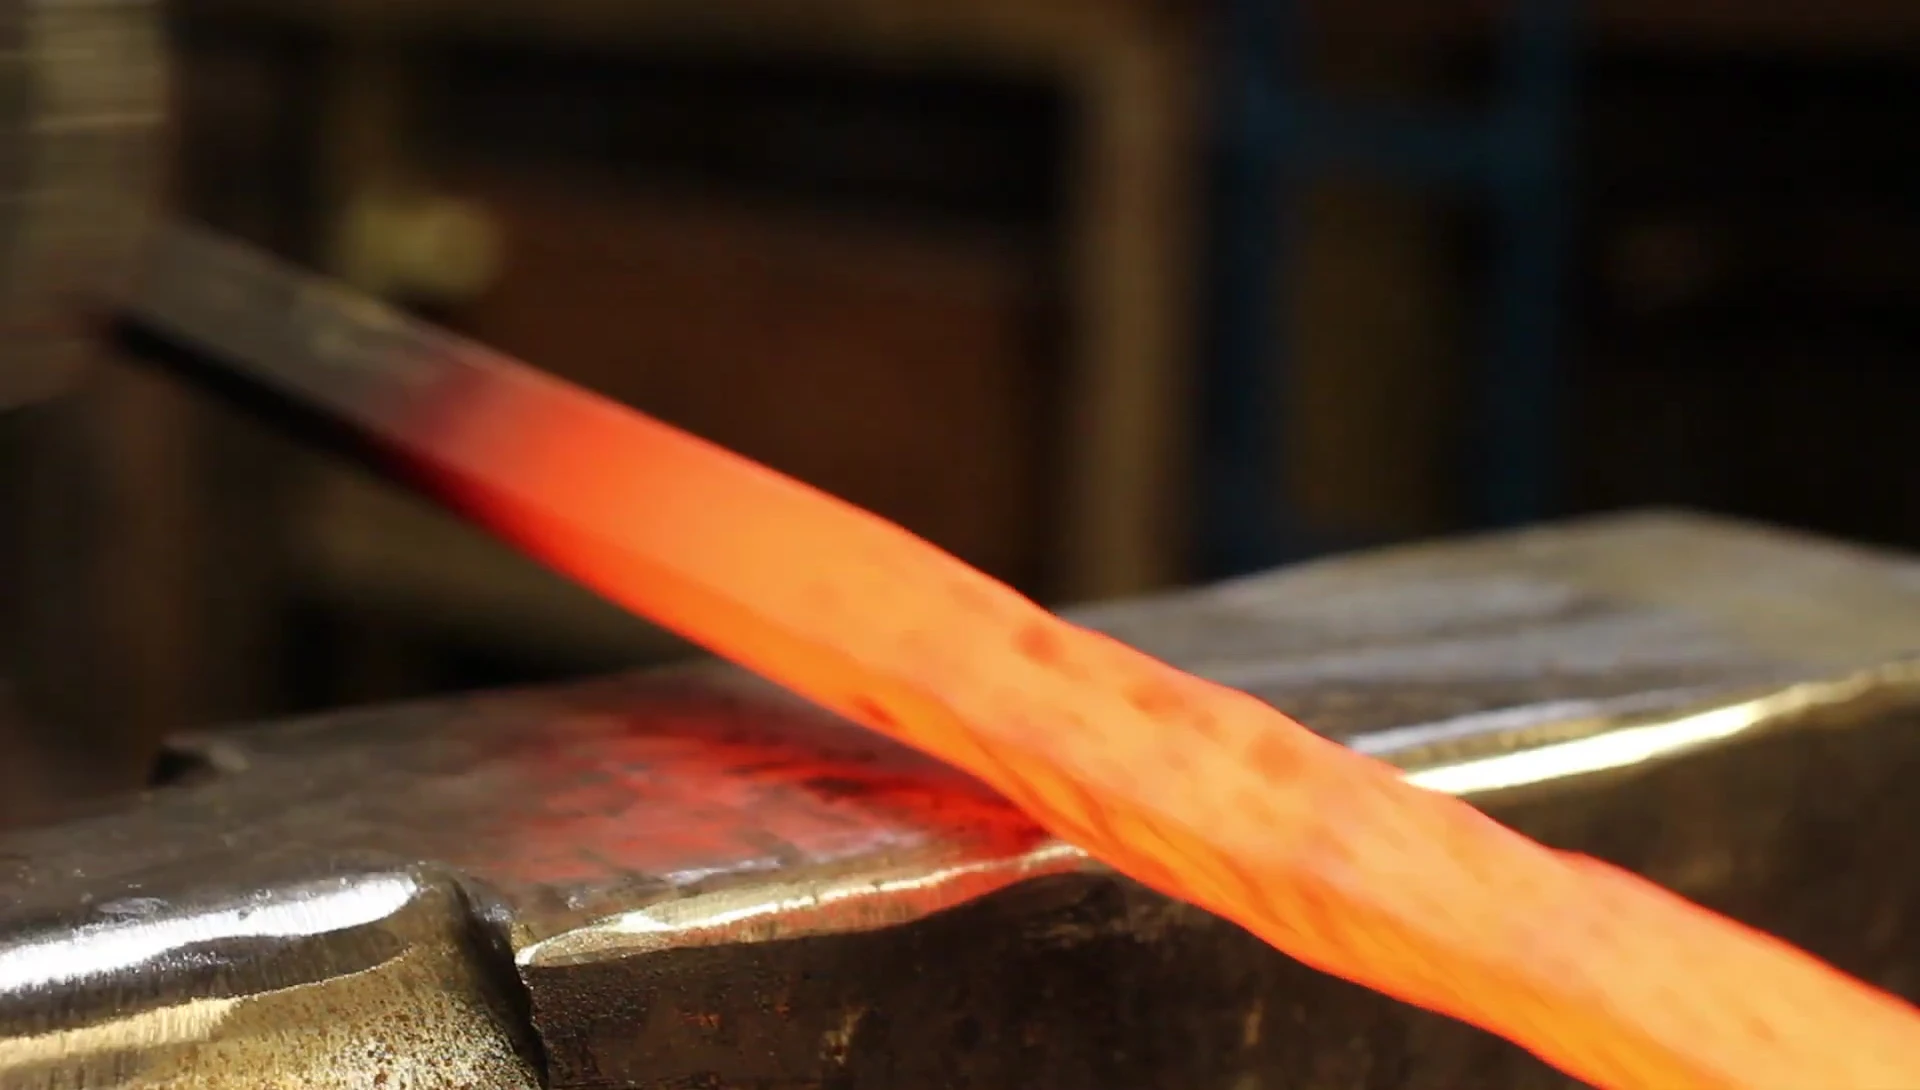
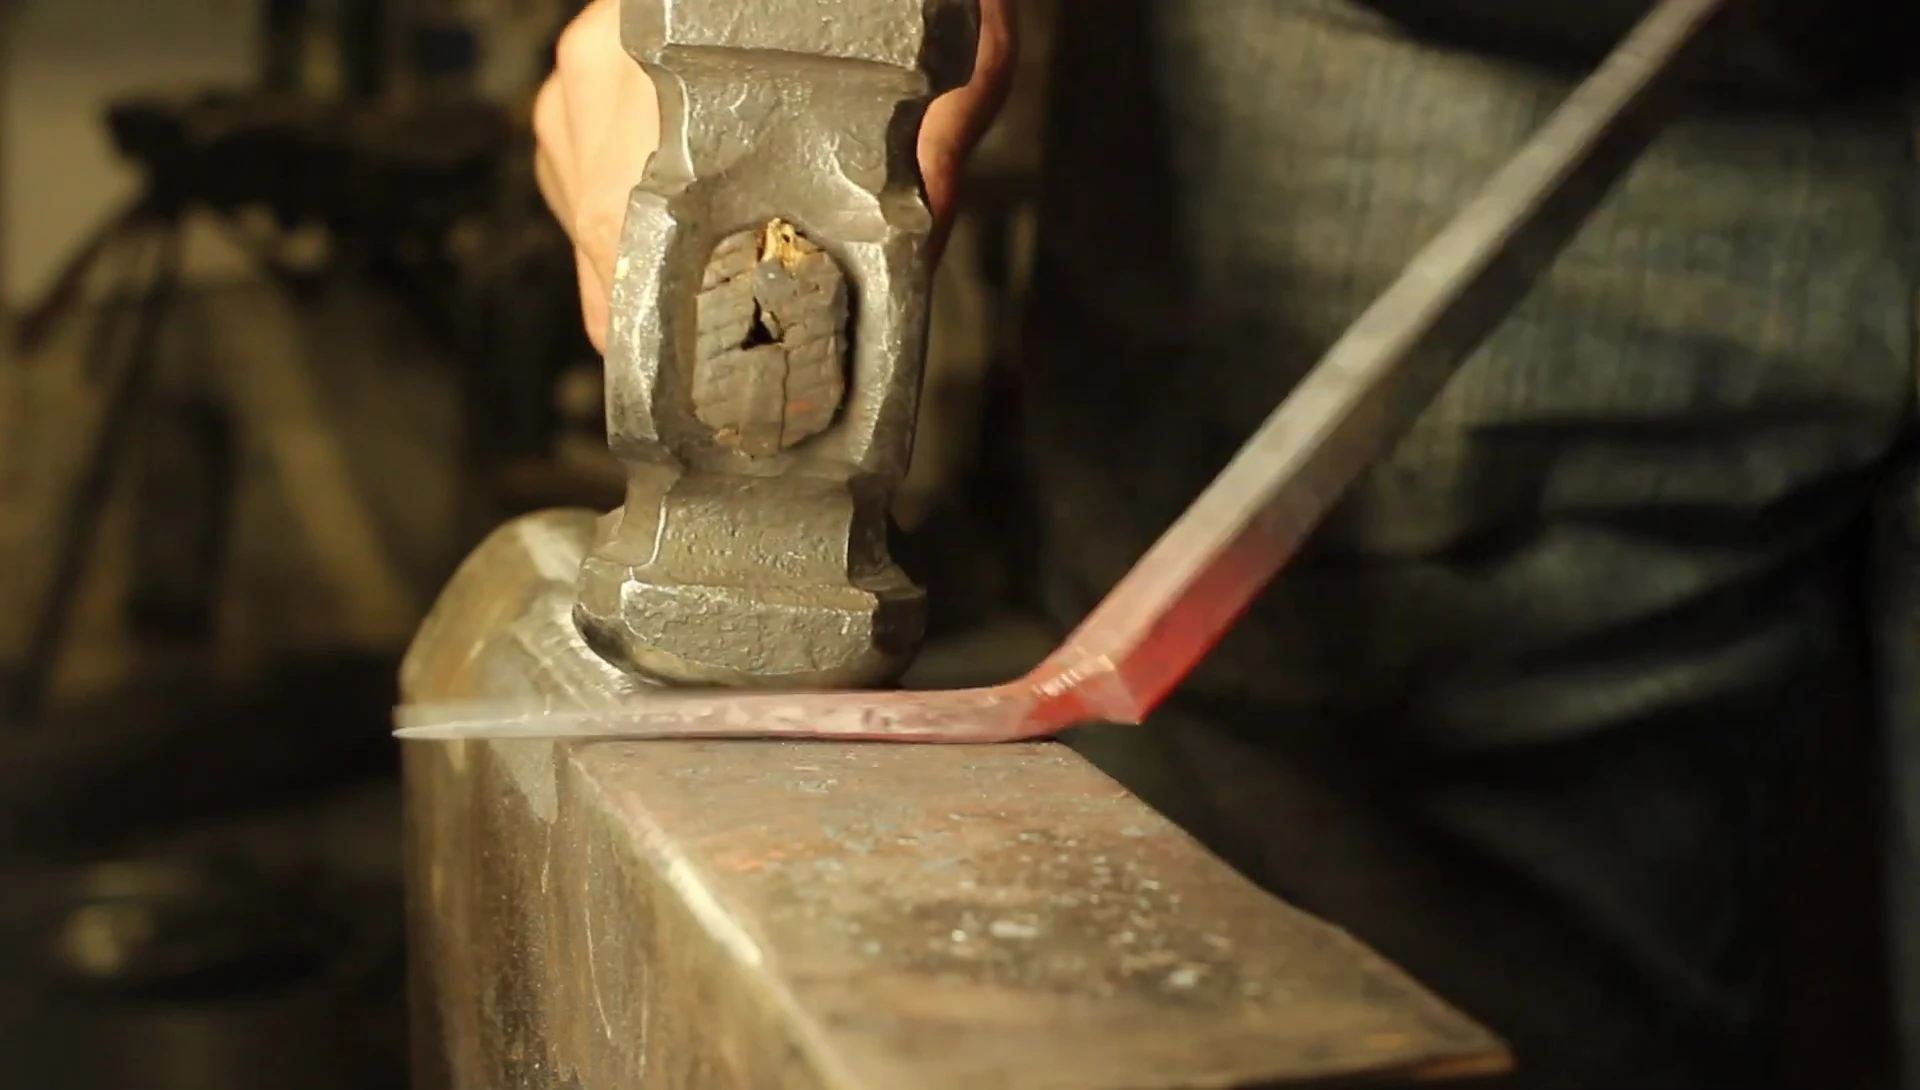
After forging the blade, the next step is to create the shoulder of the spatula. Approximately 4 inches of square bar stock is retained to form the handle. This portion will provide strength and stability to the overall design. Careful shaping and hammering techniques are employed to blend the handle smoothly into the blade.
The smith emphasizes the importance of keeping the edges crisp throughout the process. This enhances the visual appeal and ensures proper functionality. The careful control during this stage is critical to prevent warping or damage to the spatula.
Forming the Spatula Head and Handle
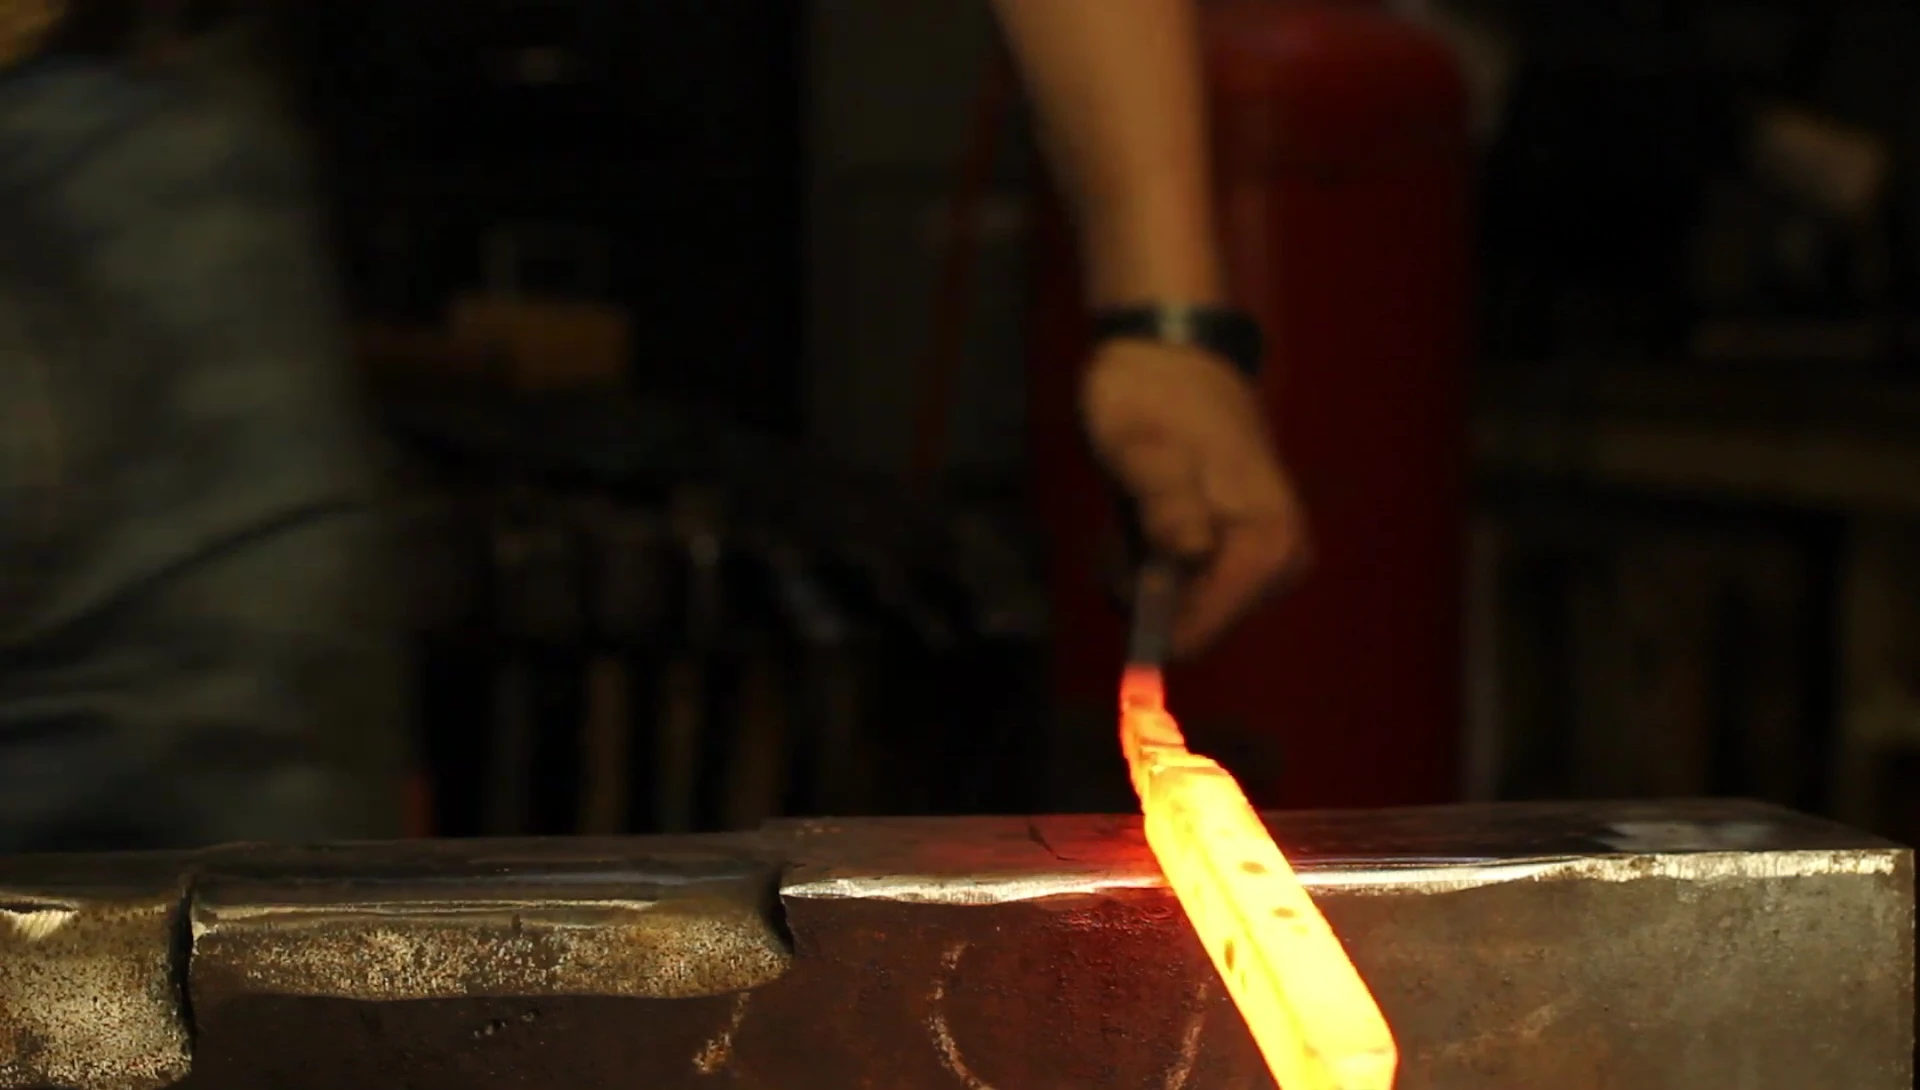
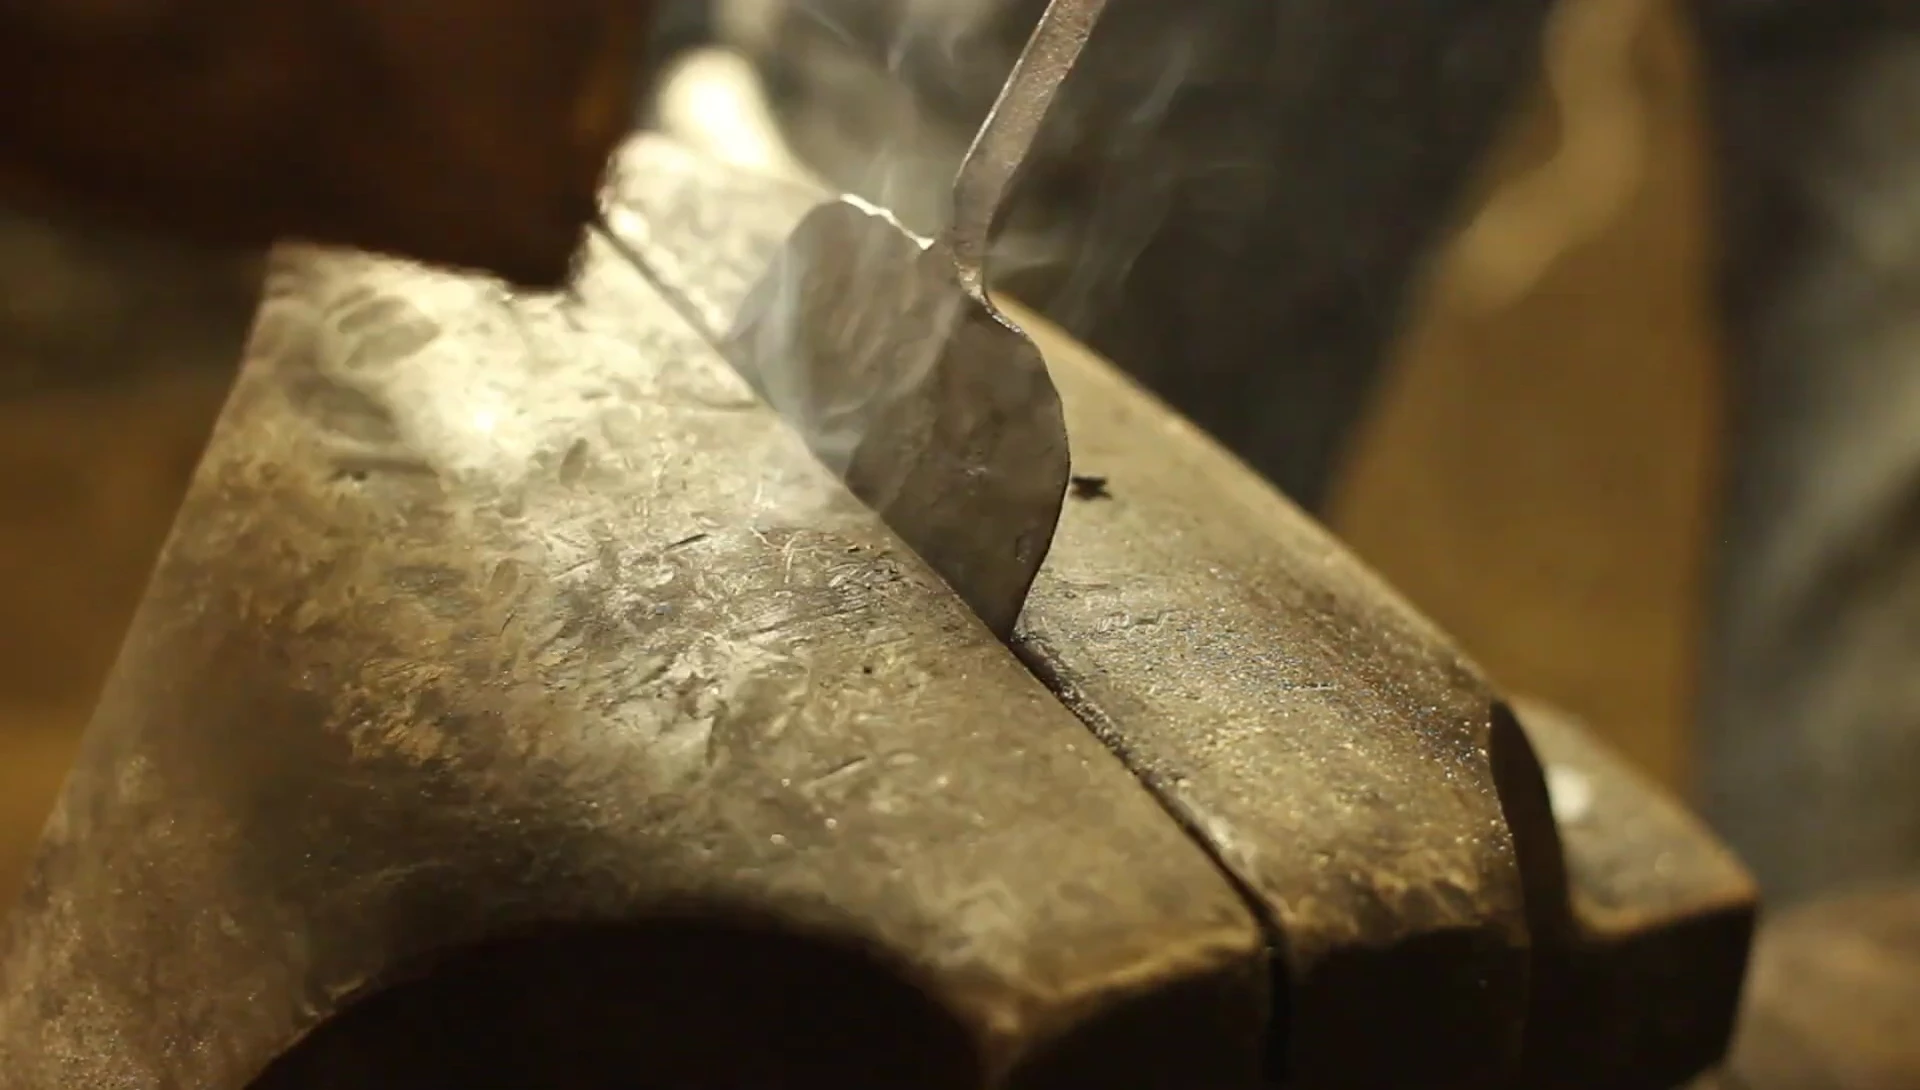
The creation of the spatula head involves working the metal while hot to avoid stressing and breaking the material. The smith explains the strategy of working from the center outward, focusing on creating a hollow for efficient forging and heat distribution.

The smith carefully shapes the head of the spatula, hammering the center first to create a hollow that reduces anvil contact and heat loss. This precise approach is essential to maintain the integrity of the metal during the forging process.
Finishing Touches and Handle Attachment
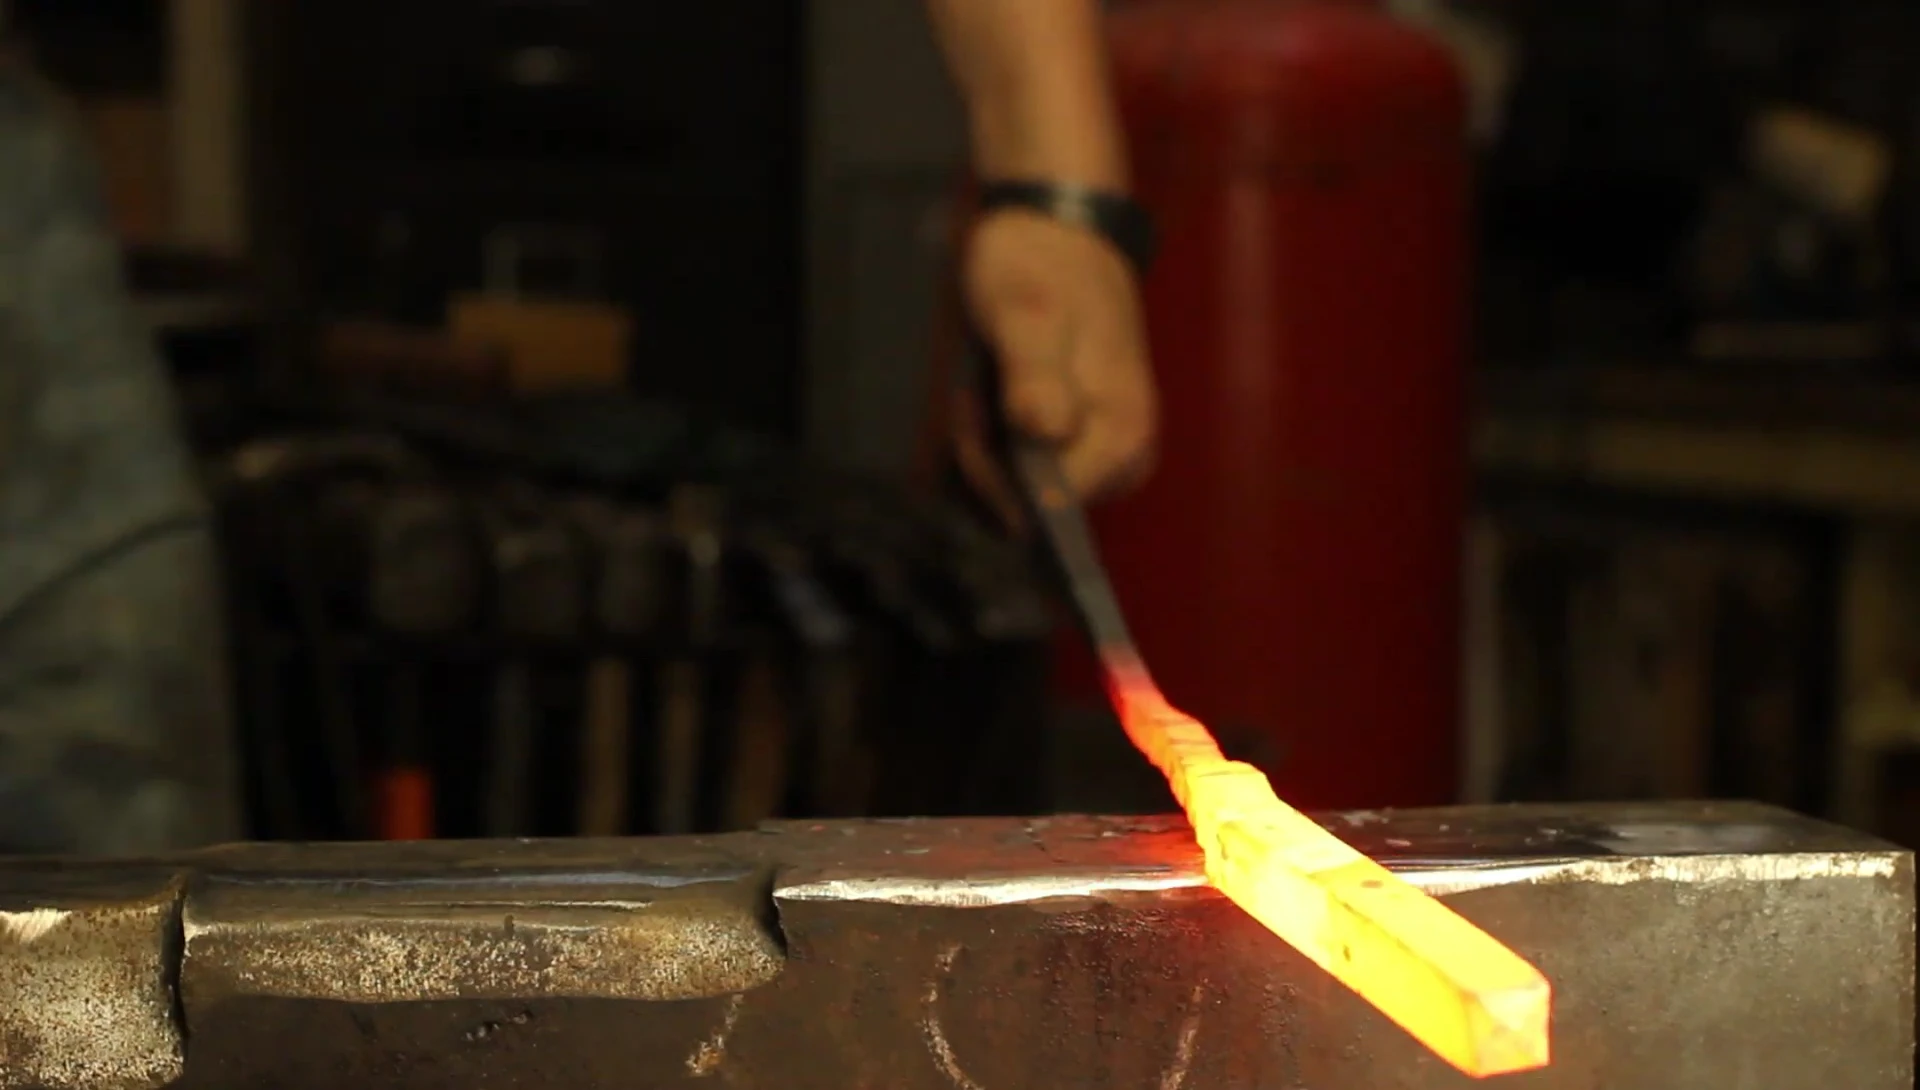
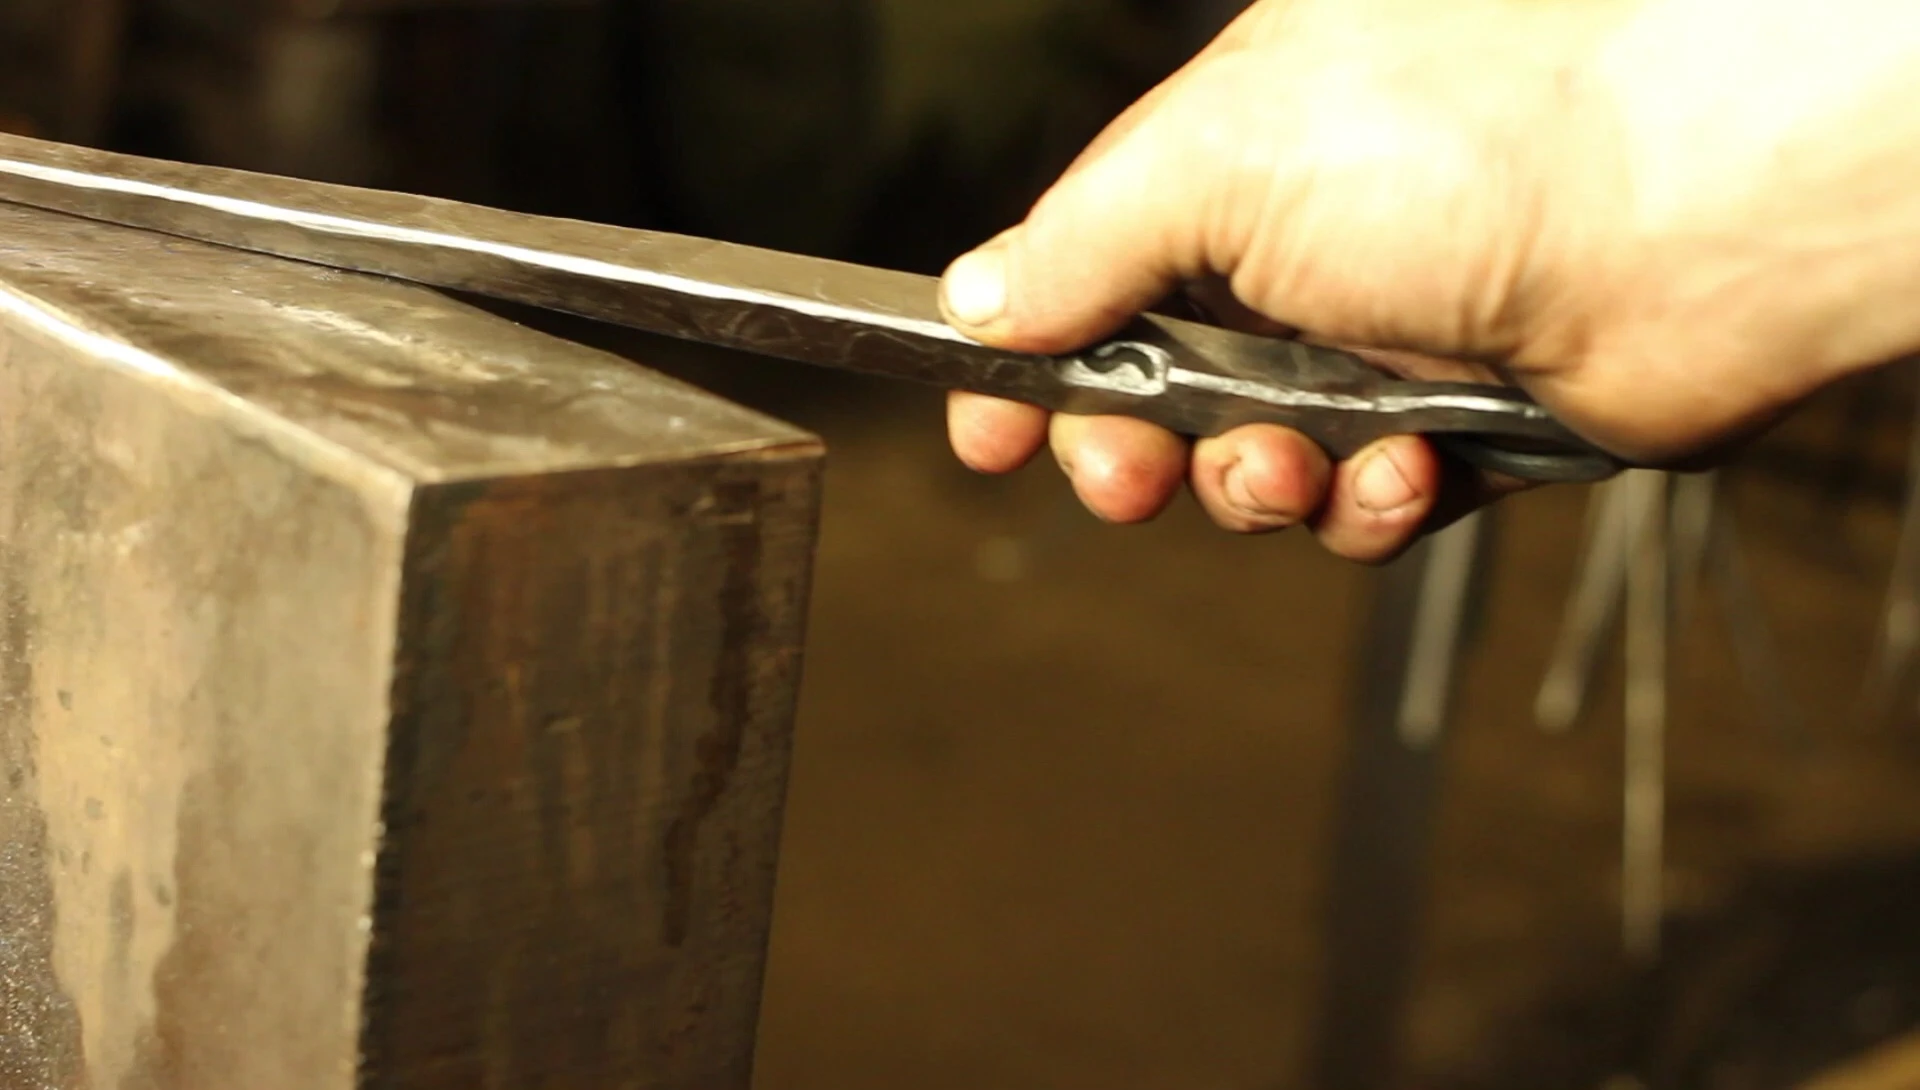
Once the initial forging is complete, the smith adds the final details. This includes shaping the handle, creating a hanging eye for storage or hanging, and refining the spatula’s overall aesthetics and ergonomics.
The smith carefully bends and shapes the handle, ensuring a comfortable and functional design. A hanging eye is forged, allowing for convenient storage. The final product is then cleaned and treated with a hot oil finish for food safety.
Conclusion: A Forged Spatula for Everyday Use
The final product is a beautifully crafted spatula, perfect for both kitchen and barbecue use. The smith demonstrates the final form and highlights its features—the ergonomic handle, durable blade, and practical hanging eye. This custom-forged spatula demonstrates superior craftsmanship and durability.
The project demonstrates the meticulous process of creating a functional and visually appealing tool. This handcrafted spatula serves as a testament to the smith’s skills and passion for blacksmithing. The result is a high-quality cooking tool that combines form and function.
