Upgrade your Green Mountain Grill with the Luther Custom Grill Grates kit and unlock a world of enhanced cooking possibilities. This comprehensive review and guide walks you through the straightforward installation process, detailing each step from attaching the rails to securing the slide-out shelves. Learn how to effortlessly add a second cooking level, maximizing your grill's capacity and versatility. We'll cover essential tools, troubleshooting tips, and even after-installation care, ensuring a seamless experience for grill masters of all skill levels.Discover why these high-quality steel grates are a worthwhile investment for any GMG owner. Experience even heat distribution, superior grill marks, and the convenience of a slide-out design that simplifies food access and cleanup. This review delves into the benefits of the optional lower grate kit, seasoning recommendations for optimal longevity, and where to purchase this game-changing accessory. Get ready to elevate your grilling game with the Luther Custom Grill Grates!
Read more: Traeger Grill Grates: Top 10 Best Reviews & Buying Guide
Easy Installation & Tool Requirements
Installing the Luther custom grill grate kit is surprisingly straightforward. The kit includes everything you need for a seamless installation process. No advanced skills are required; basic hand tools will suffice.
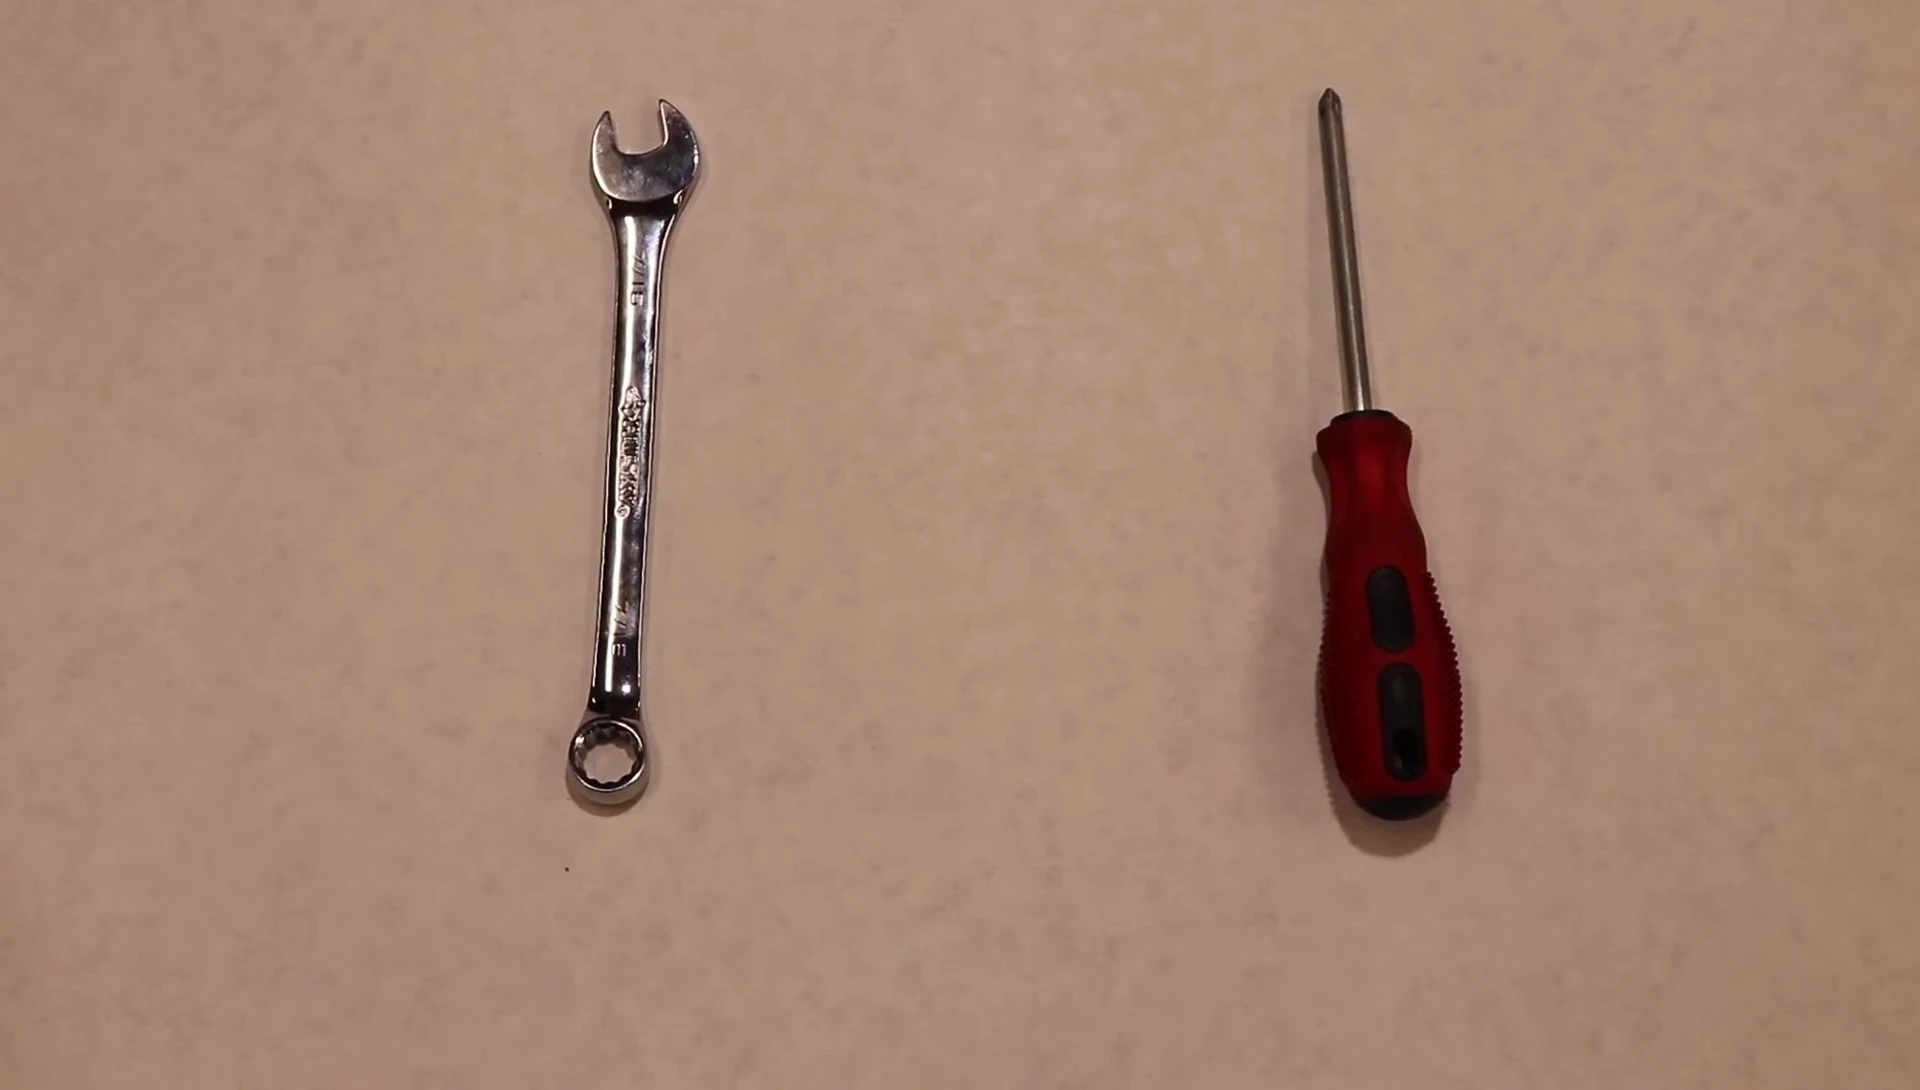
You'll need a 7/16 wrench, a Phillips head screwdriver, a drill, and a tape measure. The instructions are clear and easy to follow, making the installation a breeze, even for beginners.
Installing the Rails
The kit includes left and right rails that need to be installed for the second shelf. The nuts and bolts are pre-installed, simplifying the process. A 2x4 is included to help ensure correct height during installation.

Begin by installing the right-hand rail first. Use the 2x4 to ensure the rail is level. Drill the front hole, insert the nut and bolt, and hand tighten. Then, drill the rear hole, insert the bolt, and tighten everything securely using the wrench and screwdriver.
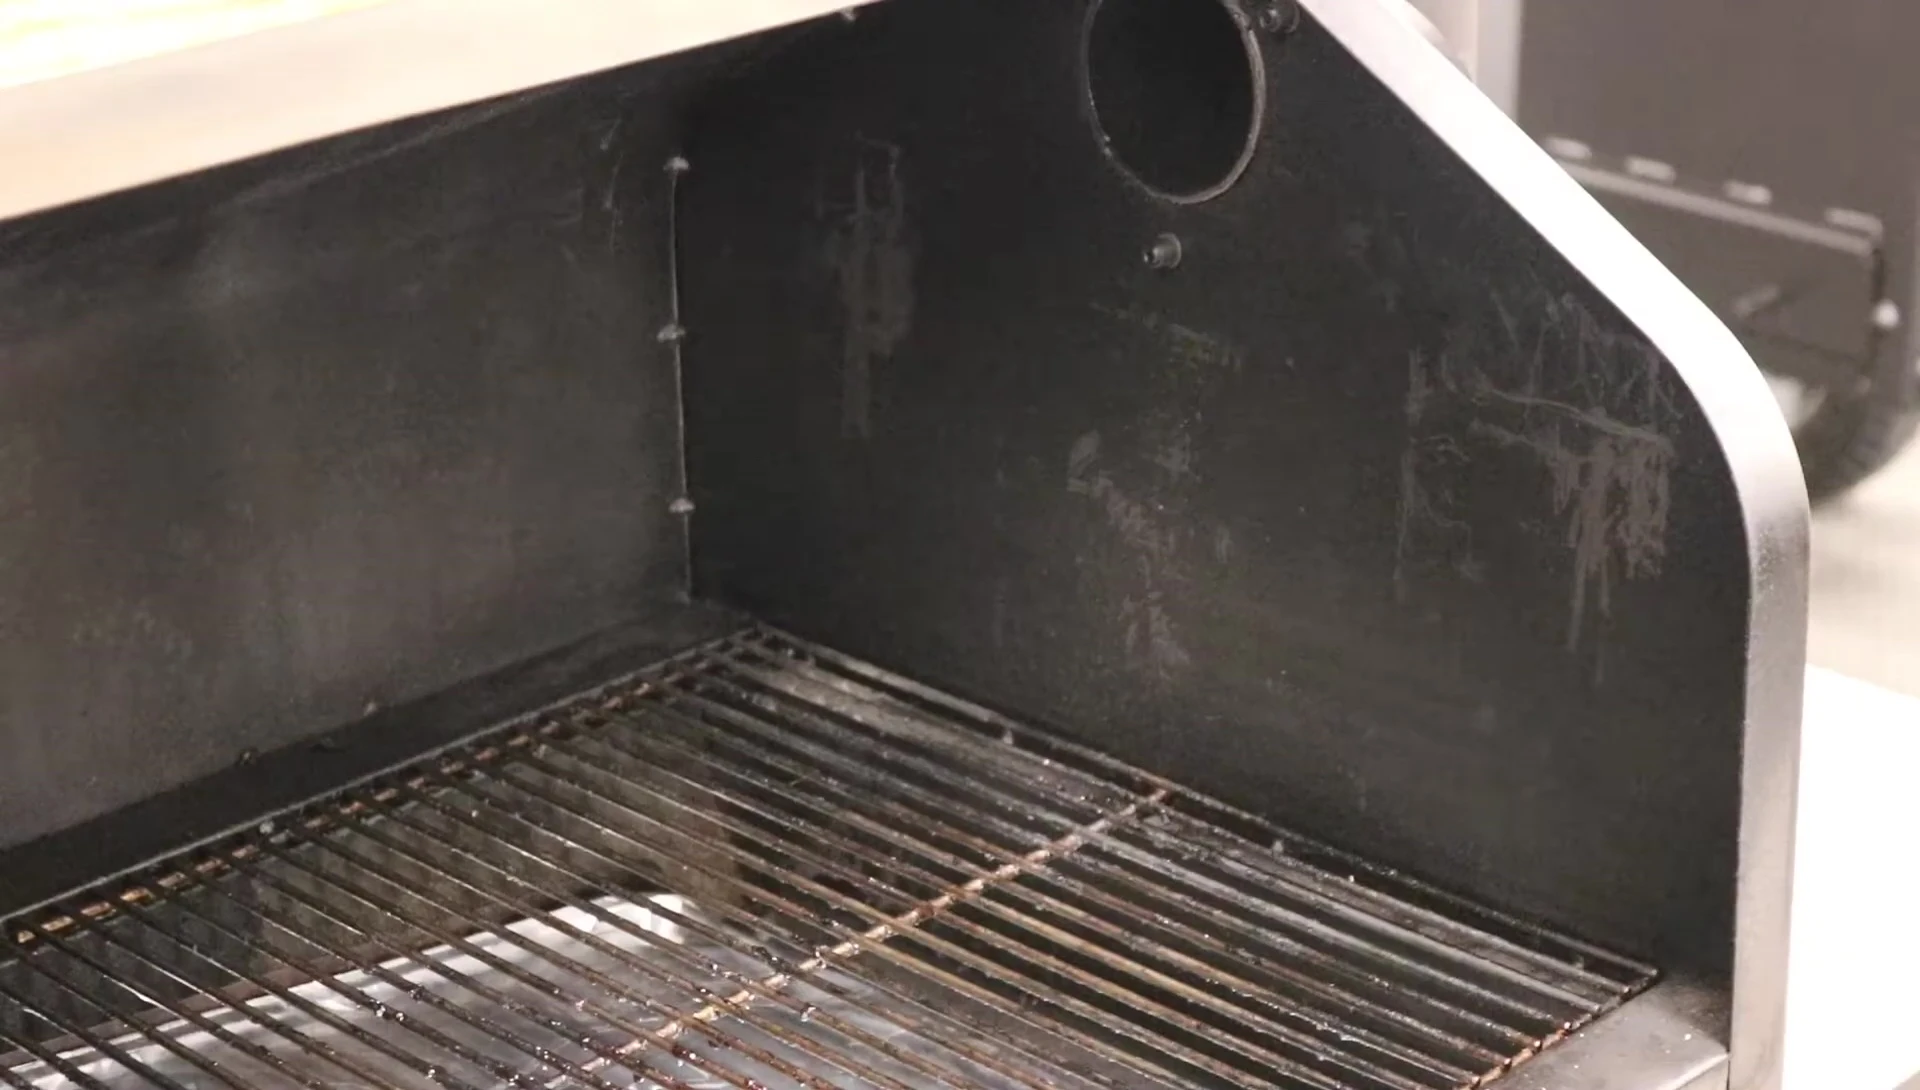
Securing the Top Shelf
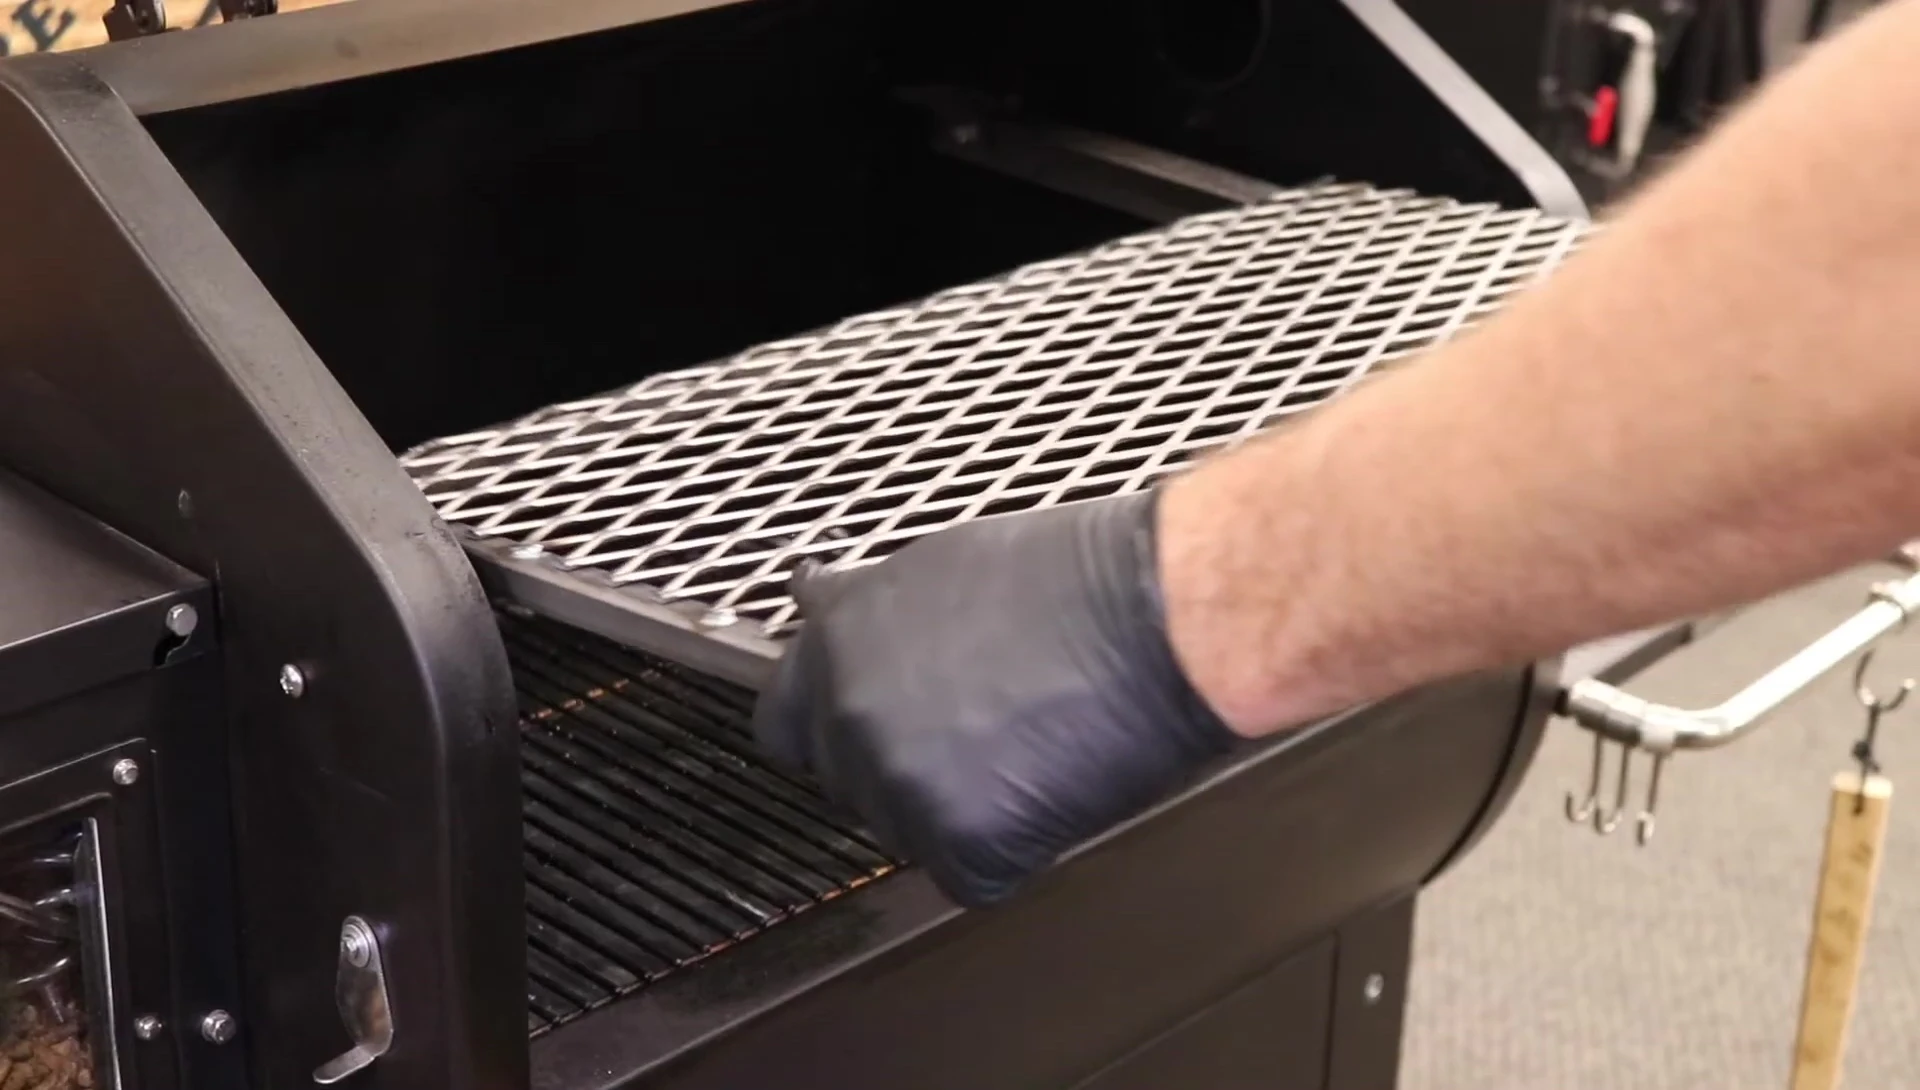
The top shelf features angled brackets that allow for easy sliding and locking into the installed rails. The stops on the rails prevent the shelf from sliding out unintentionally.
To install the shelf, lift it, slide the brackets past the stops, and the shelf will securely lock into place. Removal is just as easy: lift the shelf slightly at an angle, and it will release.
Optional Lower Grate Kit & Seasoning
An optional lower grate kit is available. After installation, remember to clean the grill of any metal shavings. This ensures food safety and a clean cooking surface.
The grates are made of high-quality steel (not stainless steel), so it's recommended to season them to prevent rust. Coat them thoroughly with cooking spray before initial use, then run the grill at 350 degrees for at least an hour to complete the seasoning.
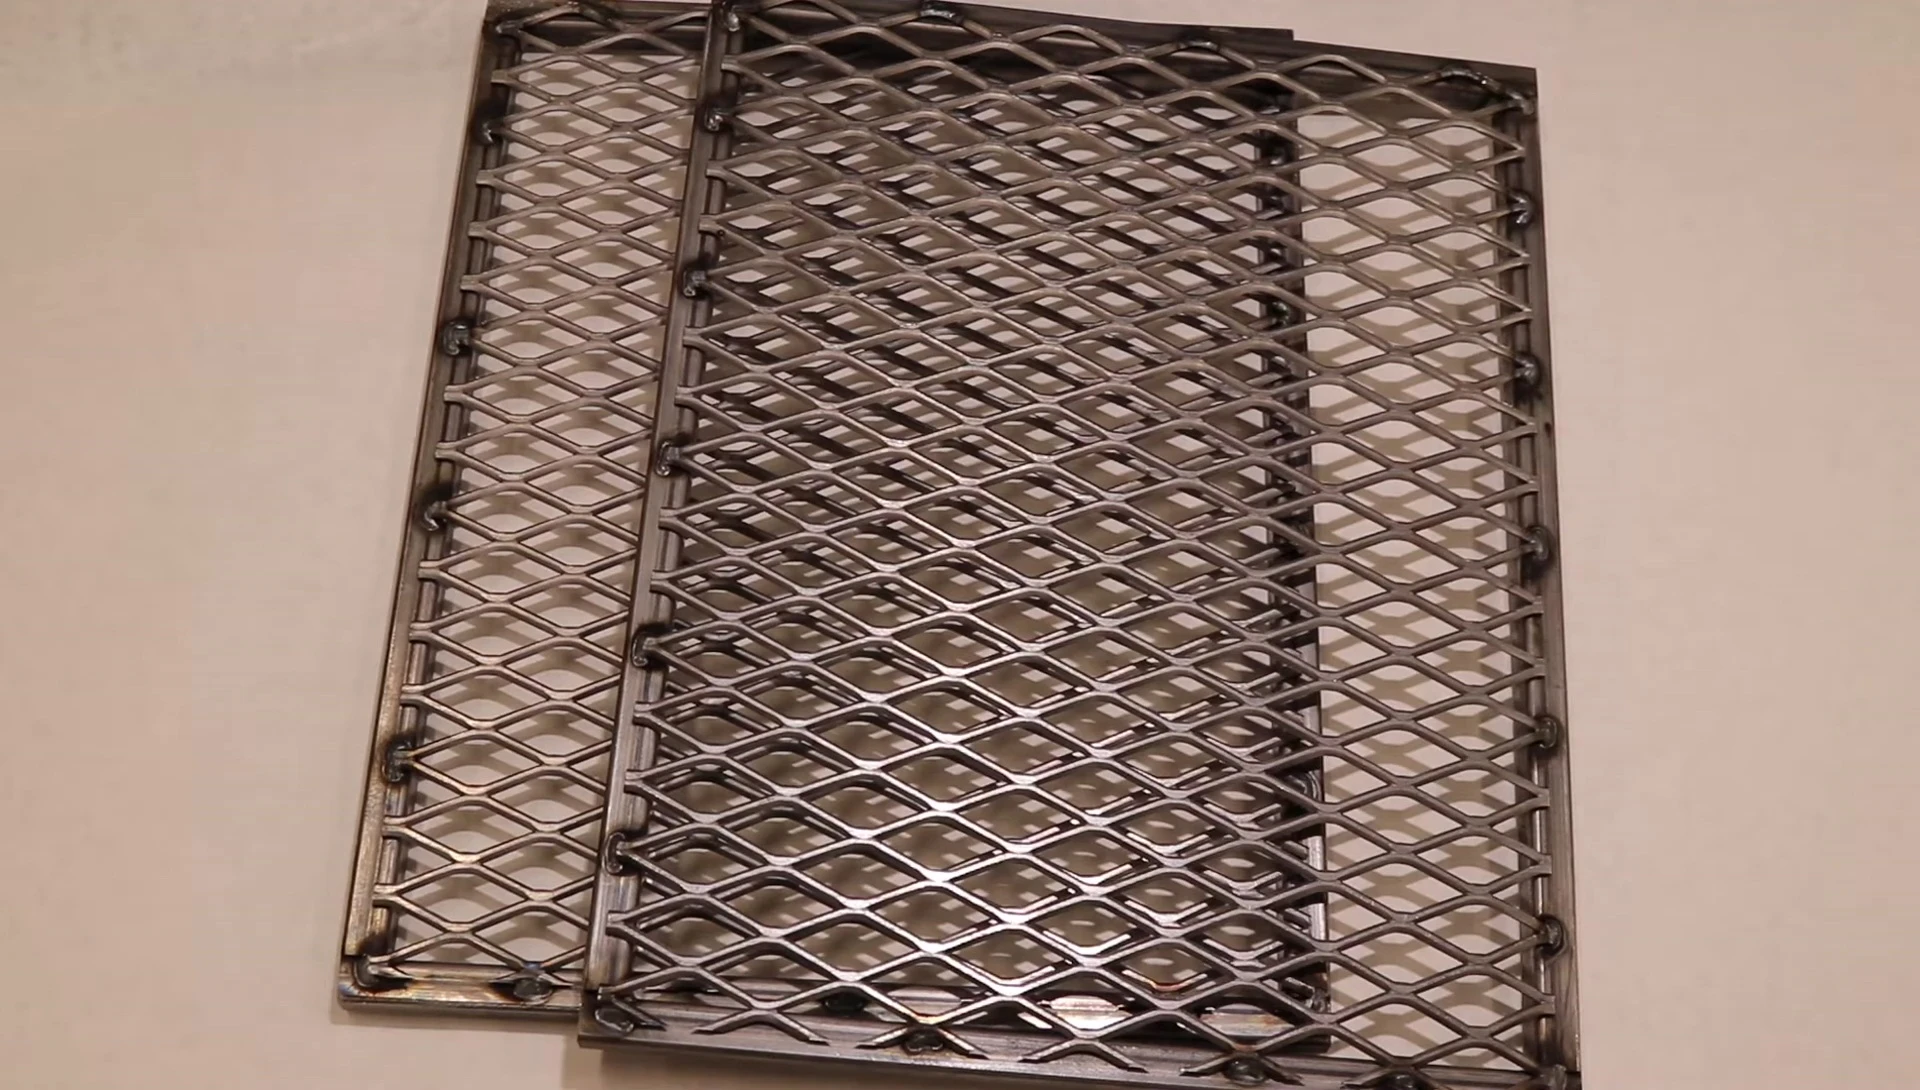
Conclusion: Are These Grates Worth It?
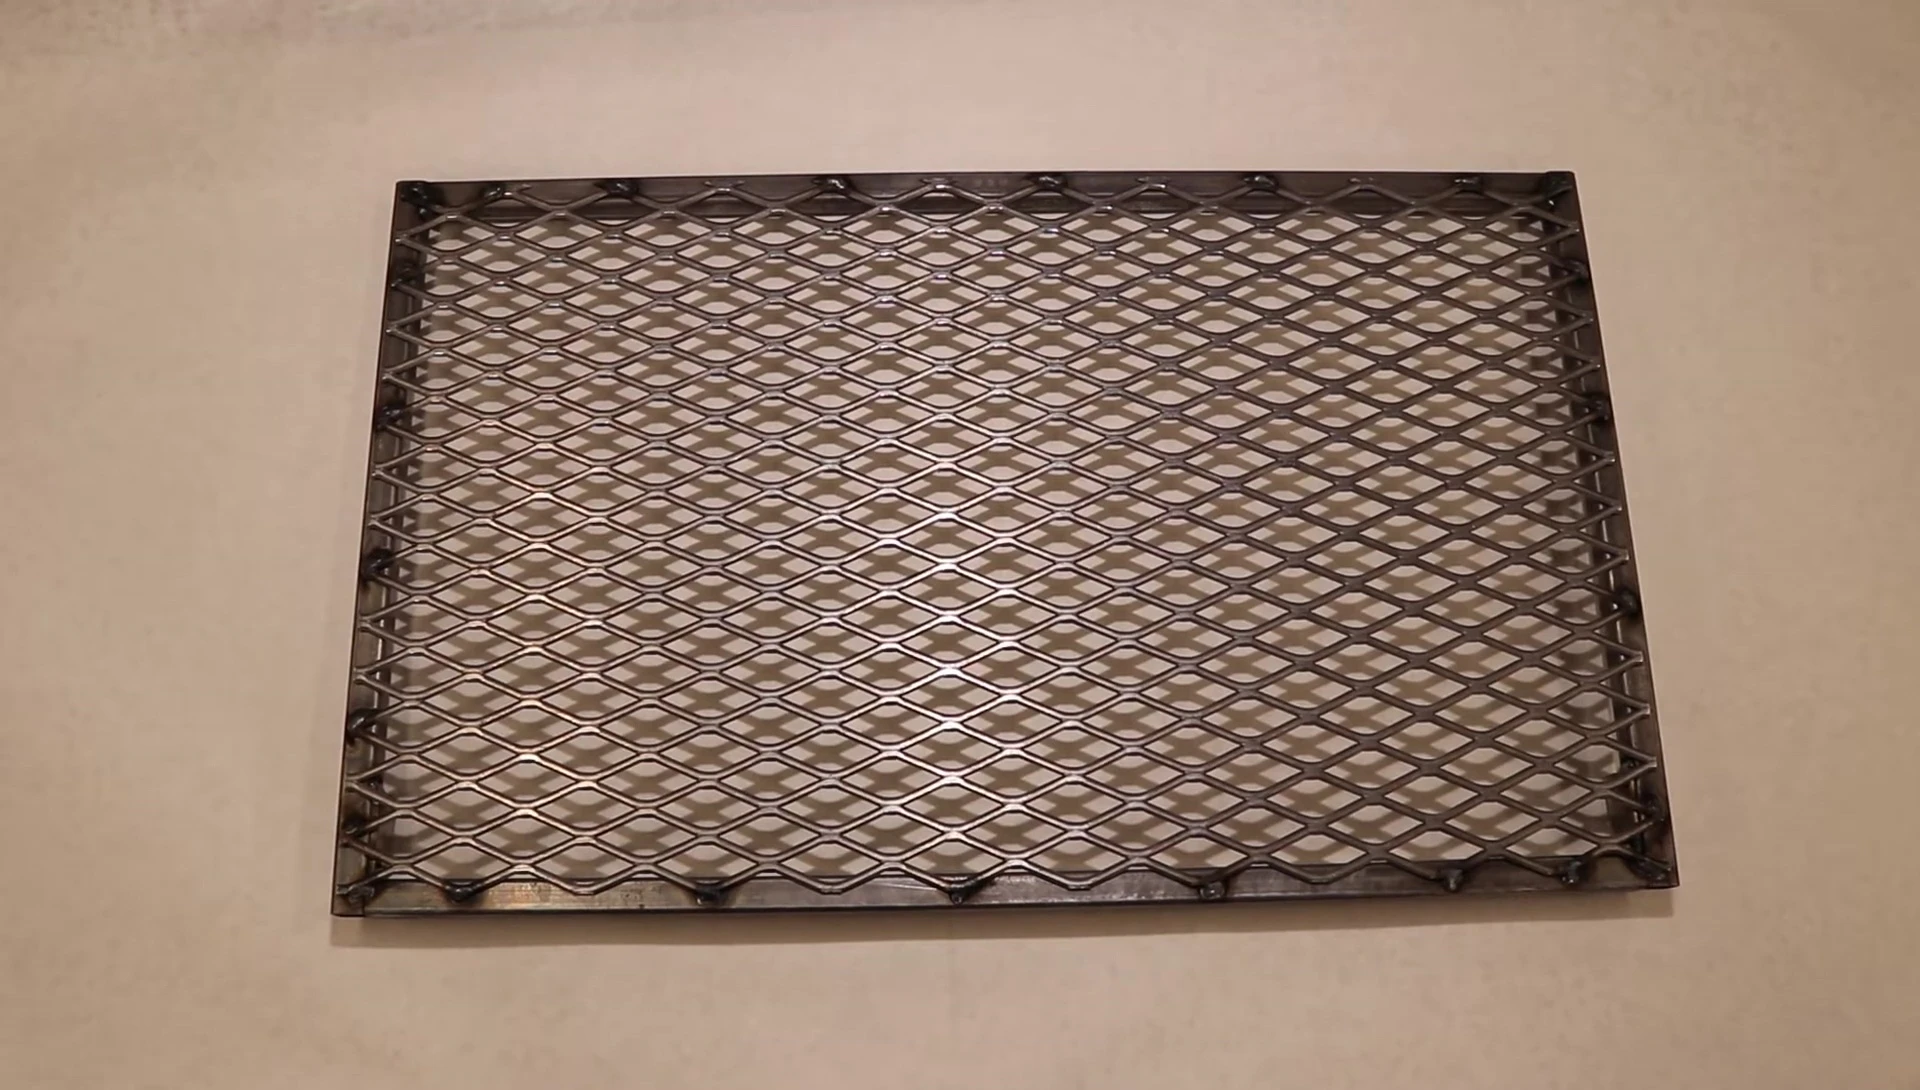
The Luther custom grill grates offer even heat distribution, excellent grill marks, and are extremely durable. The addition of a second shelf significantly increases cooking space. The slide-out feature allows for convenient access to food.
These grates are a worthwhile upgrade for Green Mountain Grills owners seeking enhanced functionality and cooking performance. The ease of installation and the improved cooking experience make them a smart investment. Available at BBQ hq.com or their Simi Valley store.