Upgrading your grill grates can significantly enhance your grilling experience. This comprehensive guide focuses on Grill Pro porcelain-coated cooking grates, offering a detailed walkthrough of selection, installation, and maintenance. Whether you're replacing worn-out grates or simply upgrading to a superior material, this guide will provide the information you need for a seamless process. We'll cover crucial steps like accurately measuring your existing grate to ensure a perfect fit, and provide step-by-step instructions for installing your new Grill Pro grates. Proper installation is key to achieving optimal cooking performance and longevity.Beyond installation, we'll delve into the essential maintenance practices that will prolong the lifespan of your investment. Learn how to properly season your new grates, clean them effectively after each use, and prevent build-up that can affect performance. With a focus on both ease of use and durability, this guide equips you with the knowledge to enjoy years of superior grilling with Grill Pro porcelain-coated cooking grates. Get ready to elevate your outdoor cooking to a whole new level.
Pros And Cons
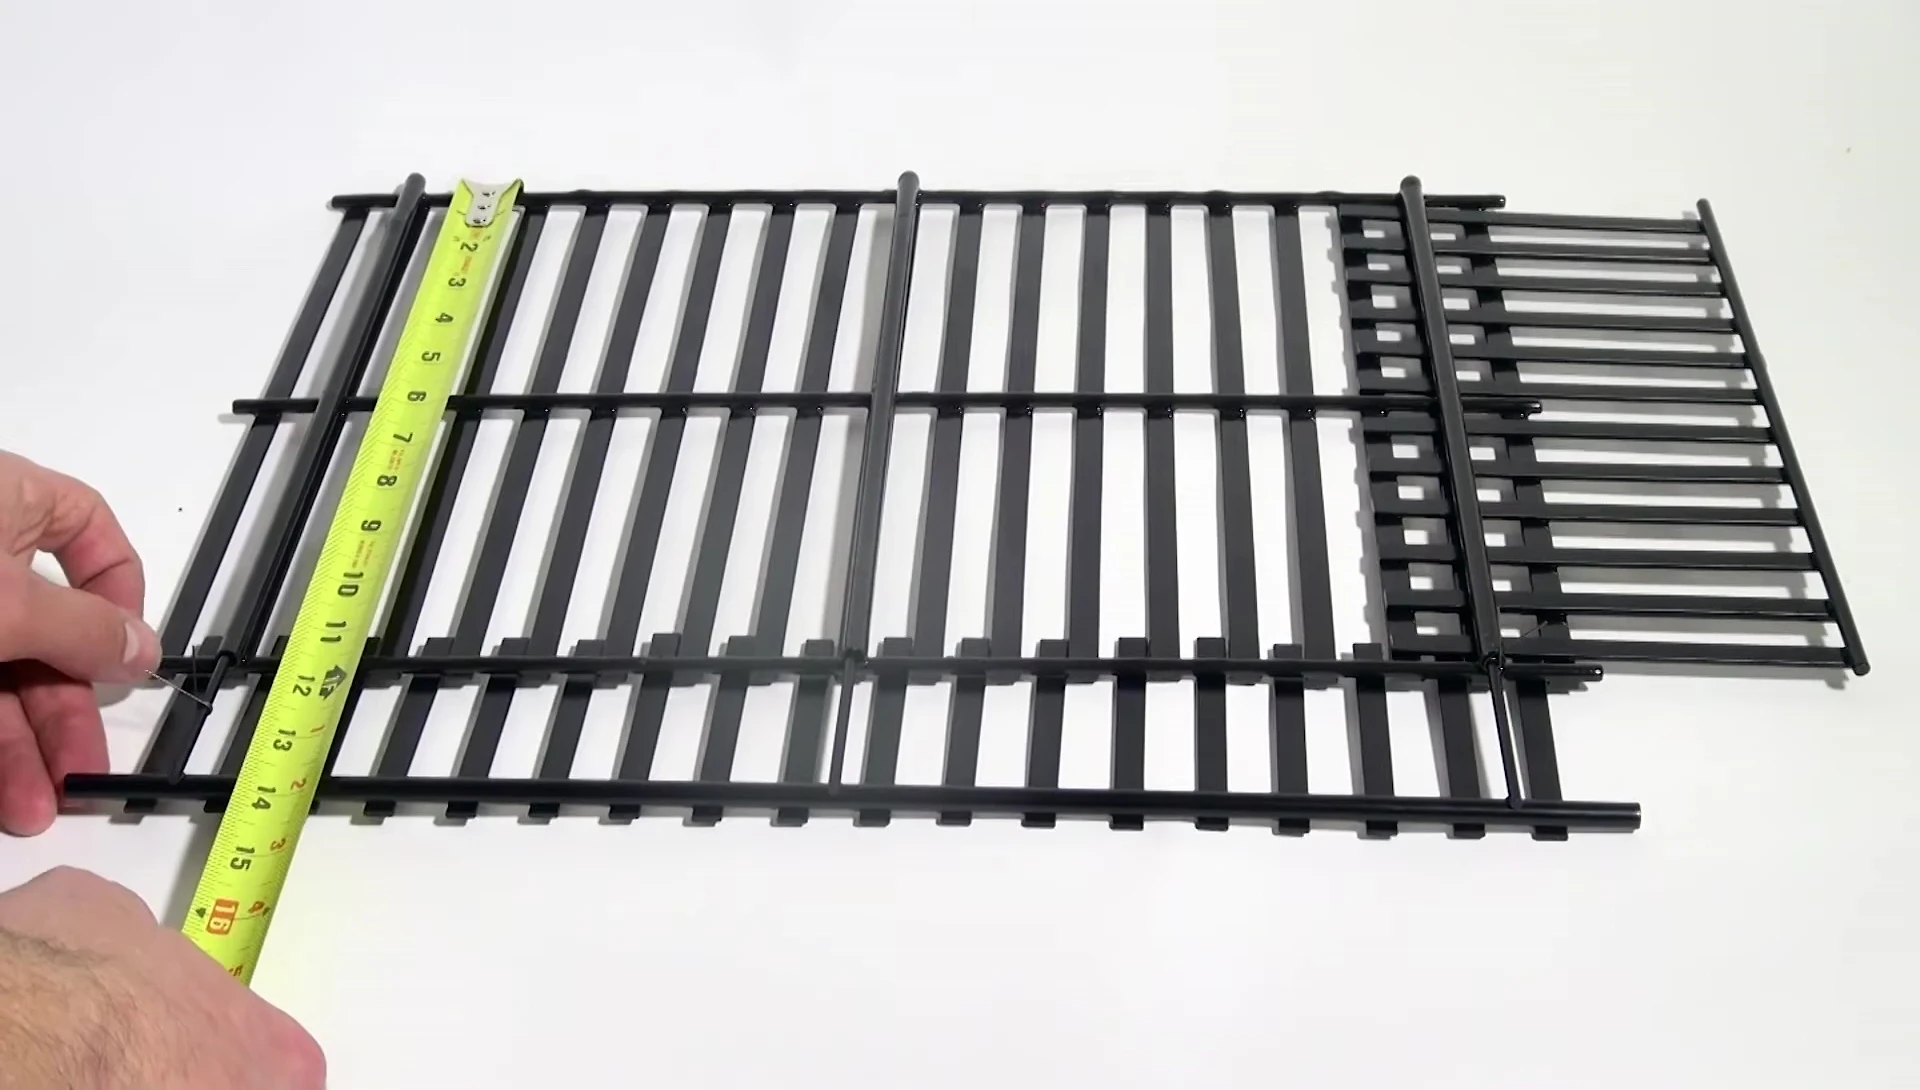
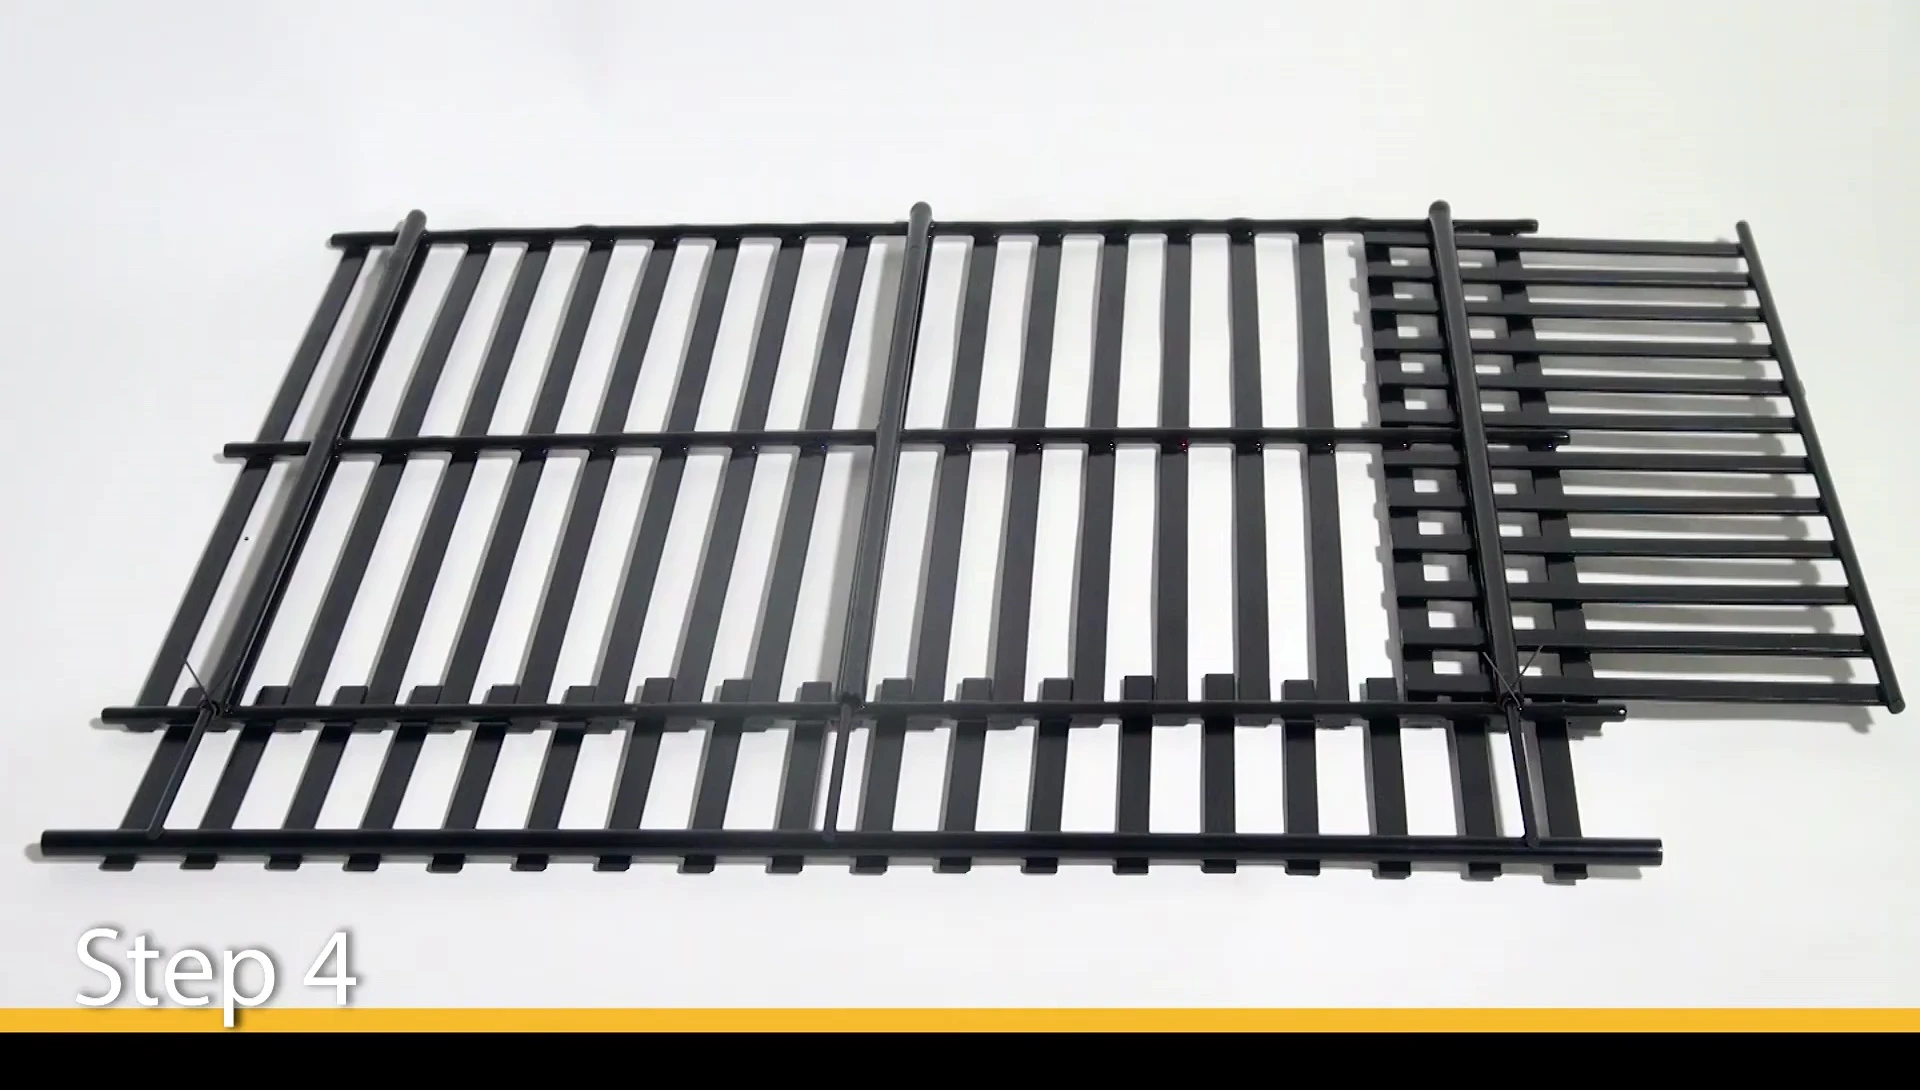
- Replaces grills of various sizes (11 3/4 x 17 inches to 16 1/2 x 24 1/2 inches)
- Features adjustable pieces for custom fit
- Includes locking spring clips for secure installation
Read more: Traeger Grill Grates: Top 10 Best Reviews & Buying Guide
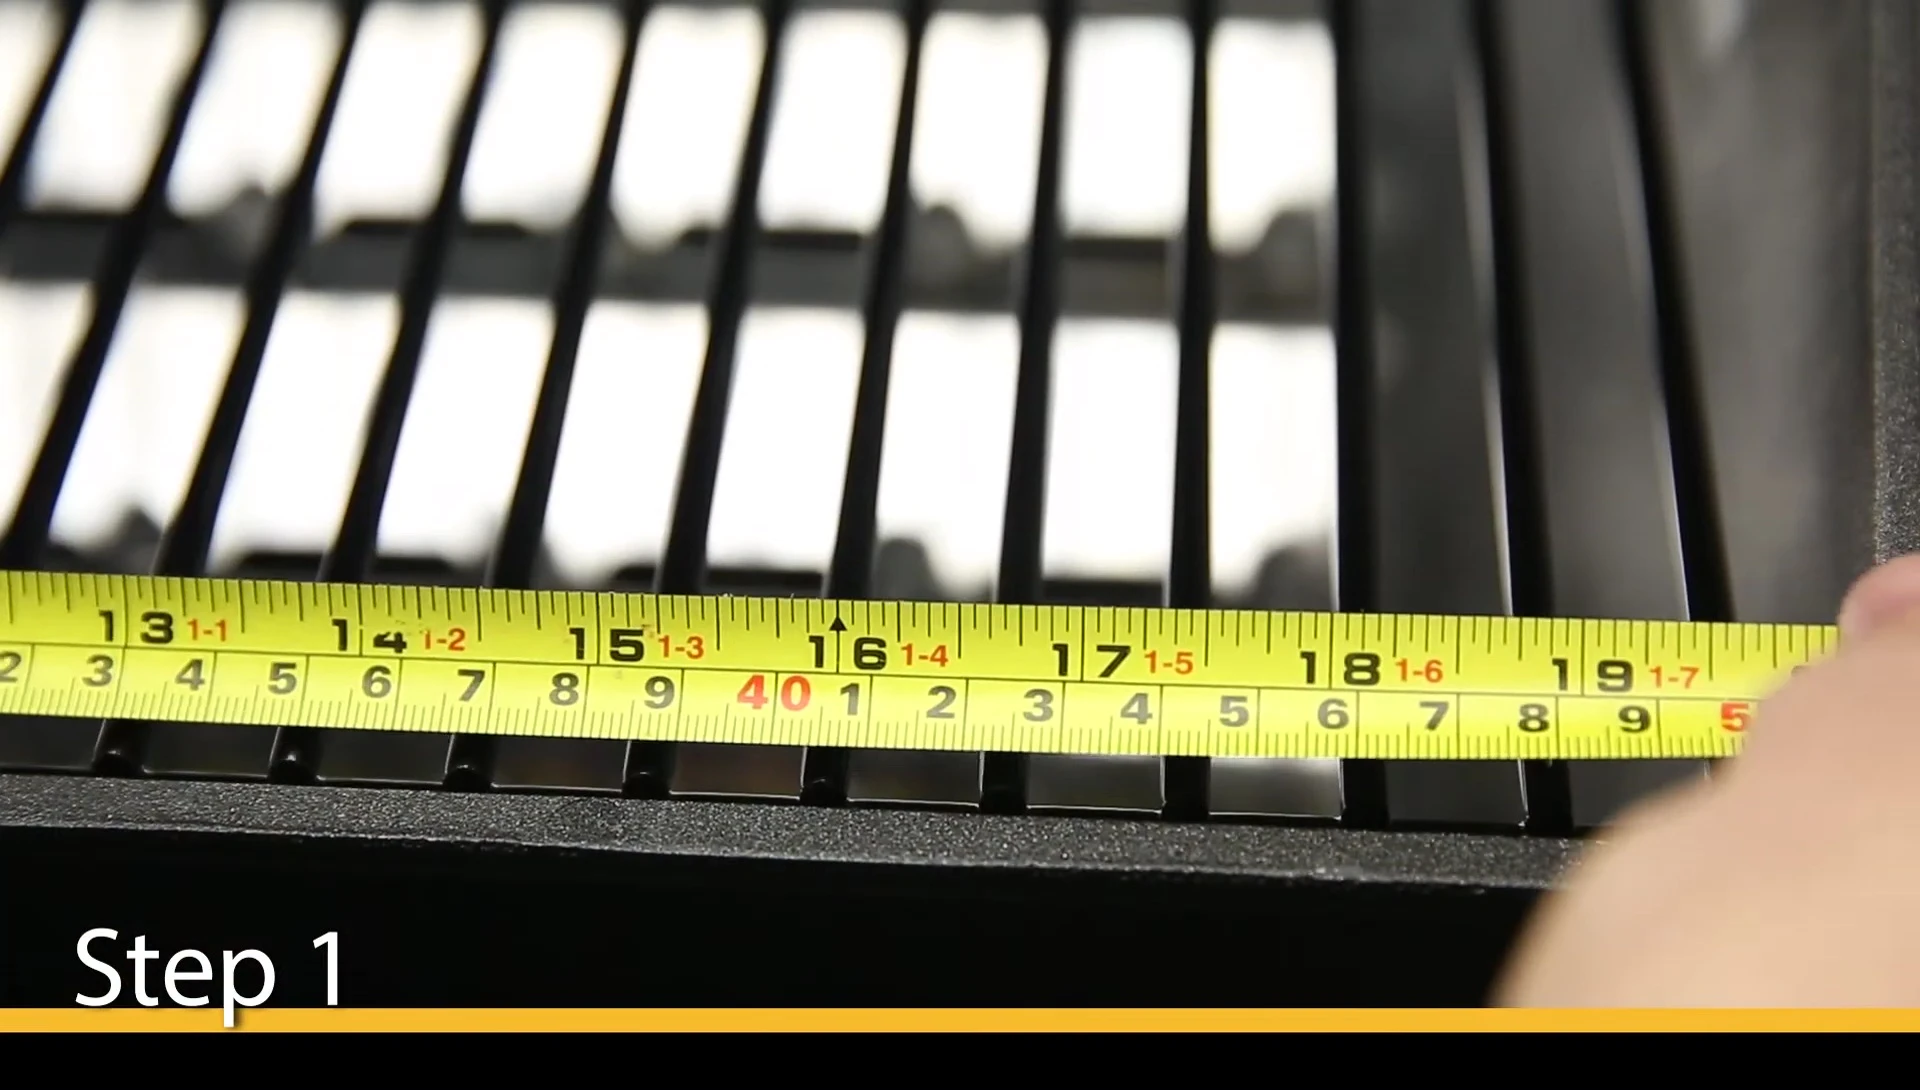
Measuring Your Existing Grill Grate
Before purchasing a replacement grill grate, accurately measure your existing grate's dimensions. This is crucial for selecting the correct replacement. Measure both the width and depth of the cooking surface to ensure compatibility with available replacement grates. Accurate measurements are vital to avoid buying a grate that doesn't fit.
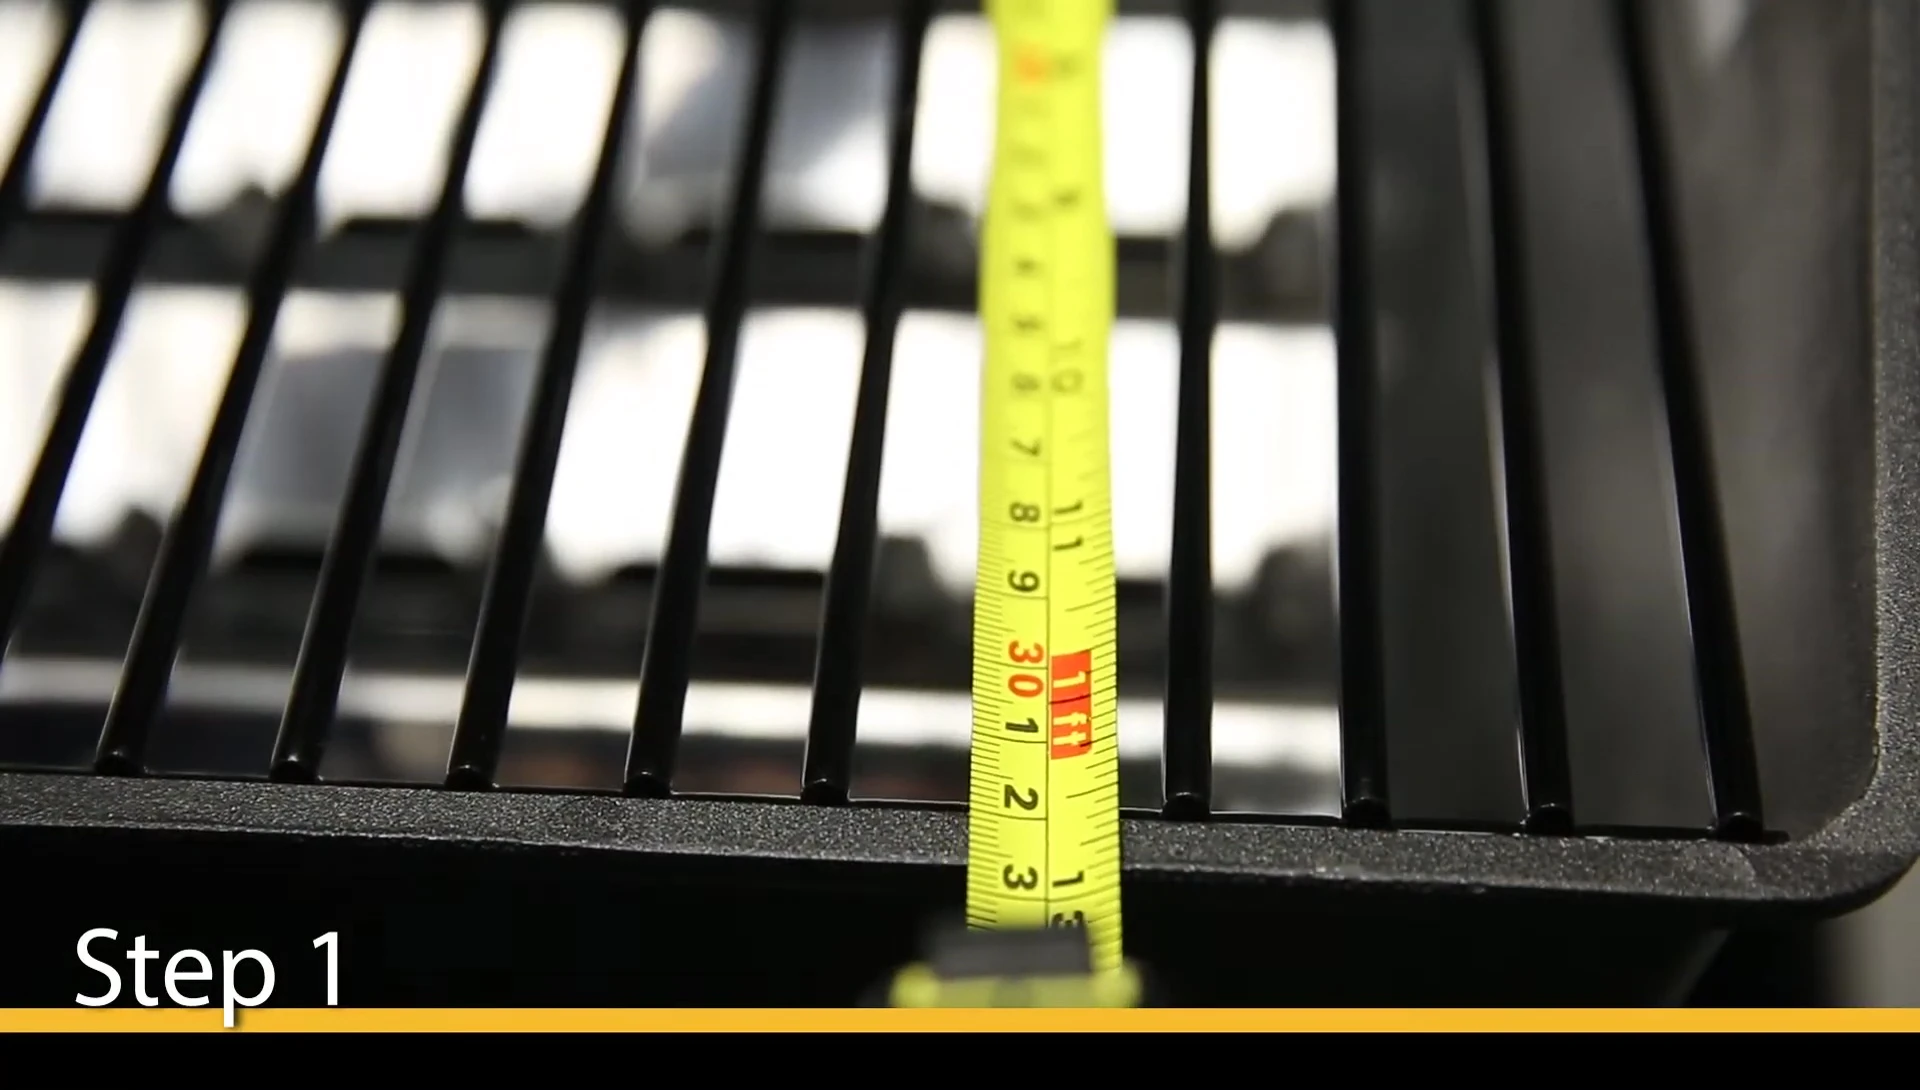
Grill Pro offers a range of sizes to accommodate various grill models. Understanding the dimensions of your cooking surface allows for precise selection from small to extra-large sizes. Double-checking measurements eliminates the chance of returning a poorly-fitting product.
Installing the New Grill Grate
Begin by extending the adjustable pieces of the new grate fully to easily install the locking spring clips. This ensures proper installation and secures the grate's position. Once the clips are in place, you can adjust the grate to match your grill dimensions.
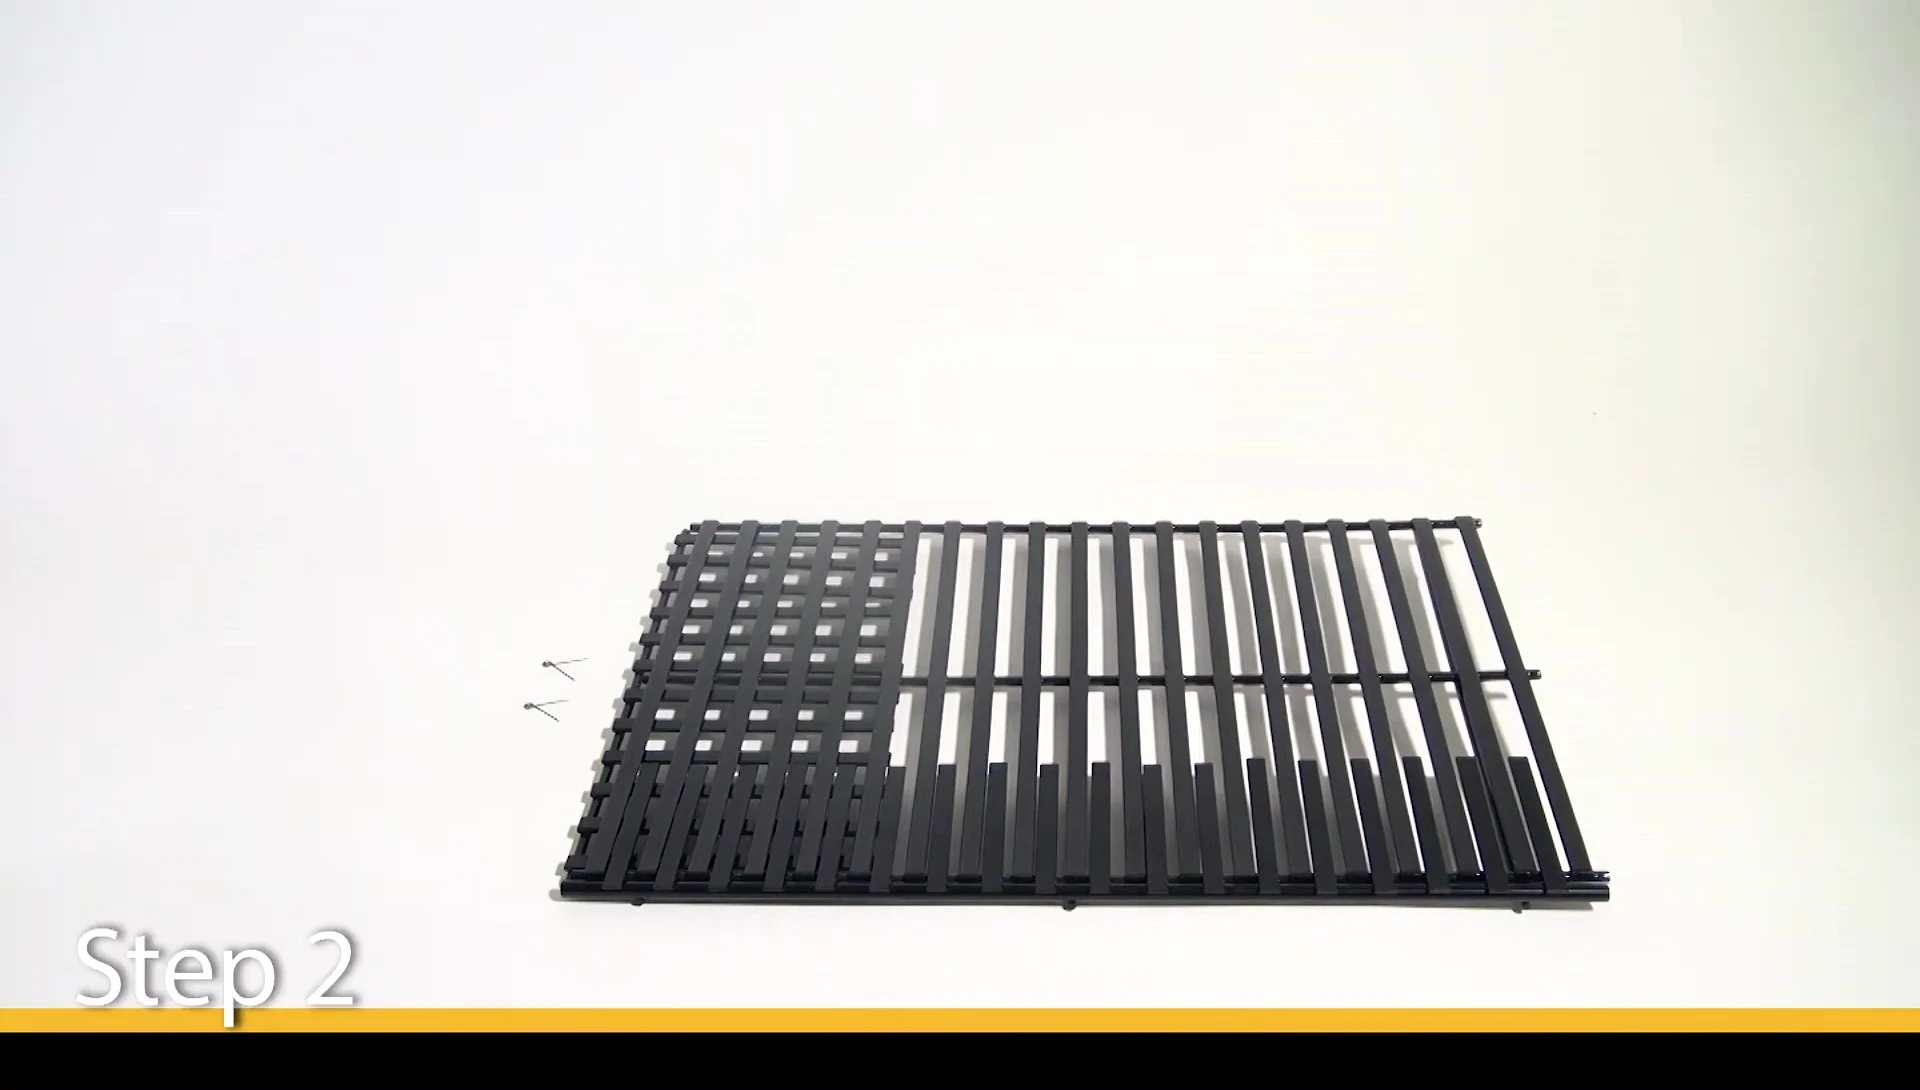
Next, adjust the adjustable pieces to precisely match the dimensions of your grilling surface. This will provide a secure and even fit. Carefully slide the grate onto your grill, ensuring a snug fit before securing it with the spring clips.
Securing and Seasoning the Grate
Use the spring clips to lock the grate's depth in place after confirming it sits securely. This step secures the grate, preventing movement during use. It is important to ensure a proper fit before cooking to maximize cooking efficiency and prevent accidents.
Before your first use, season the grate by preheating your grill on high for 20-30 minutes. This removes manufacturing residue, ensuring your food has direct contact with the clean porcelain surface. Always coat the grates with cooking oil before cooking to avoid sticking and to facilitate easier cleaning.
Post-Cooking Cleaning and Maintenance
After cooking, leave the grill on high for 5-10 minutes to burn off food particles. This makes cleaning much easier and helps prevent buildup. Always use a grill brush and oven mitt to prevent burns when cleaning.
Regular cleaning will extend the lifespan of your porcelain coated grate. Always scrape off food particles with a grill brush and then use a suitable cleaner to remove any grease or grime. This will ensure the longevity and performance of the grate.
Conclusion
Replacing your grill grate with Grill Pro's porcelain-coated option offers durability and ease of cleaning. The adjustable design allows for a perfect fit across various grill models. By following the simple installation and maintenance steps, you'll enjoy years of reliable grilling.
Remember to measure your current grate carefully, and always season your new grate before first use. Regular cleaning is key to maintaining the quality and longevity of your Grill Pro porcelain-coated cooking grate. With proper care, it will provide excellent grilling performance for many seasons to come.