This article chronicles the epic deep cleaning of a gas grill neglected for three long years. The author documents a transformation from a grime-encrusted, grease-caked mess to a gleaming, practically brand-new appliance. The journey details a battle against baked-on grease, layers of dust, and a shockingly filthy storage compartment beneath the grill. Prepare yourself for a step-by-step guide to conquering a cleaning challenge of truly disgusting proportions.From scraping away hardened debris with a painter's spatula to the meticulous scrubbing of grill grates and the aggressive assault on years of accumulated muck in the grill's undercarriage, this cleaning project spared no detail. Powerful chemicals, specialized cleaning tools, and elbow grease are all part of the solution to reclaim this neglected outdoor cooking essential. Discover the secrets to restoring your own grill to its former glory and preventing a similar cleaning catastrophe in the future.
Pros And Cons
- Good as new after cleaning
- Stainless steel grill grates are shiny and food won't stick
- Burners burn perfectly after cleaning
- Gets dirty easily; needs deep cleaning after 100 uses
- Chrome is spotty
- Black interior gets dirty
- Underneath the grill gets dirty and grimy
Read more: 10 Amazing Scotch-Brite Grill Cleaning Hacks
The Grime Unveiled
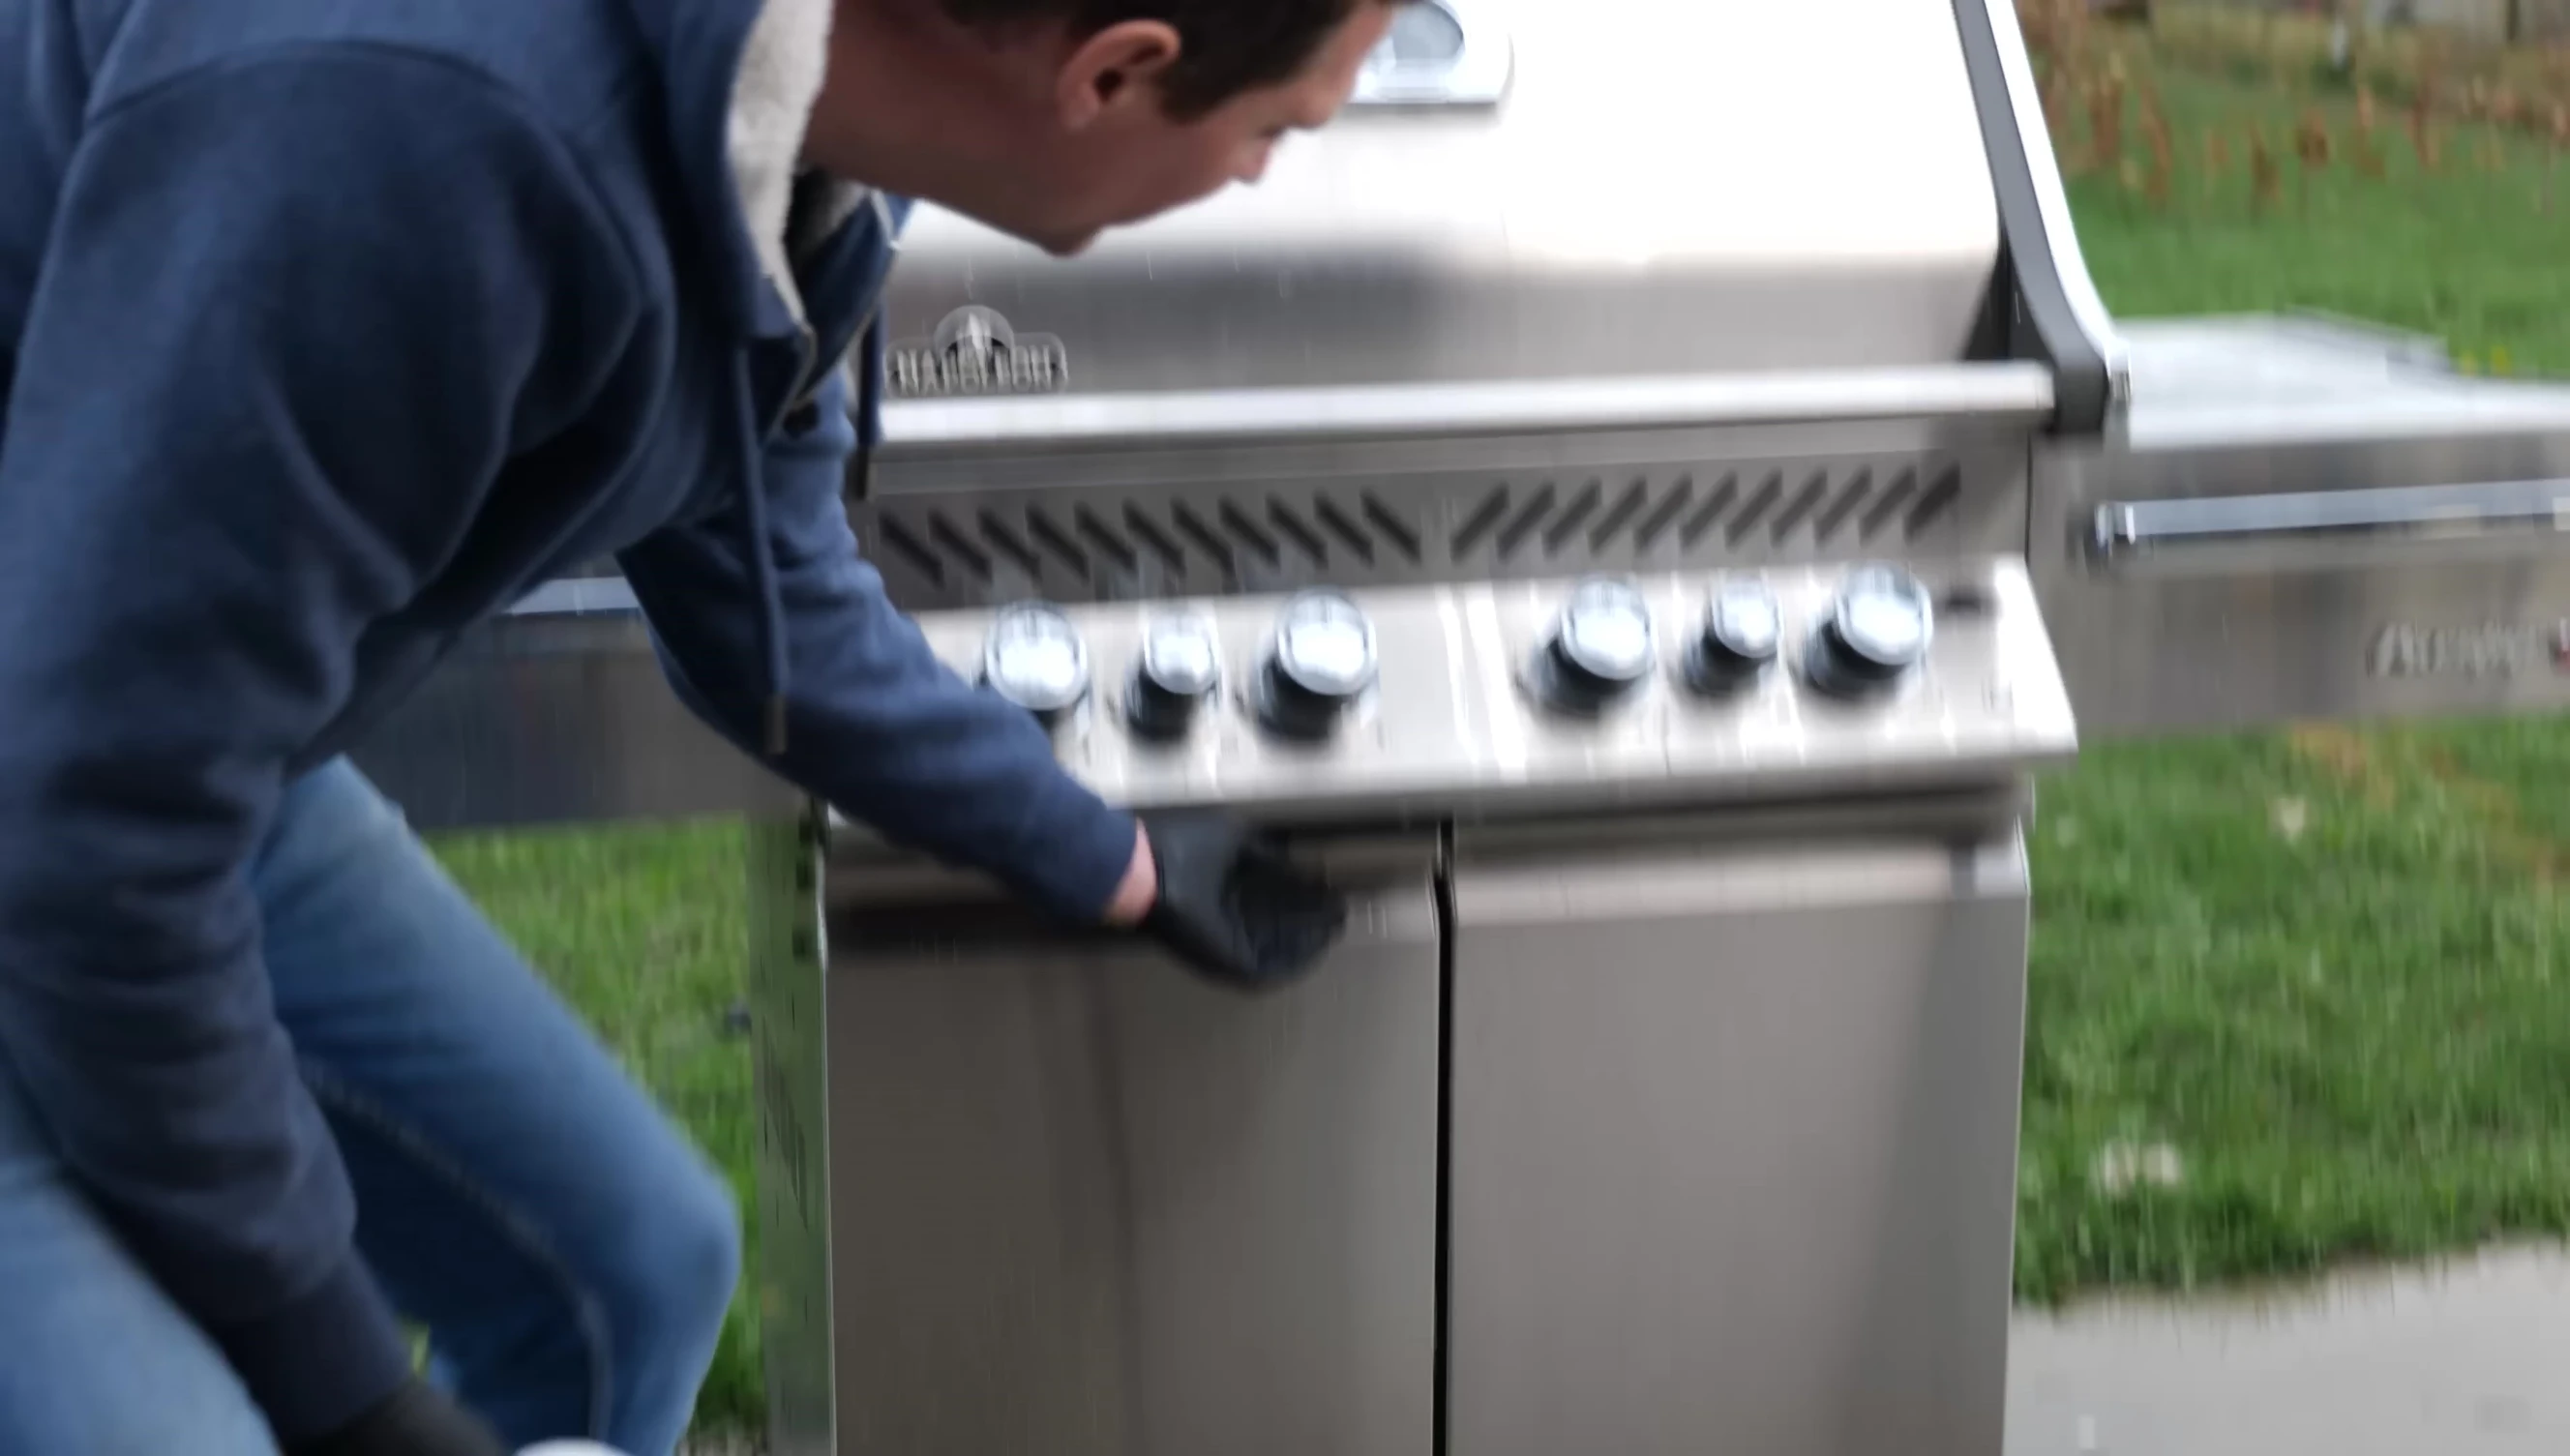
Three years of grilling adventures had left their mark. My once-pristine gas grill was showing its age, sporting unsightly grease splatters and a general layer of grime. The chrome was dull, and the black edges around the thermometer were especially dirty. Even a casual glance revealed the need for a serious deep clean.
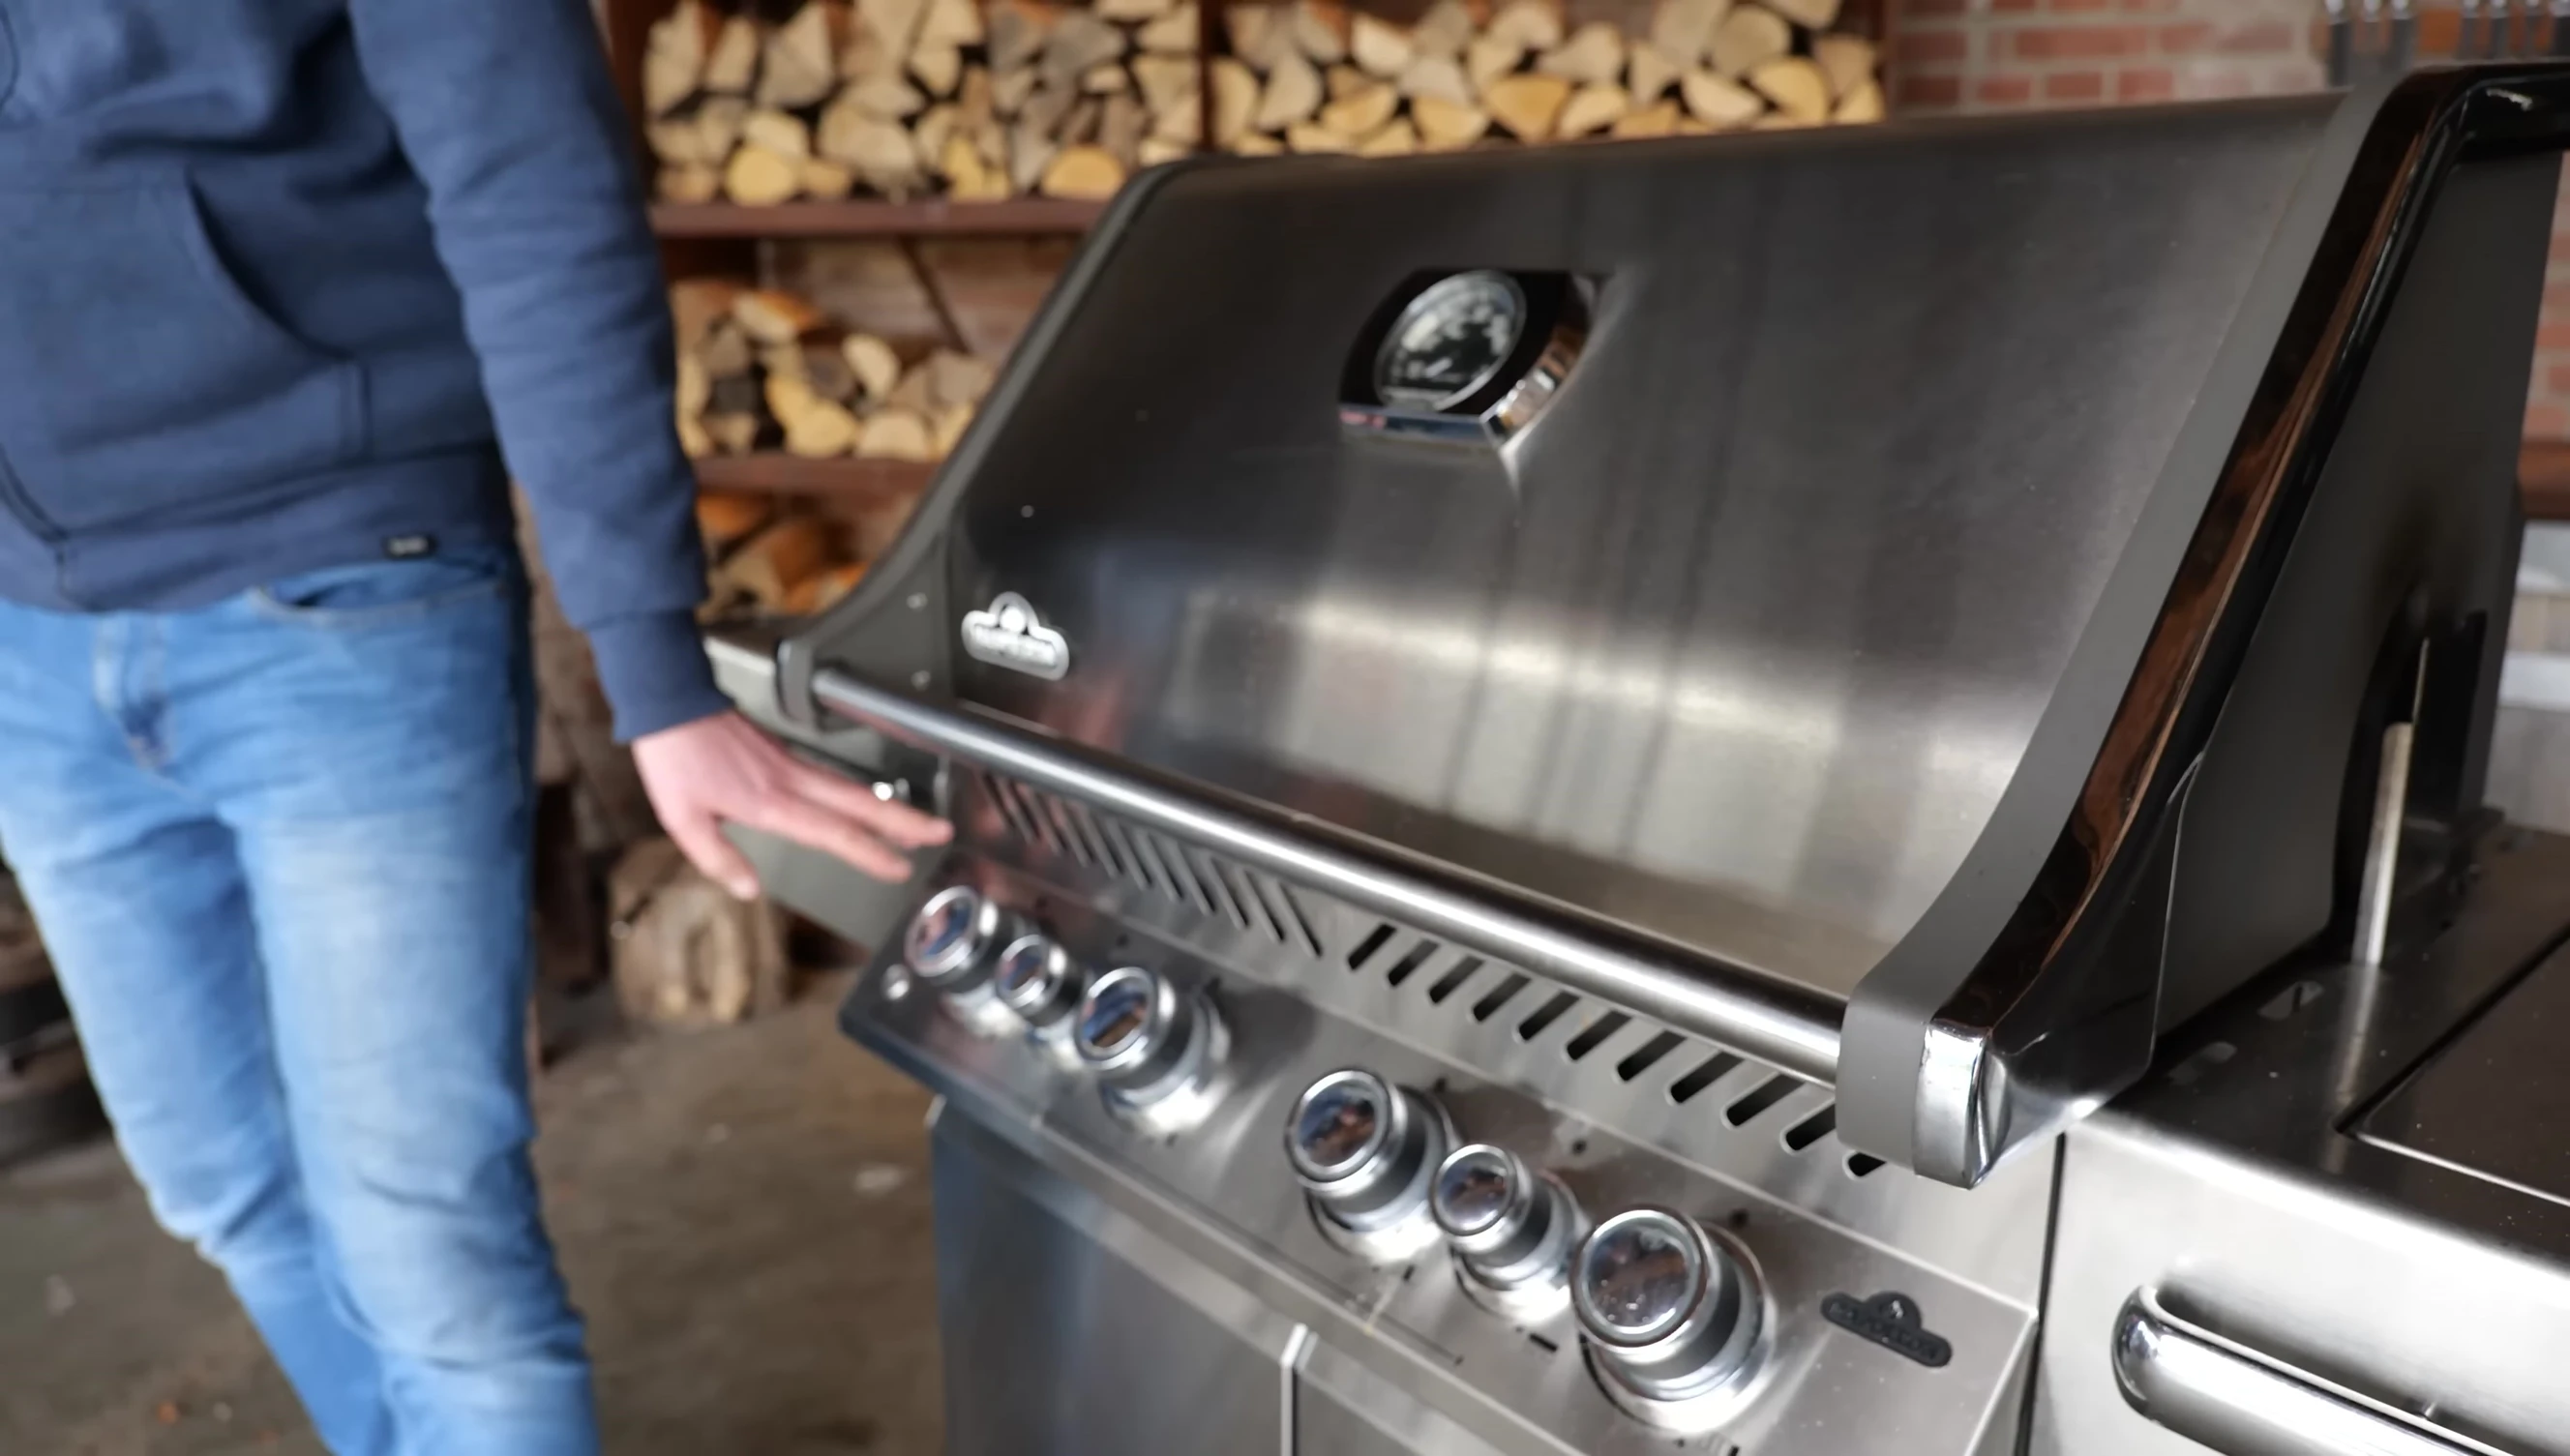
The exterior showed noticeable grease drippings and spots on the lid, but the real horror lay within. The interior, usually a pleasant gray, was now a disturbing black, coated in baked-on grease and residue from countless cooking sessions.
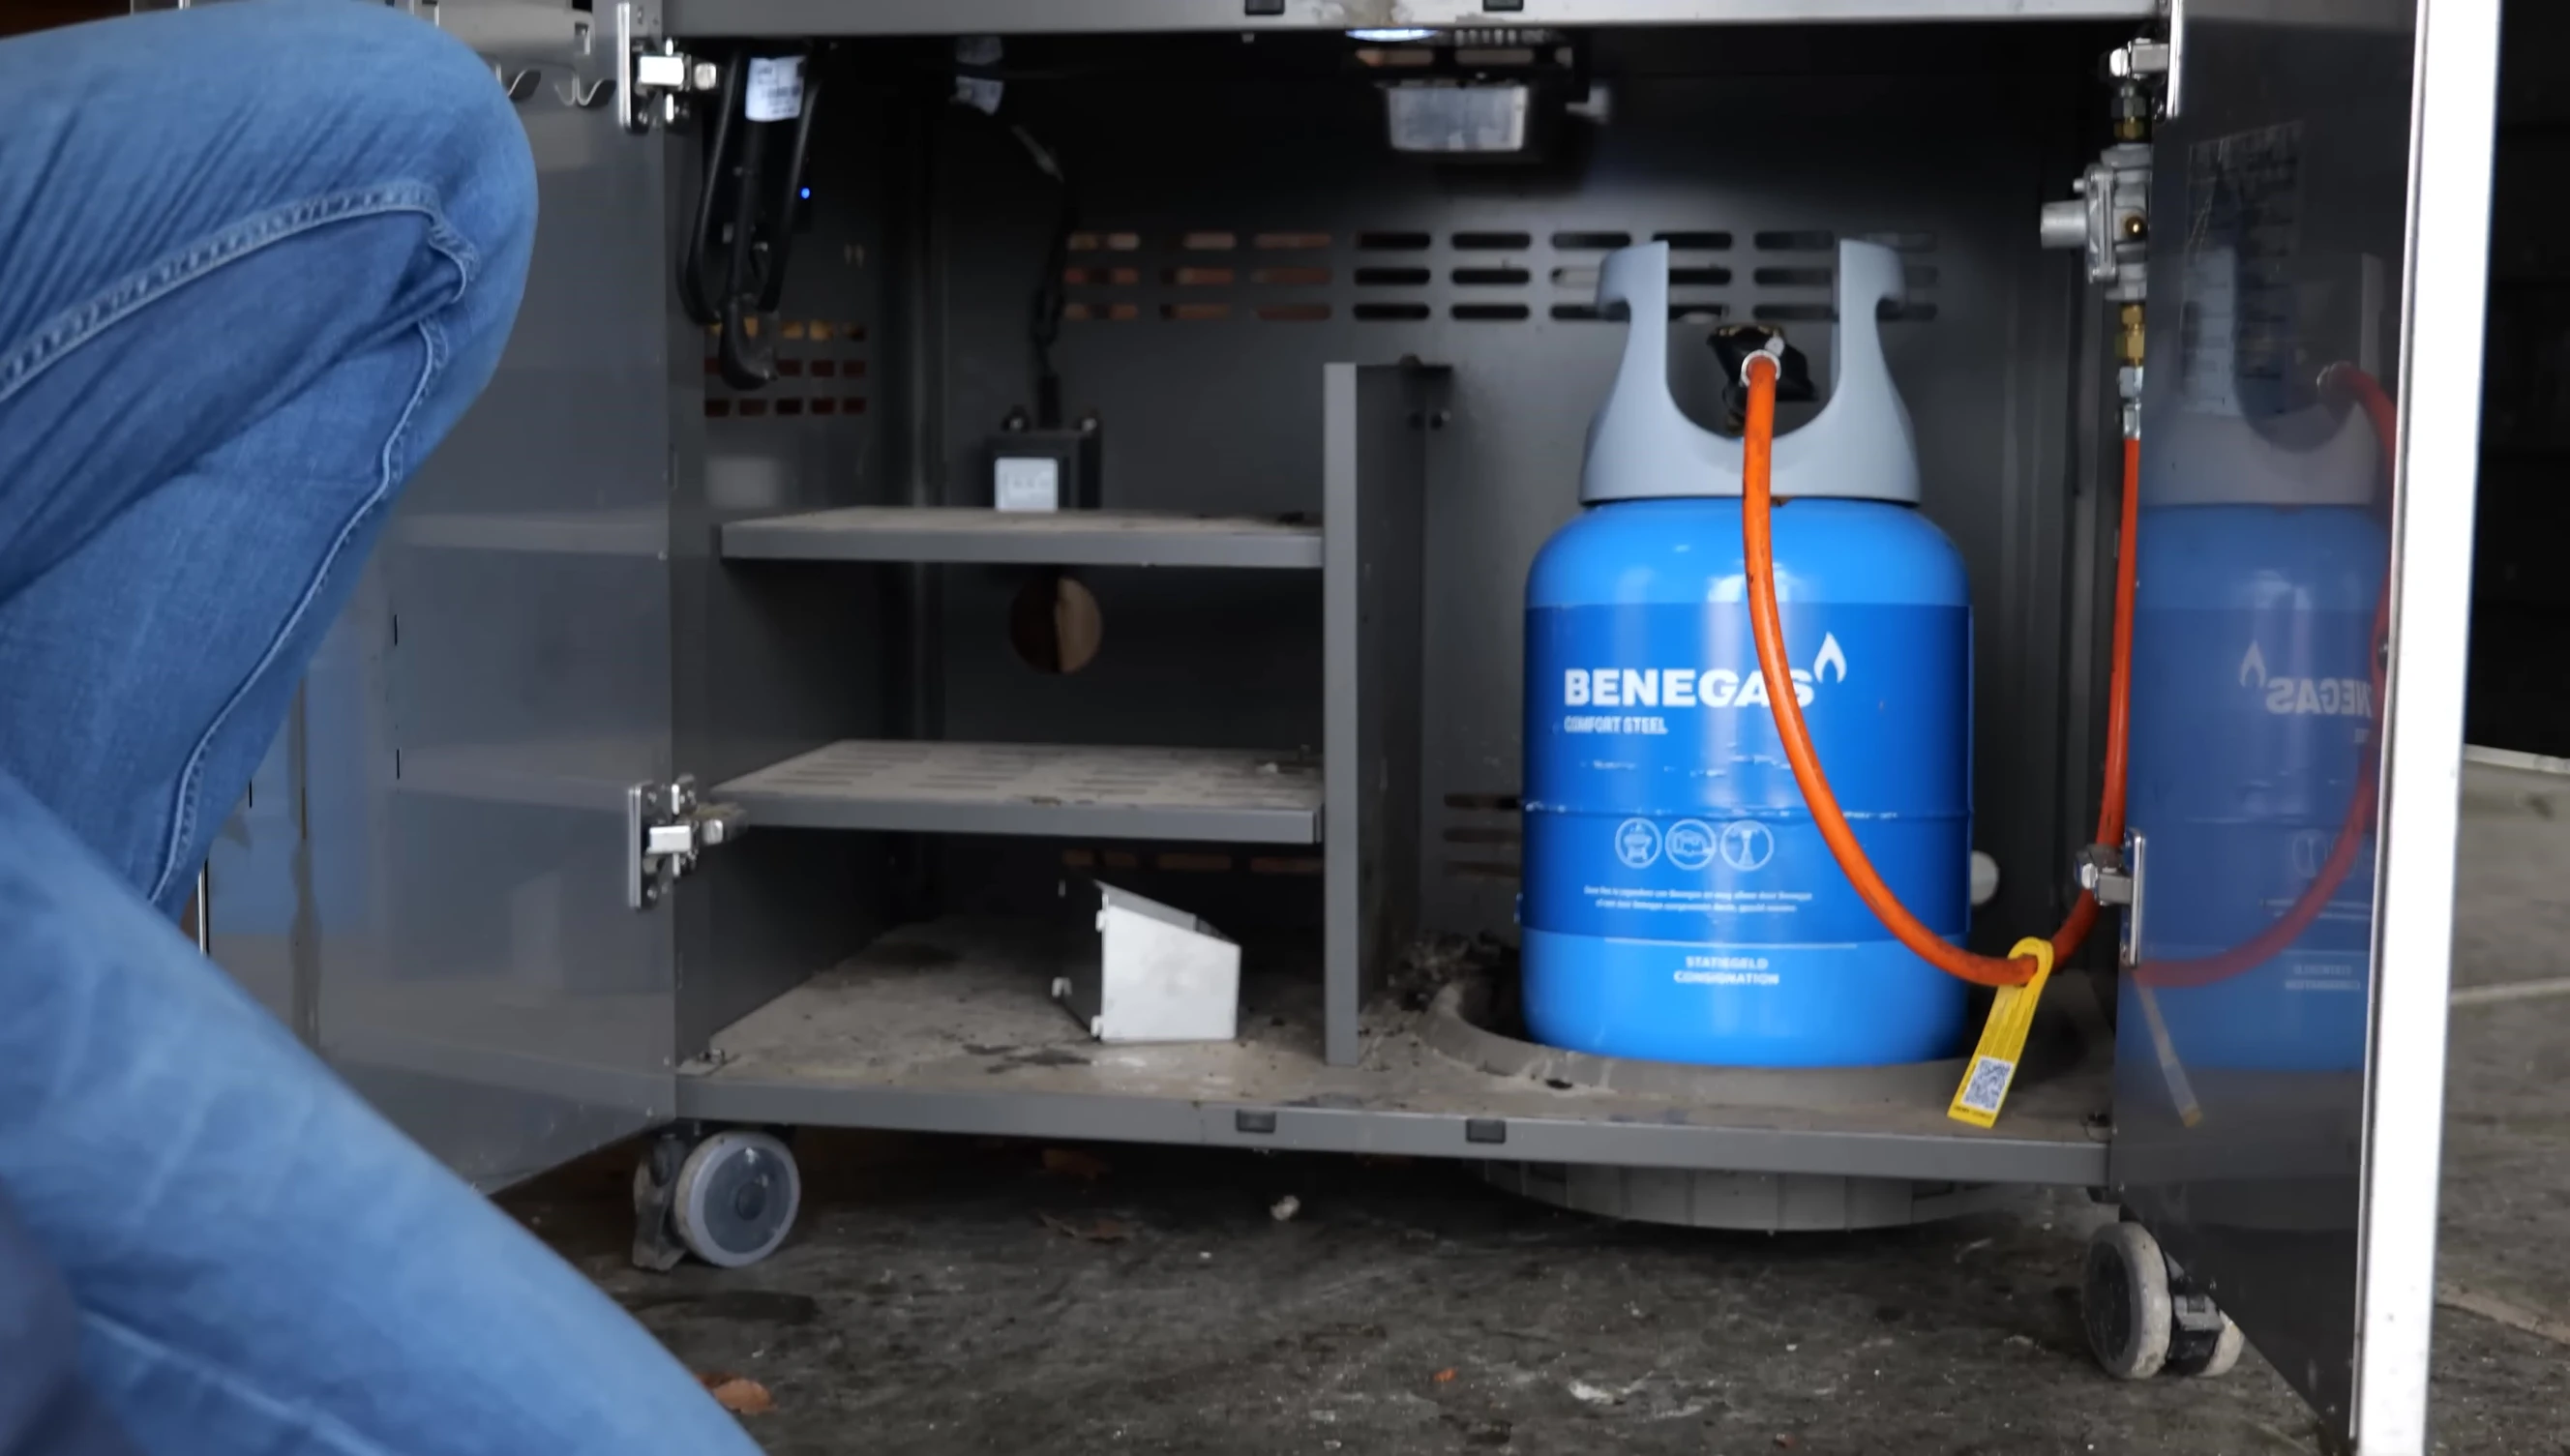
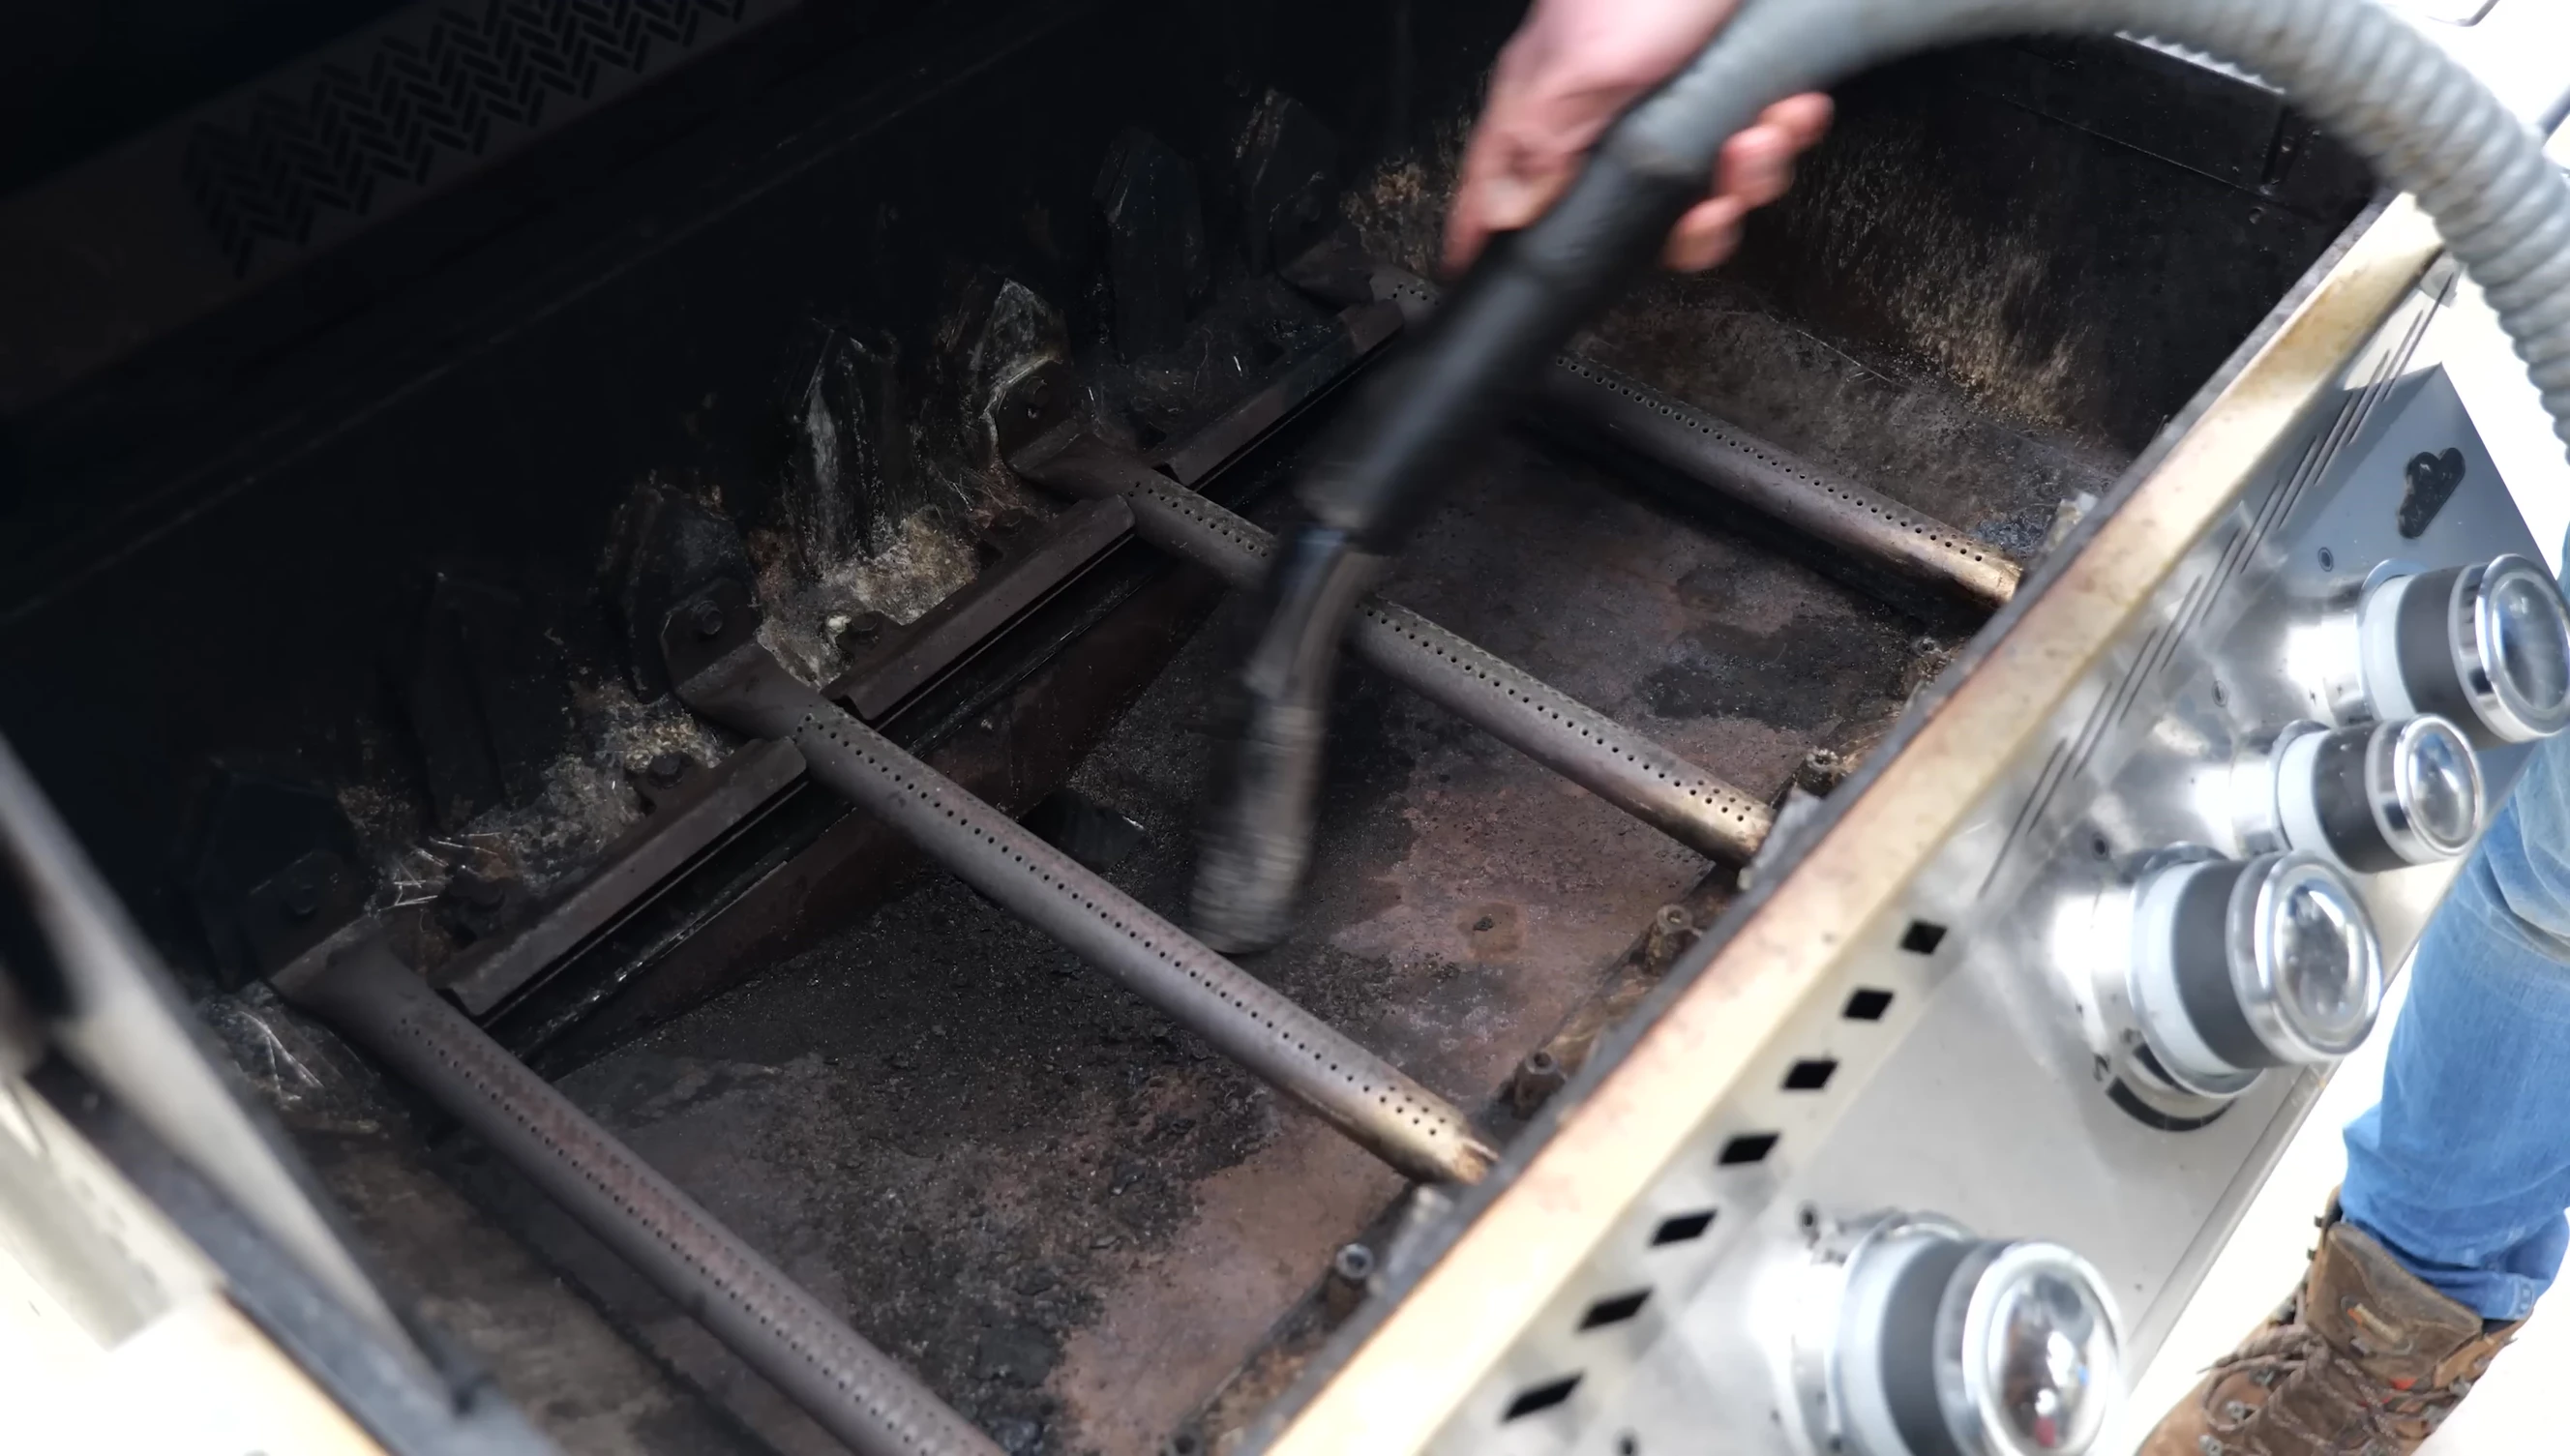
The most shocking discovery was the horrifying state of the space beneath the grill. Layers of dust, grease, and gunk had accumulated, creating a truly disgusting sight. This was a cleaning project of epic proportions.
The Deep Cleaning Process Begins
Armed with a painter's spatula, I began by scraping off the larger chunks of dirt and debris. This initial step removed a significant amount of the accumulated grime, preparing the grill for a more thorough cleaning.
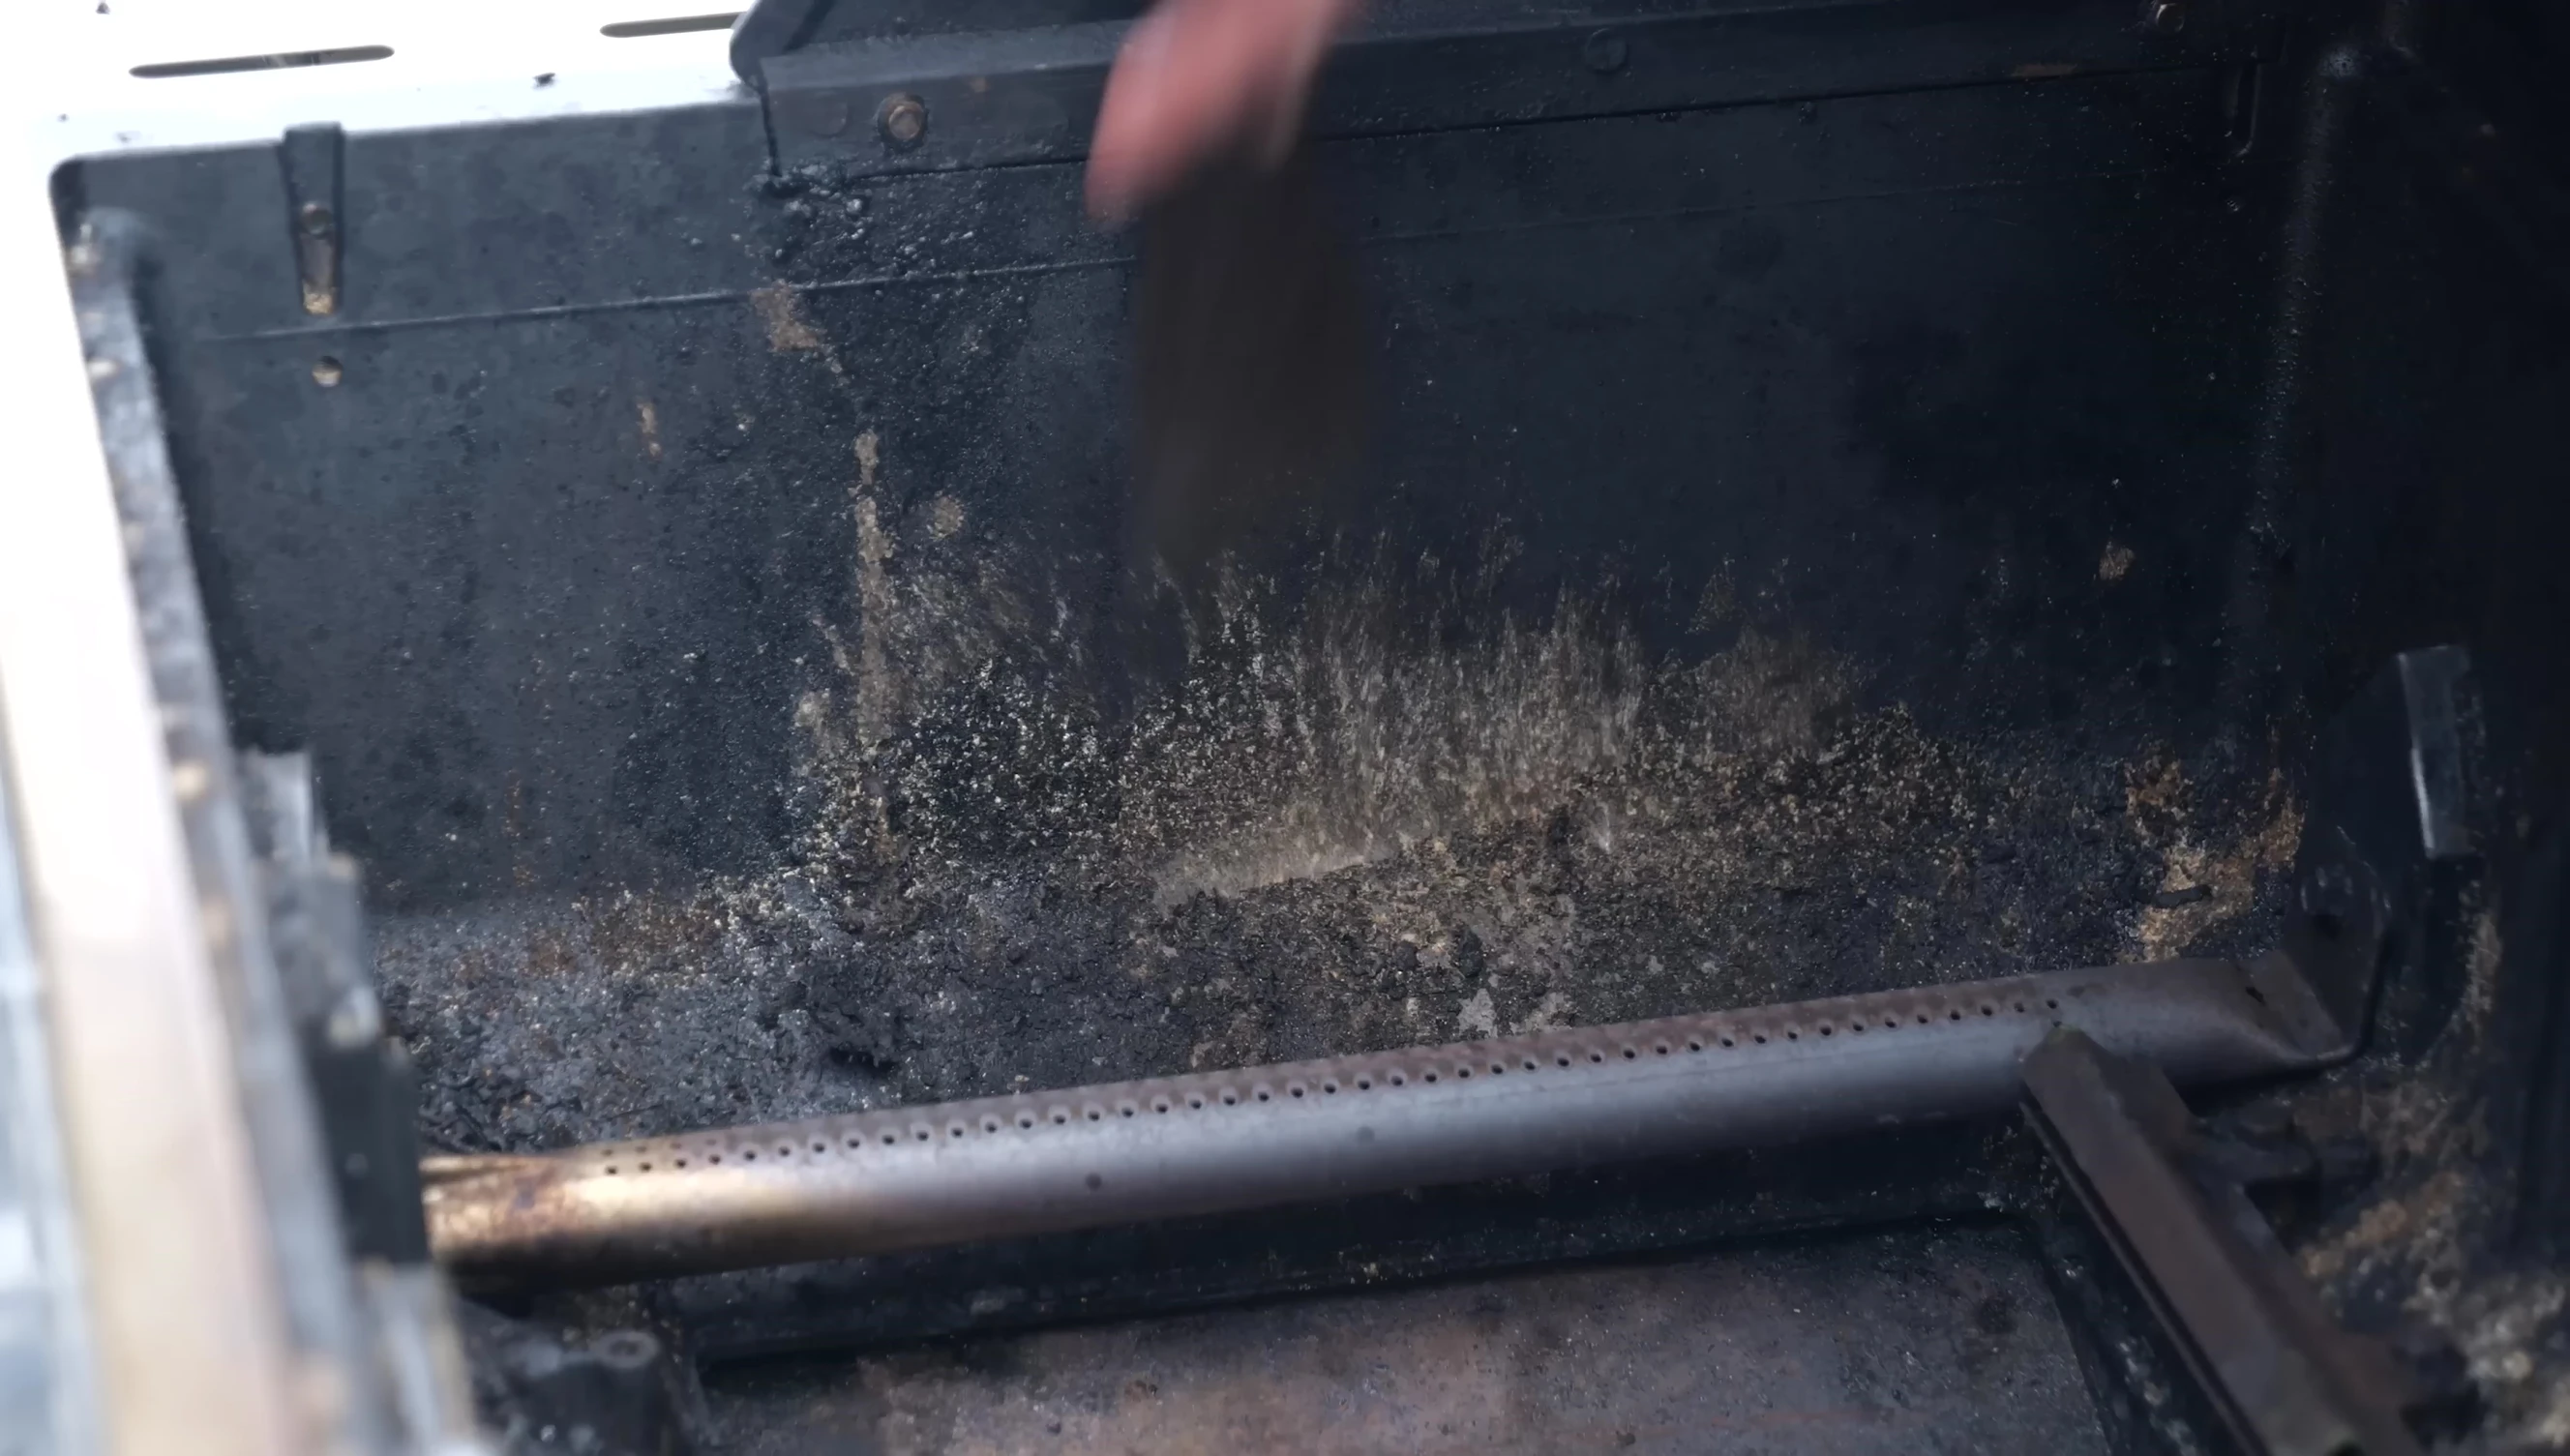
Next, I employed a fireplace vacuum to remove the remaining dust and smaller particles, ensuring a clean surface for the next stage. This step made a surprising difference in preparing the grill for the chemical cleaning.
With the grill surfaces prepped, I applied a powerful oven and barbecue cleaner, ensuring generous coverage. I donned gloves to protect my hands from the harsh chemicals. This was followed by a similar treatment for the grill grates.
Scrubbing and Shining
After allowing the chemicals to dwell for about 10 minutes, I used a nail brush (or a dishwashing brush) to work the cleaner into the remaining dirt and grease. This step helped loosen and remove stubborn grime.
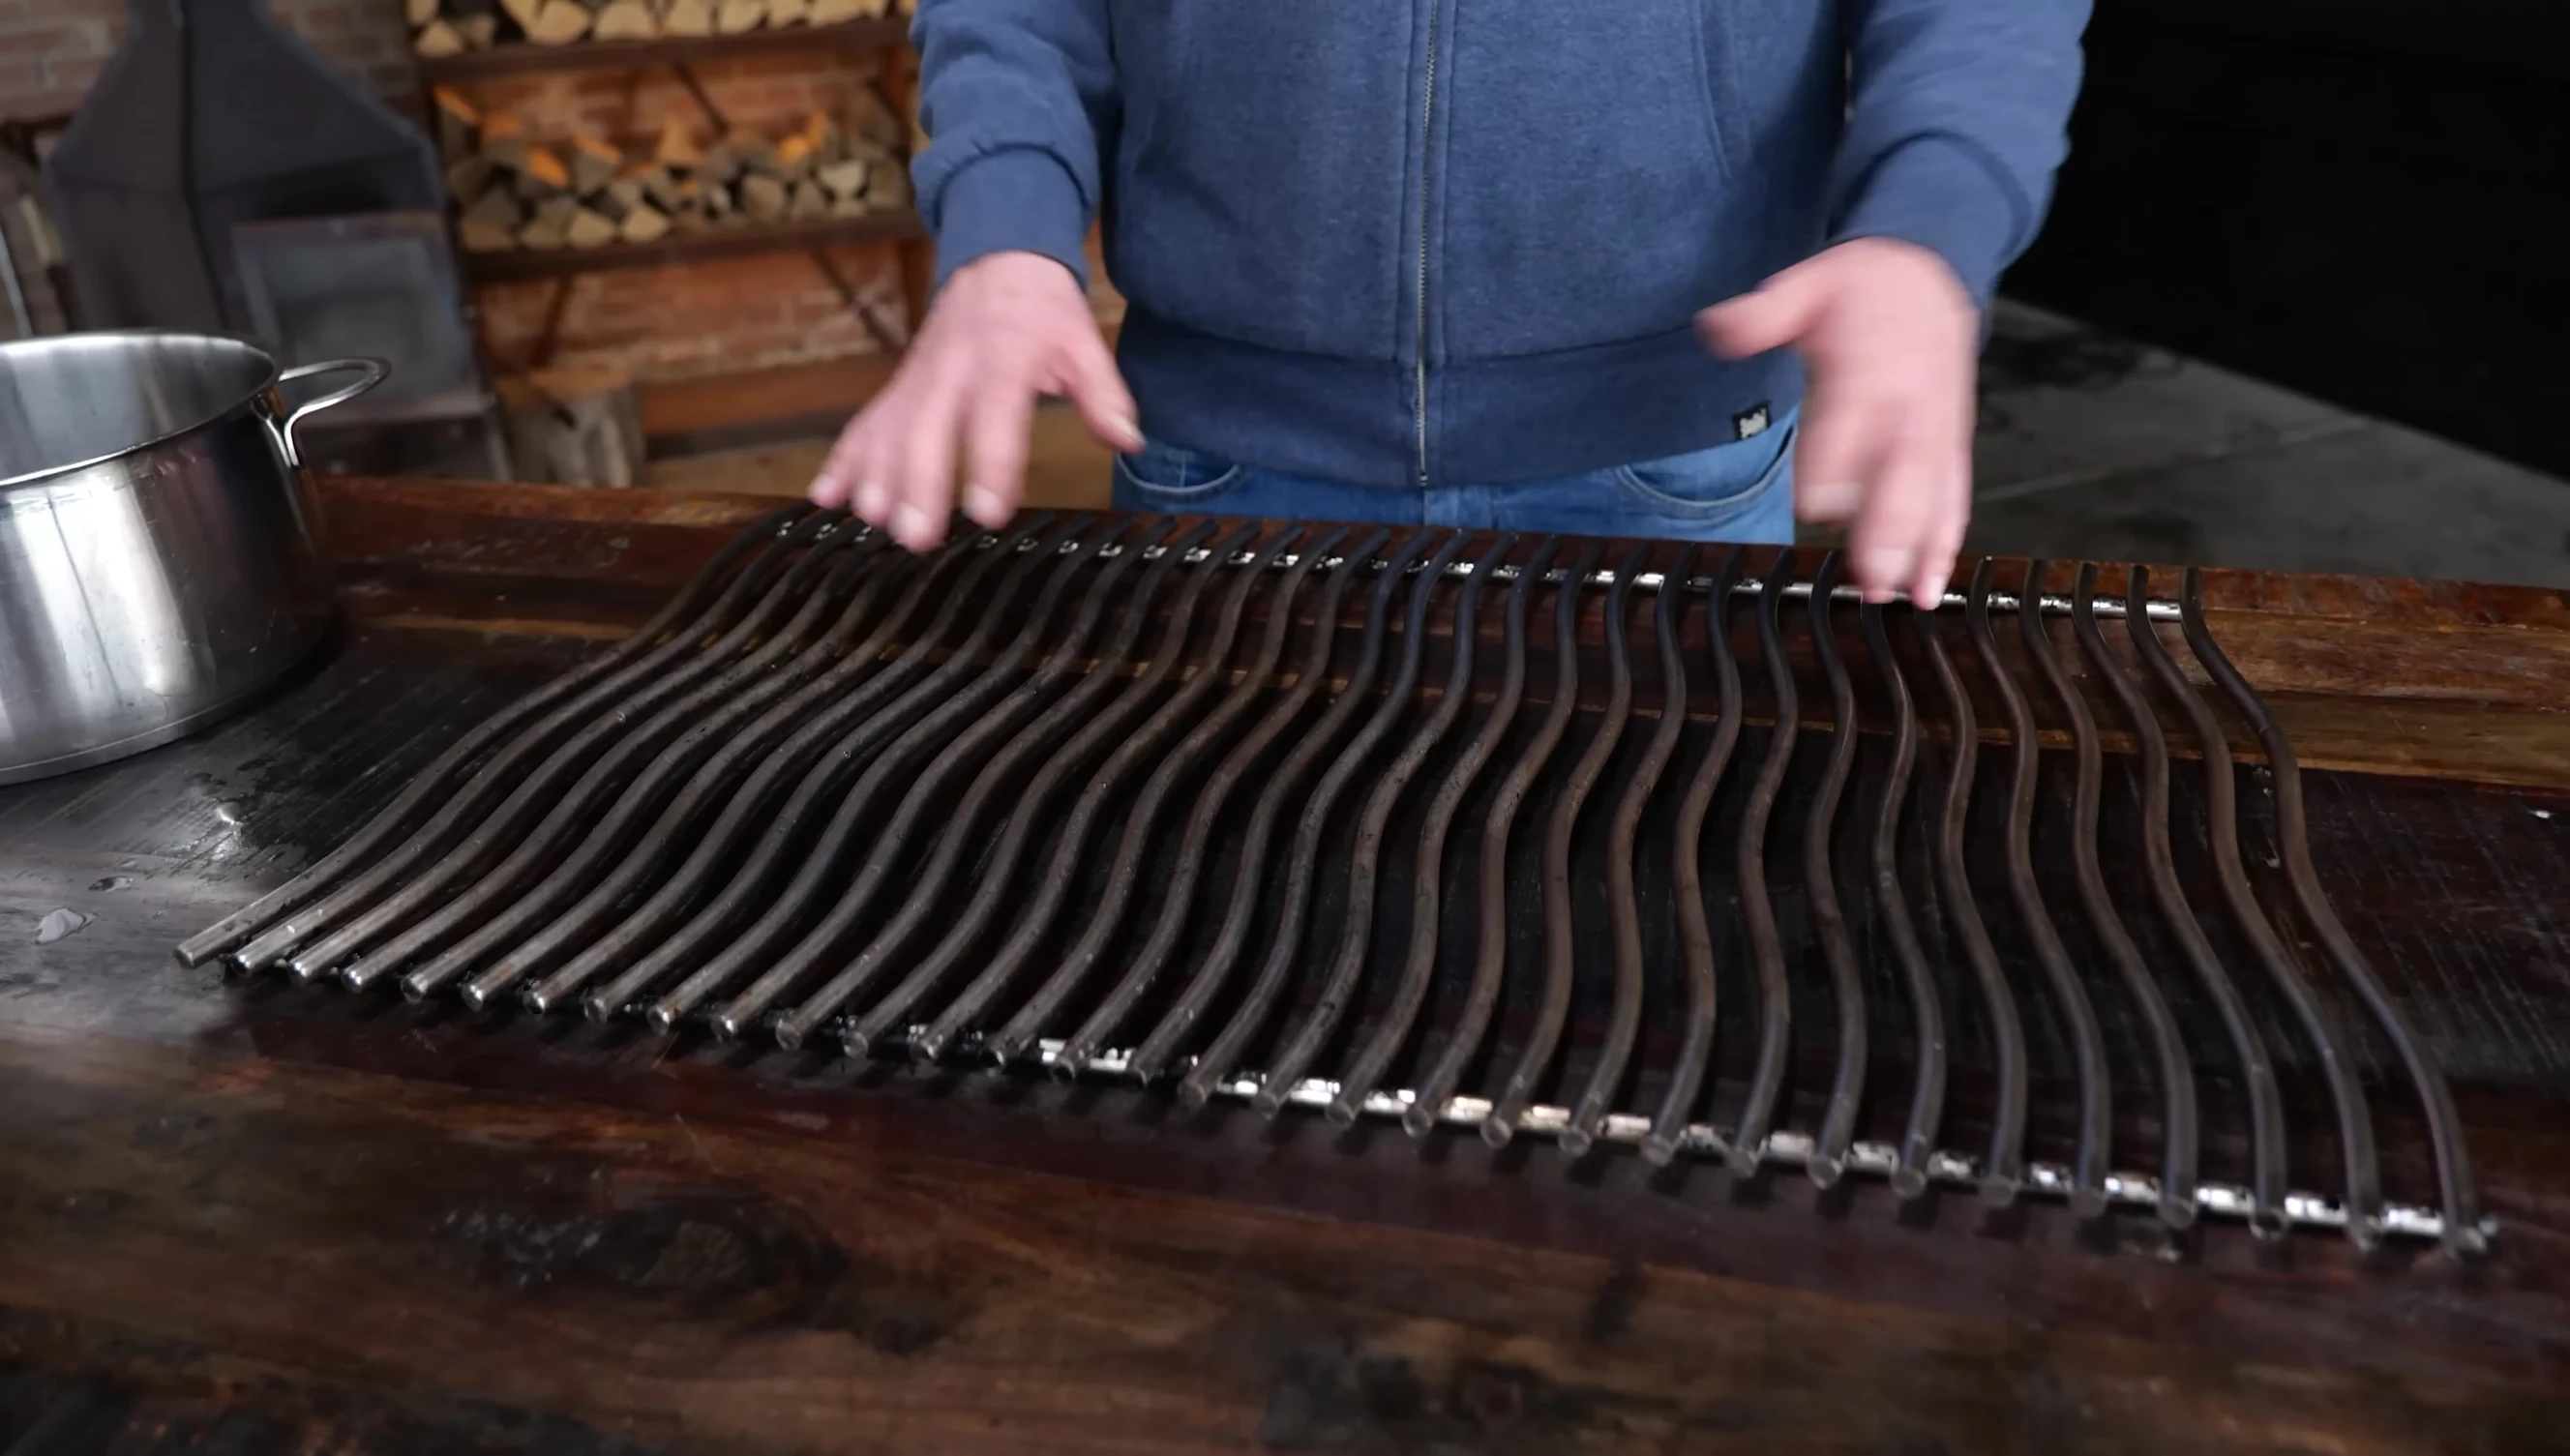
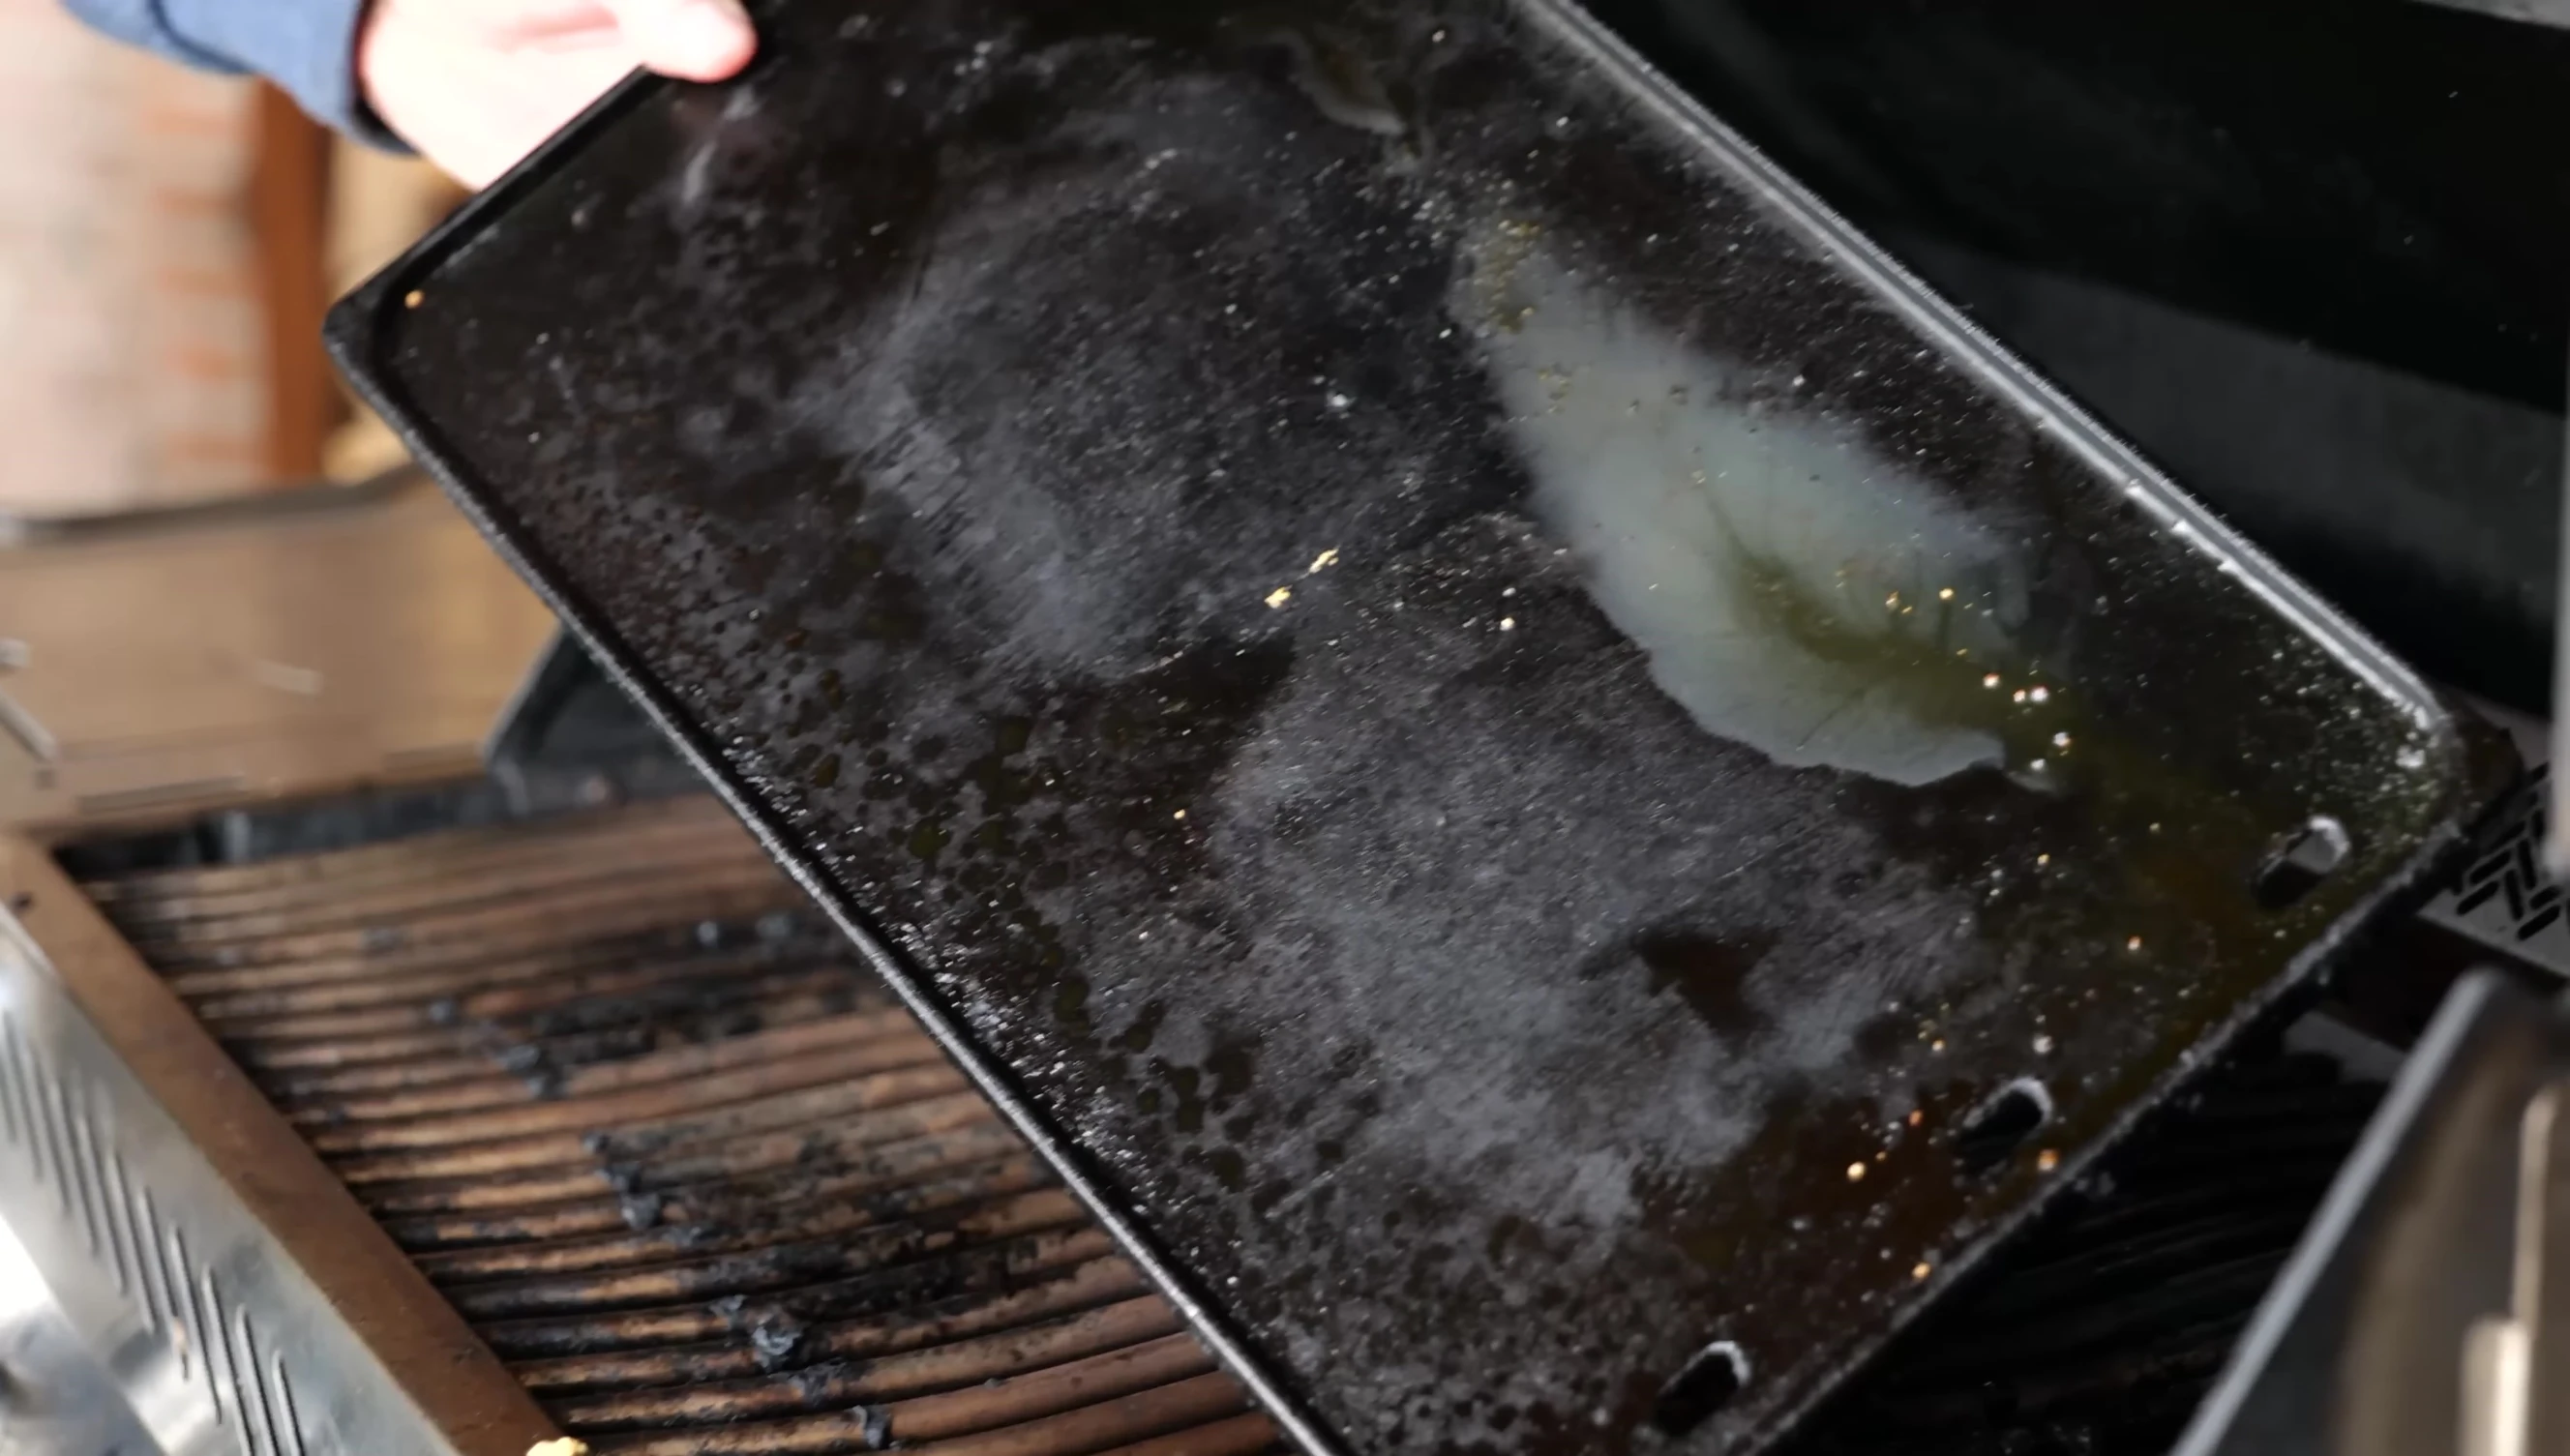
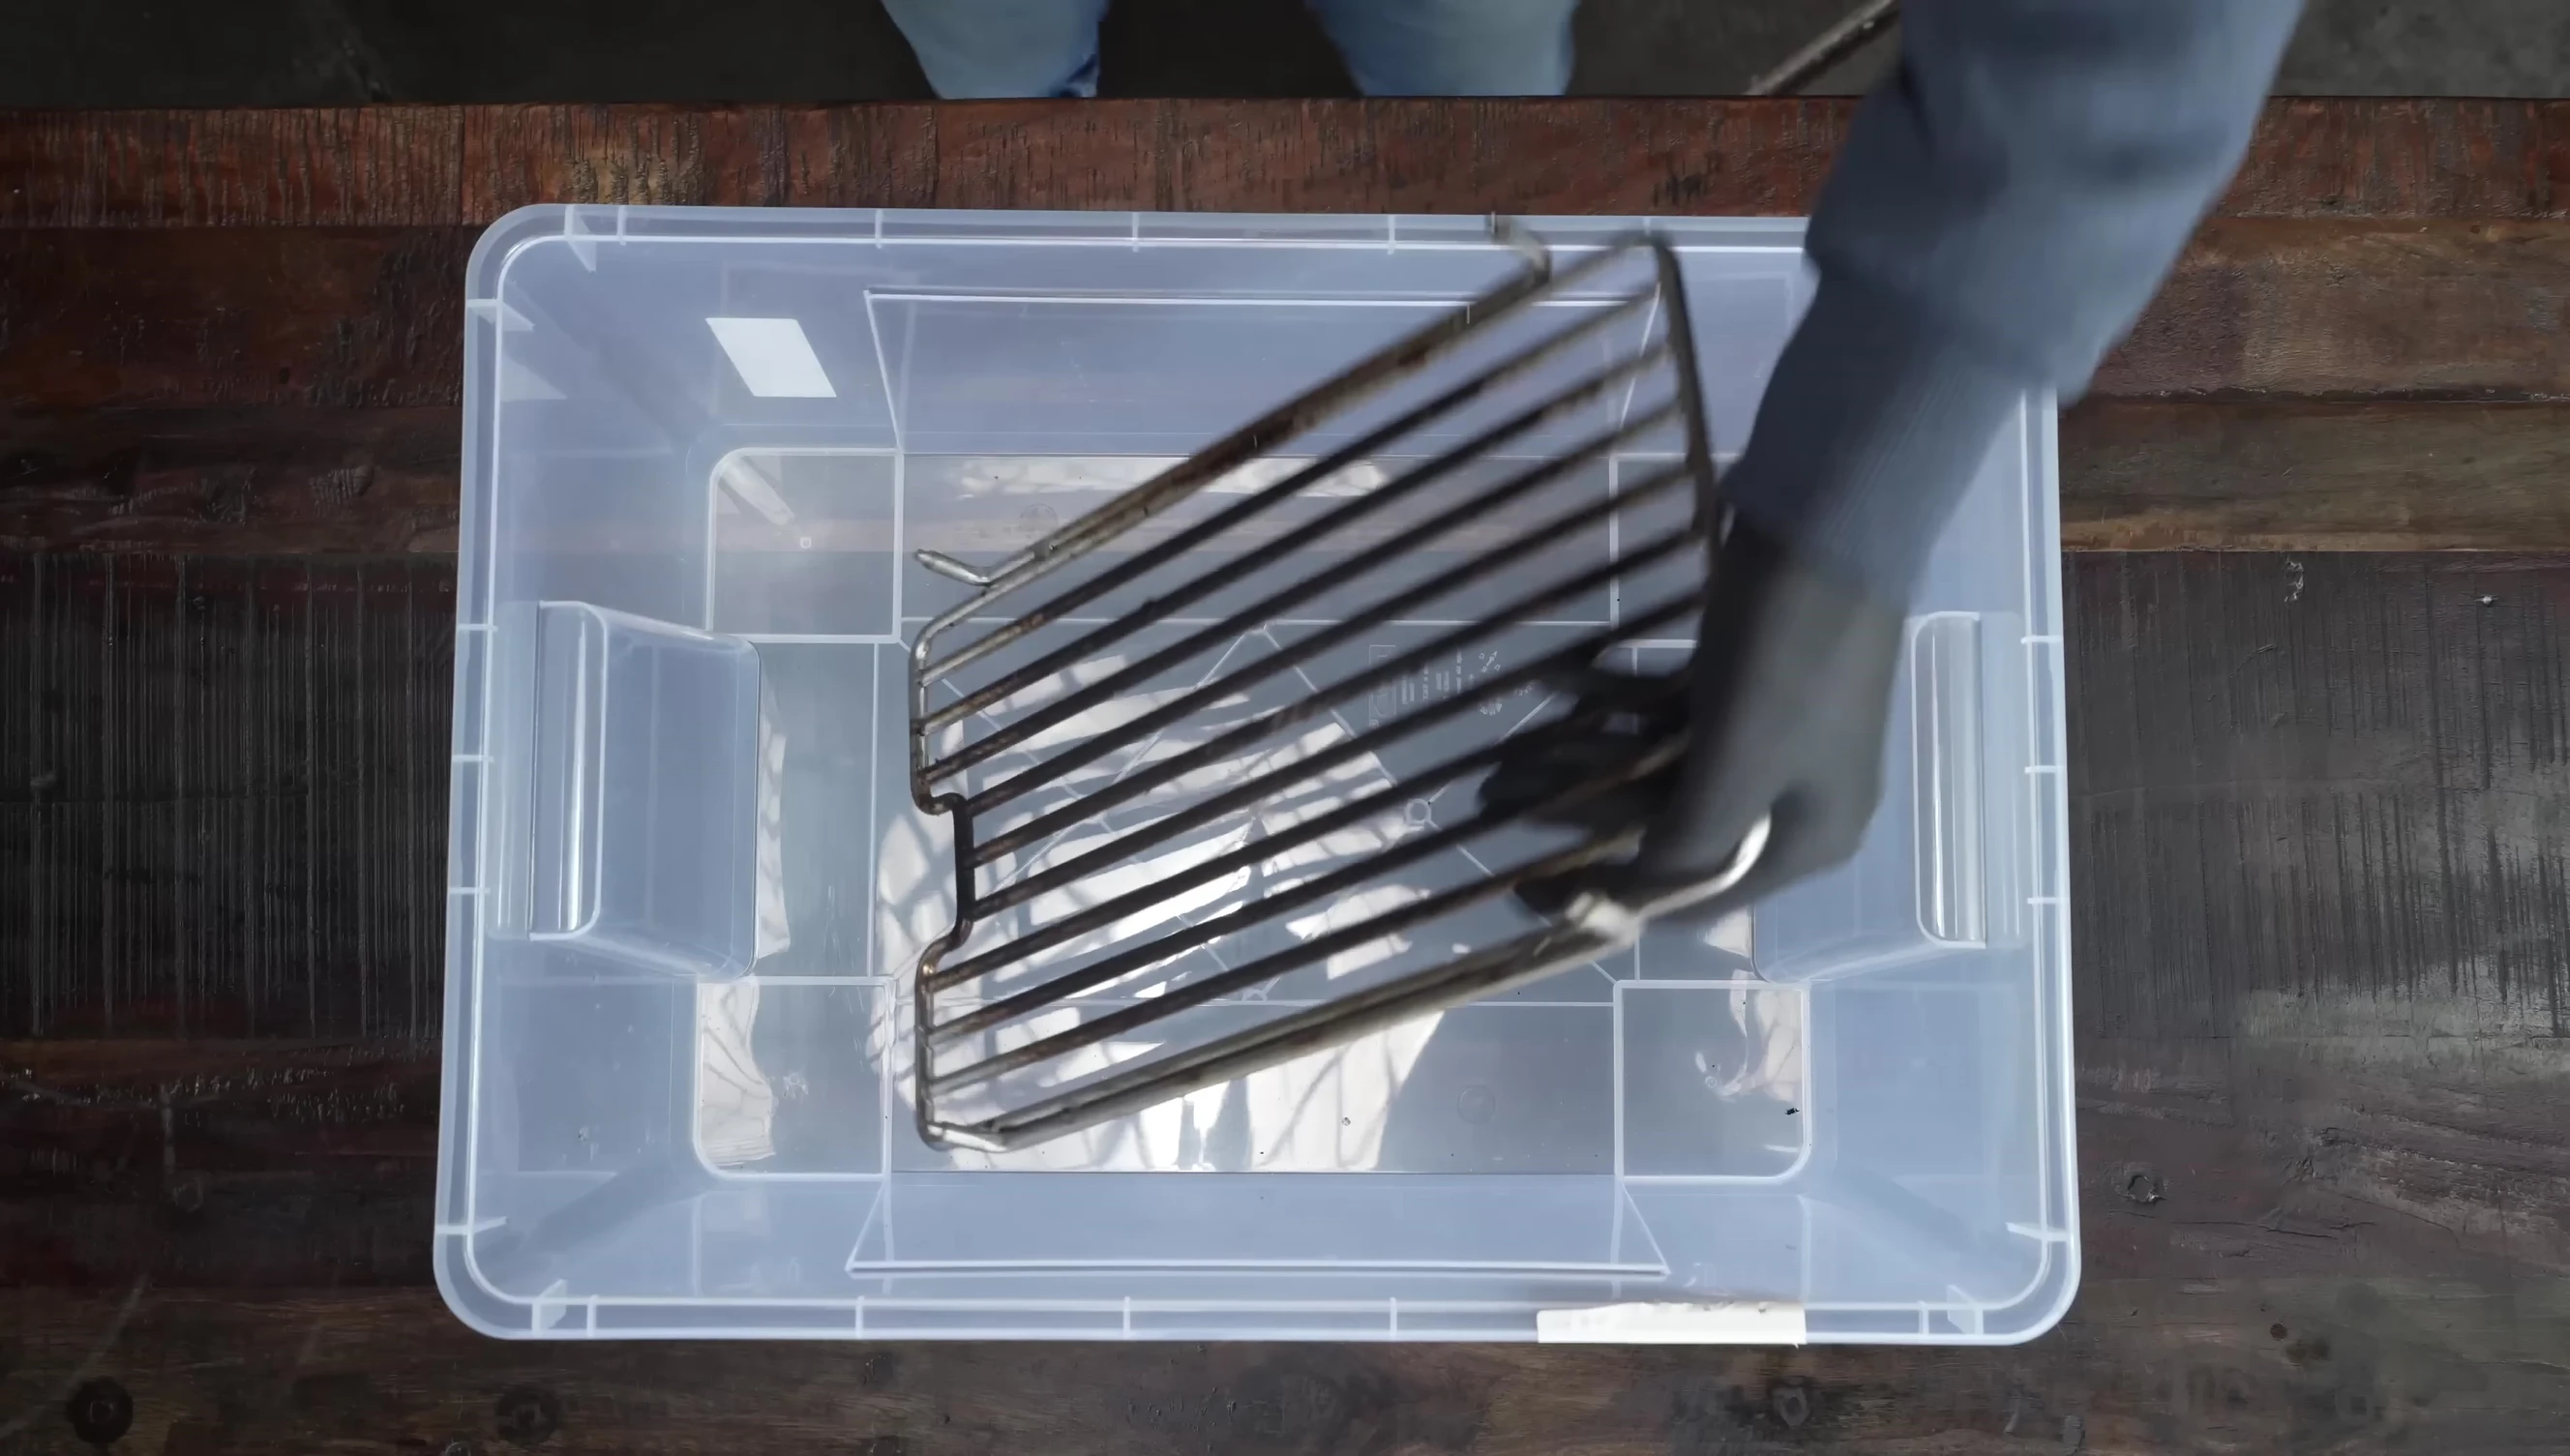
The grill grates received special attention. After rinsing, I used a kitchen sanding pad with warm water to scrub them clean, revealing the shiny stainless steel underneath. This made a huge improvement to their appearance and functionality.
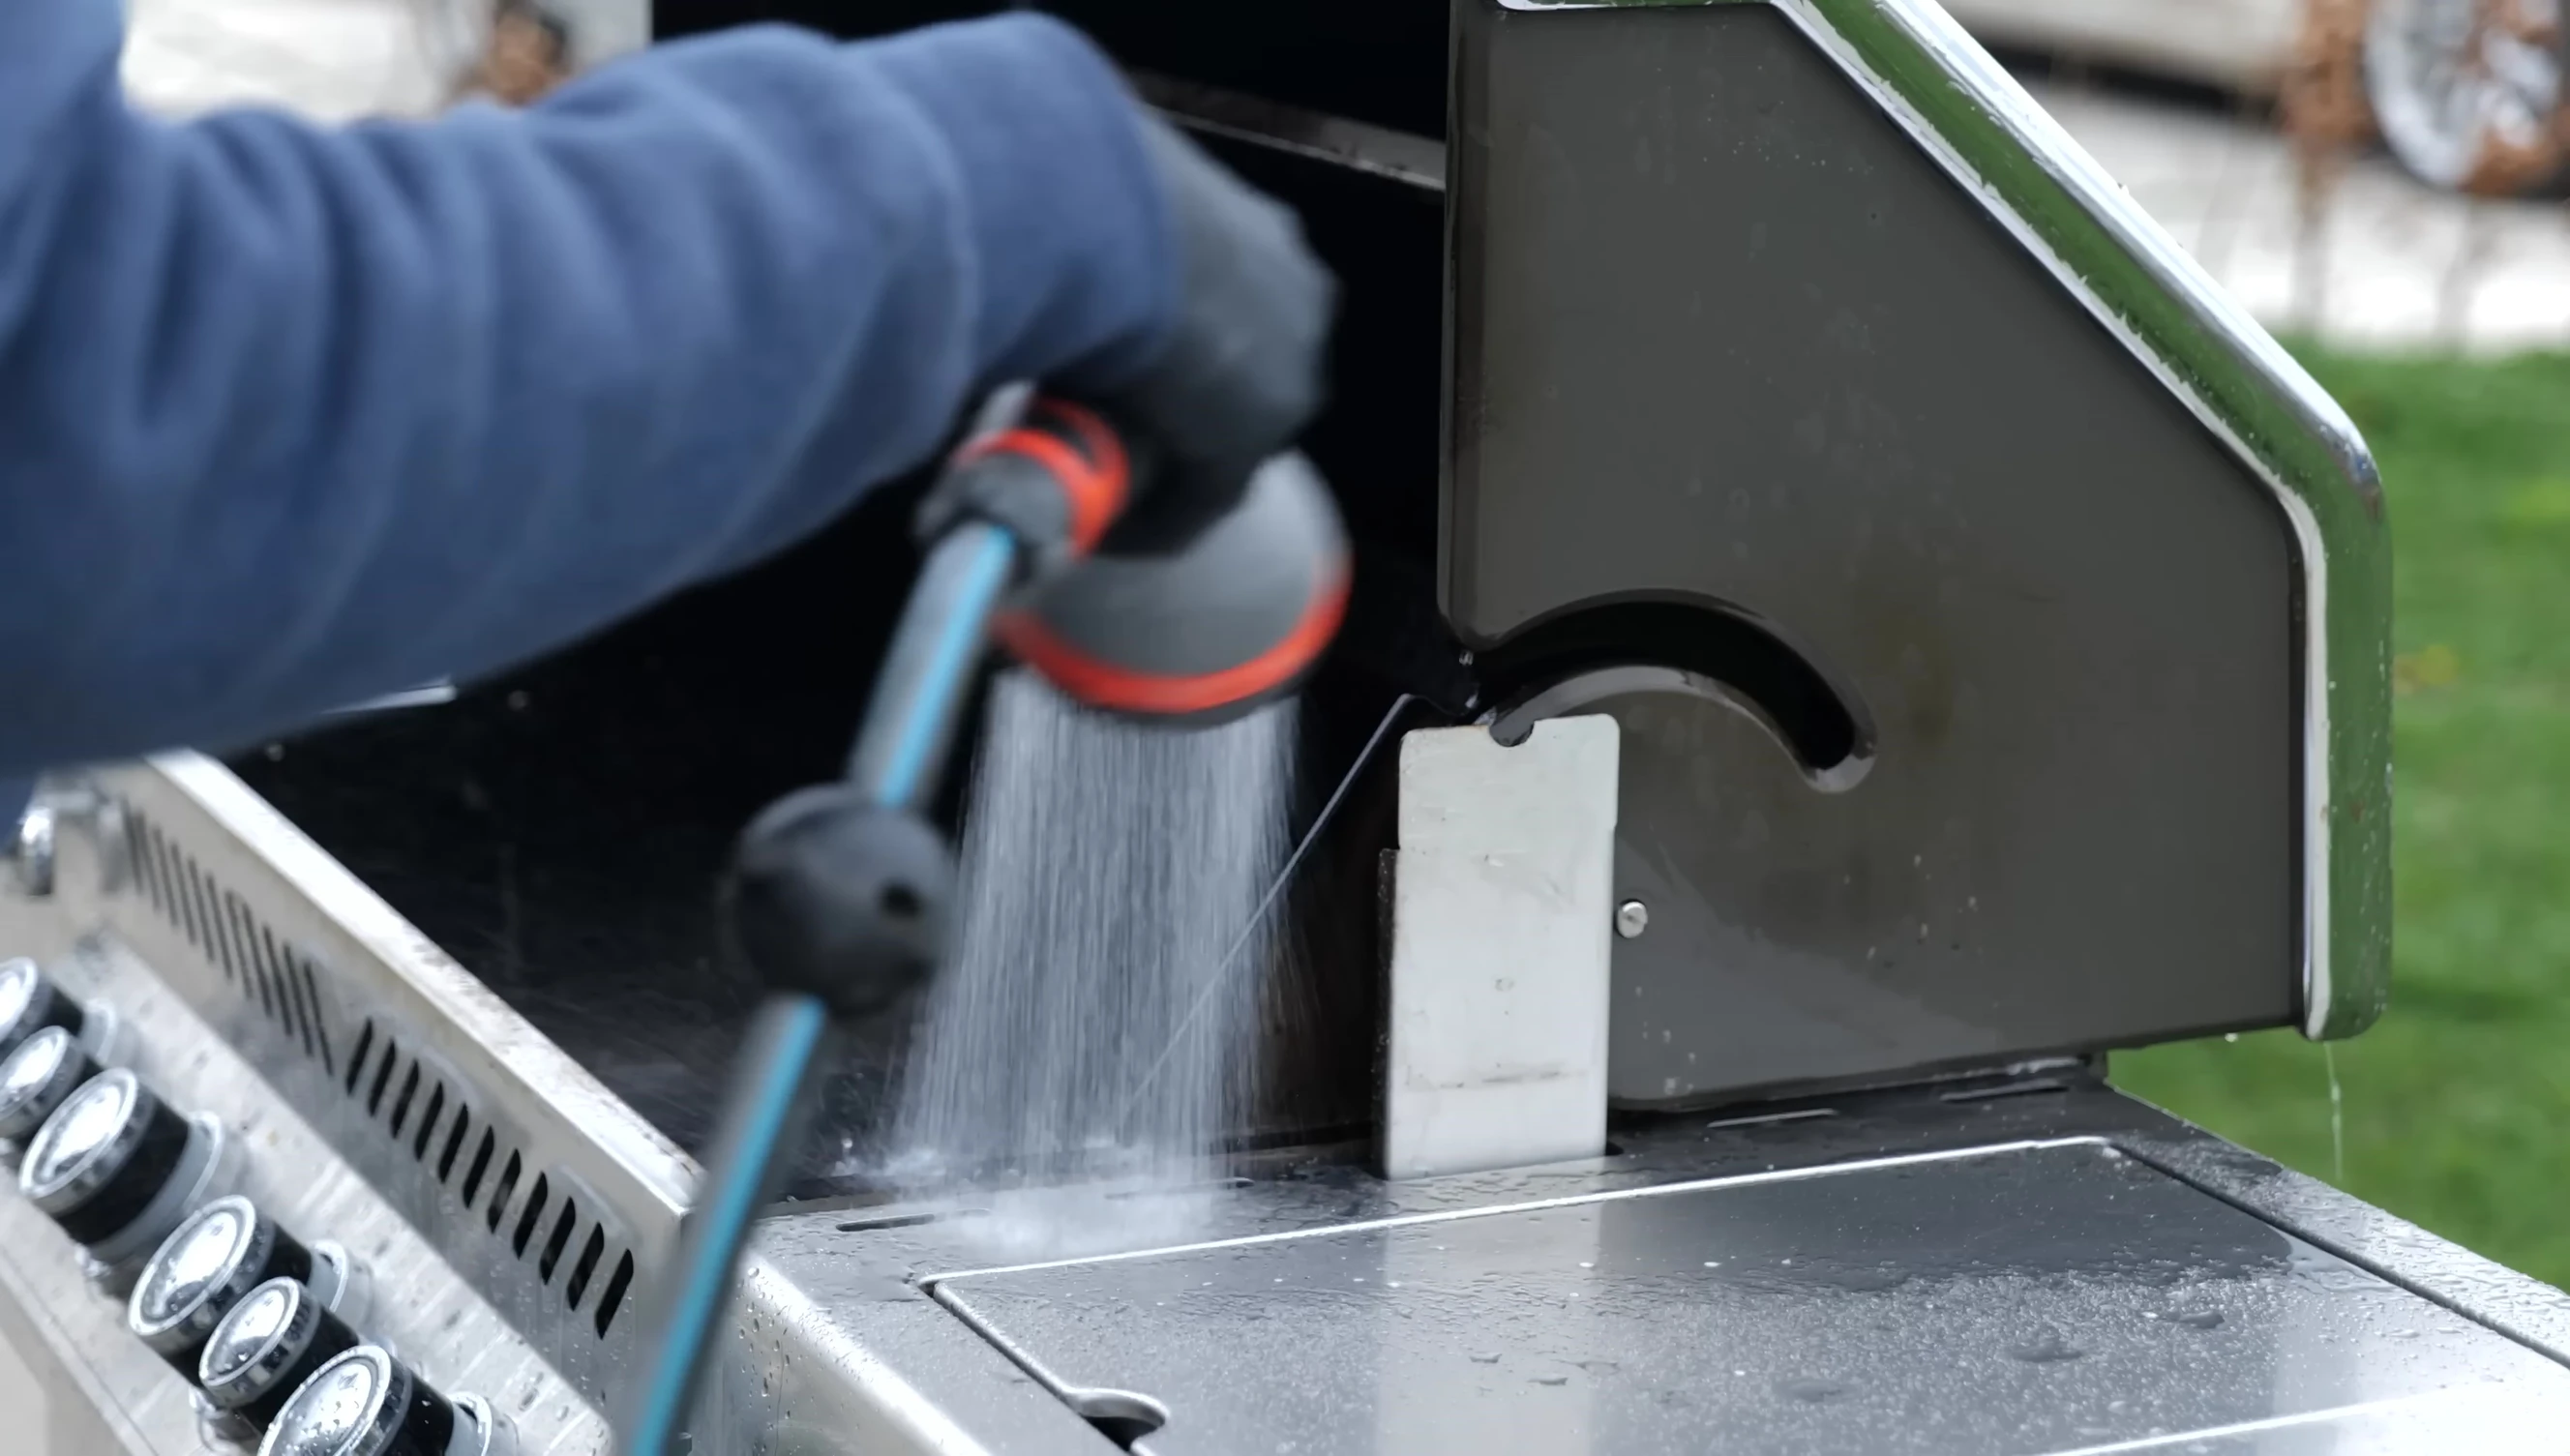
With the chemical cleaning completed, I rinsed the grill with a low-pressure garden hose, avoiding the electrical components. Then, using an abrasive pad and soapy water, I gently scrubbed the remaining parts, paying attention to avoid scratching the stainless steel.
Tackling the Storage Area and Final Touches
The most challenging part of the cleaning was the storage area beneath the grill. This area was incredibly dirty, requiring aggressive scraping and scrubbing to remove years of accumulated grease and muck.
I used a more gentle all-purpose degreaser to clean the storage area thoroughly. The results were transformative, revealing a clean and usable space.
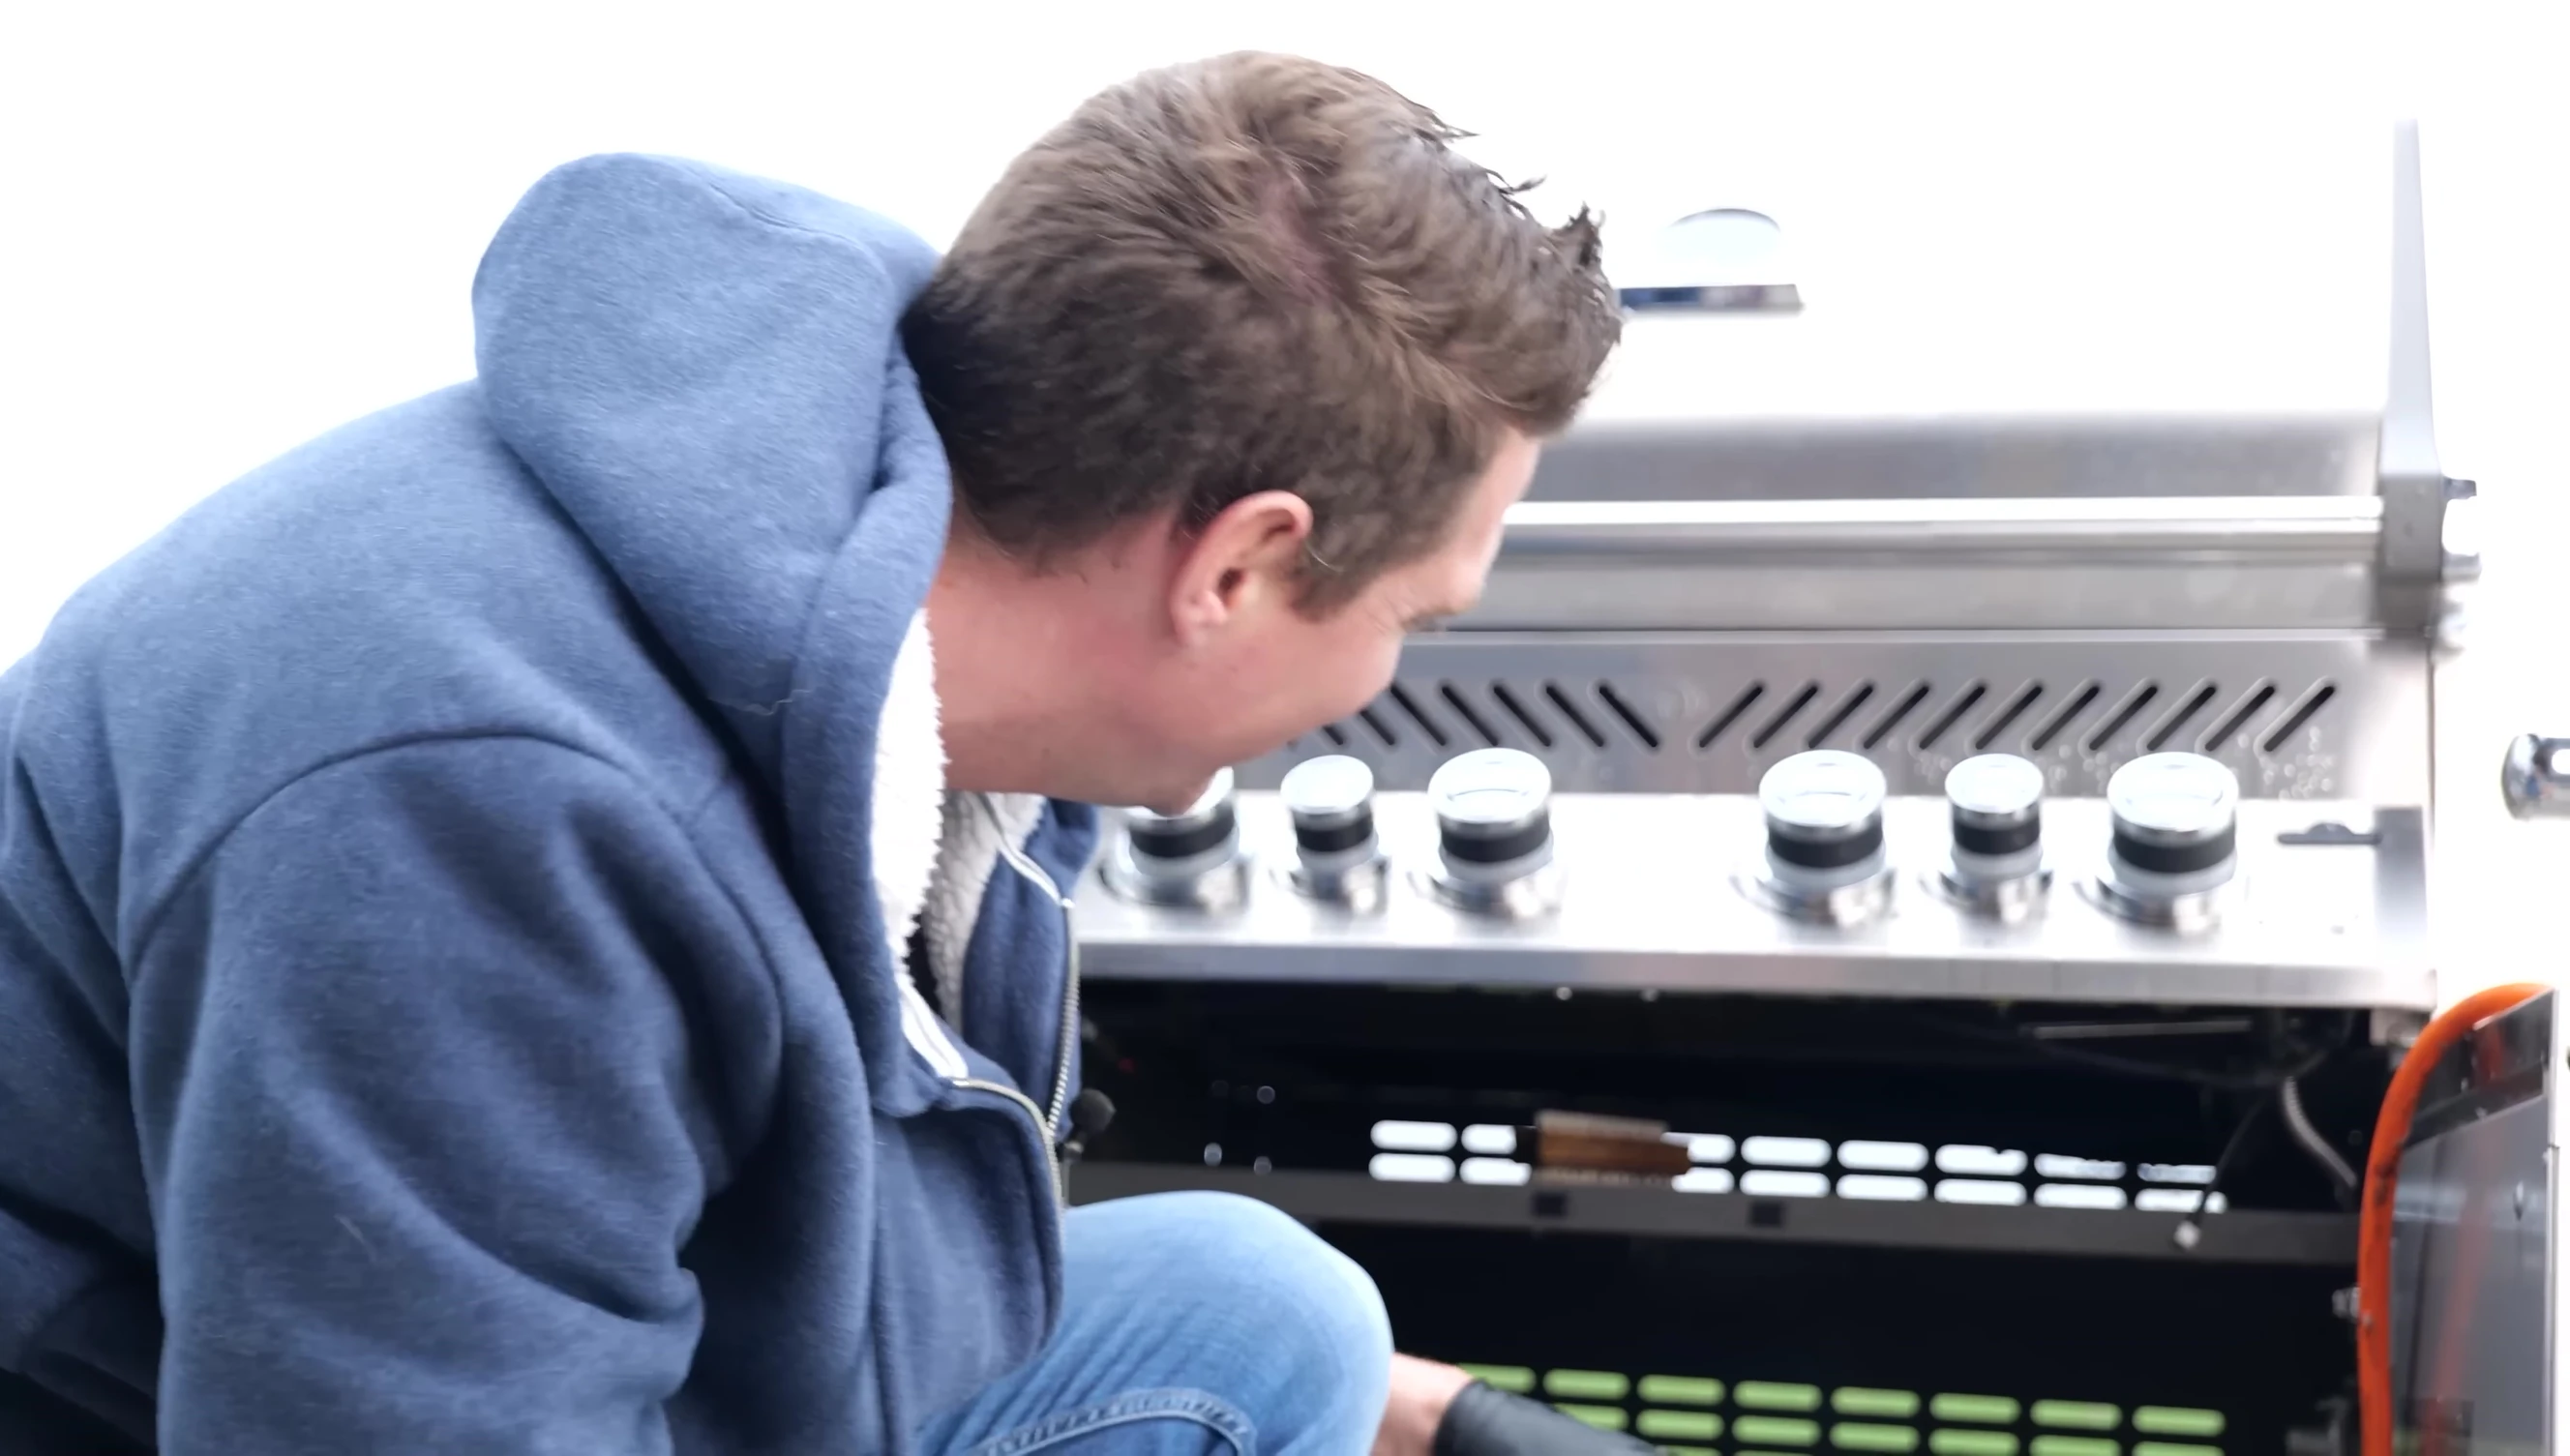
After the storage area, I cleaned the flavorizer bars, checked the burner holes for obstructions, and reassembled the grill. A final wipe-down of the exterior completed the transformation.
Conclusion: A Sparkling Grill
The deep clean revitalized my three-year-old grill. From the horrifying grime of the beginning to the sparkling finish, it was a significant undertaking, but well worth the effort. The grill looks practically brand new.
Regular maintenance, such as emptying grease trays and cleaning grill grates, prevents such drastic deep cleans in the future. However, a thorough deep clean every few years is essential to maintain the grill's performance and longevity.
The improved grilling experience is evident – food will no longer stick to the now-pristine grill grates. This deep clean not only restored the grill's aesthetic appeal but also ensures better grilling outcomes for years to come.