Elevate your grilling game with this simple and affordable DIY gas grill smoker! Transform your backyard barbecue into a smoky flavor haven without the need for expensive equipment. This guide provides a step-by-step tutorial on creating a makeshift smoker using readily available materials—heavy-duty aluminum foil and wood chips—turning your ordinary grill into a delicious smokehouse. Forget complicated setups and hefty price tags; this method is perfect for beginners and seasoned grill masters alike, offering a straightforward way to infuse your favorite meats and vegetables with rich, smoky goodness.This easy-to-follow guide will walk you through creating a foil packet smoker in minutes. Learn how to properly assemble the packet, ensuring it's sealed tightly while still allowing for controlled smoke release. Discover the importance of using heavy-duty foil and the ideal placement of your smoker on the grill for even smoking. Get ready to experiment with various wood chip varieties and unlock a world of smoky flavor profiles, all from the convenience of your own backyard. Let's transform your grilling experience!
Read more: 10 Best Electric Smoker Wood Chips for Delicious BBQ
Gathering Your Supplies
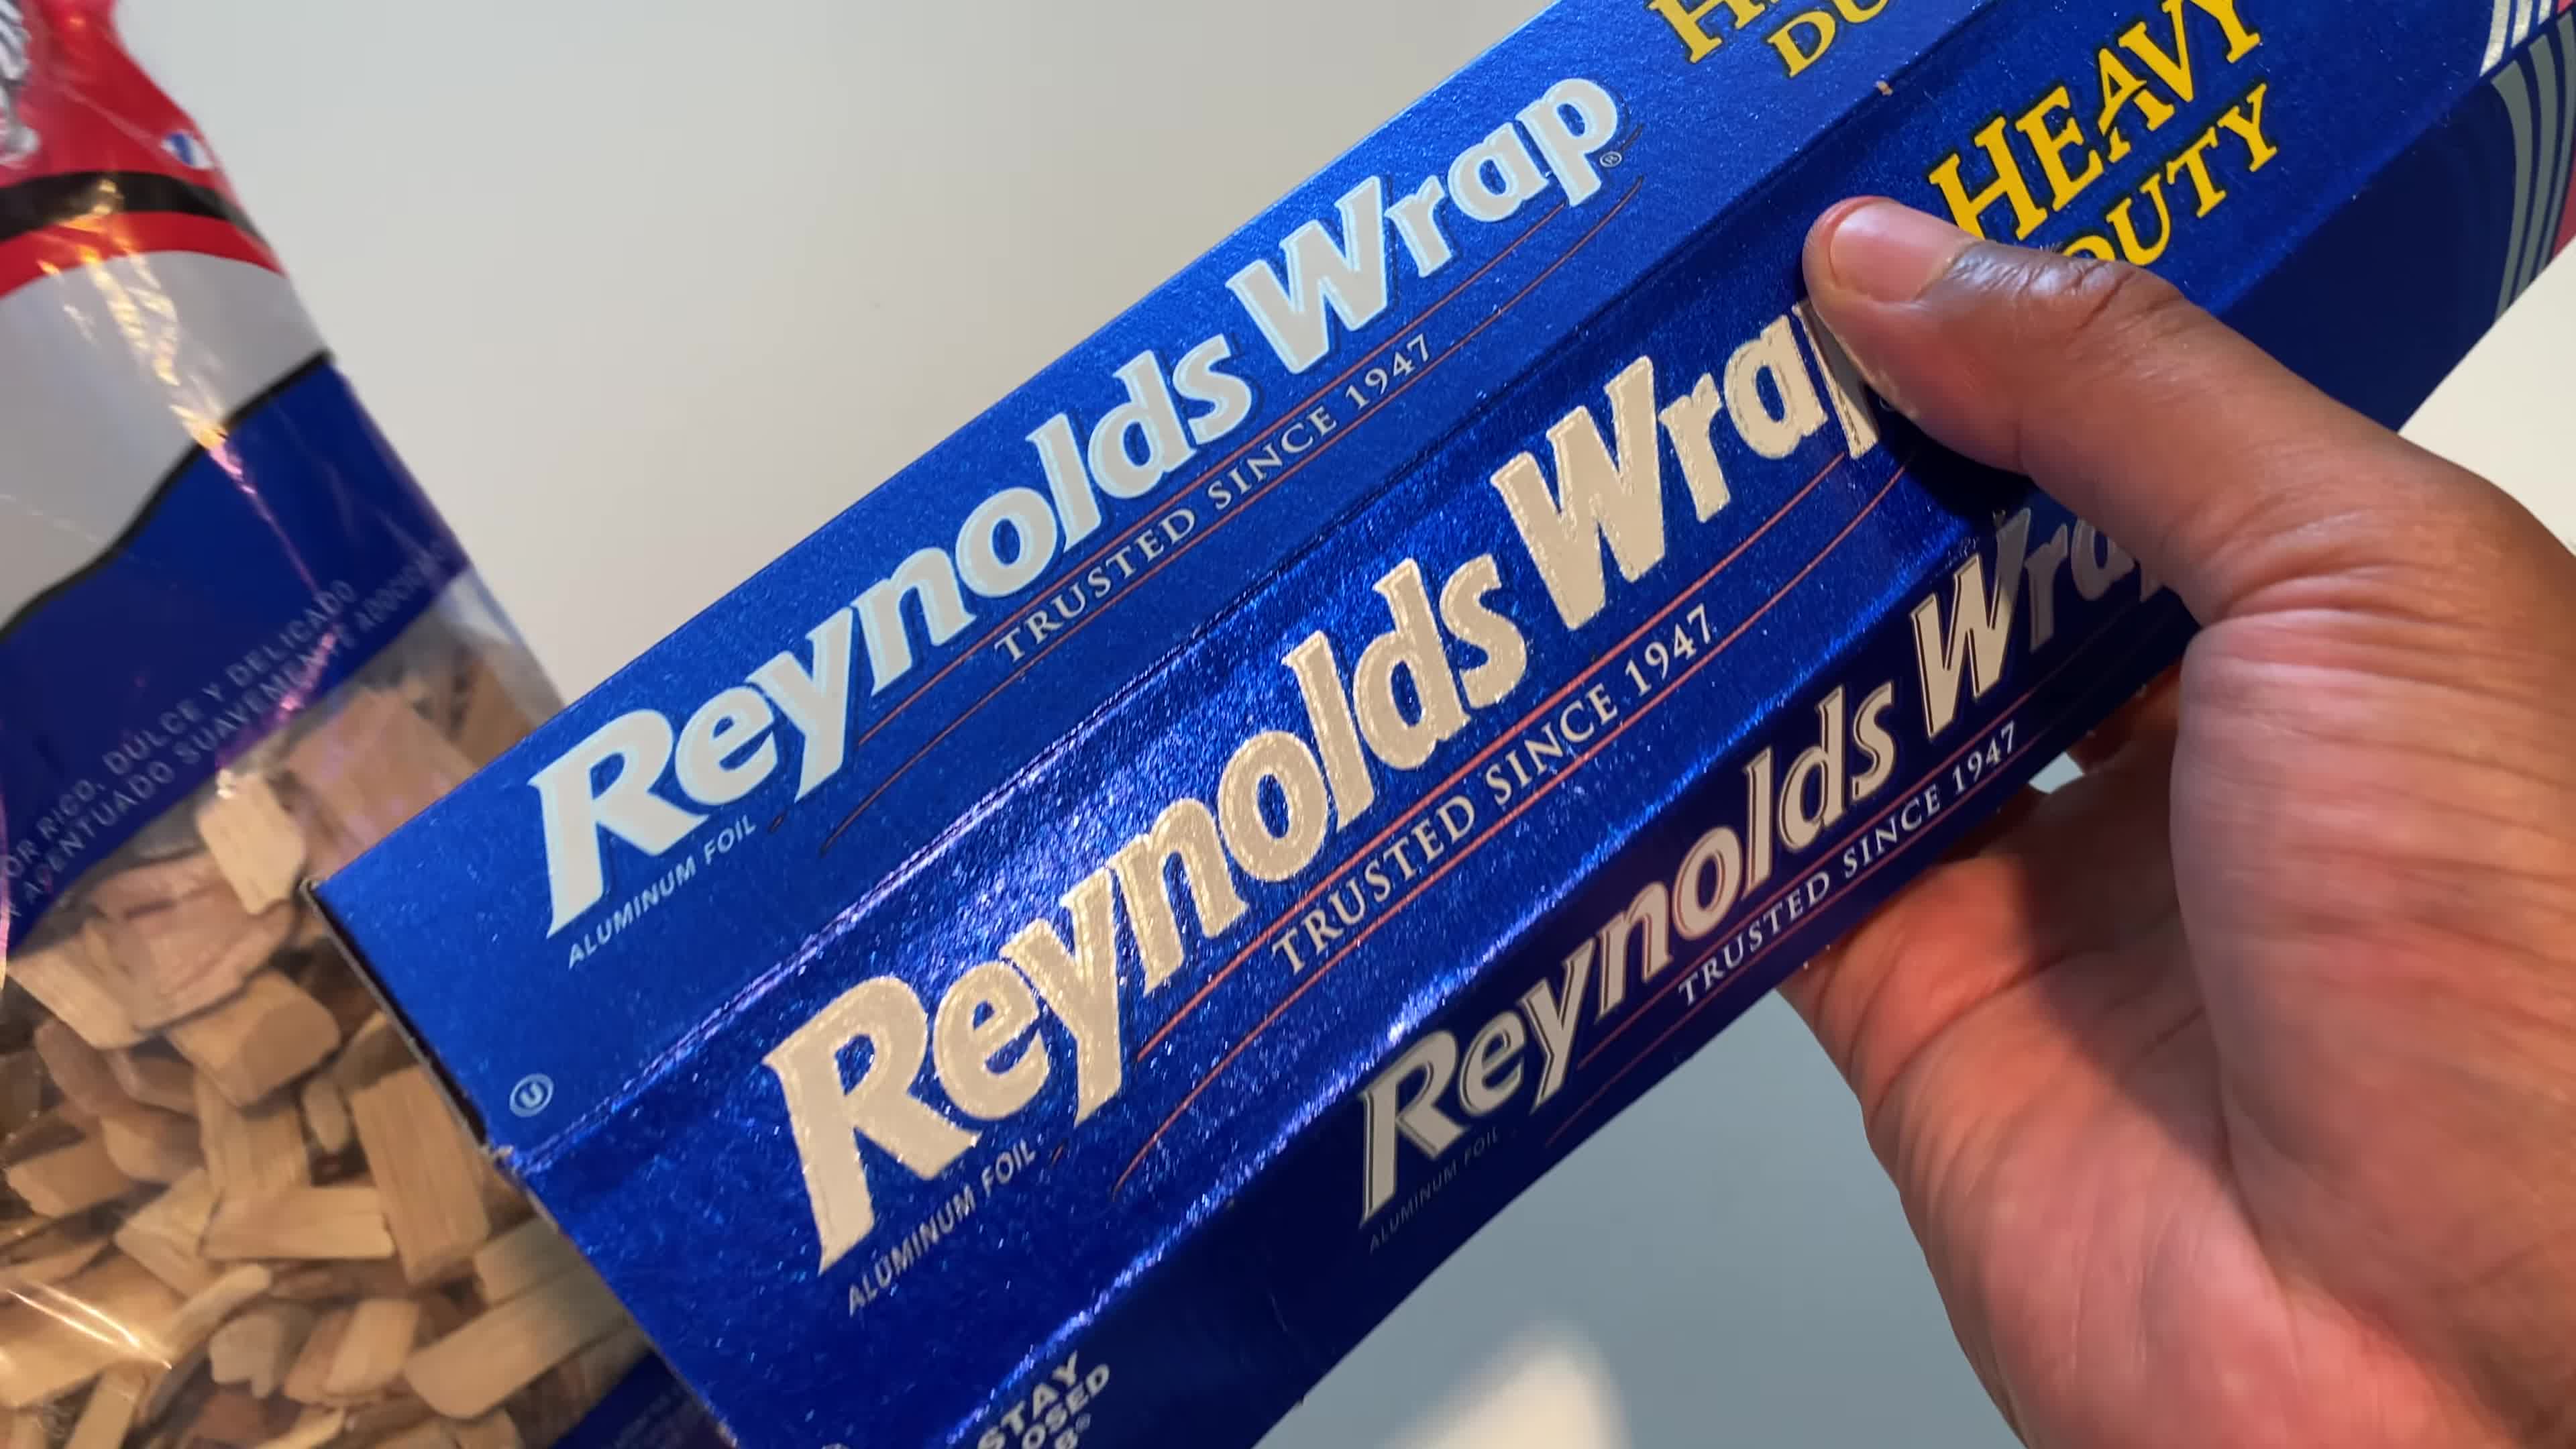
To create this simple smoker, you'll need just a few essential items. First, grab some high-quality wood chips; hickory or other hardwoods work well. Secondly, you'll need a good supply of heavy-duty aluminum foil. The heavier the foil, the better it will hold up to the heat.
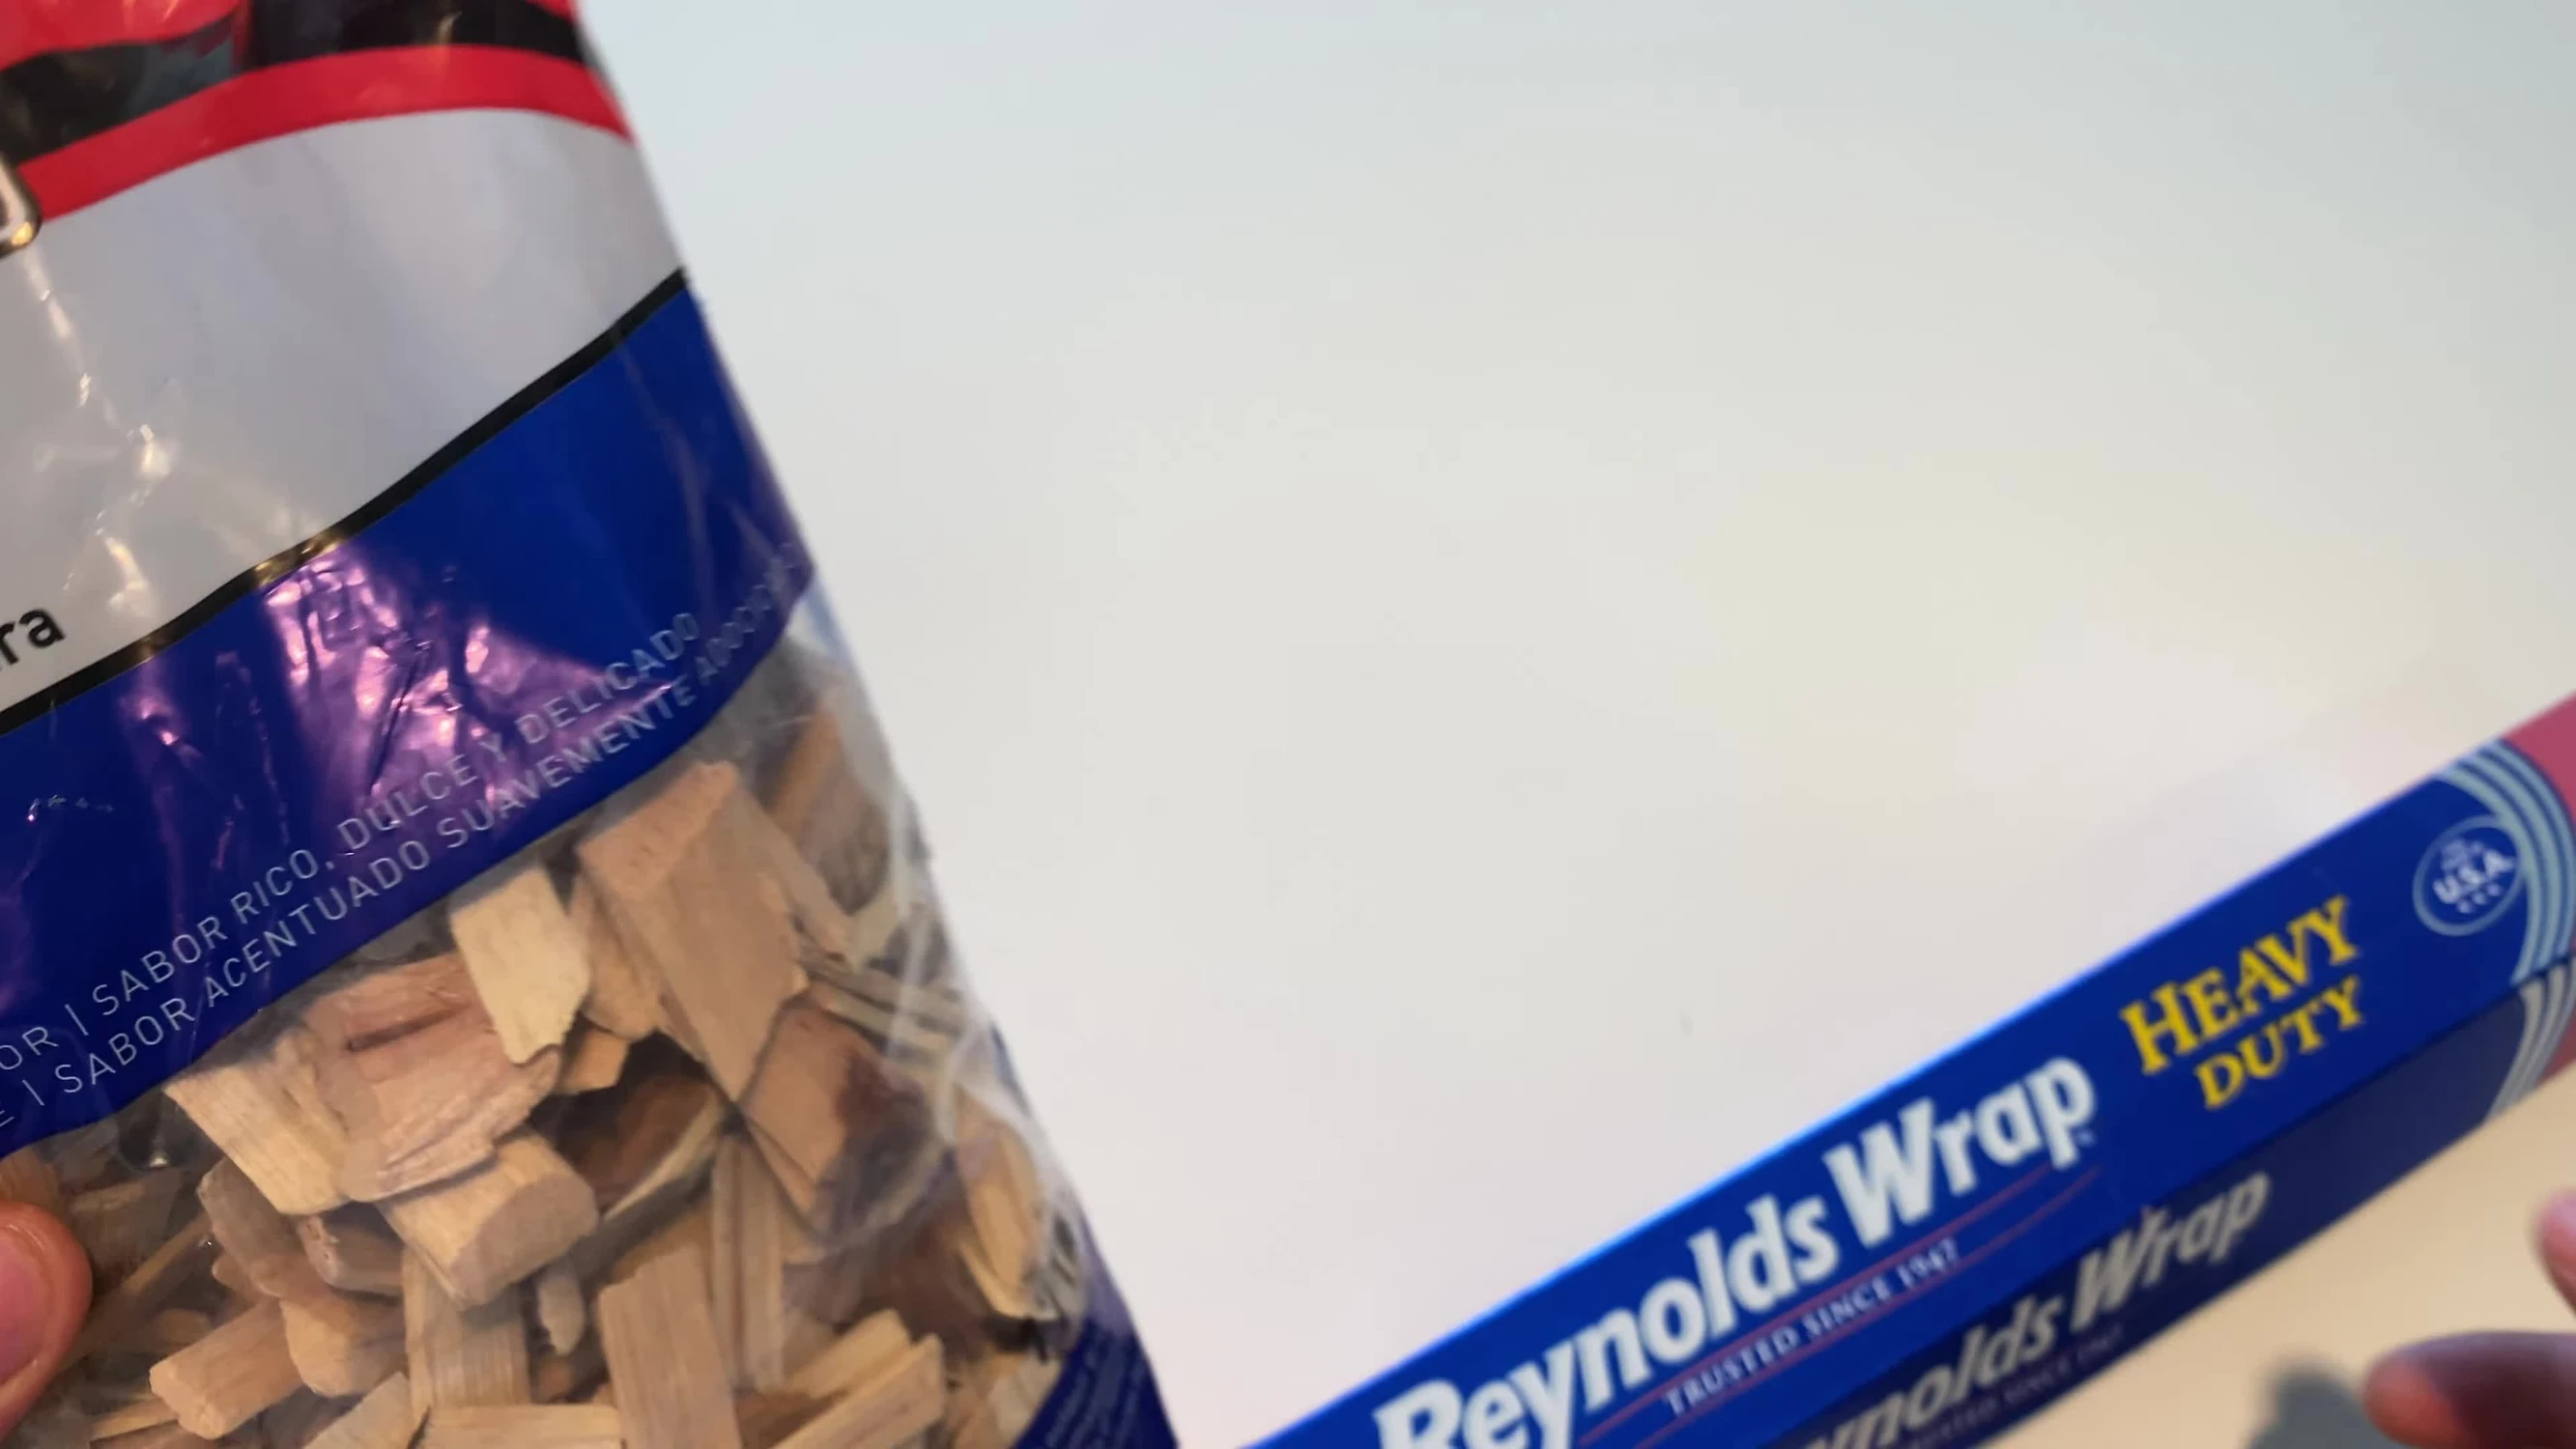
Make sure you have enough foil to create a reasonably sized packet to hold your wood chips. The amount will depend on how much food you're smoking, but aim for approximately two feet of foil. This should be sufficient for a good amount of wood chips.
Constructing the Smoker Packet
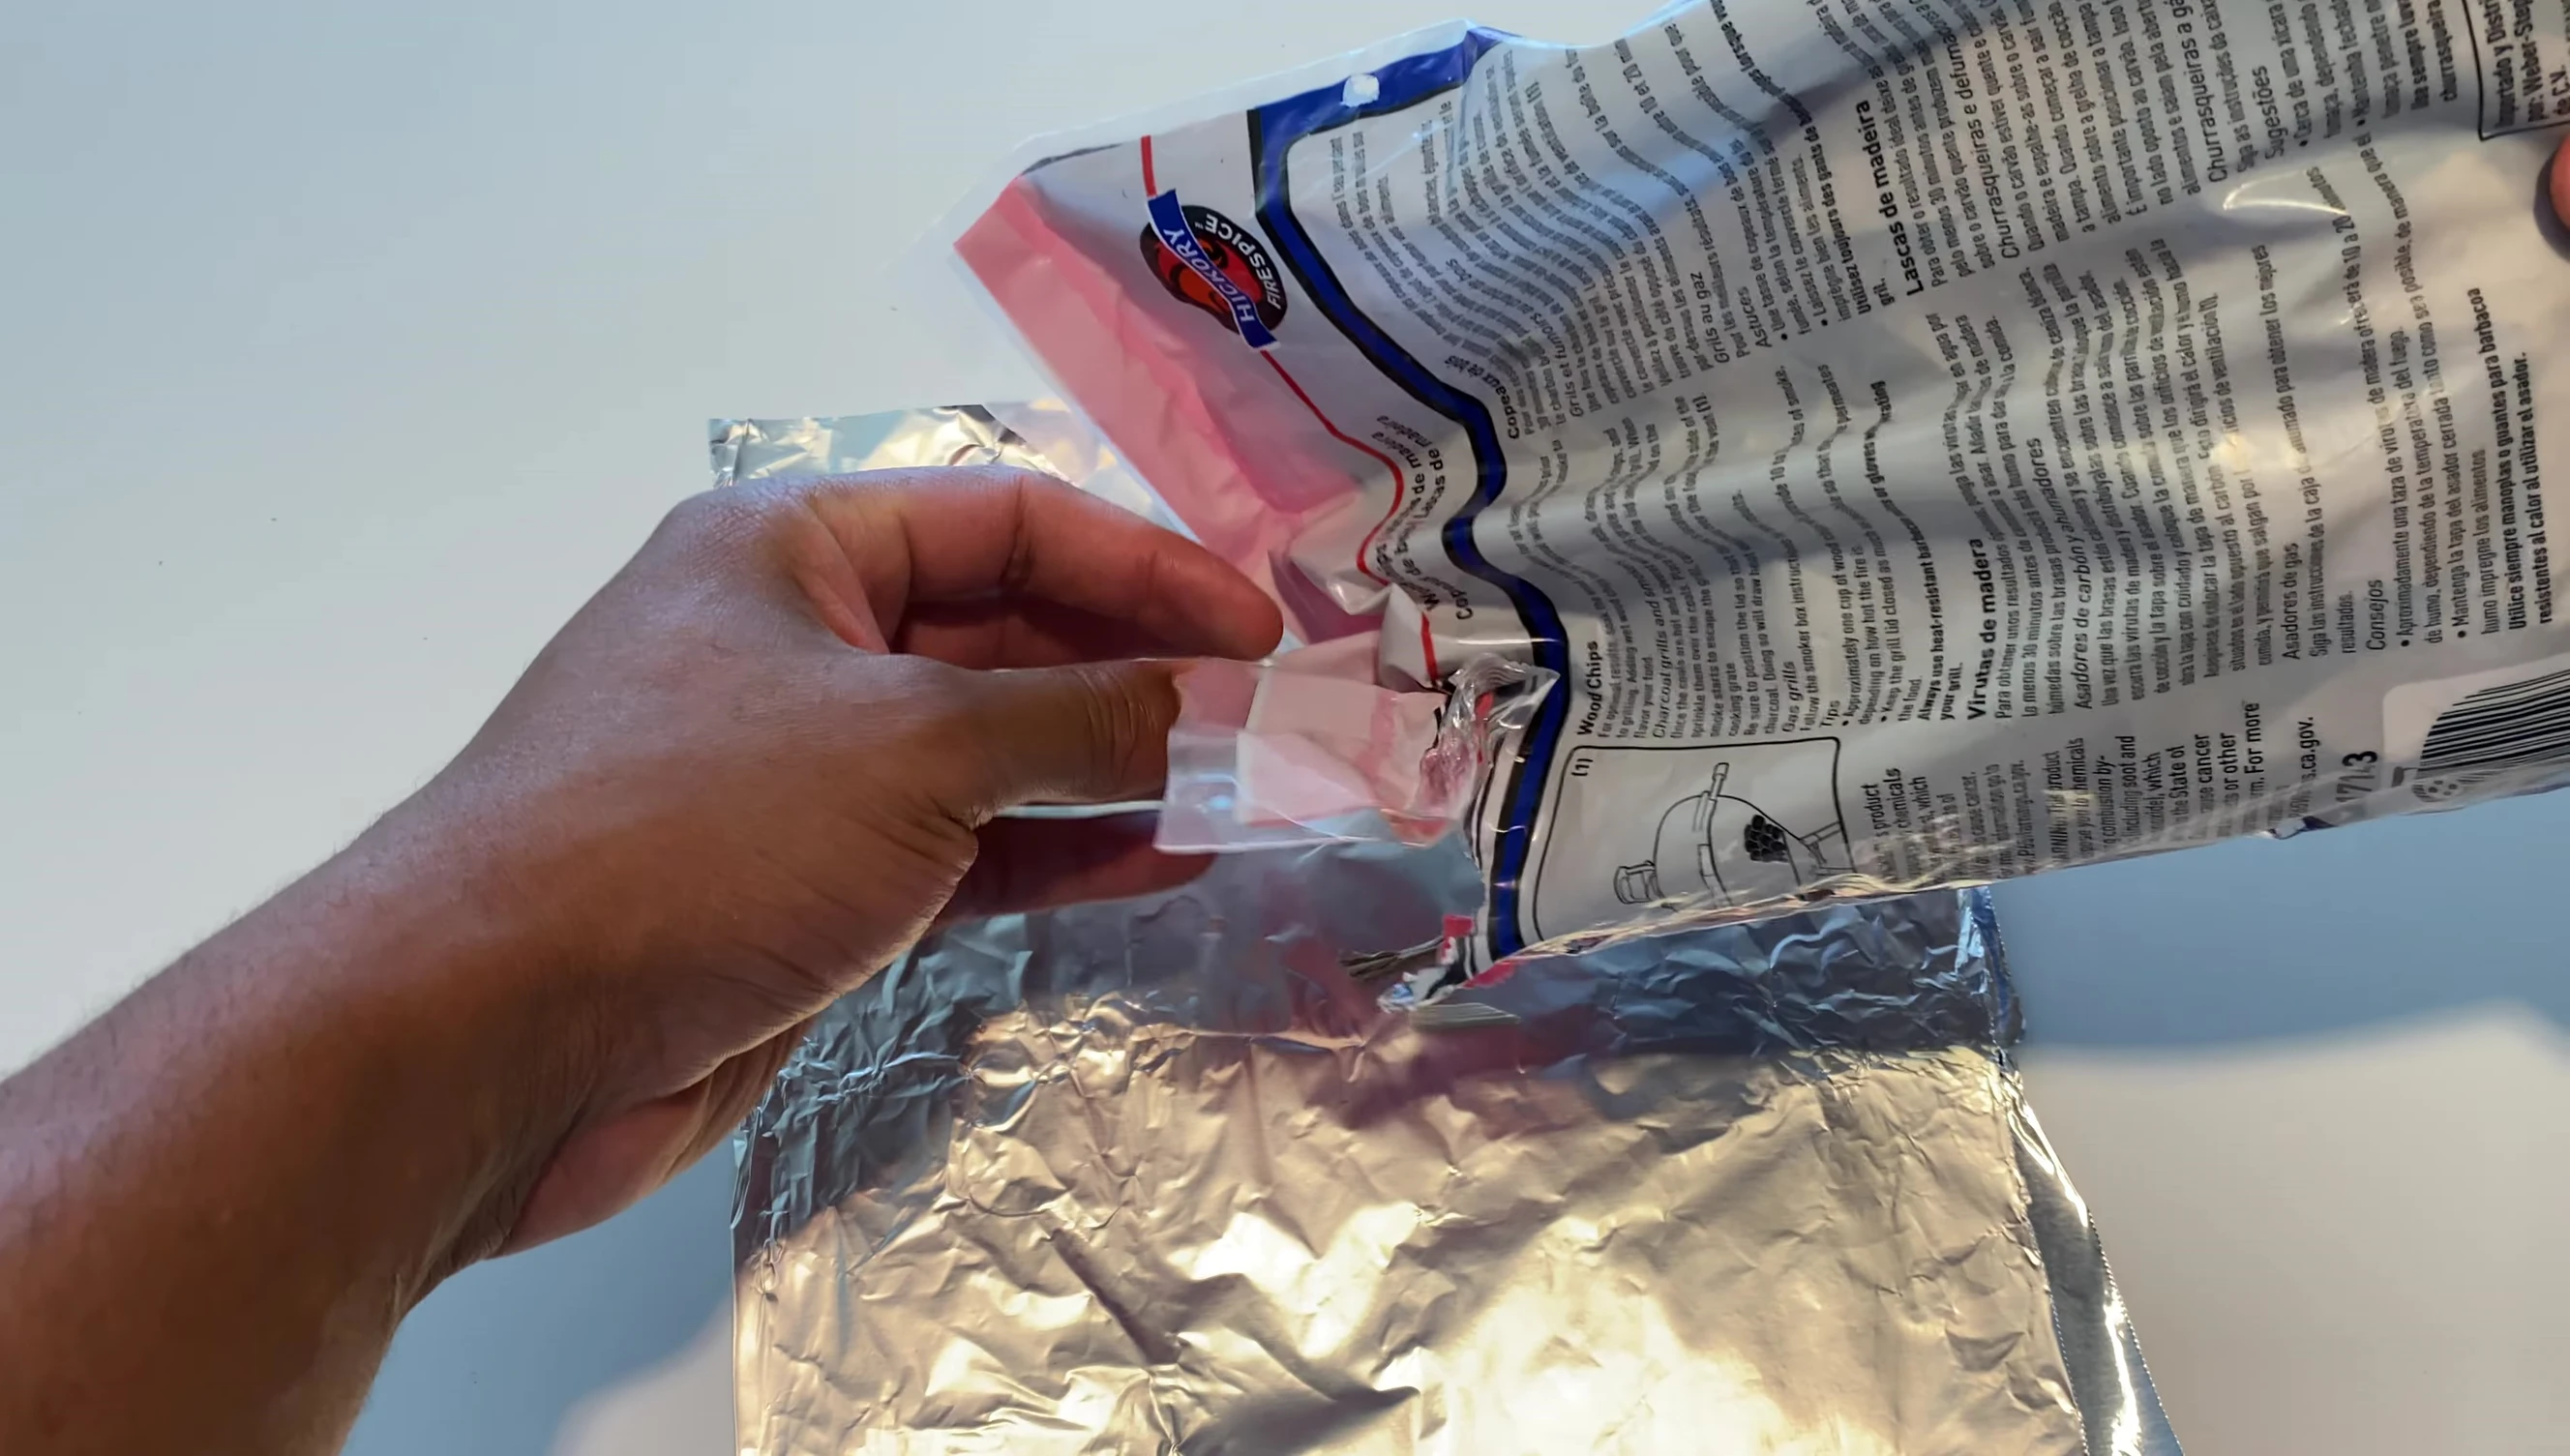
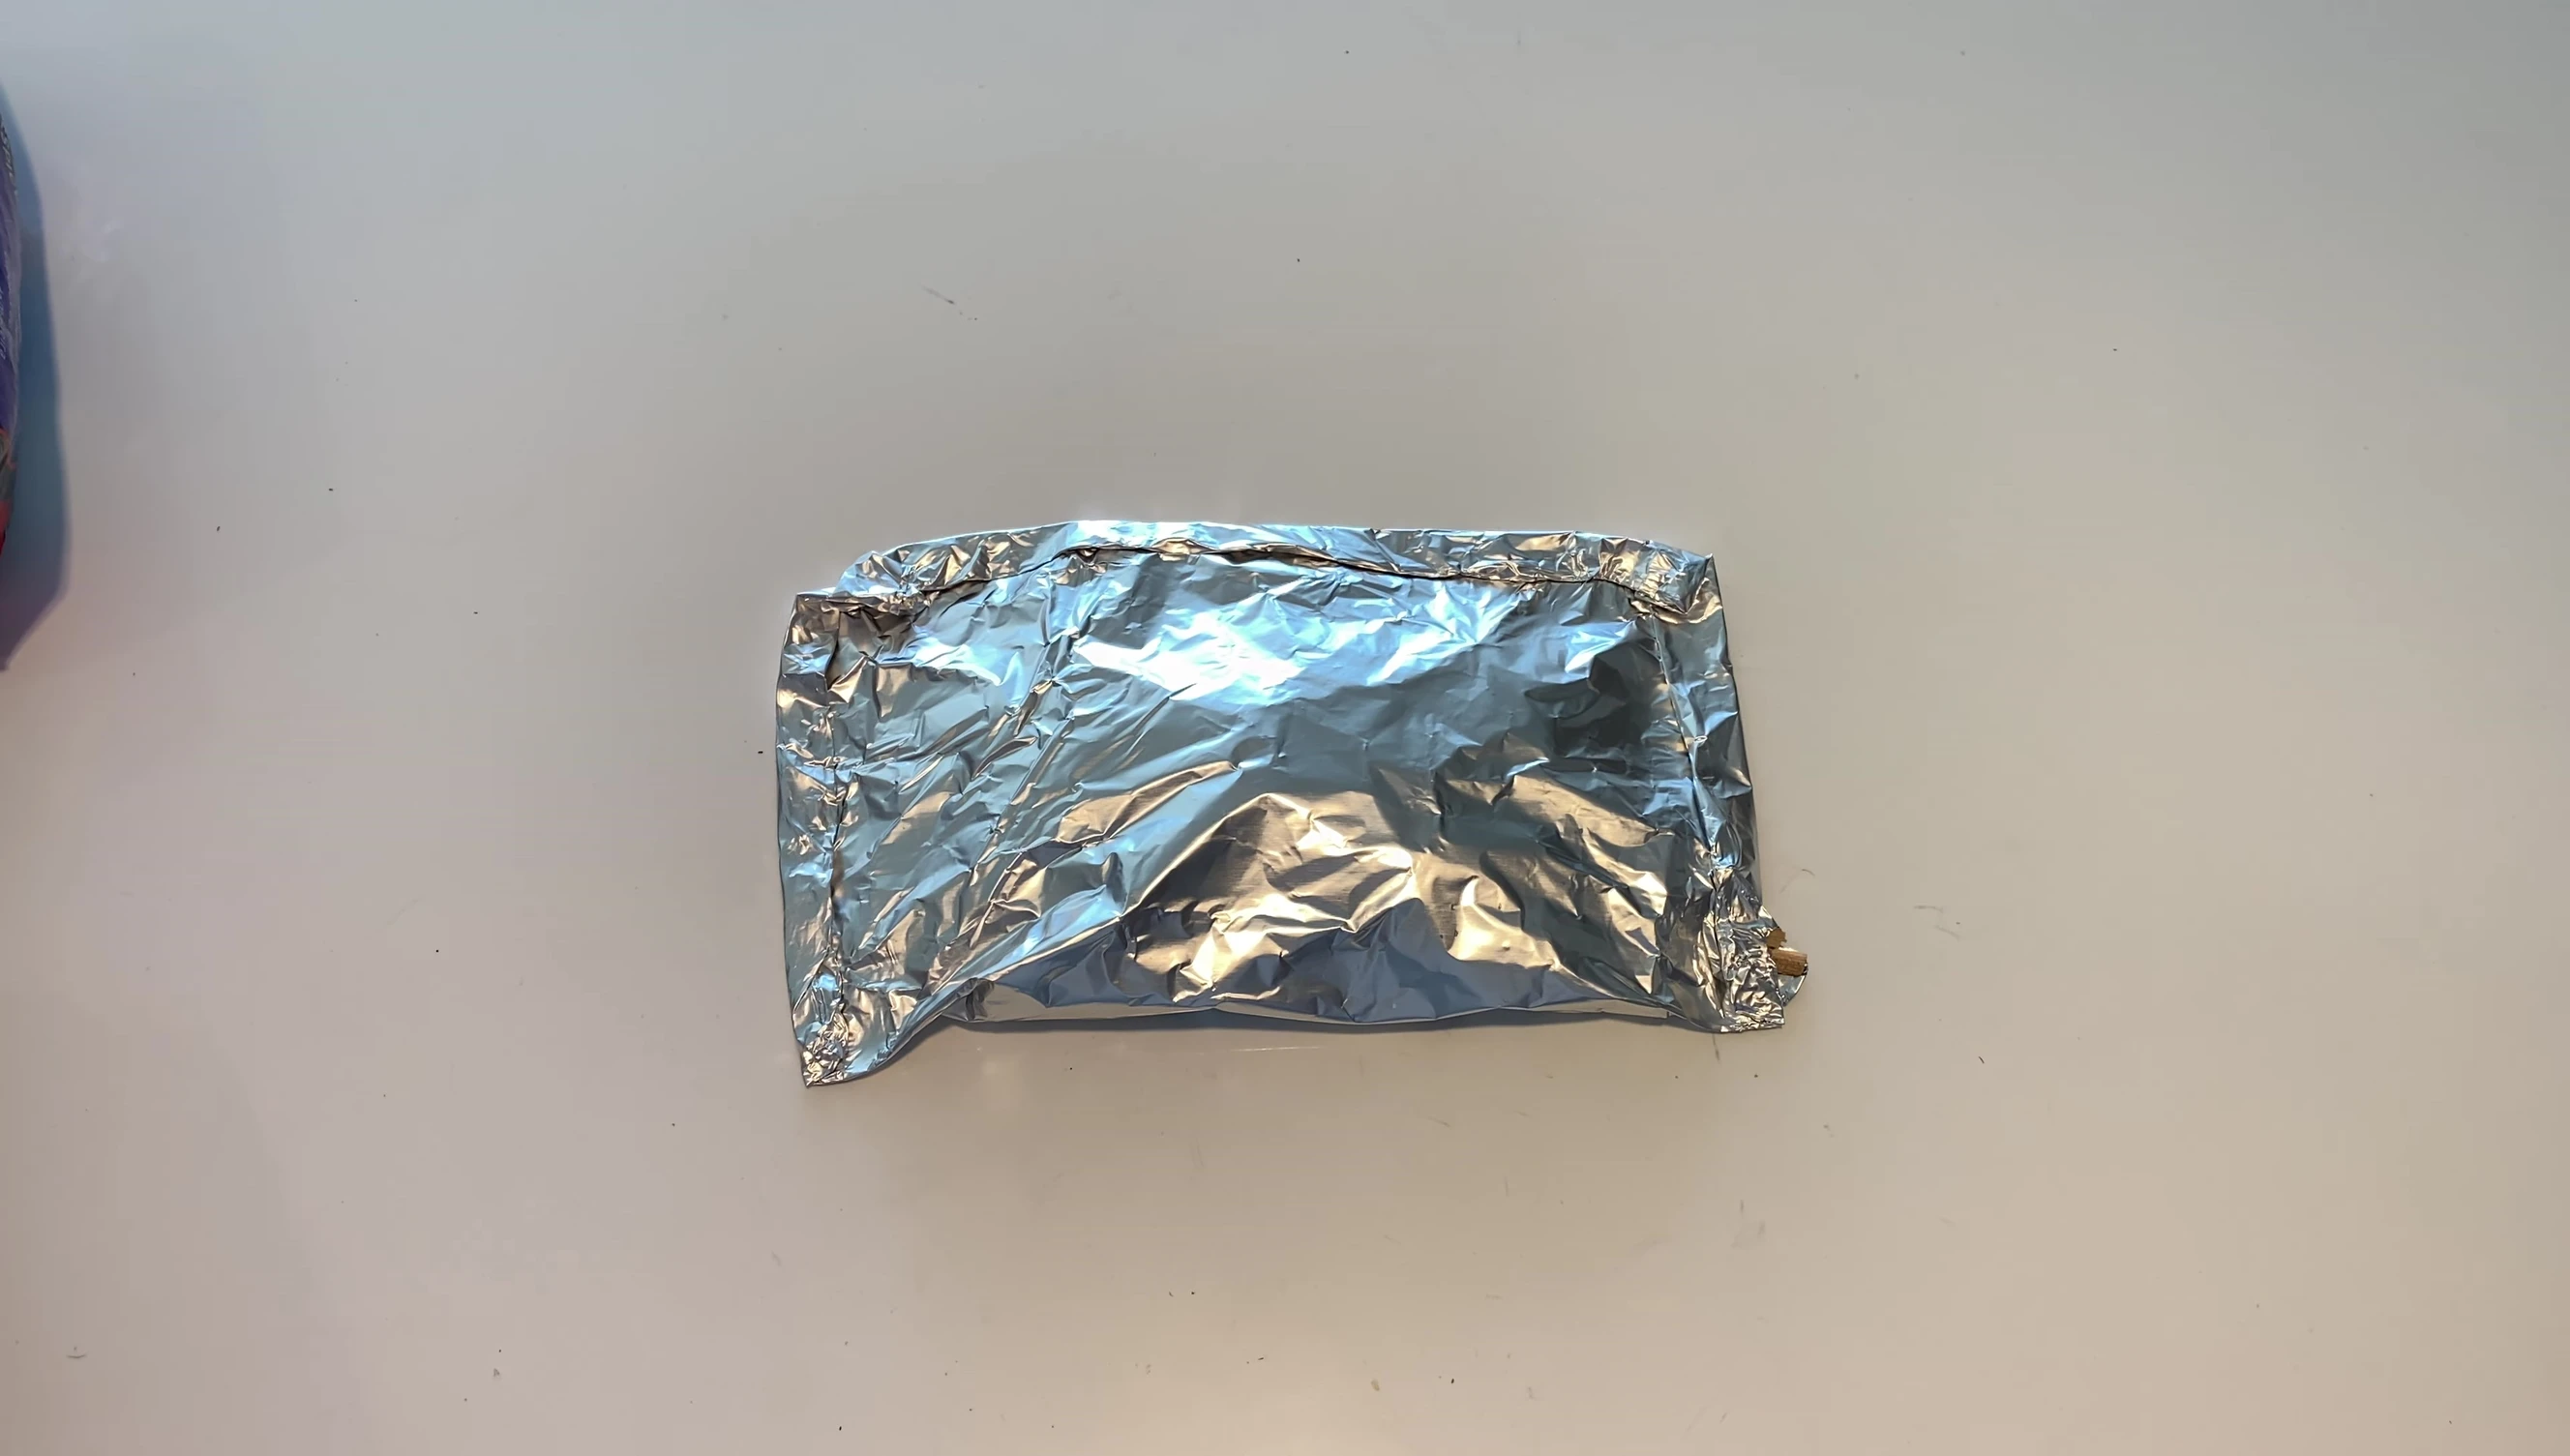
Begin by unfolding your aluminum foil and cutting a length of about two feet. Fold the foil in half lengthwise, aiming for a neat but not necessarily perfect fold. Then, add your wood chips—a cup or a little more is a good starting point.
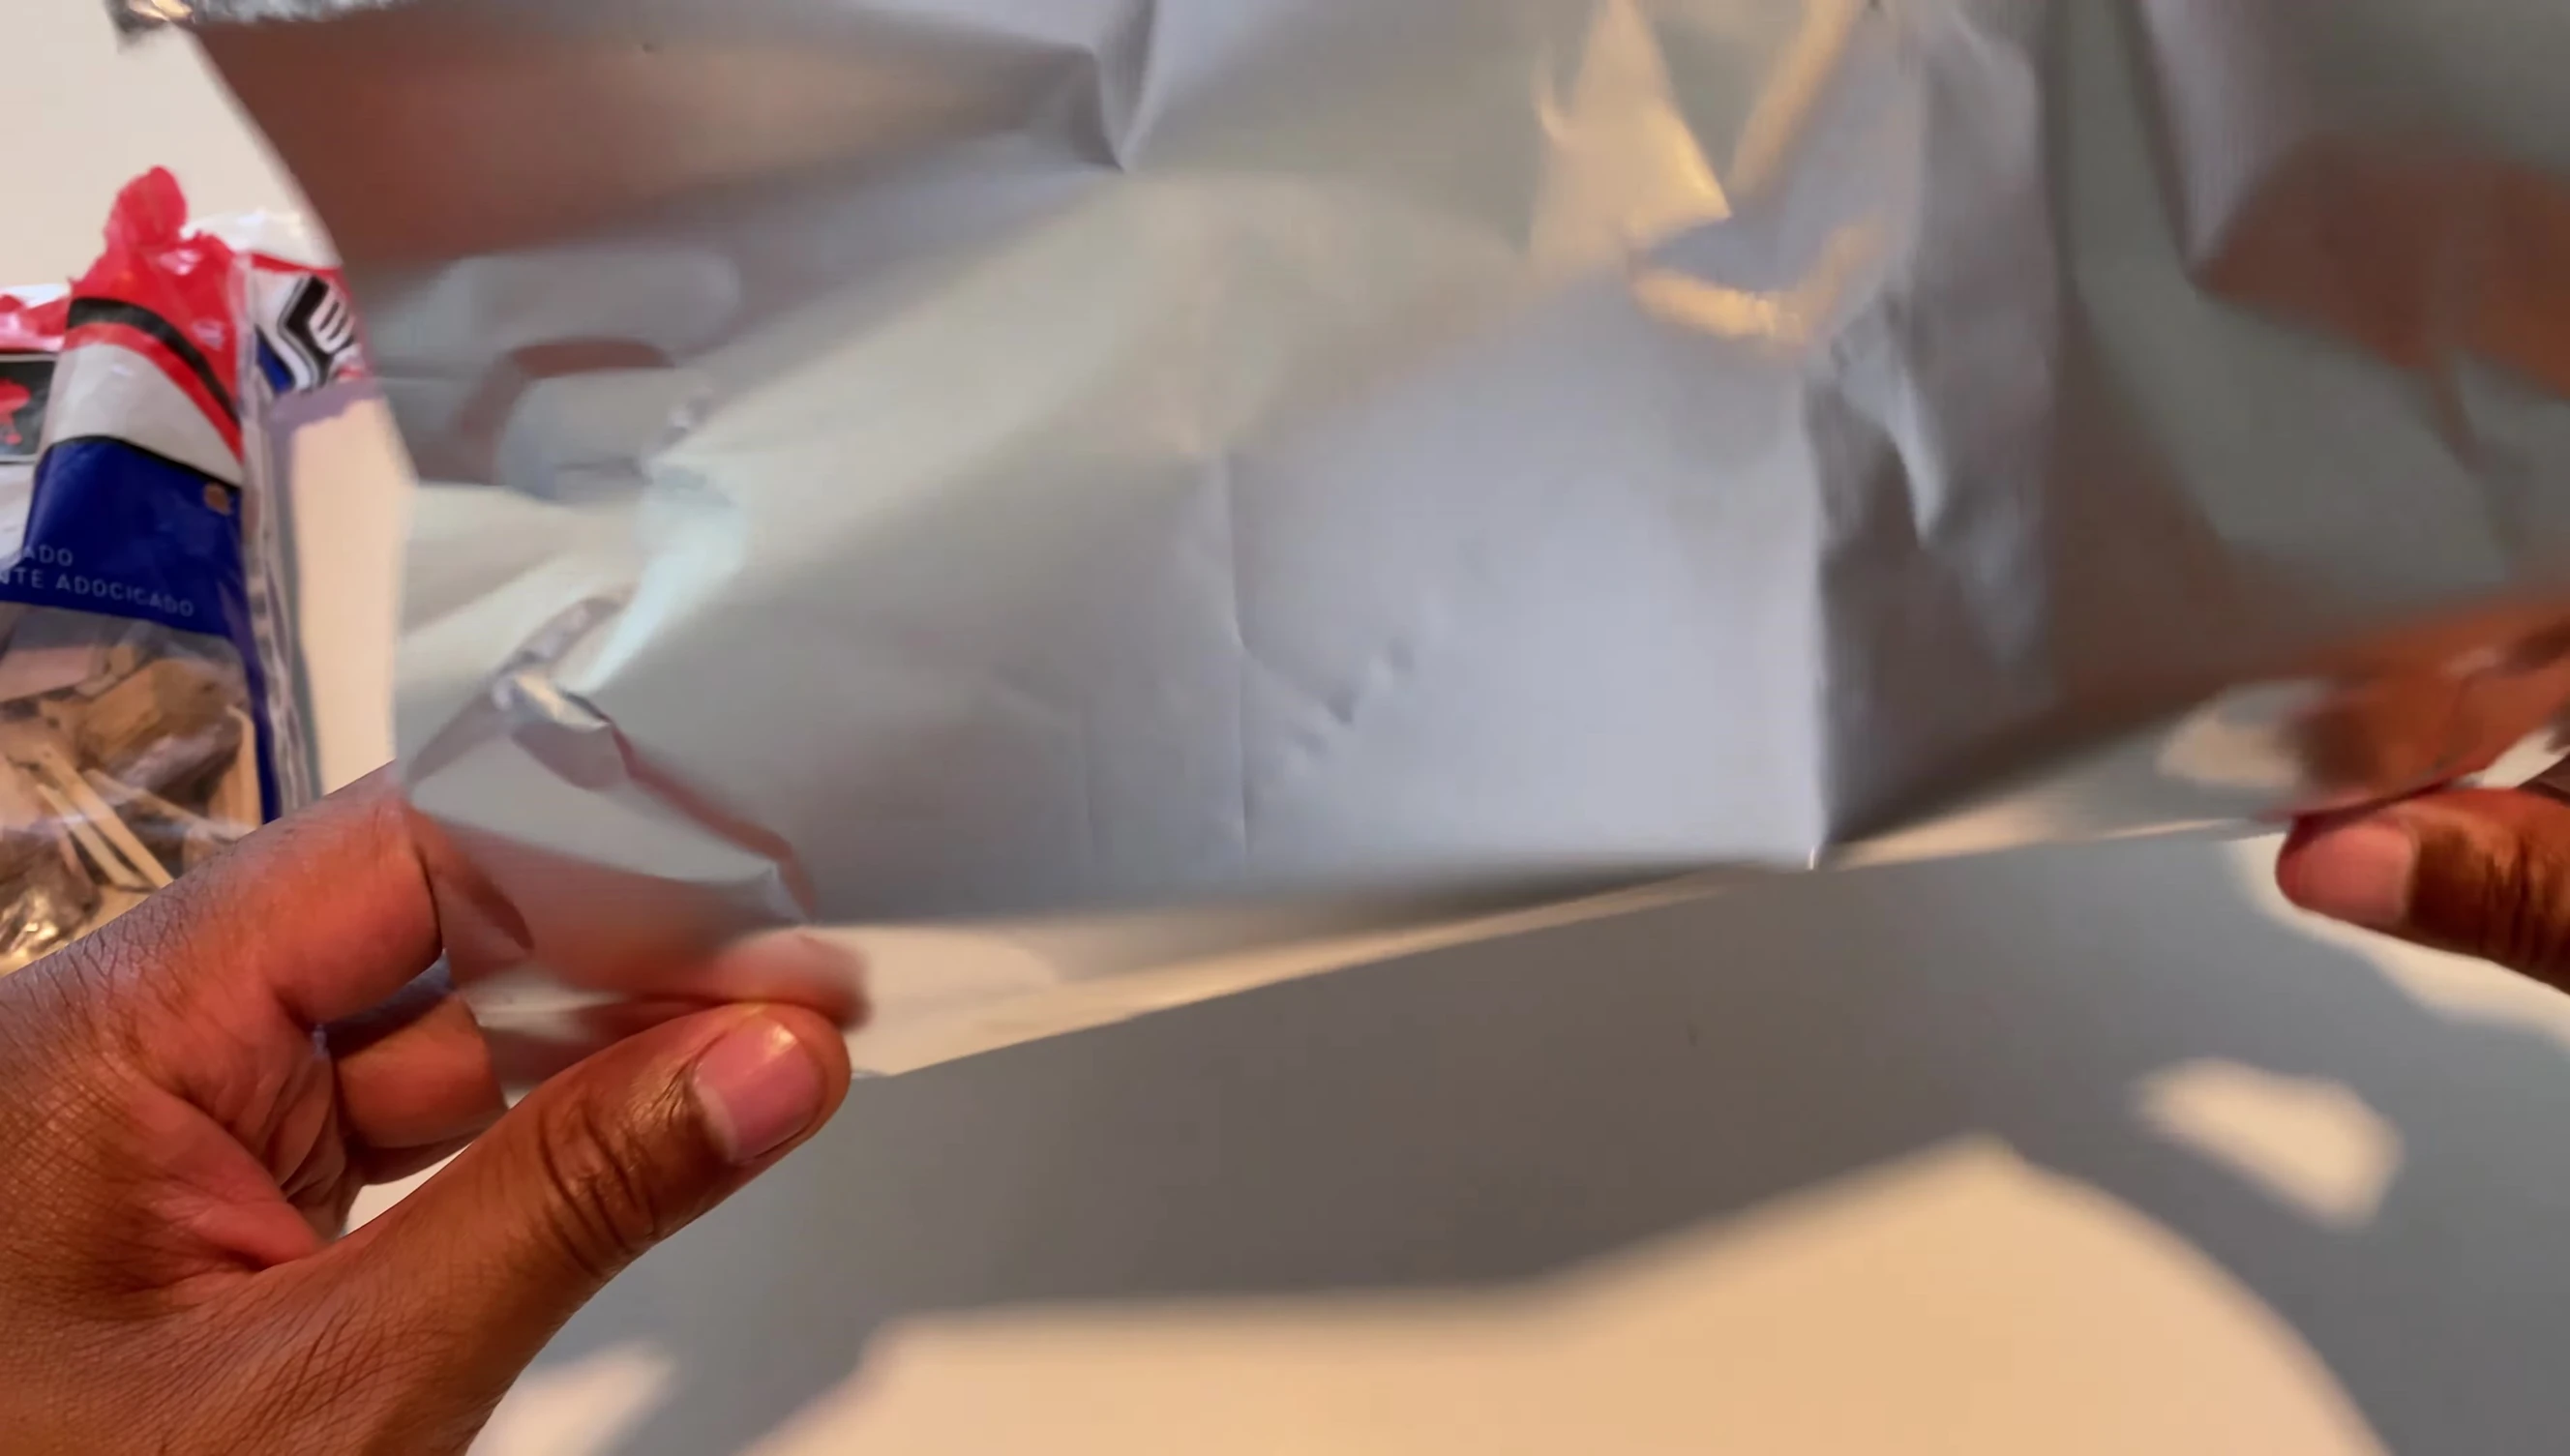
Next, carefully fold the foil over the wood chips, ensuring the chips are centered. Fold the foil in half again, creating a sealed packet. Then, fold the top edges down and tuck in the sides, creating a secure, relatively airtight package.
Finishing Touches and Placement
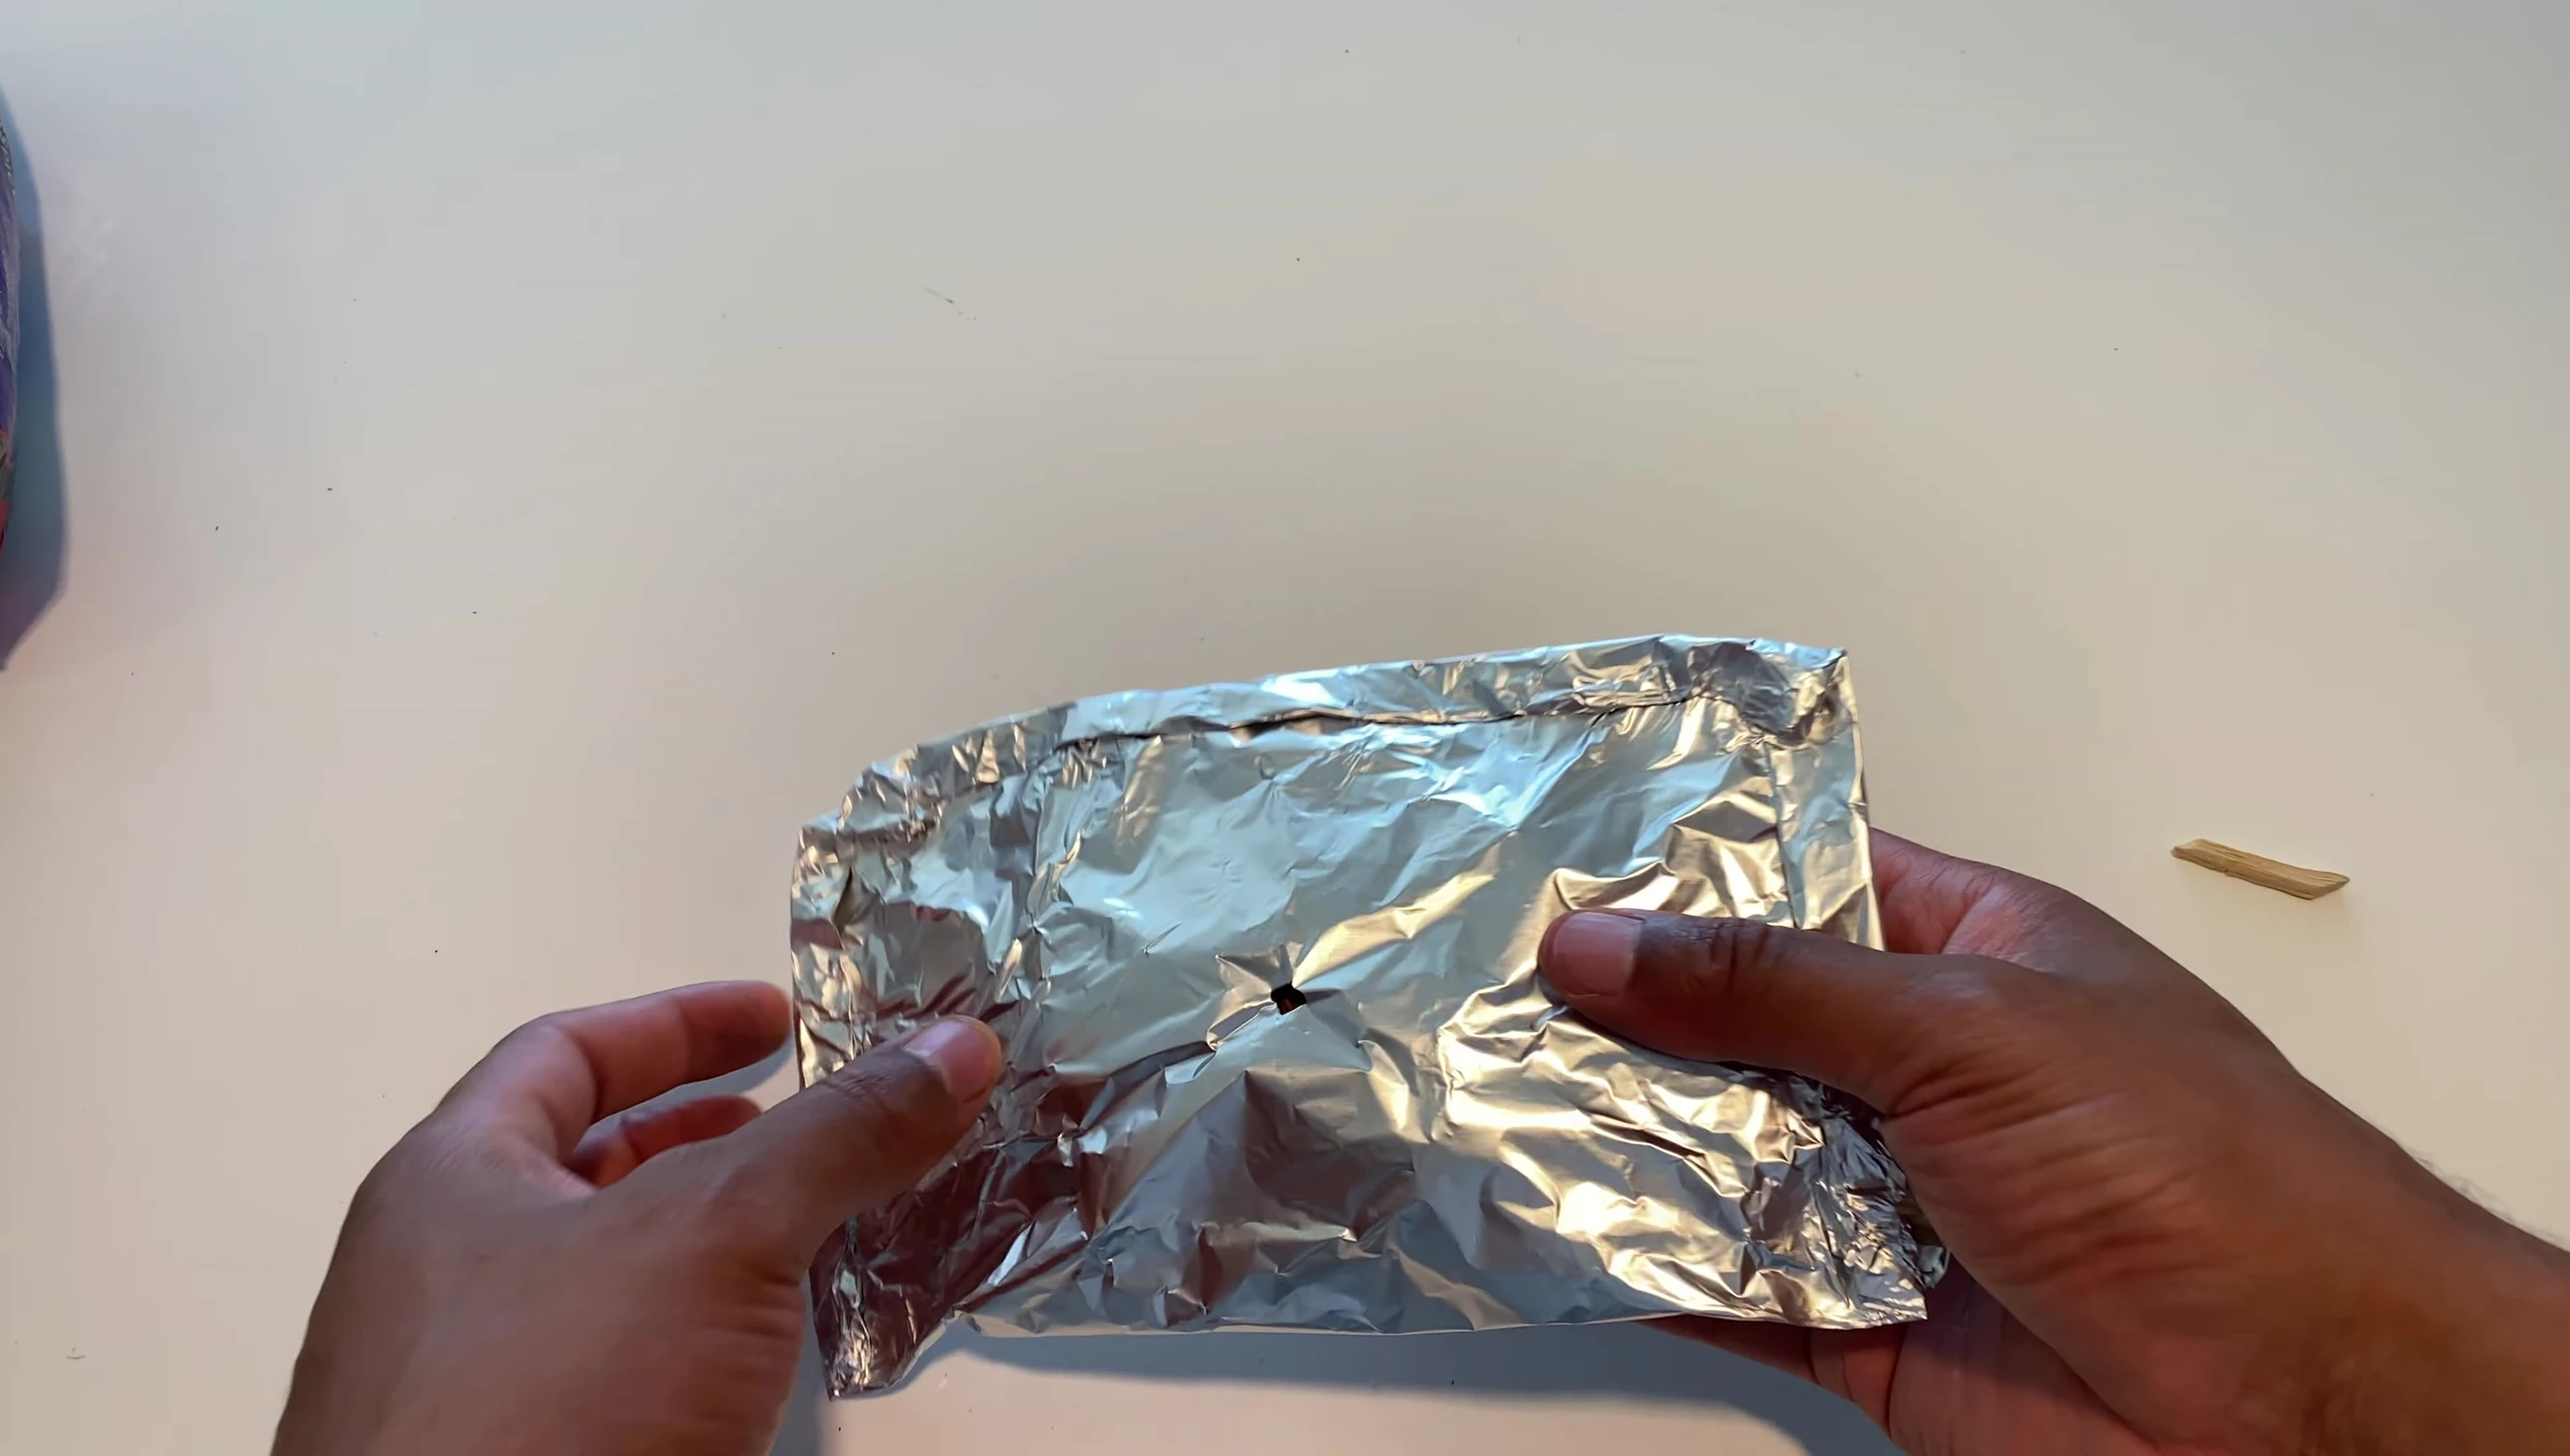
The final step is to create a small vent hole in the top of your foil packet. This allows the smoke to escape and infuse your food with delicious flavor. A single hole is sufficient. Avoid creating too many holes, as this can reduce the smoking effect.
Carefully place the foil packet directly onto the grill's grates, ideally in a location that will expose the packet to indirect heat. This ensures even smoking. Adjust your grill's burner as needed to maintain the optimal temperature for smoking.
Conclusion: Simple, Effective Smoking
This method provides a simple and inexpensive way to add smoky flavor to your grilled food. The use of heavy-duty aluminum foil ensures durability and prevents tearing. The single vent hole is key to controlling the smoke release for optimal results.
This DIY smoker is perfect for adding a smoky depth to various meats and vegetables. Its ease of construction and the readily available materials make it an excellent option for any home grill enthusiast. Experiment with different wood chips to discover your favorite flavor profiles.