Protect your hands from kitchen heat and spills with these stylish, DIY heat-resistant gloves! This step-by-step guide shows you how to create a durable and personalized pair of kitchen gloves, adding both function and flair to your cooking space. Using readily available materials like sturdy cotton and heat-resistant interlining, you'll learn to craft gloves that are as practical as they are attractive. Perfect for protecting your hands while handling hot dishes or cleaning up spills, these handmade gloves are a rewarding project for both seasoned sewers and enthusiastic beginners.Forget flimsy, store-bought gloves! This guide provides clear instructions and helpful tips for creating custom-fit gloves tailored to your needs. From measuring and cutting your fabric to adding decorative seams and a convenient hanging loop, each step is meticulously explained to ensure a successful outcome. The detailed instructions and accompanying video will guide you through the process, making it an enjoyable and achievable project that will leave you with a pair of unique, long-lasting kitchen companions.
Read more: 8 Best Heat Resistant Gloves
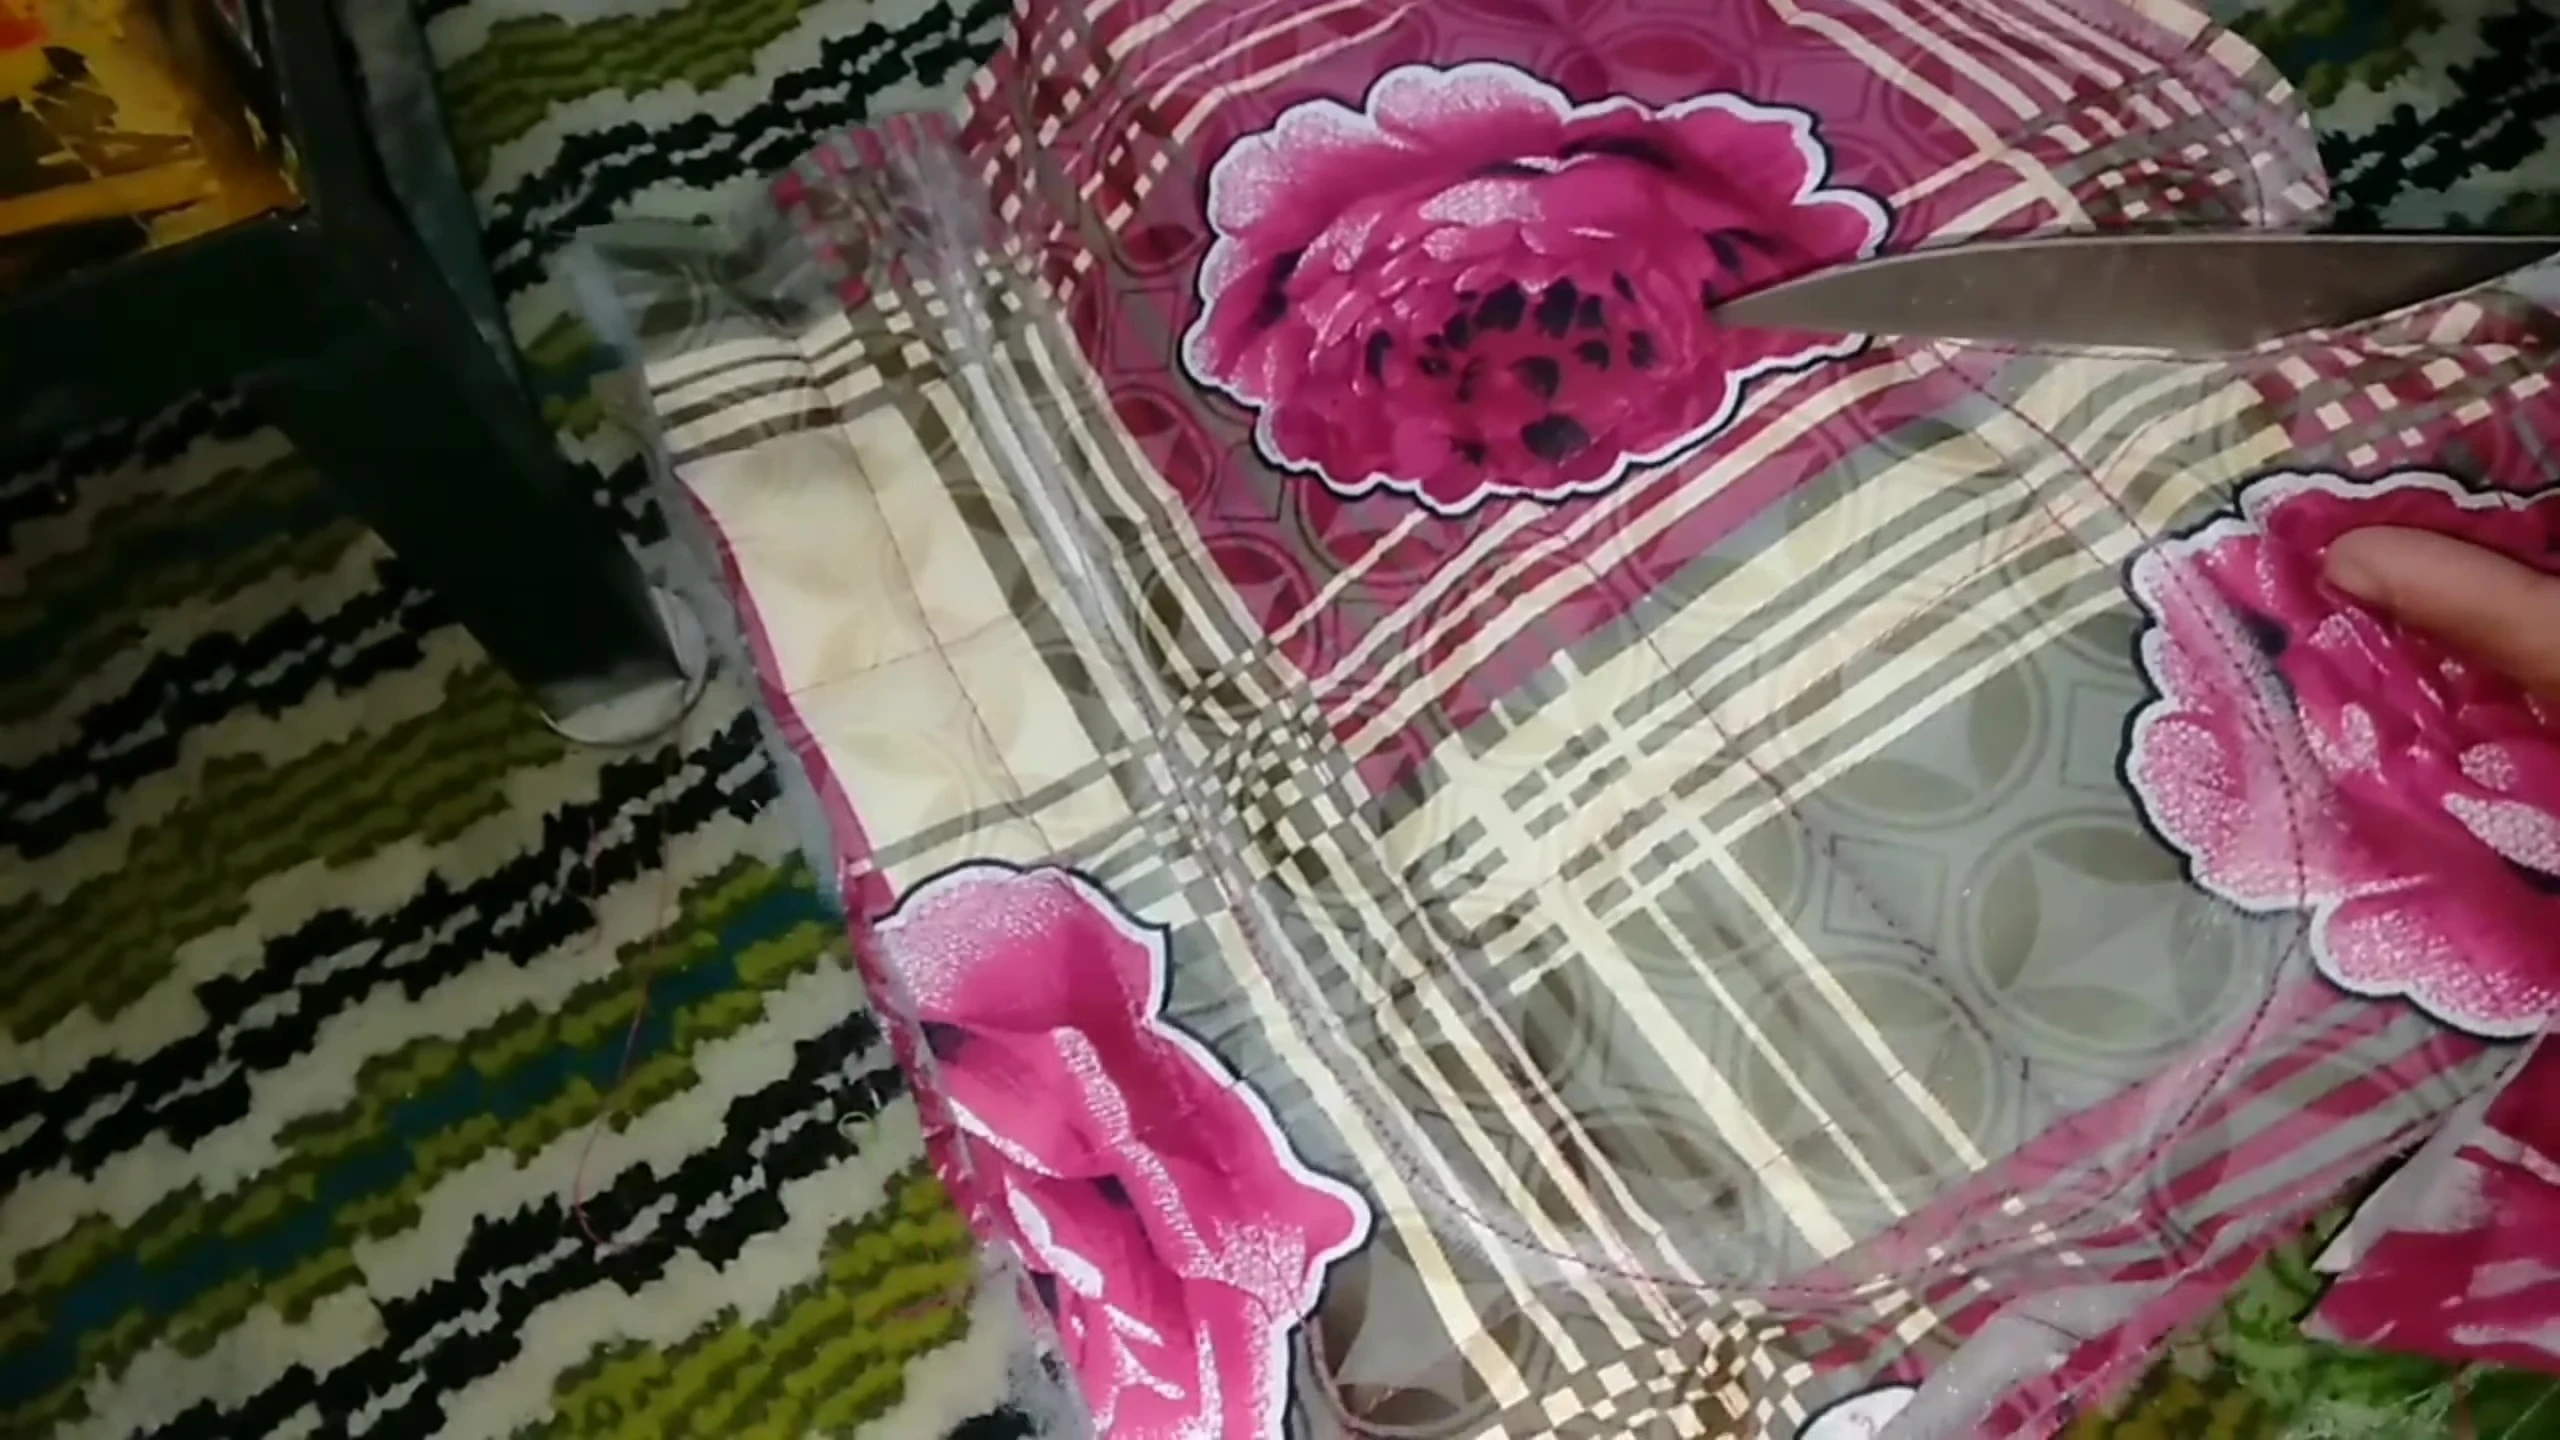
Material Preparation
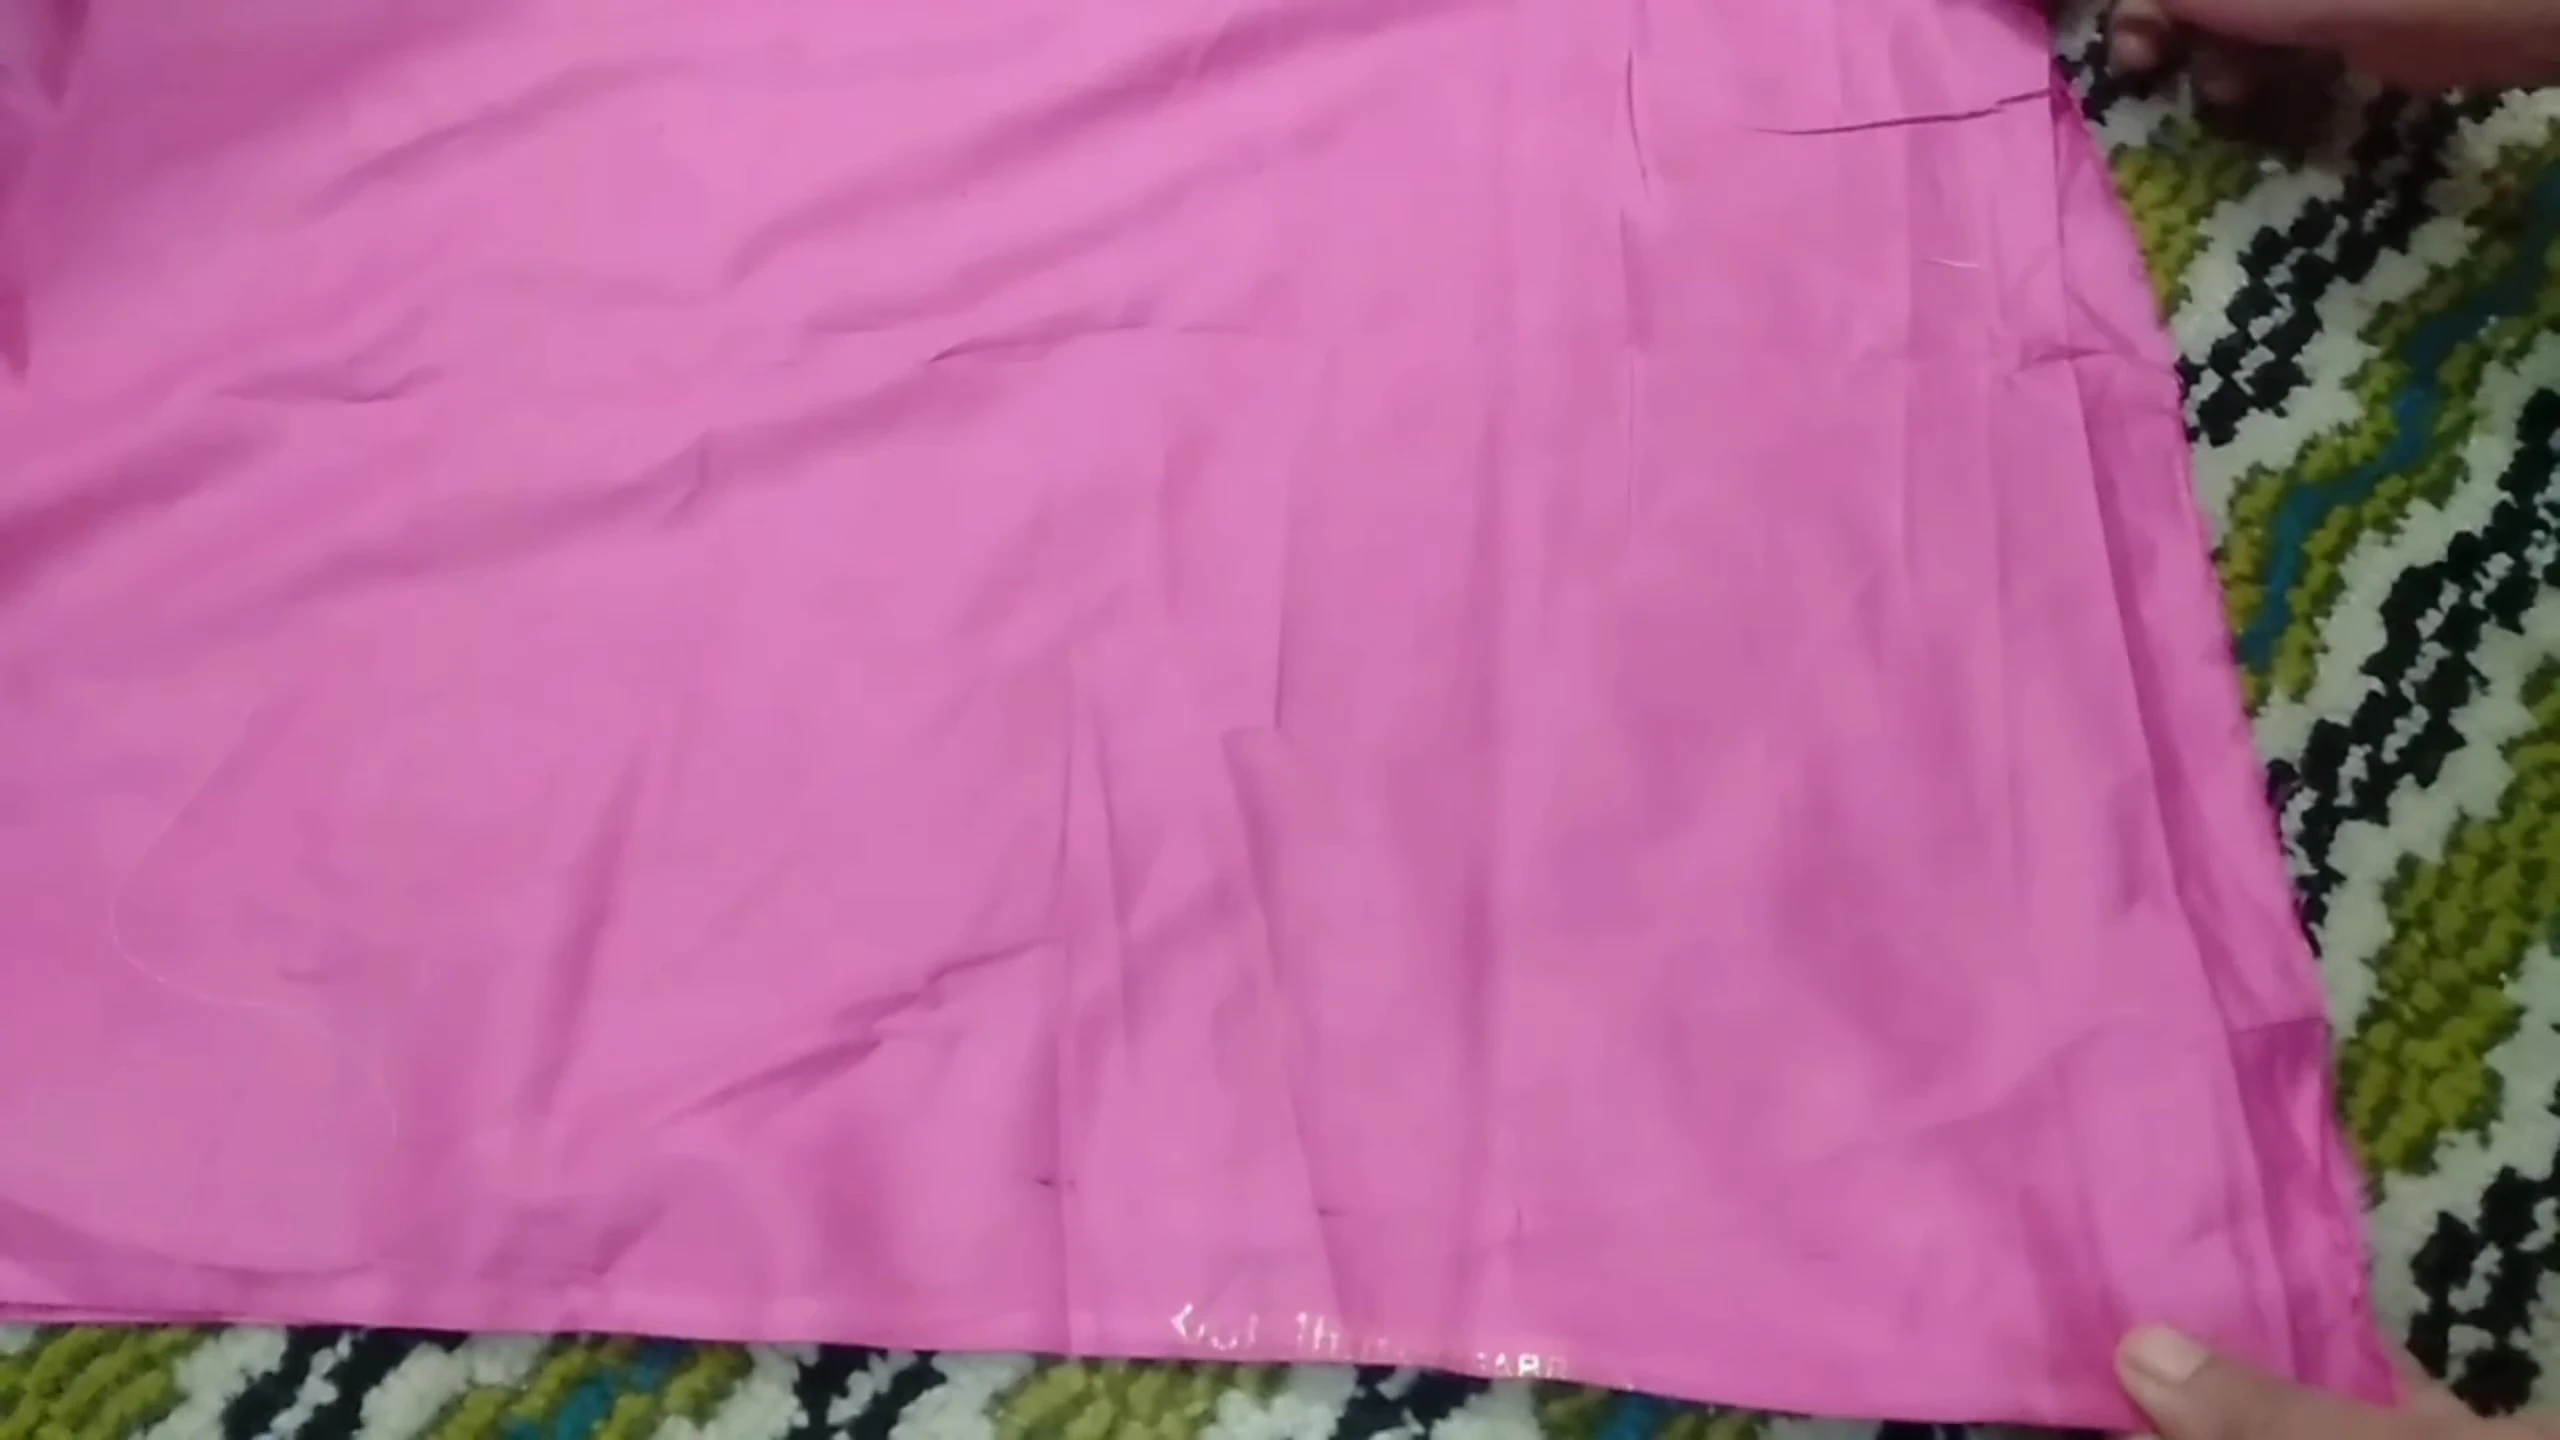
Begin by selecting your fabric. A sturdy cotton material is ideal for the gloves' main body, offering both durability and comfort. You'll also need a contrasting fabric for the piping and a heat-resistant interlining. Ensure you have enough material to accommodate the sizing and potential fabric loss during stitching. Pre-cutting your fabric pieces to the right dimensions will help streamline the process.

Measure and cut your cotton fabric. The dimensions provided in the video are a good starting point, but adjust to fit your hands. Consider adding extra seam allowance for easier handling and stitching. Cutting the interfacing to the same size as your fabric will be essential for maintaining the gloves' shape.
Adding the Piping and Interlining
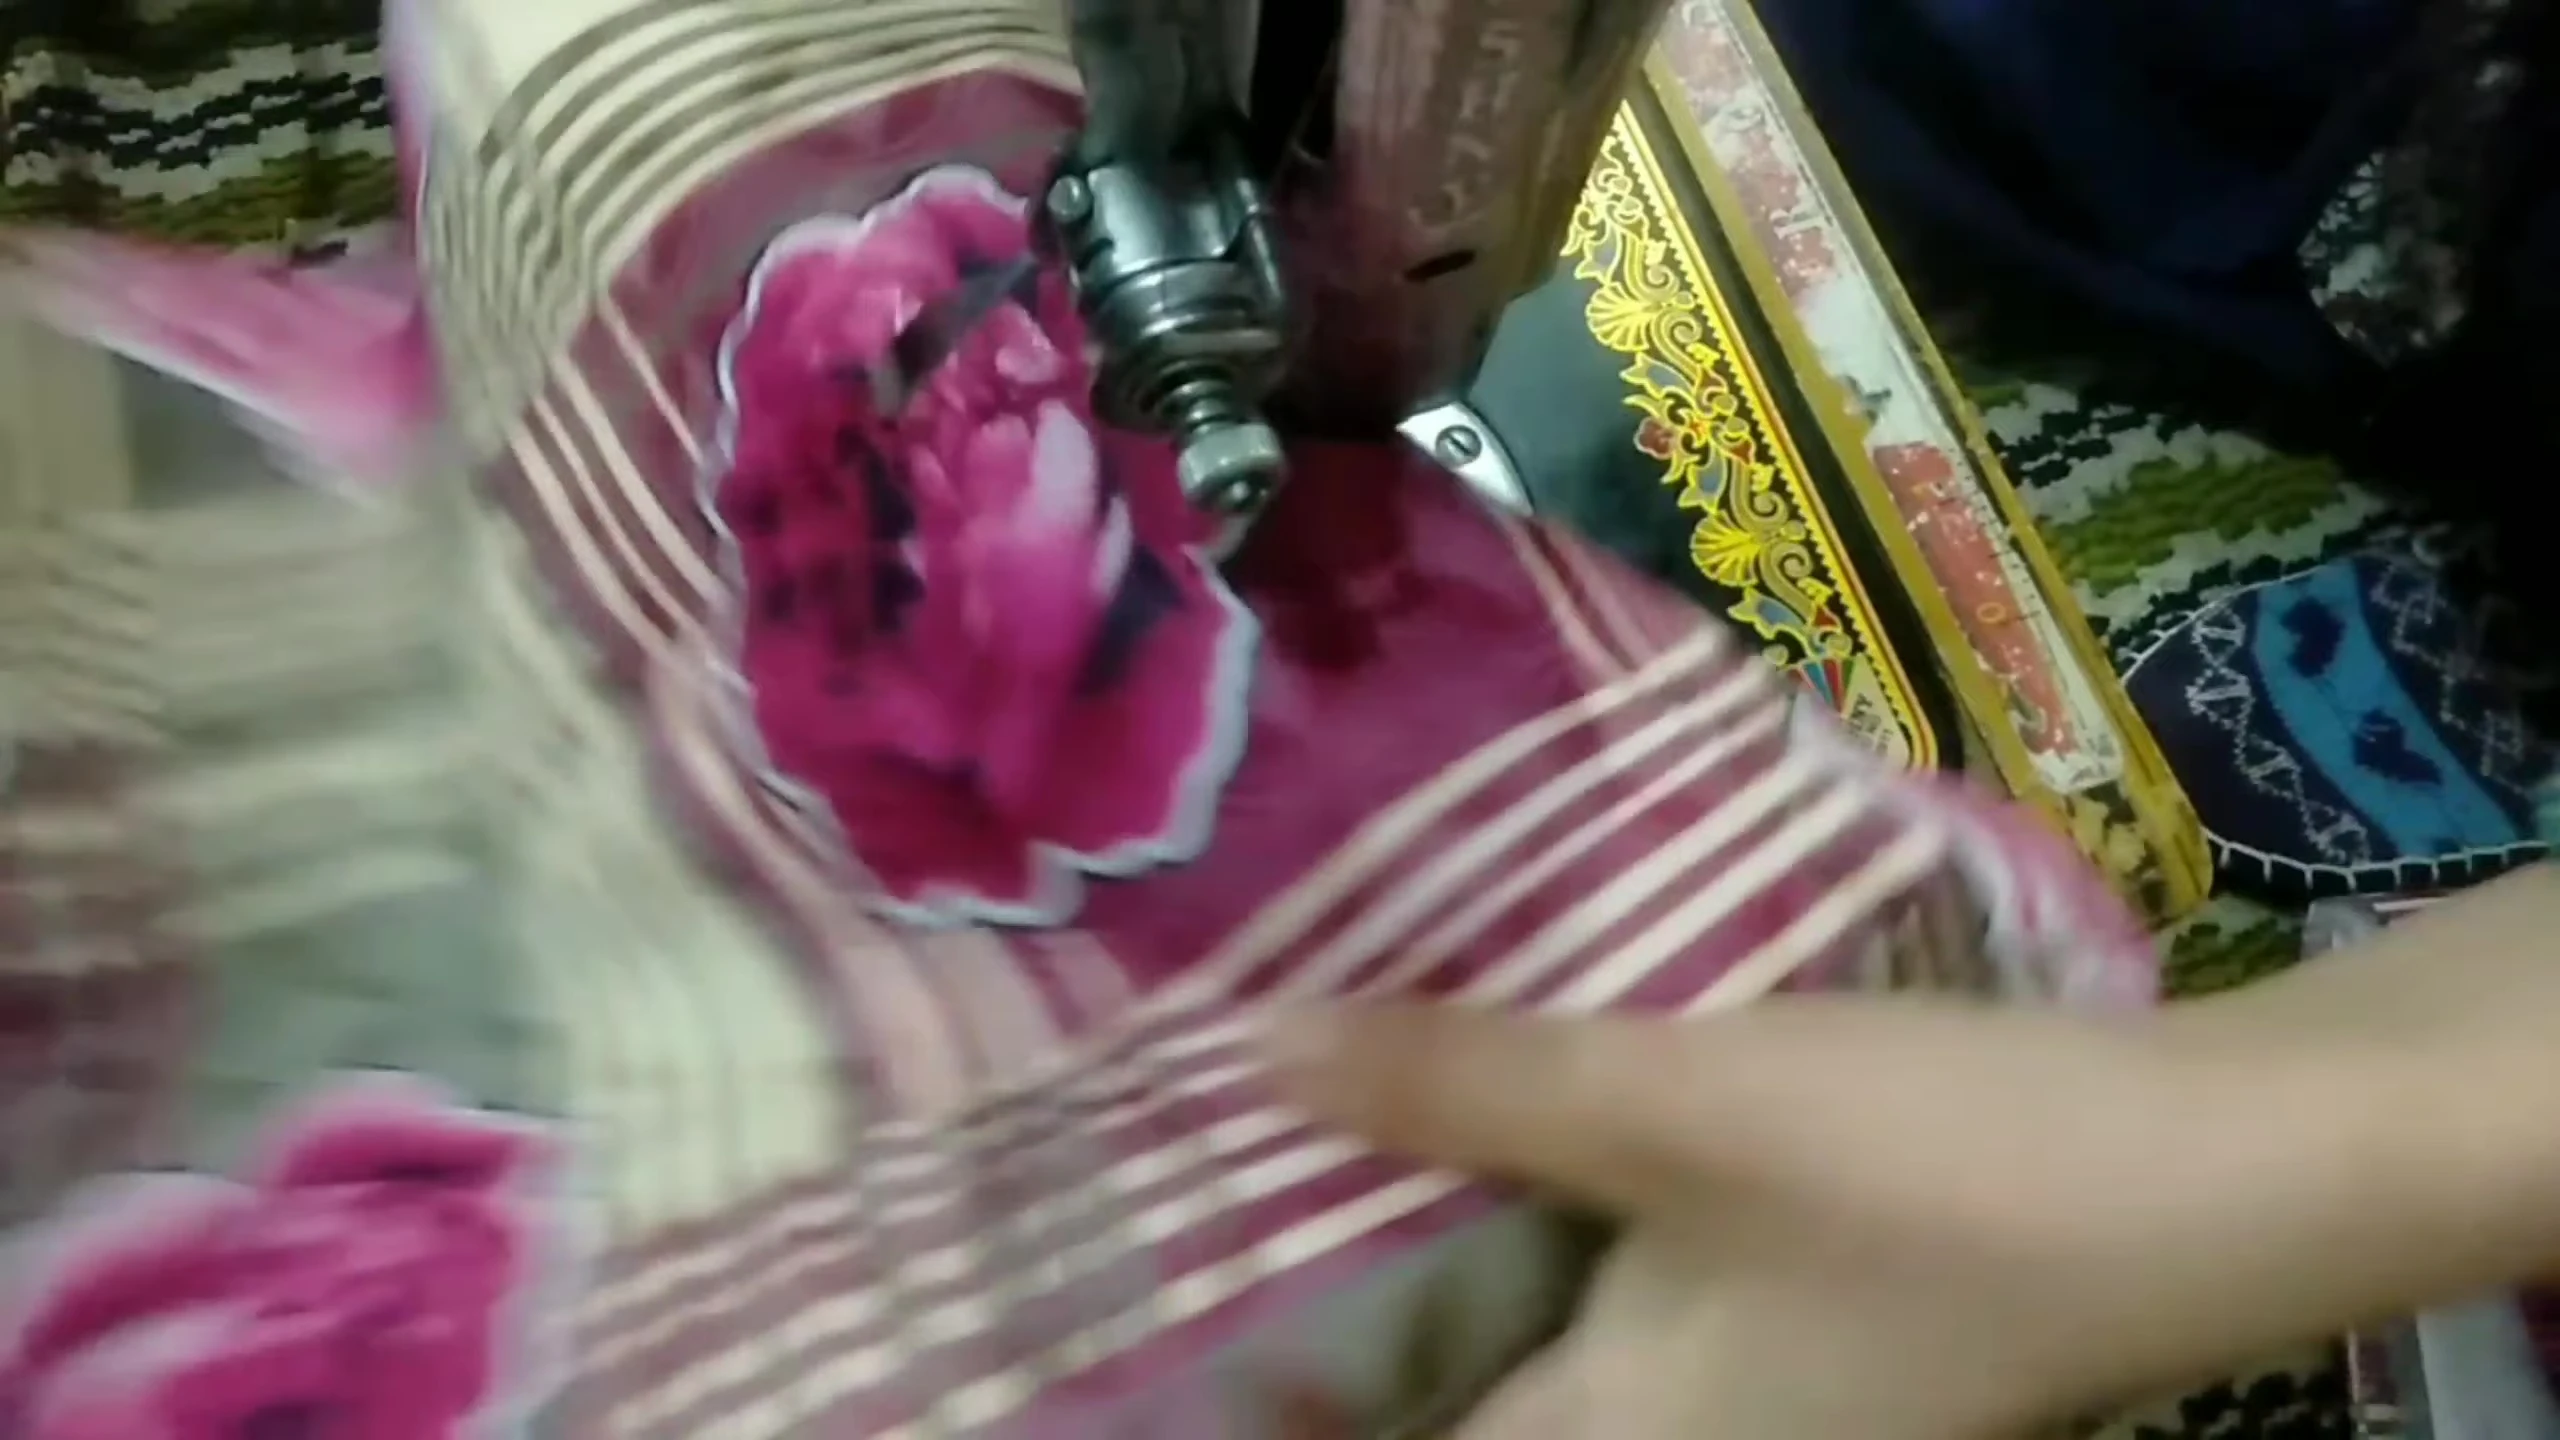
The piping adds a professional touch and reinforces the seams. Cut your piping fabric to your preferred length (allowing for seam allowance). Use a 1-inch or 2-inch width, depending on the desired thickness. Stitch the interfacing to the main cotton fabric carefully, ensuring proper alignment. This step will enhance the durability and heat resistance of the gloves.
Once the interlining is attached, you can begin creating decorative seams. You can either stich a straight line for a simple look or create a more intricate pattern with multiple stitches. This will not only add a stylish design but also further improve the sturdiness of the gloves.
Assembling the Gloves
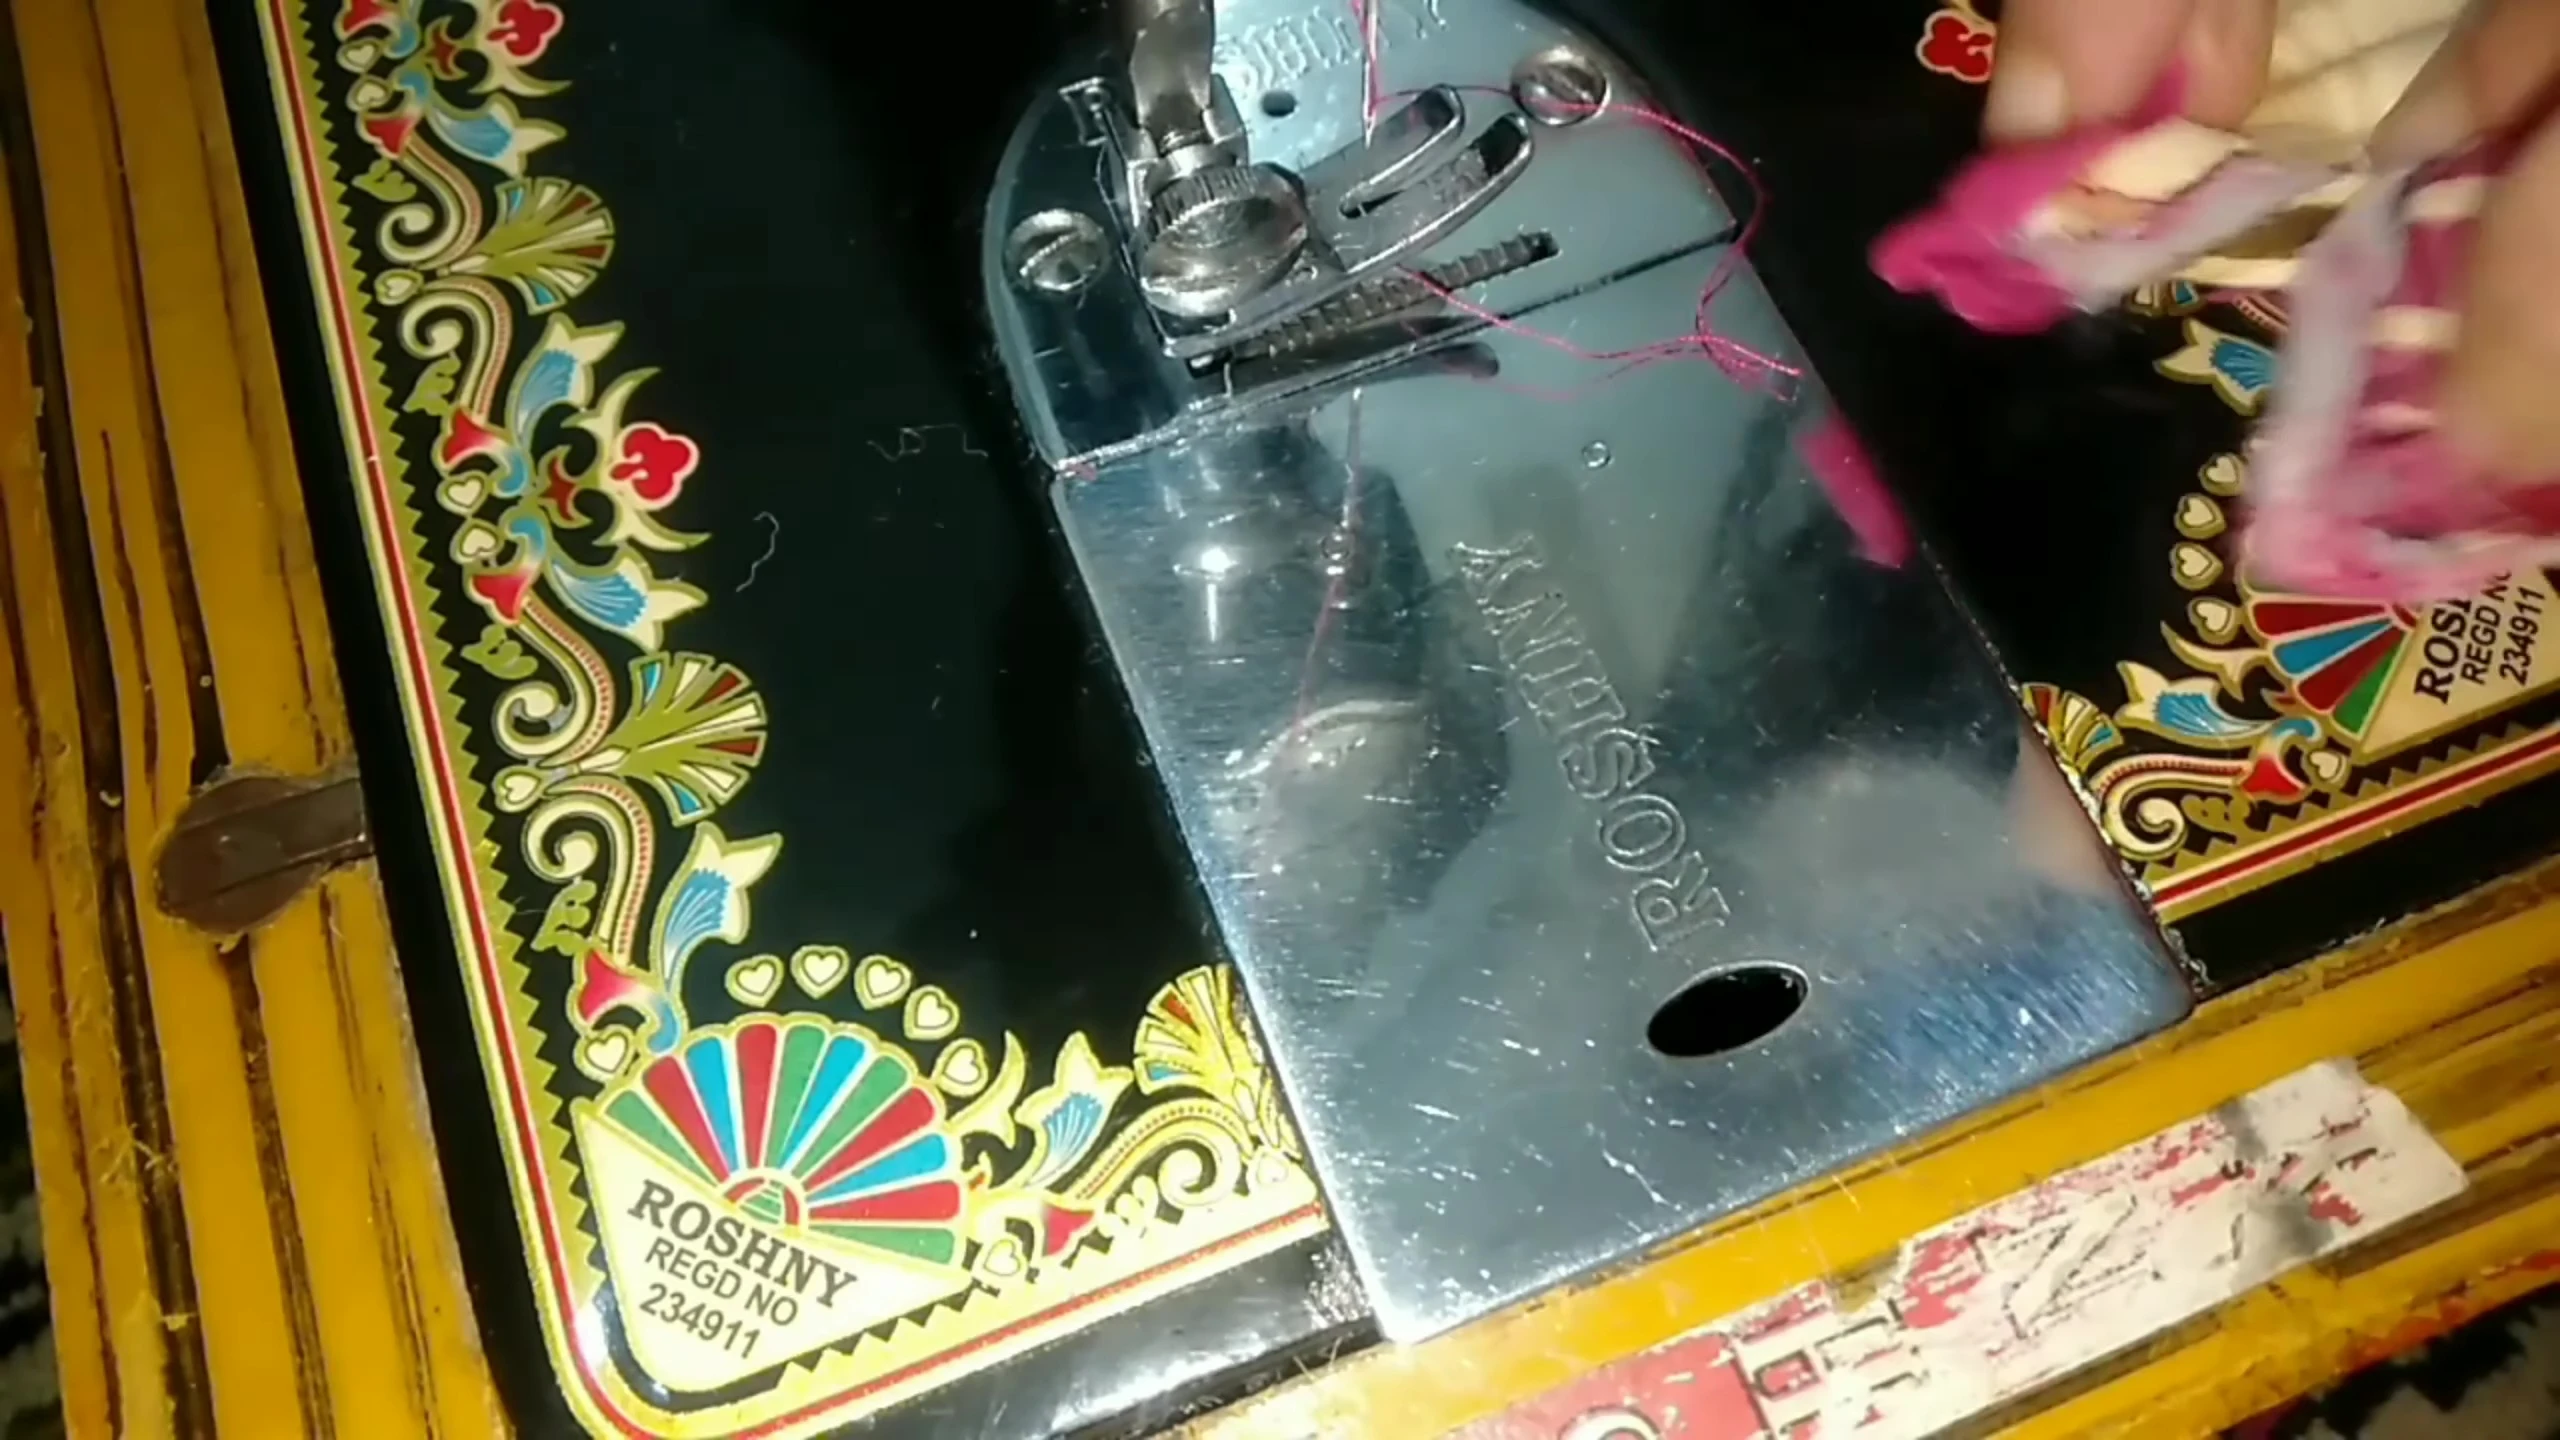
With the piping and interlining secured, carefully stitch the glove pieces together, leaving a small opening for turning. Pay close attention to the seams to ensure they are straight and even, and use a strong stitch to prevent unraveling. Turning the glove right side out through the small opening requires some careful maneuvering.
After turning, neatly close the opening left for turning. Ensure the seams are smooth and the finished look is clean and professional. Press the seams flat with an iron for a crisp, refined look. The finished product should now resemble a pair of fully formed gloves.
Adding the Hanging Loop
To add a hanging loop, cut a 1-inch strip of fabric and stitch it into a loop. This allows for easy storage and organization in your kitchen. The loop should be securely attached to the top of one of the gloves. A well-secured loop is crucial for the longevity of the glove.
Attach the loop to the finished gloves. This detail ensures easy access and convenient storage. A carefully stitched and well-placed hanging loop will enhance the overall usability of your handmade kitchen gloves.
Finishing Touches
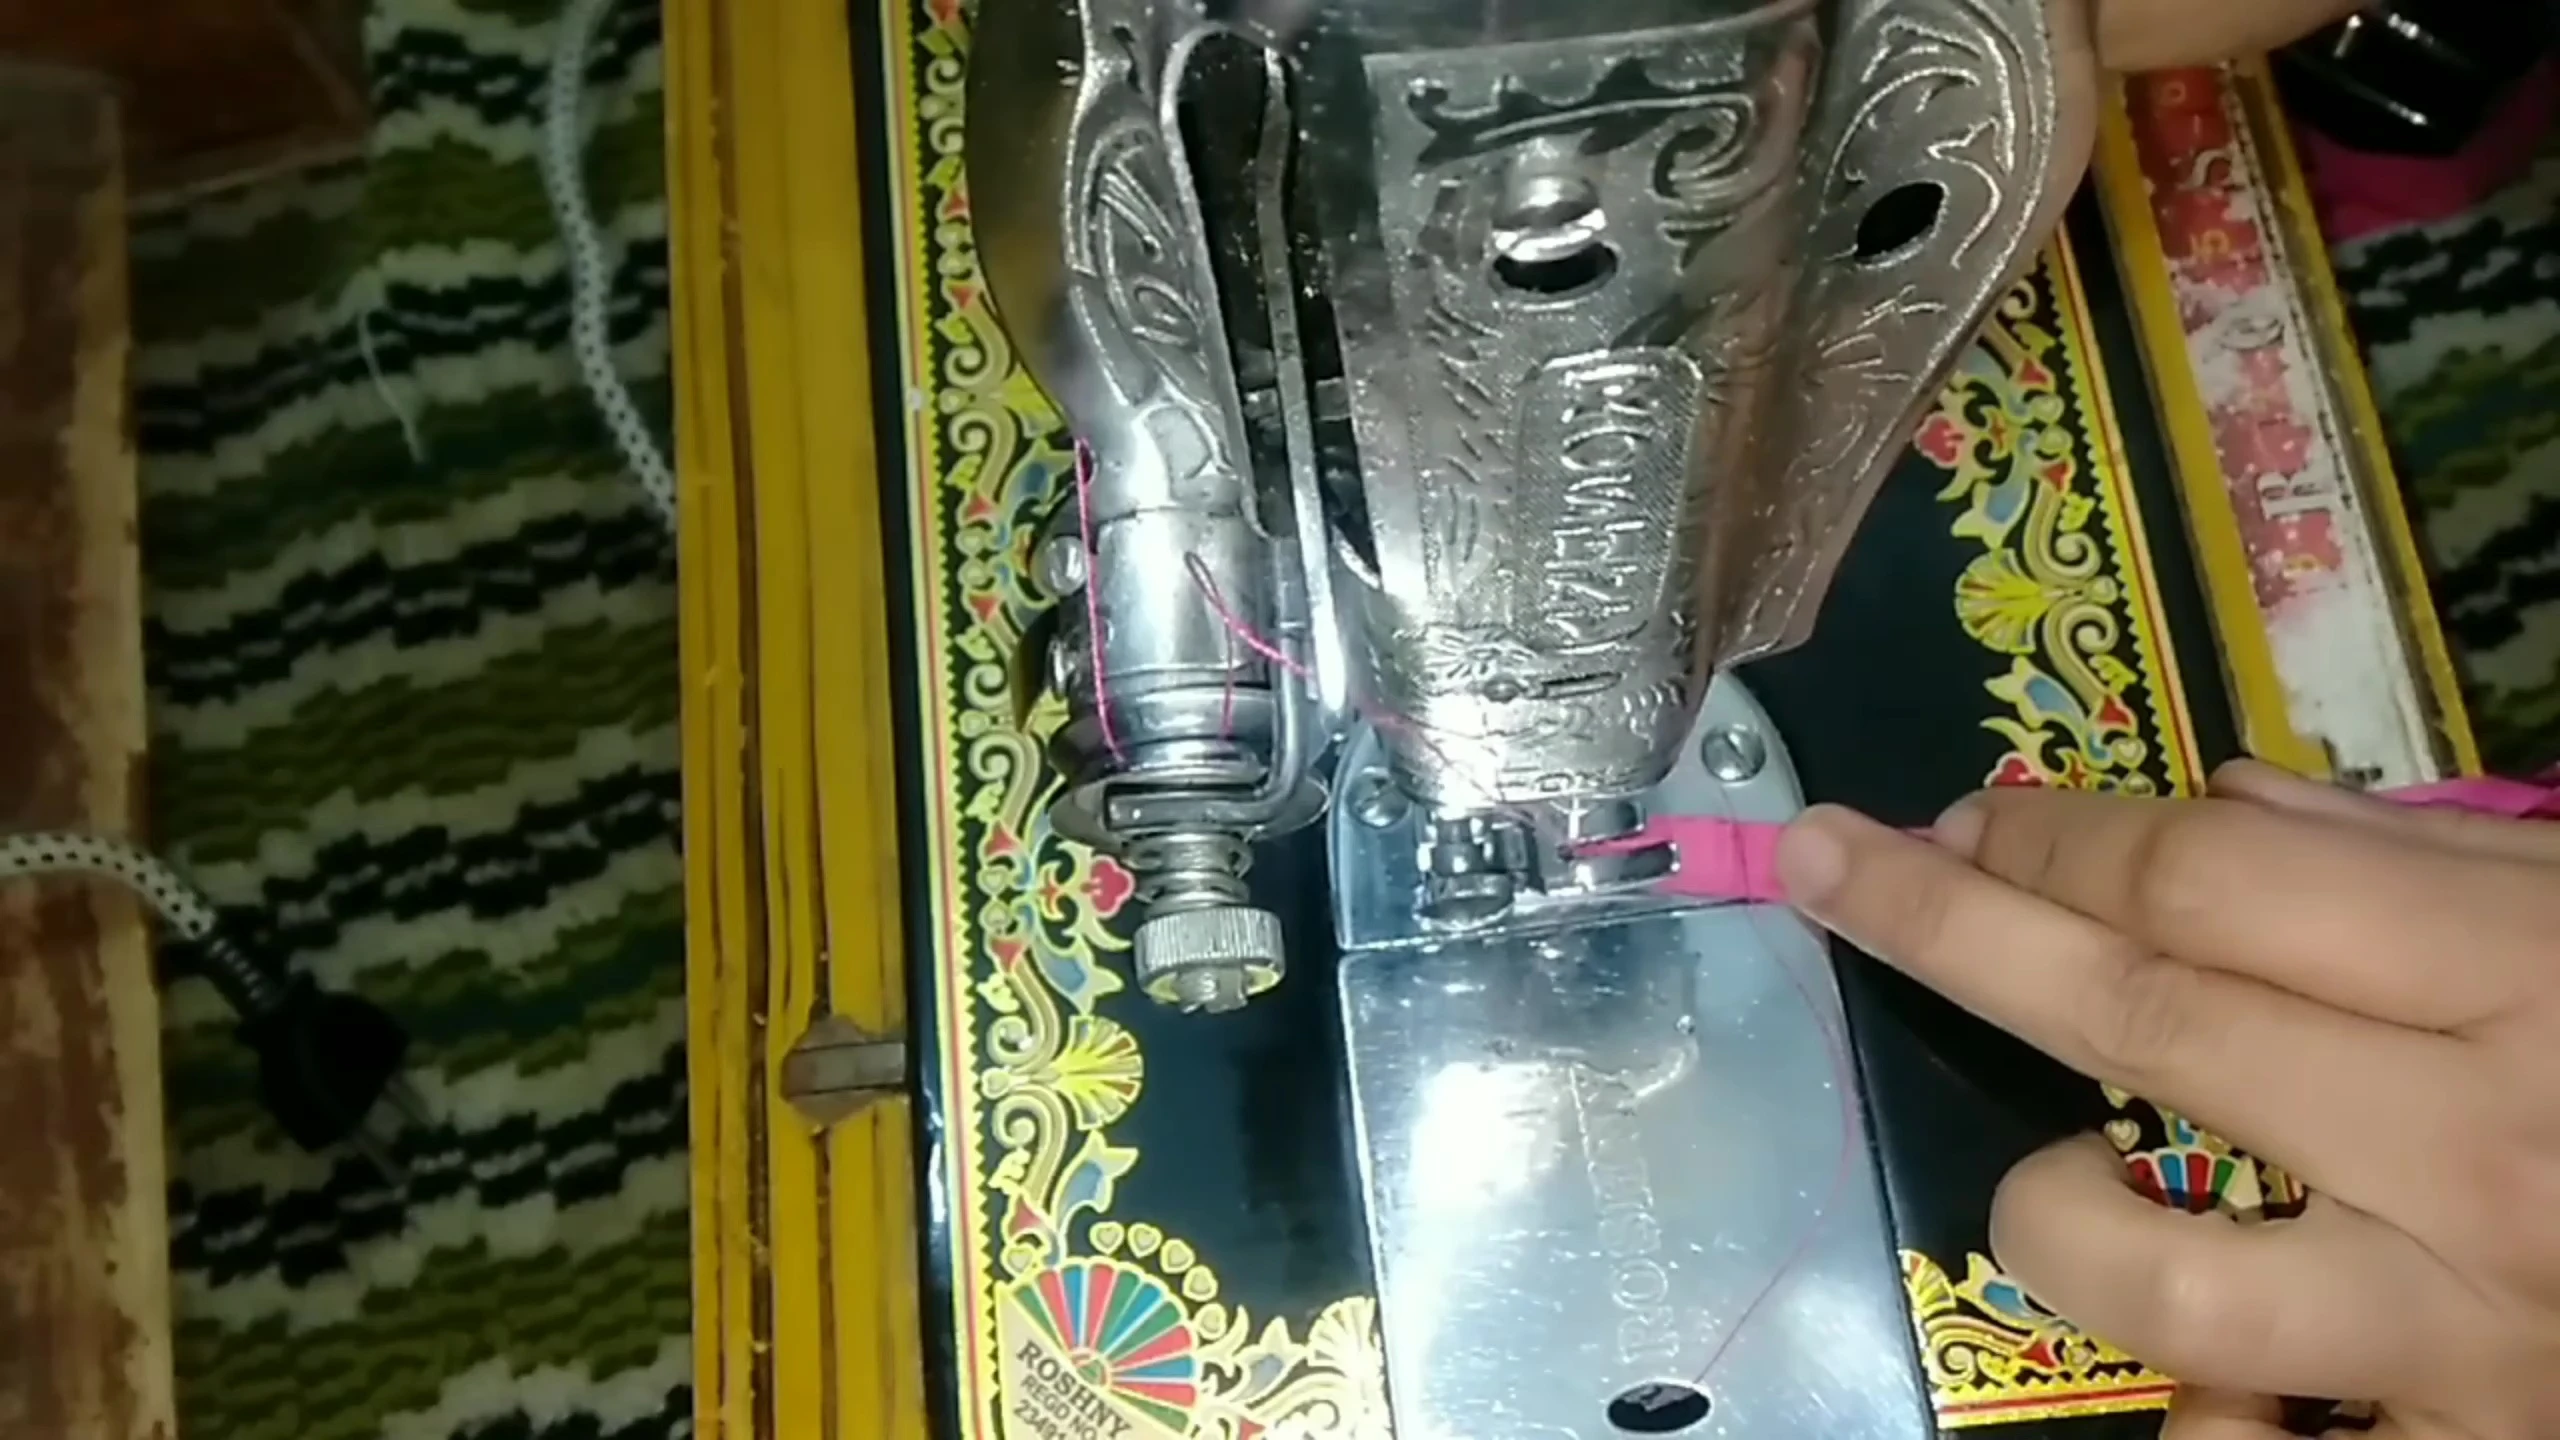
Once the main stitching is complete, you can reinforce the seams by performing a double stitch along the top edge. This extra stitching adds durability to ensure the gloves hold up to repeated use. The double stitch is particularly important in areas subject to more stress.
After completing all the seams and ensuring everything is perfectly sewn together, carefully cut any excess fabric. This step ensures the final product looks professional and prevents any loose threads from unraveling. Carefully press the seams again for a well-finished product.
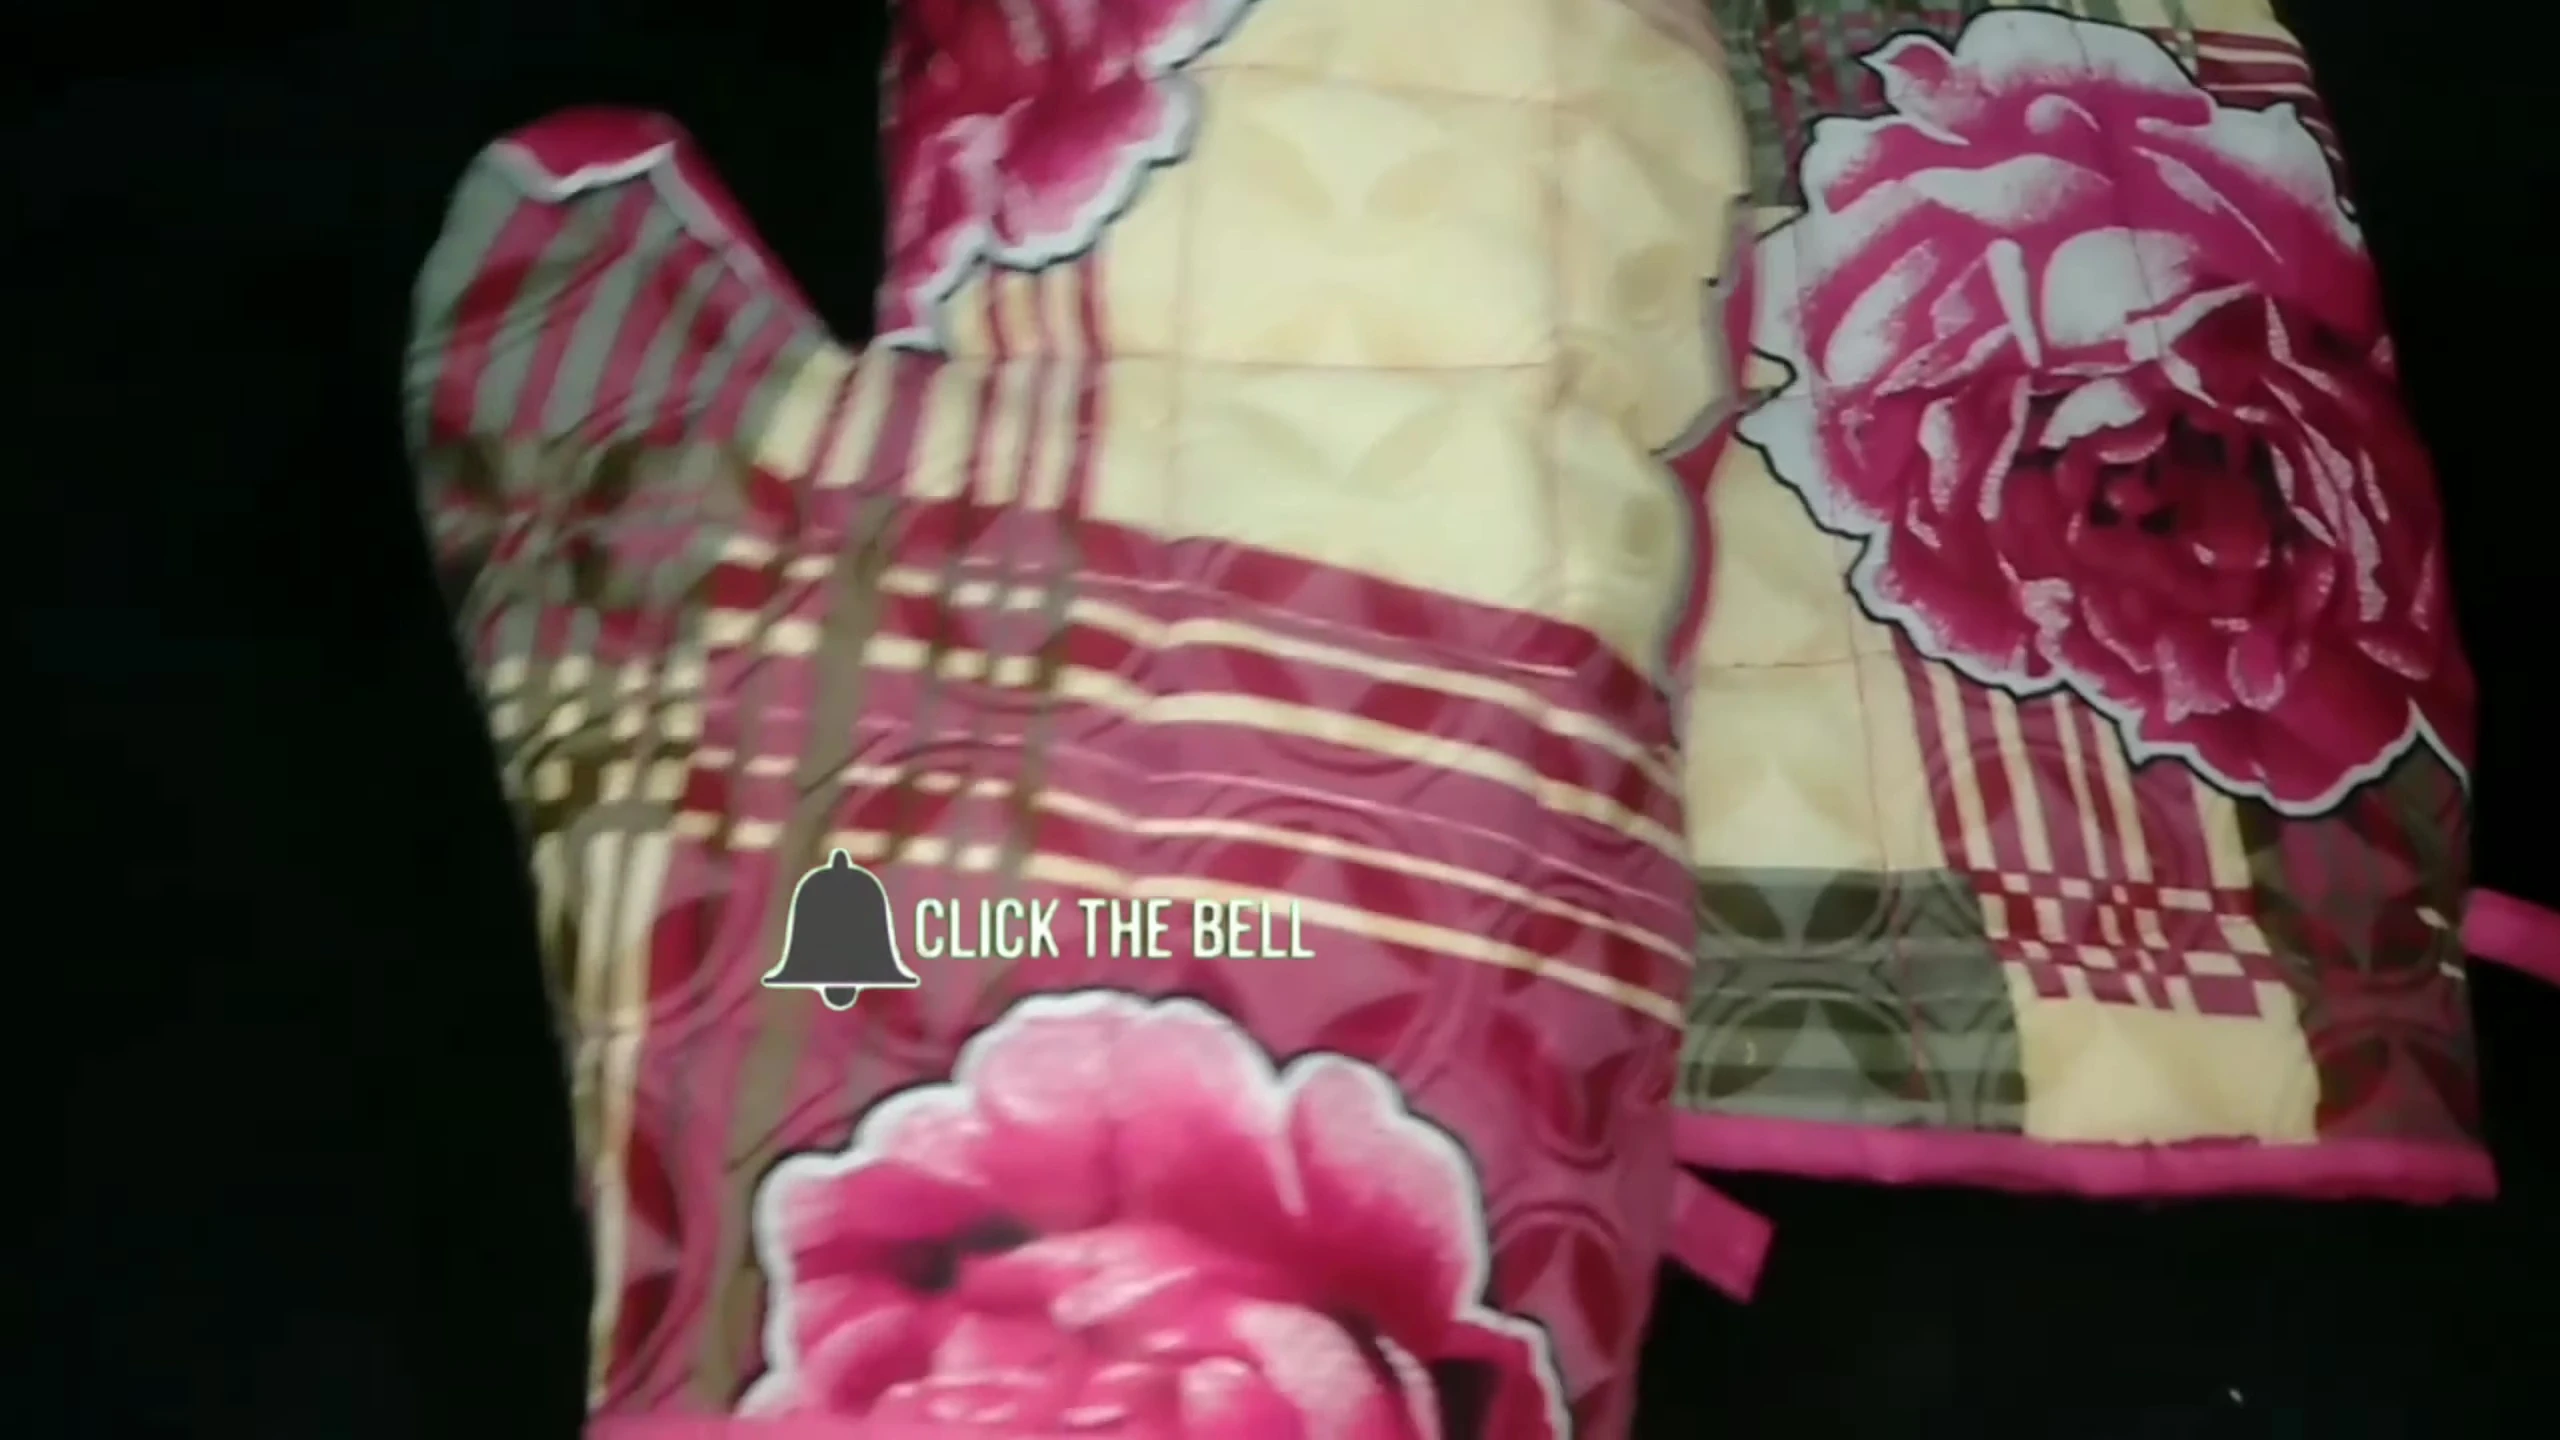
Final Product and Conclusion
After all steps are done, your heat-resistant kitchen gloves should be complete. These gloves offer protection from heat and spills, and they’re also a unique, personalized addition to your kitchen accessories. The process is quite straightforward and enjoyable.
The instructions are well-explained in the video, making the process achievable for beginners. While some experience with sewing is helpful, the steps are broken down logically. Overall, these homemade gloves offer a balance of practicality and personal style. They are a worthwhile project for anyone interested in creating functional and decorative kitchenware.