Cast iron grilling grates offer unparalleled flavor and performance, but proper seasoning is key to unlocking their full potential. This step-by-step guide will walk you through the process of creating a durable, non-stick surface that protects your grates from rust and ensures years of delicious grilling. From initial cleaning and oil selection to the crucial baking process and post-cooking care, we'll cover every detail to help you achieve perfectly seasoned grates. Investing a little time in seasoning will dramatically improve your grilling experience.This guide provides a comprehensive approach to seasoning your cast iron grates, making the process simple and effective. We'll detail the best oils to use, the ideal temperature settings for optimal seasoning, and the importance of regular cleaning and maintenance. Follow these instructions, and your cast iron grates will reward you with exceptional performance, easier cleanup, and a long lifespan, guaranteeing many enjoyable cookouts for years to come.
Pros And Cons
- Long-lasting with proper care
- Creates a nonstick surface when seasoned
Read more: Traeger Grill Grates: Top 10 Best Reviews & Buying Guide
Cleaning Your Cast Iron Grates
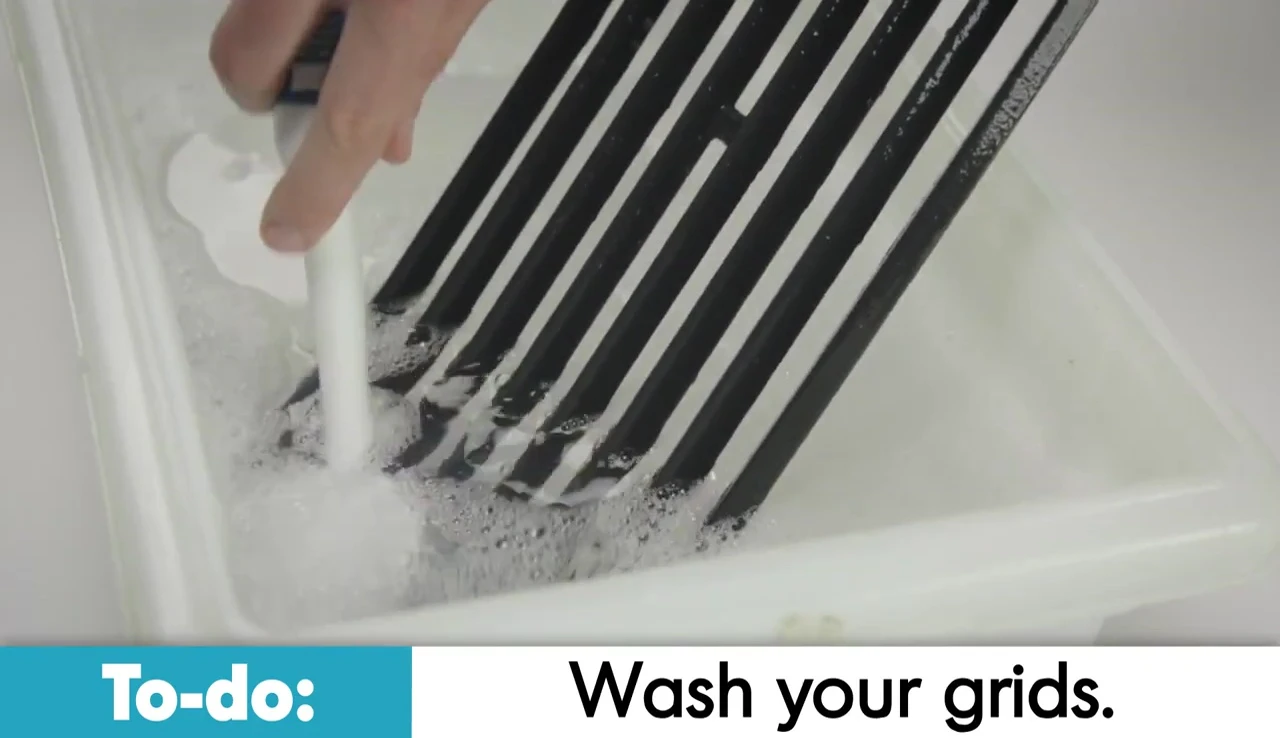
Before you begin seasoning, thoroughly clean your cast iron grilling grates. Use a mild detergent and warm water to remove any grease, food residue, or debris. Rinse them completely and dry them thoroughly with a clean towel. Avoid air drying or using a dishwasher, as this can lead to rust.

Proper cleaning is crucial for optimal seasoning and performance. Make sure to remove any stubborn bits of food before moving onto the next step. This will ensure the seasoning process is effective.
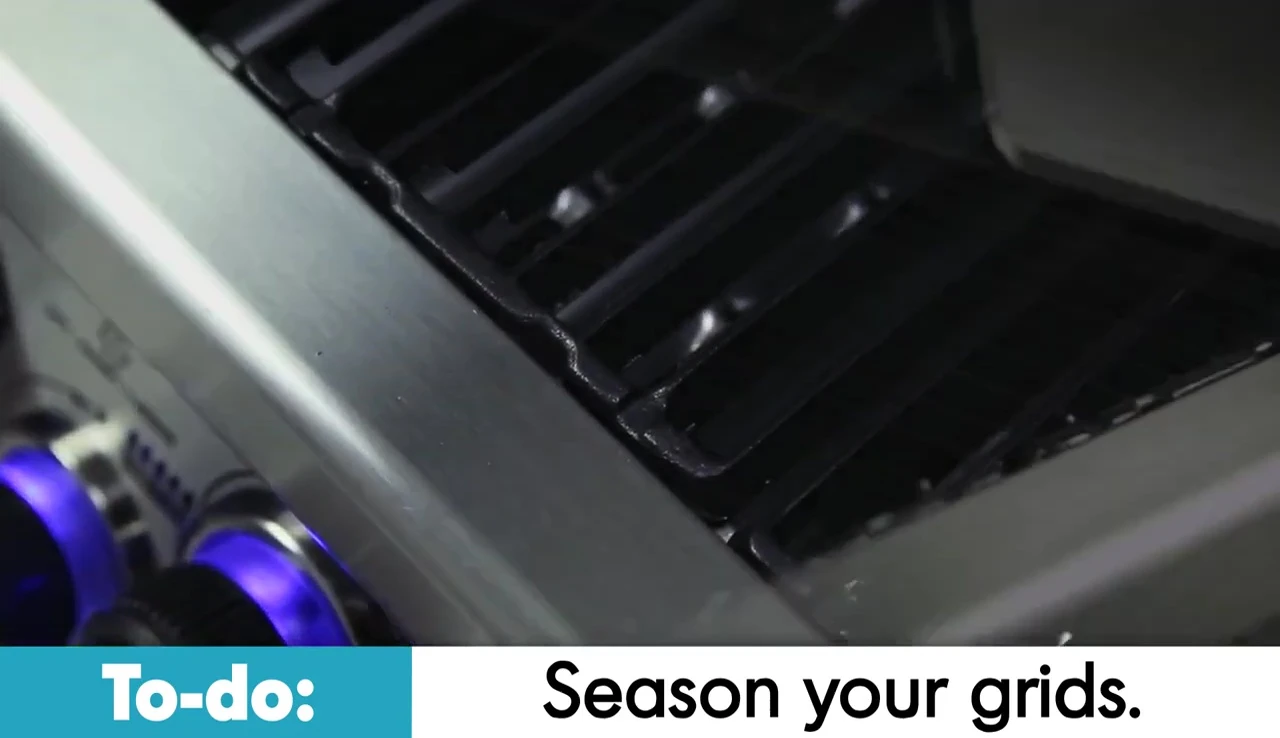
Choosing and Applying the Oil
Select a high-smoke-point oil for seasoning. Avocado oil, rice bran oil, or canola oil are excellent choices. Apply the oil generously to both sides of the grates, ensuring complete coverage. Use a brush, like a Basting brush or silicone brush, for even distribution.
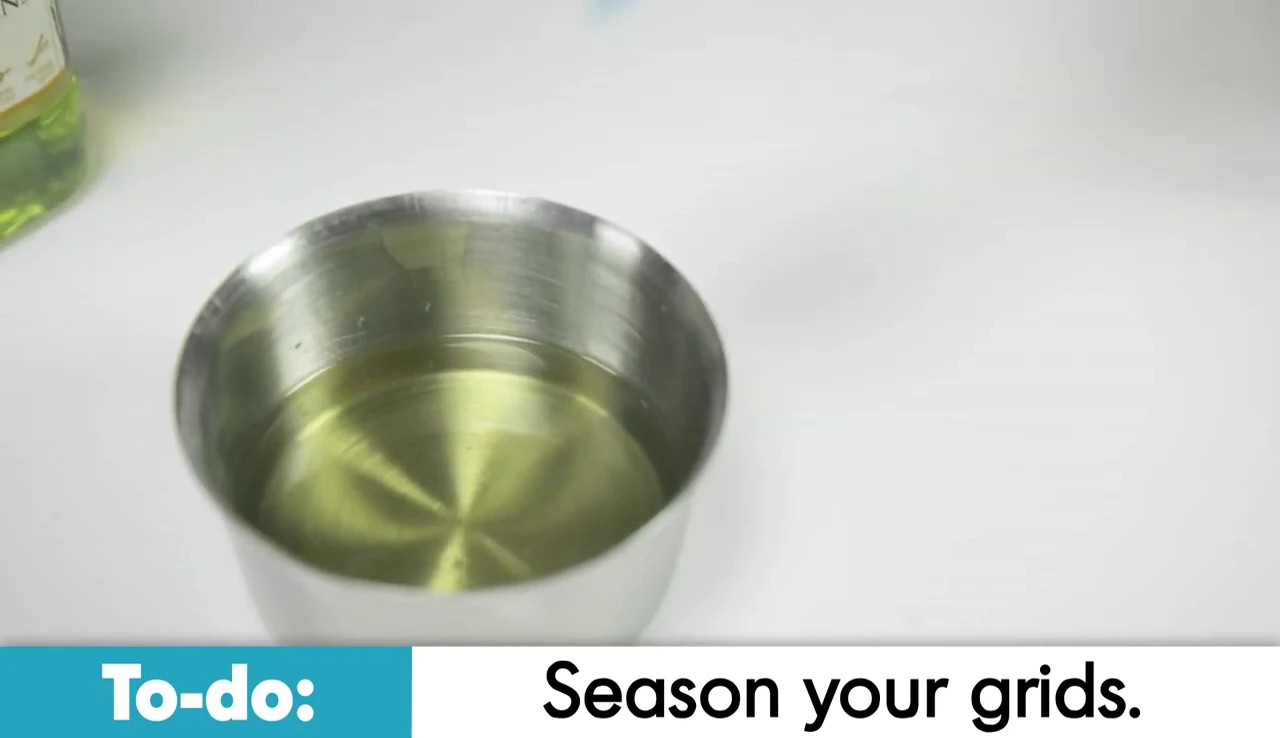
Avoid using salted fats like margarine or butter, as well as nonstick cooking sprays, as they burn off at low temperatures and won't provide the necessary protective layer.

Baking the Oil onto the Grates
Preheat your grill to a medium-low setting. Place the oiled grates on the grill and let them bake for approximately 30 minutes. This allows the oil to polymerize and create a nonstick, protective layer. This is a crucial step that ensures longevity and easier cleaning.
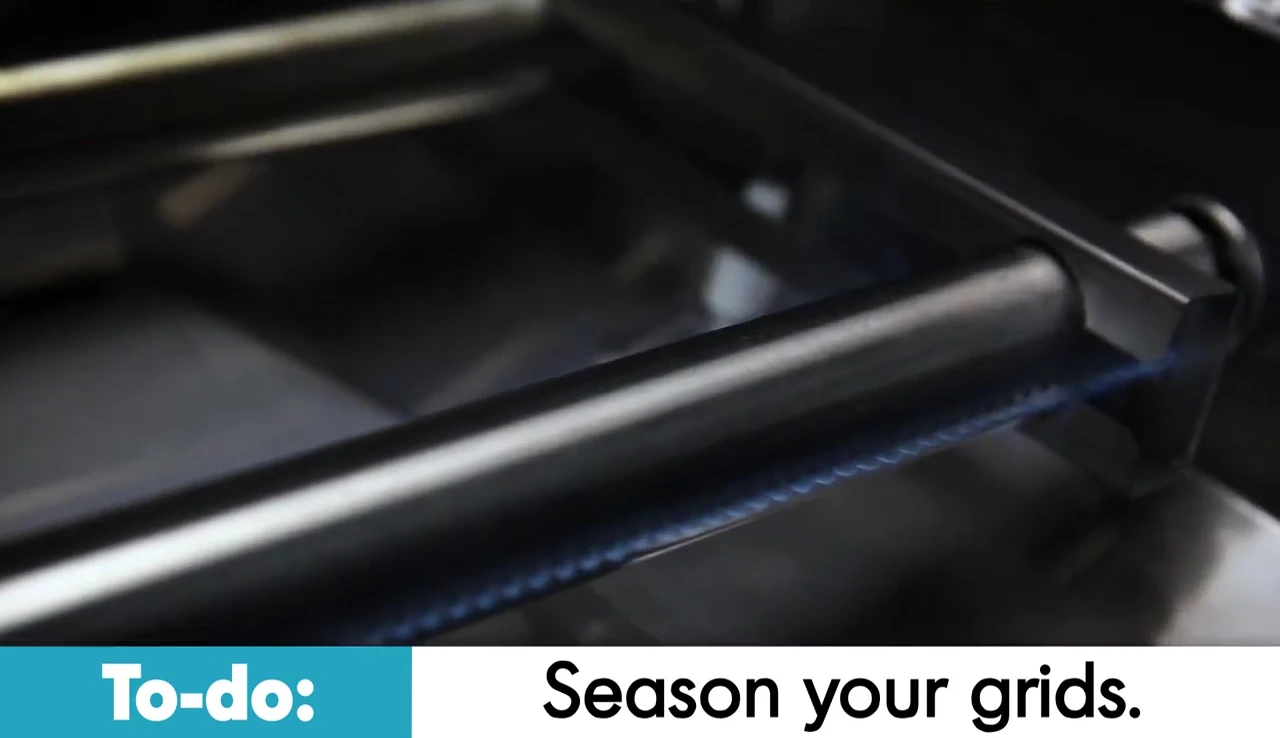
Once the 30 minutes is up, turn off the grill and allow the grates to cool completely before handling. After cooling, they are seasoned and ready for use.
Preheating and Using Your Seasoned Grates
Before each use, preheat your grill to medium-low with the lid closed for about 15 minutes. This helps to maintain the seasoned surface. After preheating, adjust the temperature as needed for different cooking styles and foods.
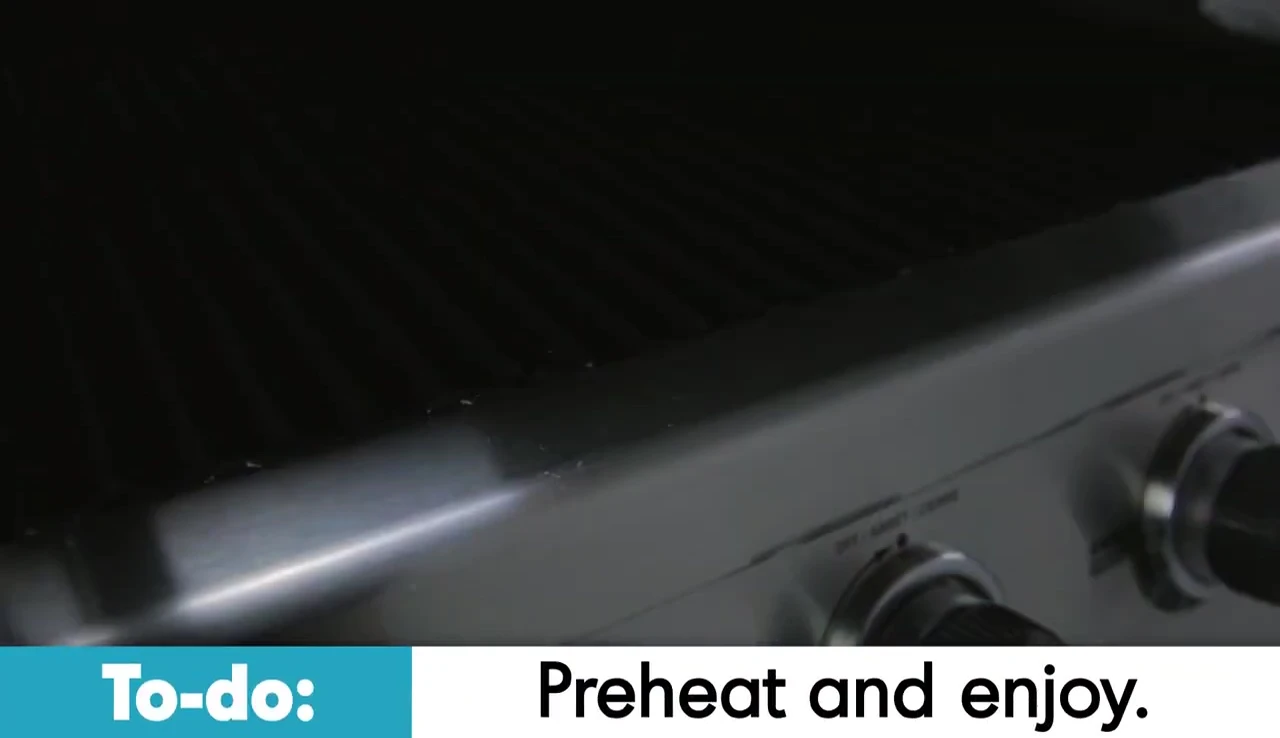
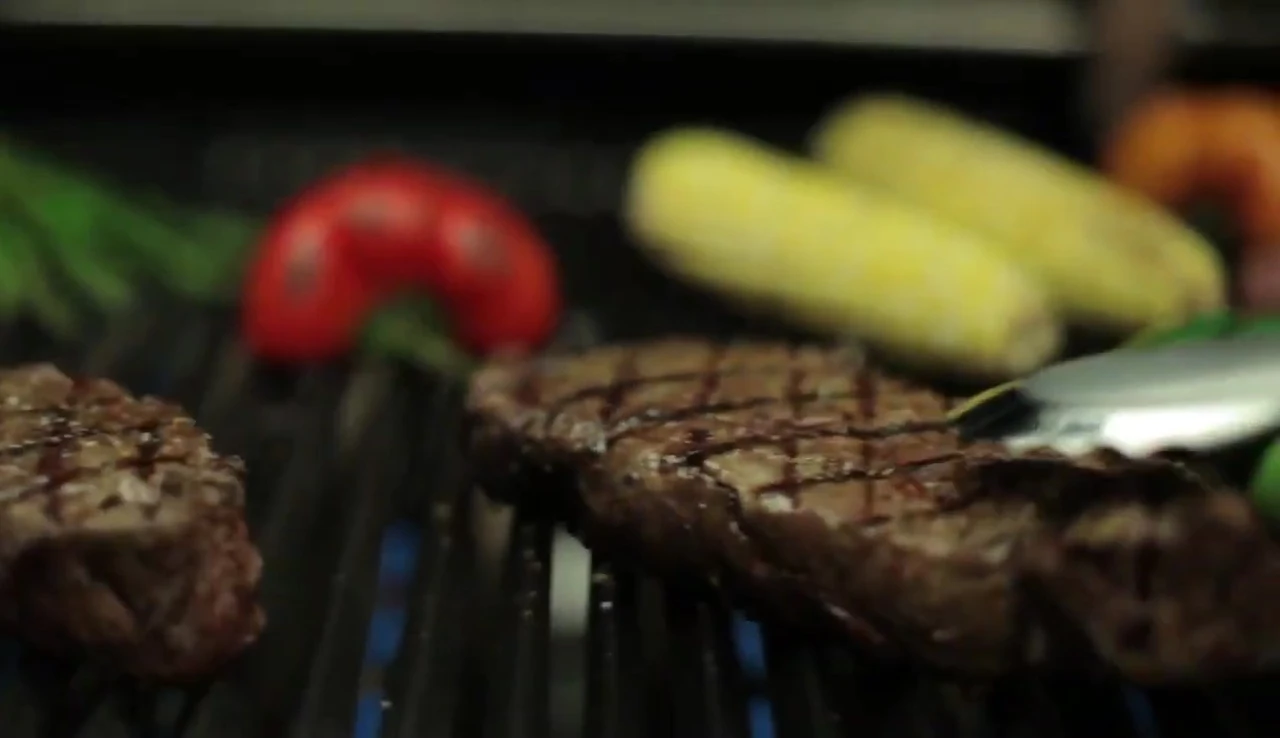
For instance, cooking steaks would require a medium-high setting. Remember to always refer to cooking instructions specific to your food type for perfect grilling results.
Cleaning and Maintaining Your Seasoned Grates
After each use, clean your grates with a stainless steel bristle brush or a wooden scraper to remove any food residue. Inspect carefully to ensure no bristles are left behind. Regular cleaning is key to preventing rust and maintaining the nonstick surface.

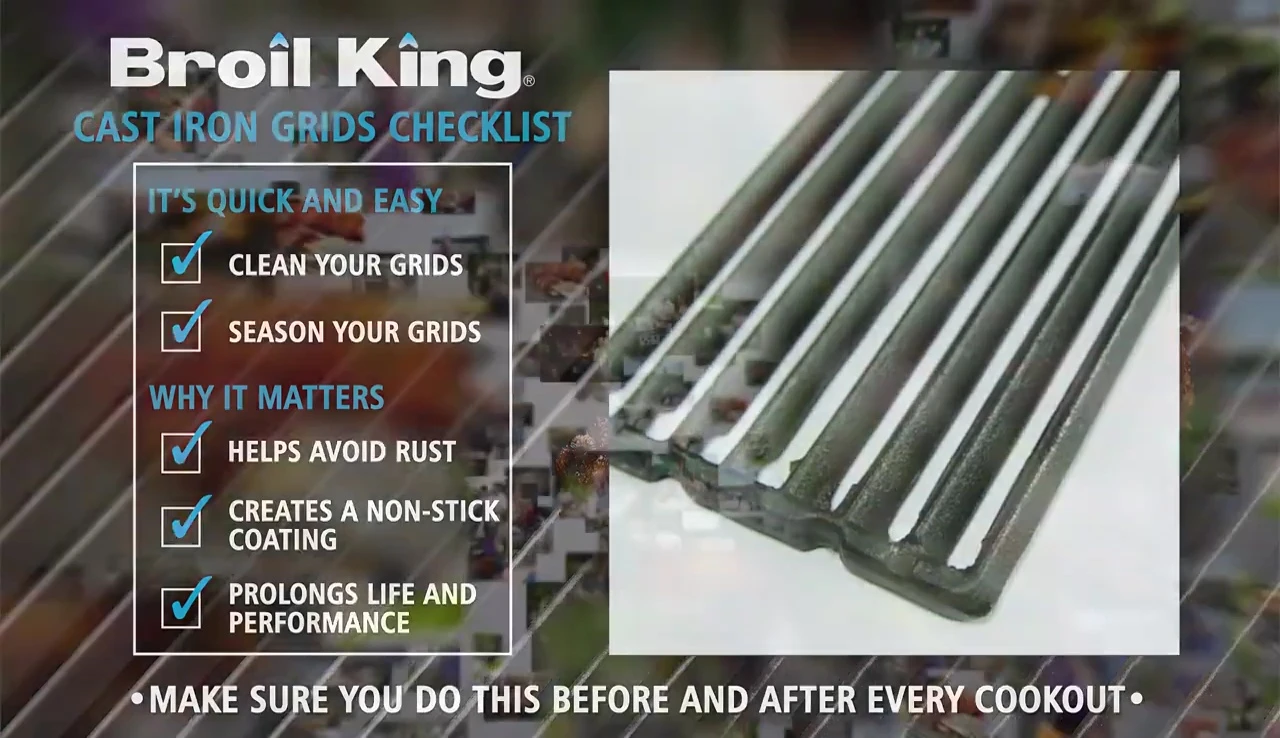
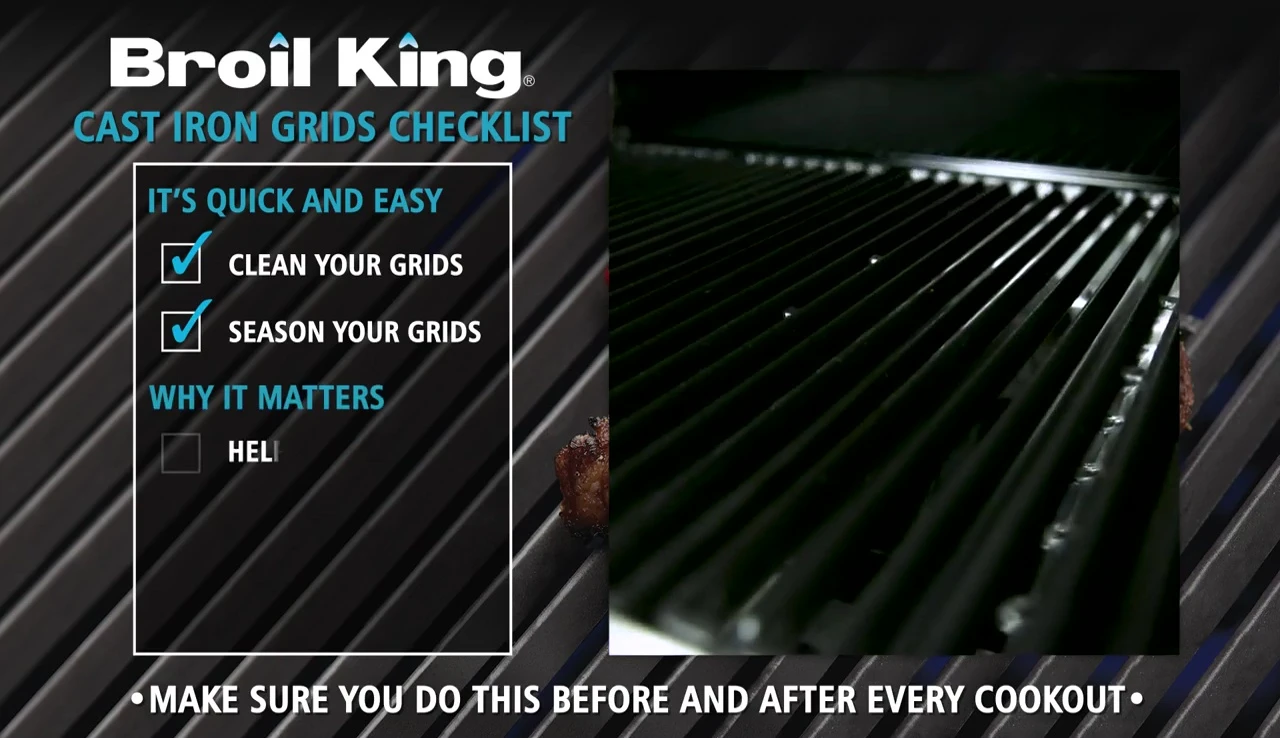
Following these steps, along with the Broil King Cast Iron Grids checklist, will contribute significantly to extending the life of your cast iron grates and ensuring countless enjoyable cookouts.

Conclusion: The Importance of Seasoning
Seasoning your cast iron grates is more than just a step; it's an investment in their longevity and performance. By following this process, you'll create a nonstick surface, protect against rust, and enhance the overall grilling experience.
Regular cleaning and re-seasoning as needed are crucial for maintaining the quality and effectiveness of your cast iron grates over time. Proper care will ensure years of excellent grilling.