Grilling enthusiasts know that properly seasoned grill grates are the key to achieving perfectly cooked food and a long-lasting grilling experience. This comprehensive guide walks you through a step-by-step process for achieving flawlessly seasoned grates, ensuring your grilling sessions are consistently successful. We'll cover everything from preheating your grill or oven to the optimal oil selection and temperature control for a durable, non-stick finish. Say goodbye to sticking food and hello to years of effortless grilling.This guide emphasizes the importance of using high-quality oil and paying close attention to temperature and timing for optimal results. Whether you're a seasoned grilling pro or just starting out, mastering the art of seasoning your grill grates will elevate your grilling game and protect your investment. Learn how to create a hard, durable layer that prevents sticking and rust, resulting in a non-stick surface that simplifies cleanup and extends the life of your grill grates. Prepare for effortless grilling and perfect results every time.
Pros And Cons
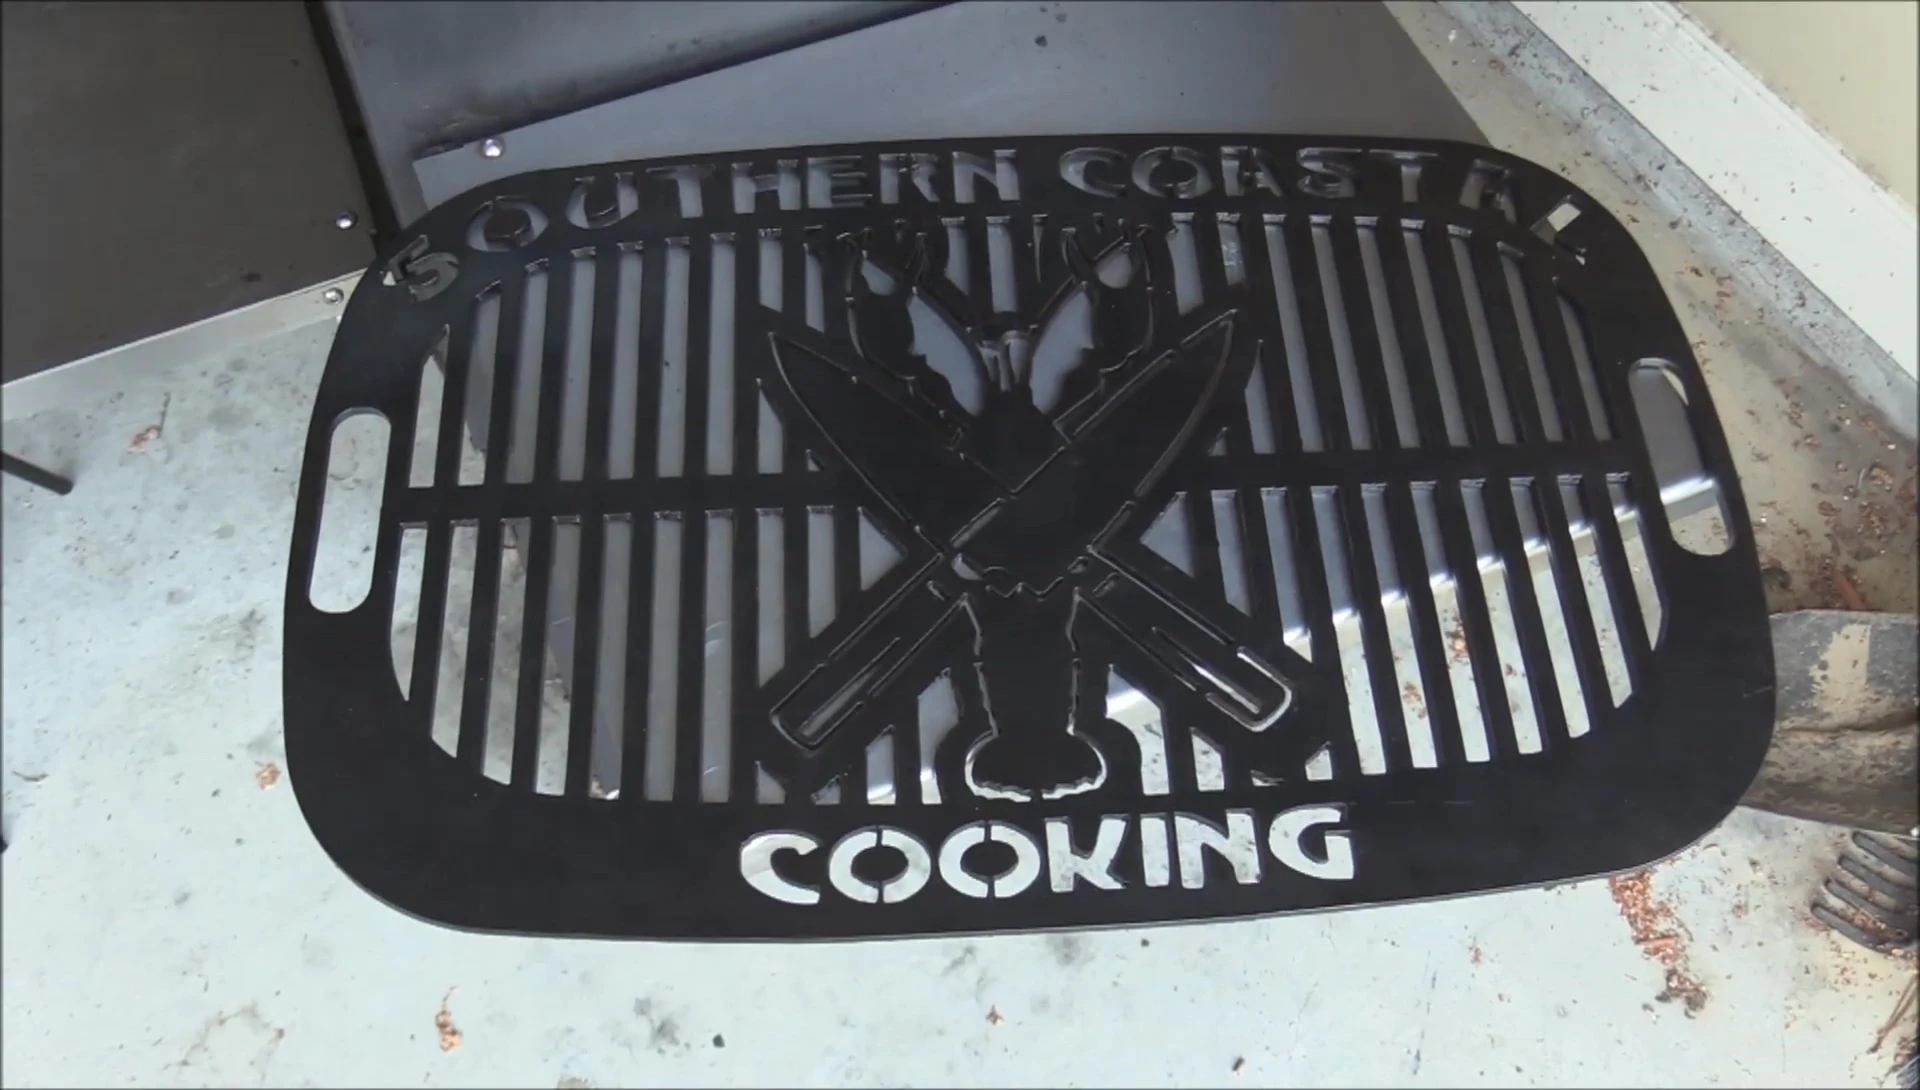
- Heavy-duty
- Custom-made
- Great for searing
Read more: Traeger Grill Grates: Top 10 Best Reviews & Buying Guide
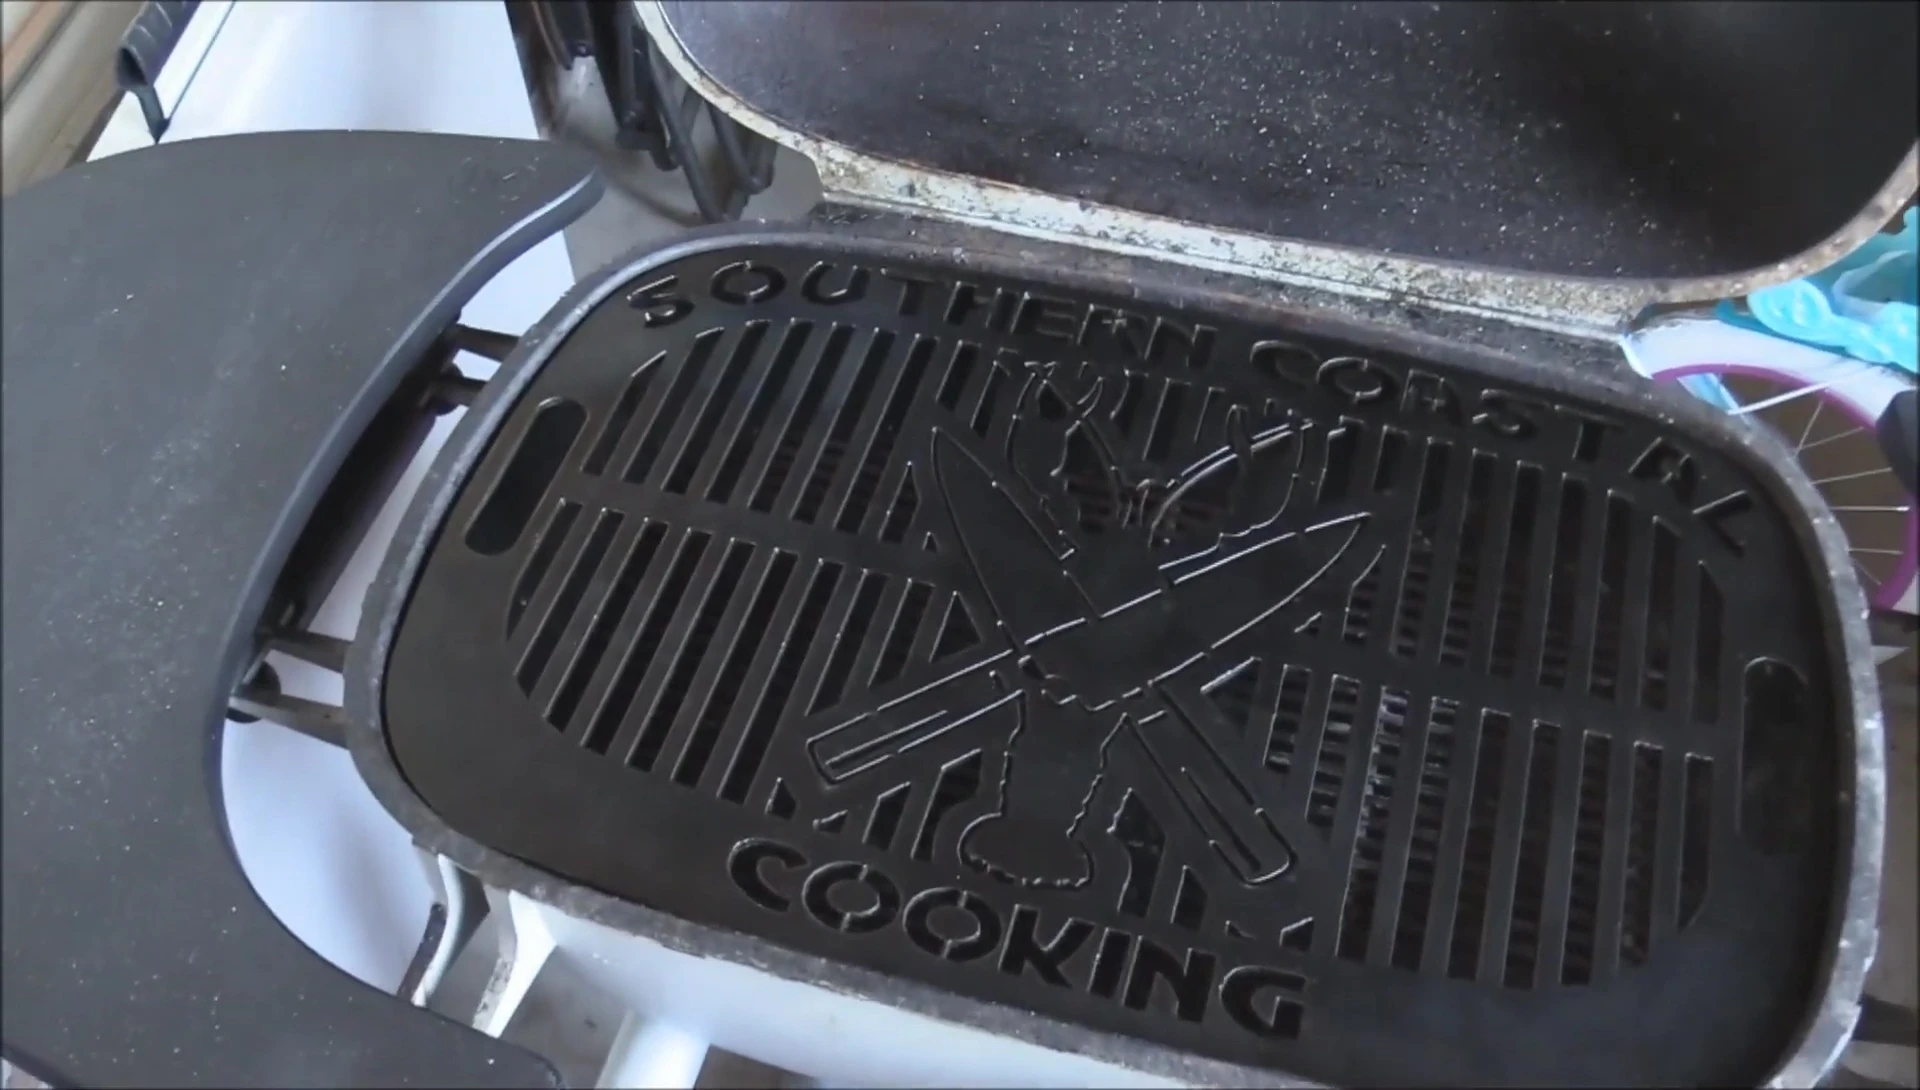
Preparing the Grill Grate
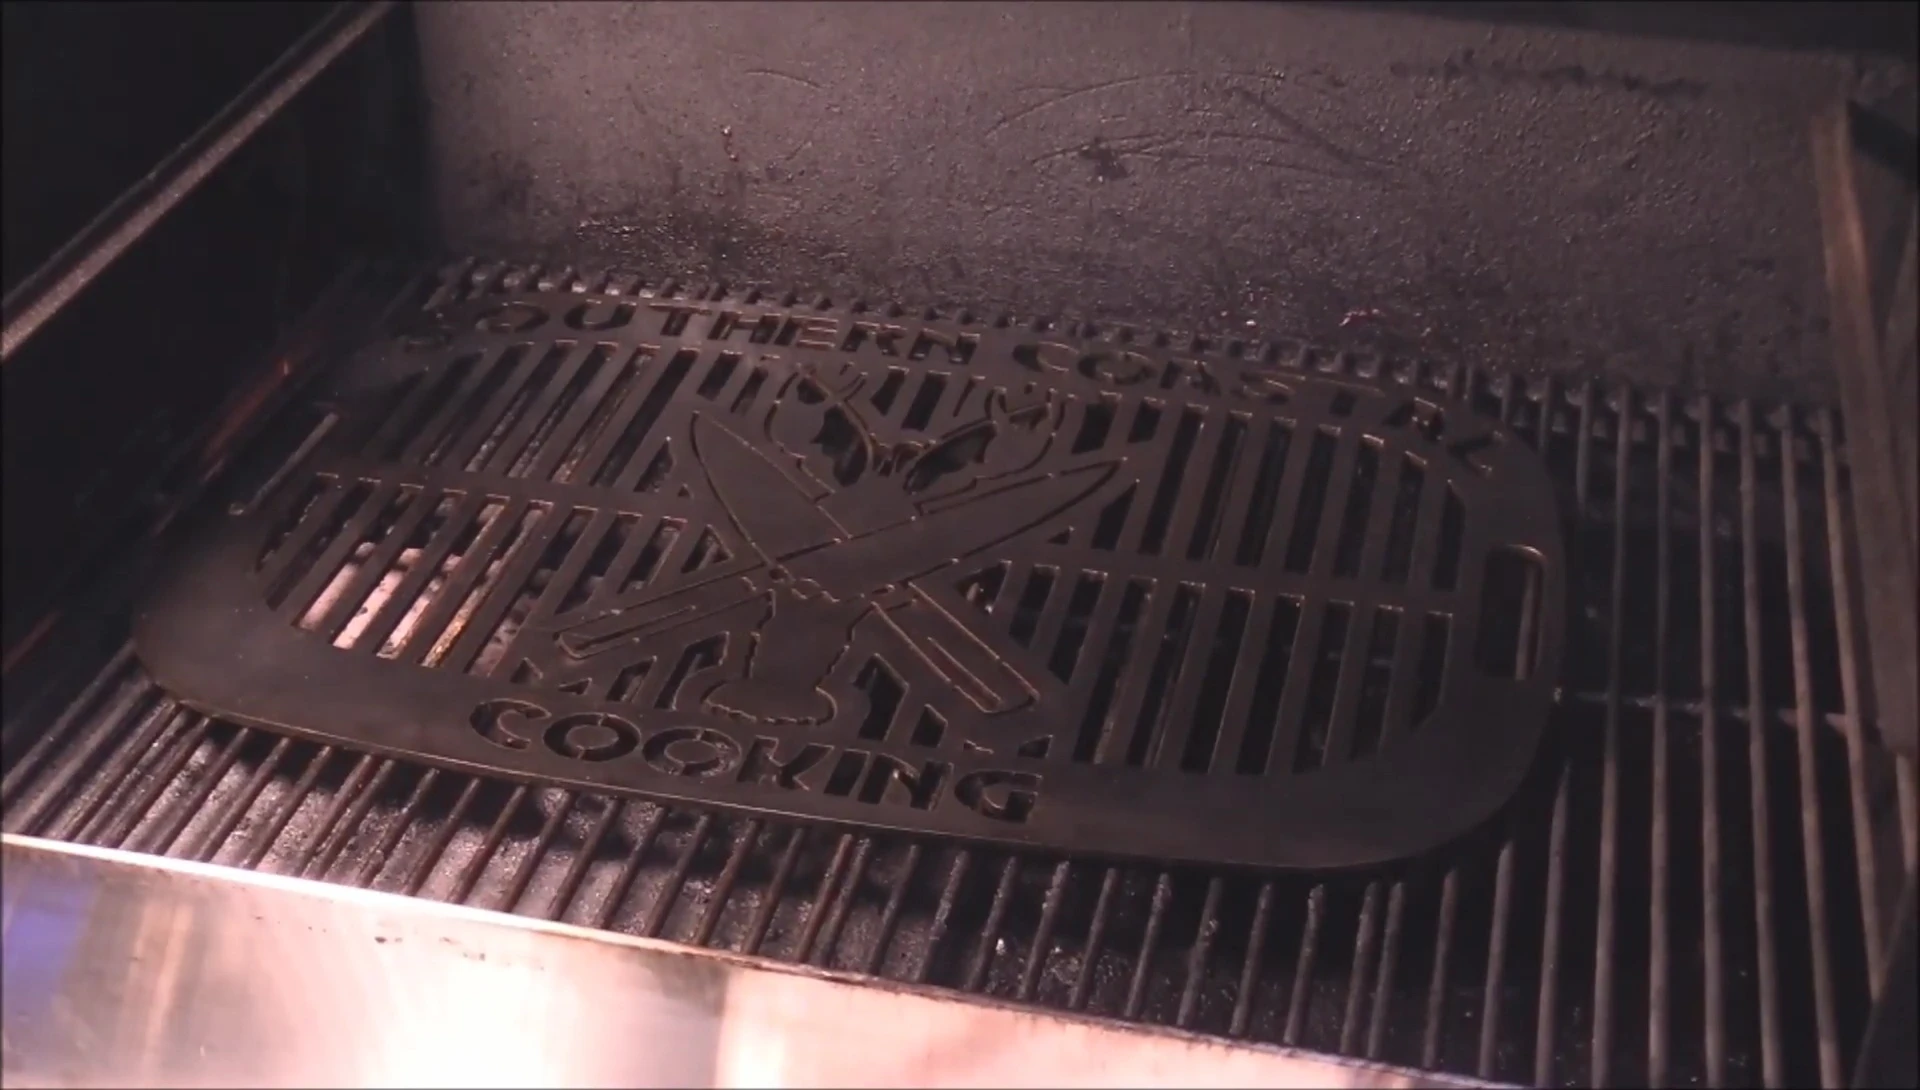
Begin by preheating your grill to 300°F (150°C). This ensures even heat distribution during the seasoning process. Allow the grill to reach the desired temperature before proceeding. This preheating step is crucial for achieving a well-seasoned grate.

Once preheated, carefully place the grill grate inside. For larger grates, an oven might be more suitable. Make sure the grate is properly positioned to ensure even heating and avoid any contact with the oven walls.
Applying the Seasoning
Use a high-quality seasoning oil, such as Chris Beek's, for optimal results. Apply a thin, even coat to the entire surface of the grate. This is best done with a lint-free cloth to avoid leaving any excess residue.
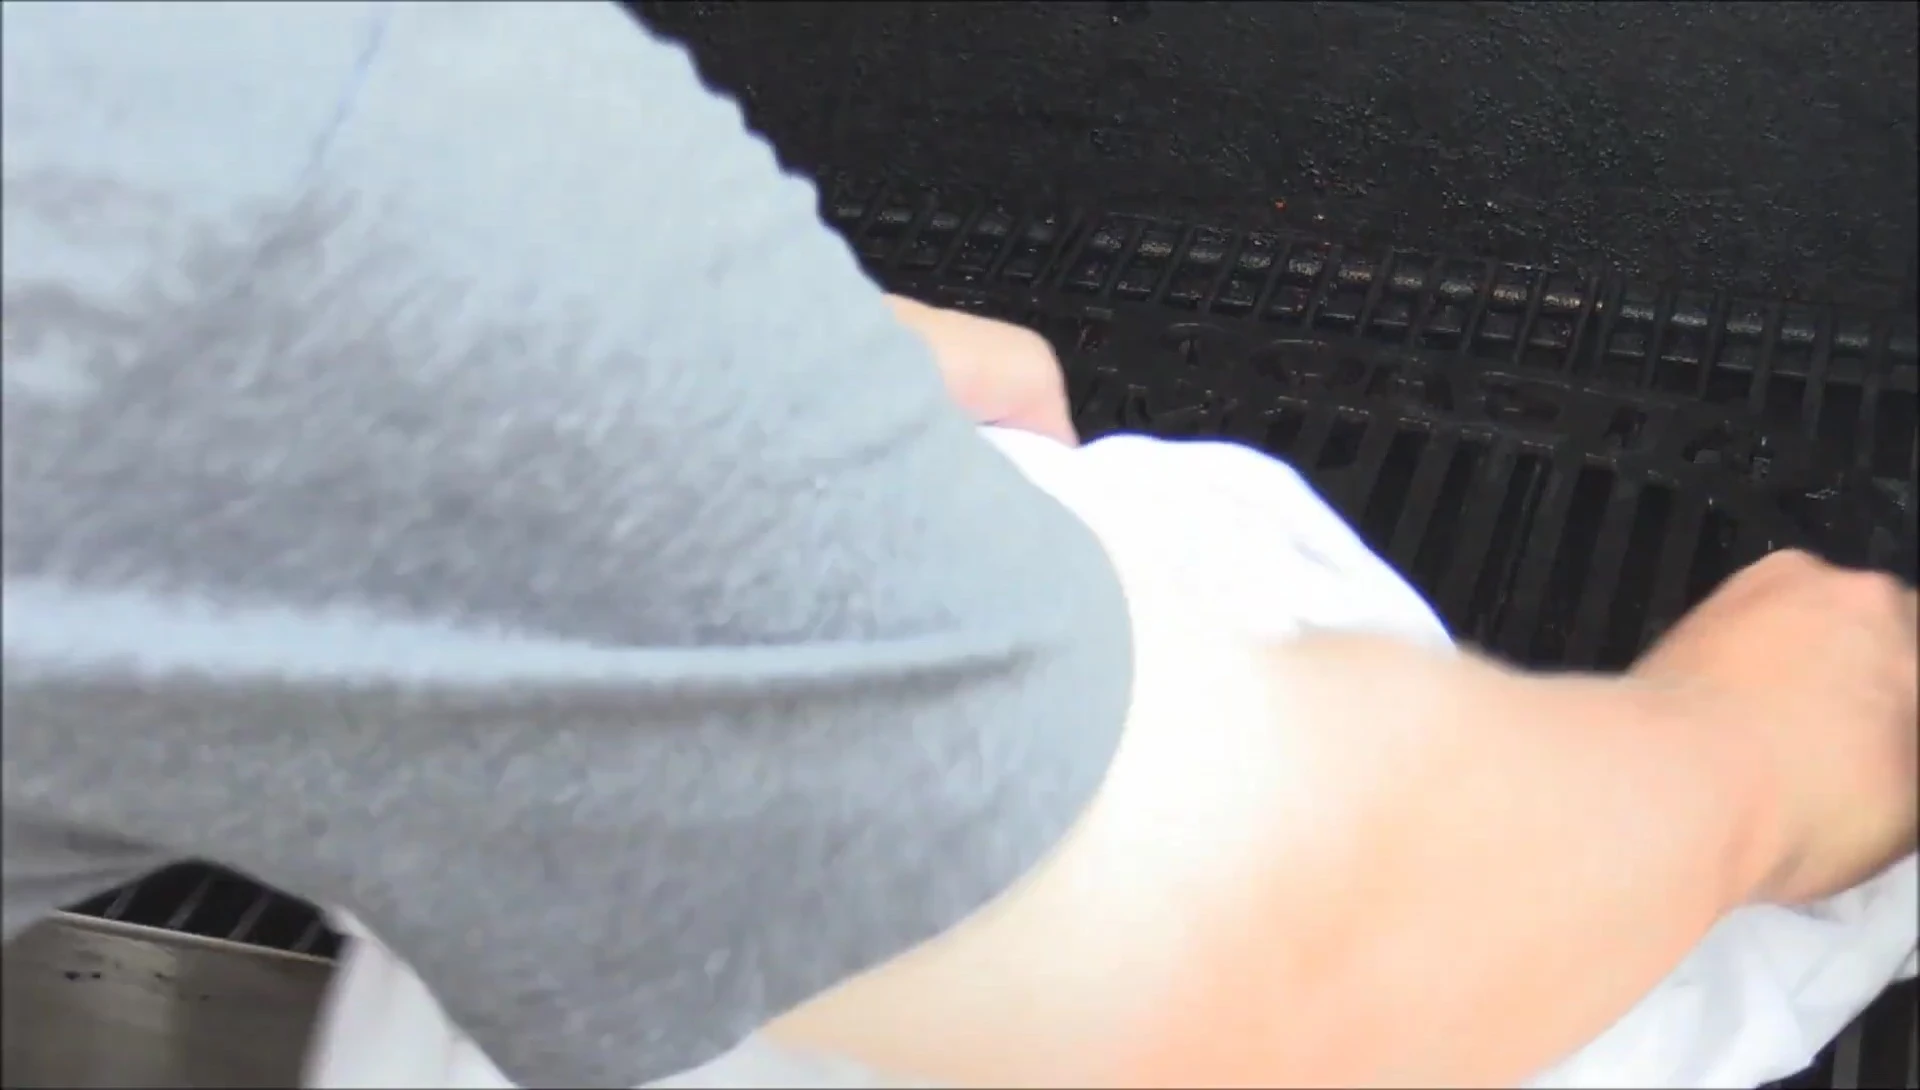
Remove excess oil with a clean cloth to prevent flare-ups and achieve an even, crispy finish. It's crucial to ensure a thin layer is applied to prevent excessive smoking or burning during the seasoning process. Avoid over-seasoning!
The Seasoning Process
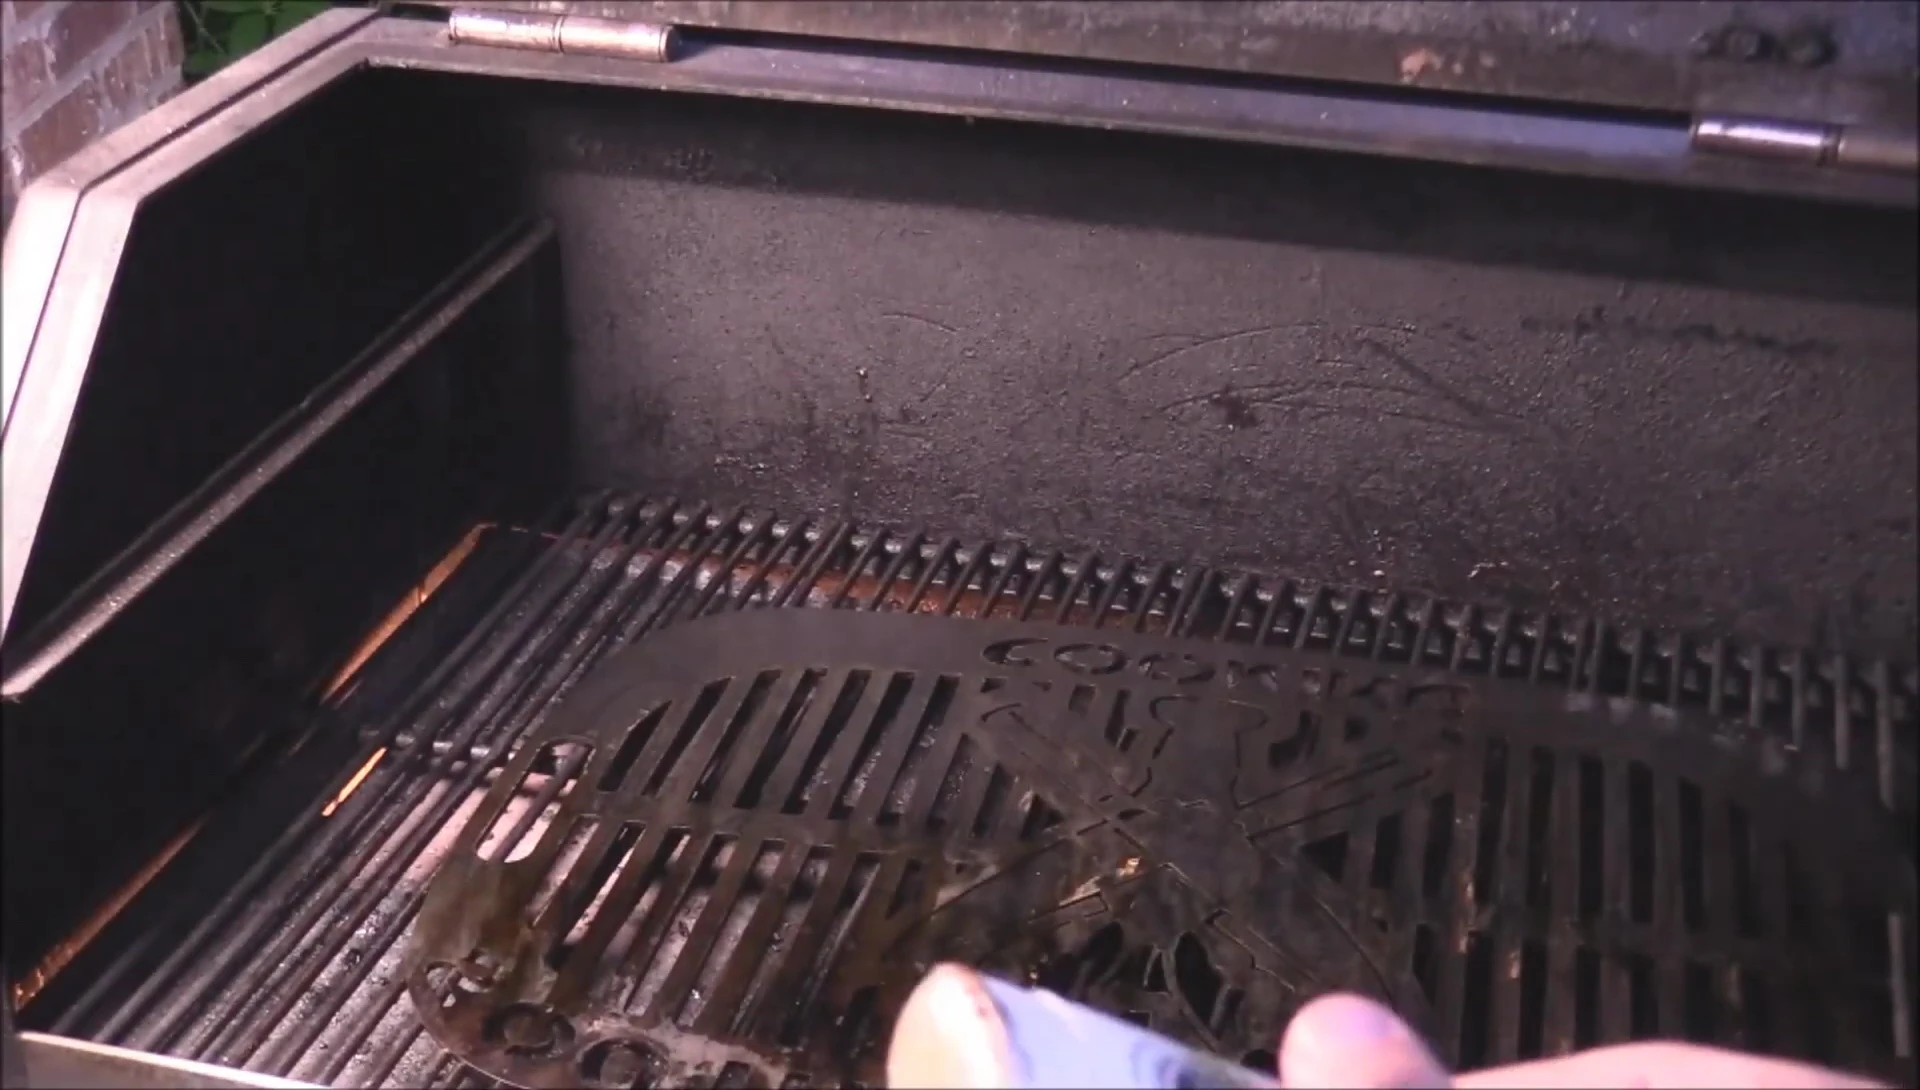
After applying the seasoning oil, increase the temperature of your oven to 400°F (200°C). Allow the grate to cook for approximately 45 minutes on each side. This high heat helps to create a hard, durable layer of seasoning, preventing sticking and rust.
Flip the grate halfway through to ensure both sides are evenly seasoned. Remember to always use caution when working with a hot grill and oven.
Cooling and Final Touches
Once the seasoning process is complete, turn off the heat and allow the grate to cool completely inside the oven. This gradual cooling prevents thermal shock and ensures a durable seasoning layer.
After cooling, your grill grate is ready to use. With proper seasoning, your grill grate will be non-stick, resist rust, and provide years of dependable grilling.
Conclusion: Is This Method Effective?
This method provides a thorough and effective way to season grill grates, resulting in a durable, non-stick surface. The use of high-quality oil and careful attention to temperature and time are key factors in achieving optimal results.
Regular seasoning will extend the life of your grill grate and maintain its non-stick properties. While a custom-made grate may be an investment, it's worth considering if you are a serious grilling enthusiast. The superior durability and performance make it a worthwhile choice for many.