Choosing the right charcoal lighting method for your Kamado grill can significantly impact your cooking experience. This article explores two popular techniques: using a chimney starter for fast, efficient grilling, and the direct lighting method, better suited for low-and-slow smoking. We'll break down the advantages and disadvantages of each, guiding you towards the best approach based on your desired cooking style and timeframe. Learn how to safely ignite your charcoal, achieve optimal heat distribution, and manage your fire for perfect results every time.Whether you're a seasoned Kamado grill master or a beginner, understanding these lighting techniques is crucial. We'll cover essential safety precautions, from handling hot coals to managing flare-ups, ensuring a safe and enjoyable grilling experience. From achieving a quick sear for perfectly grilled steaks to creating the ideal smoky environment for tender ribs, this guide will empower you to confidently light your Kamado grill and produce delicious results.
Pros And Cons
- Quick start using chimney method for grilling
- Slow start method suitable for smoking
- Flames can jump up if top vent is open during lighting
- Works well for lighting charcoal
- Allows for distance while lighting
Read more: Kingsford Chimney Starter: 8-Pack for Easy Charcoal Grilling
Lighting with a Chimney Starter: The Quick Method
For a fast grilling session, a chimney starter is highly recommended. This method allows for efficient coal ignition. Simply place kindling (paper or fire starter) at the bottom, add coals on top, and the compact design ensures focused heat transfer.
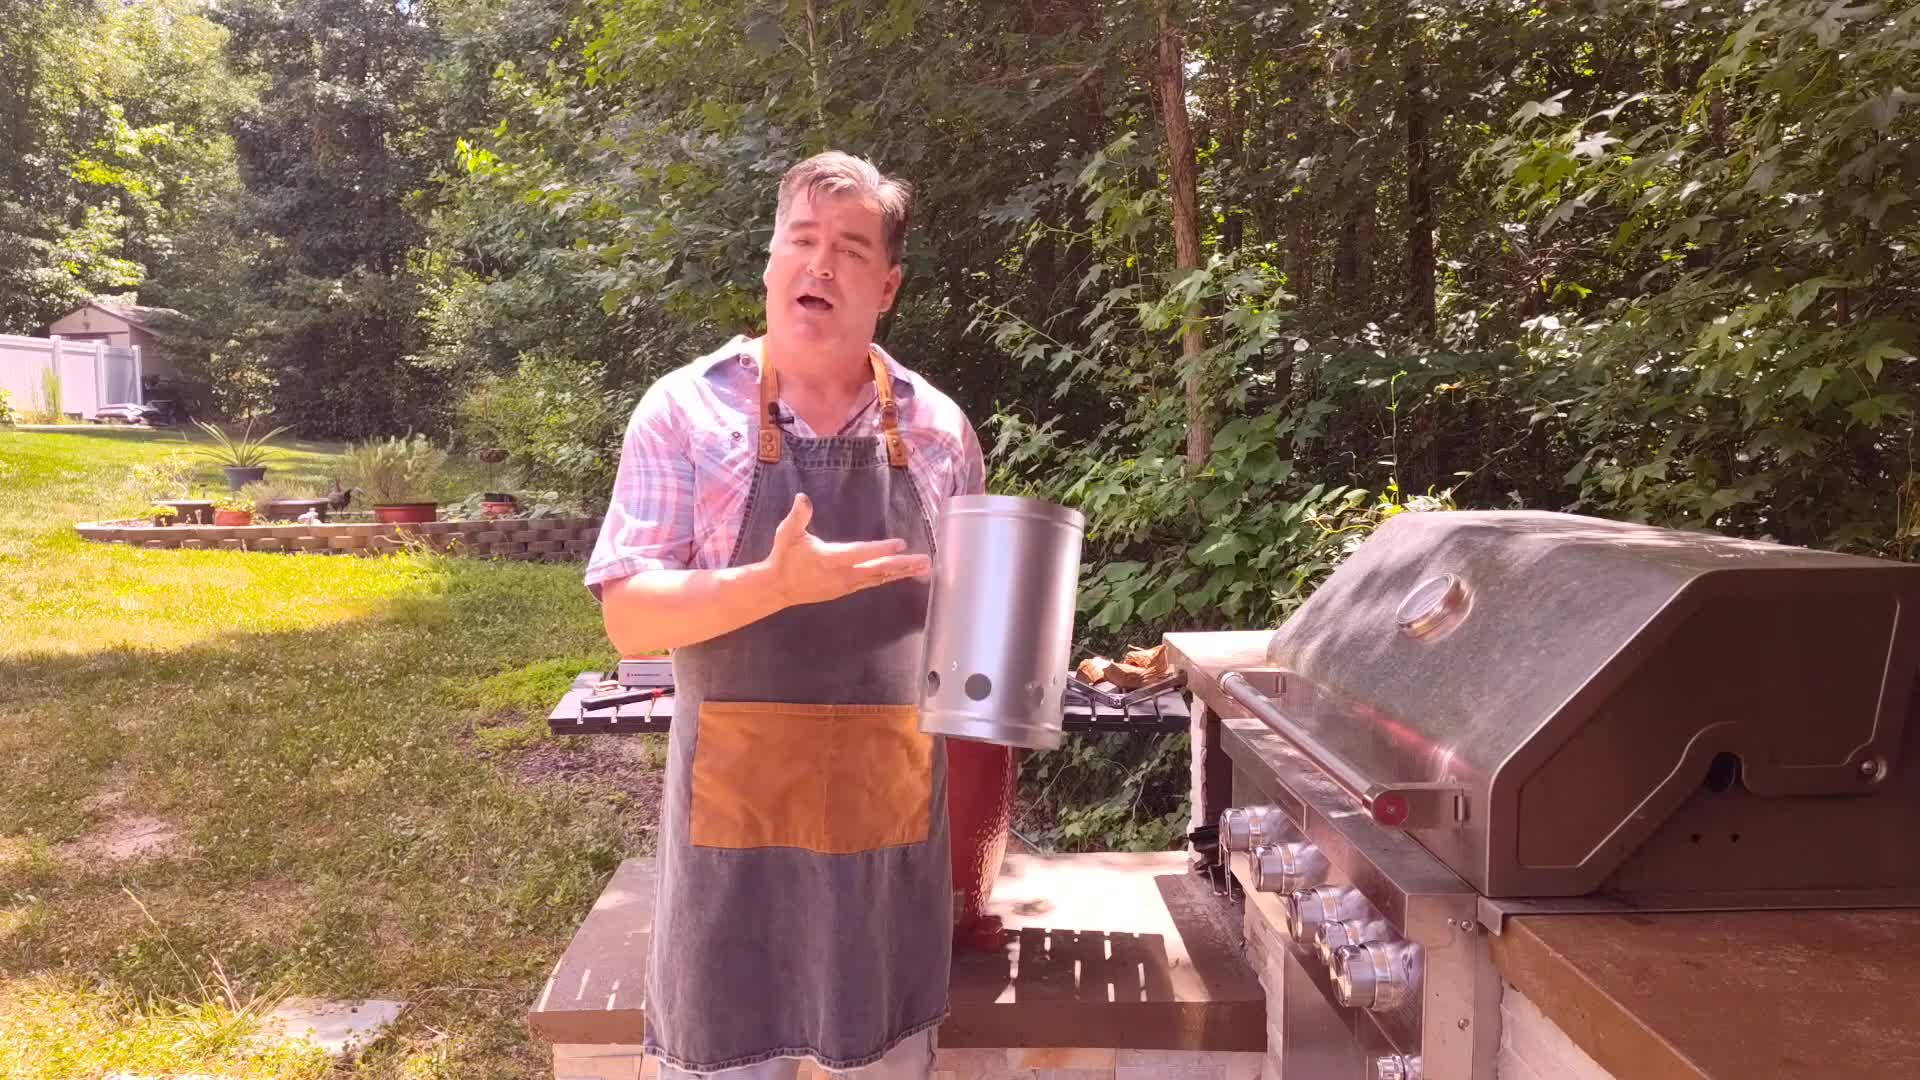
The heat rises consistently through the coals, resulting in rapidly heated charcoal. Once the coals are glowing, simply pour them into your kamado grill and you're ready to cook.

This method is particularly suitable when time is of the essence and you prioritize quick heating for grilling.
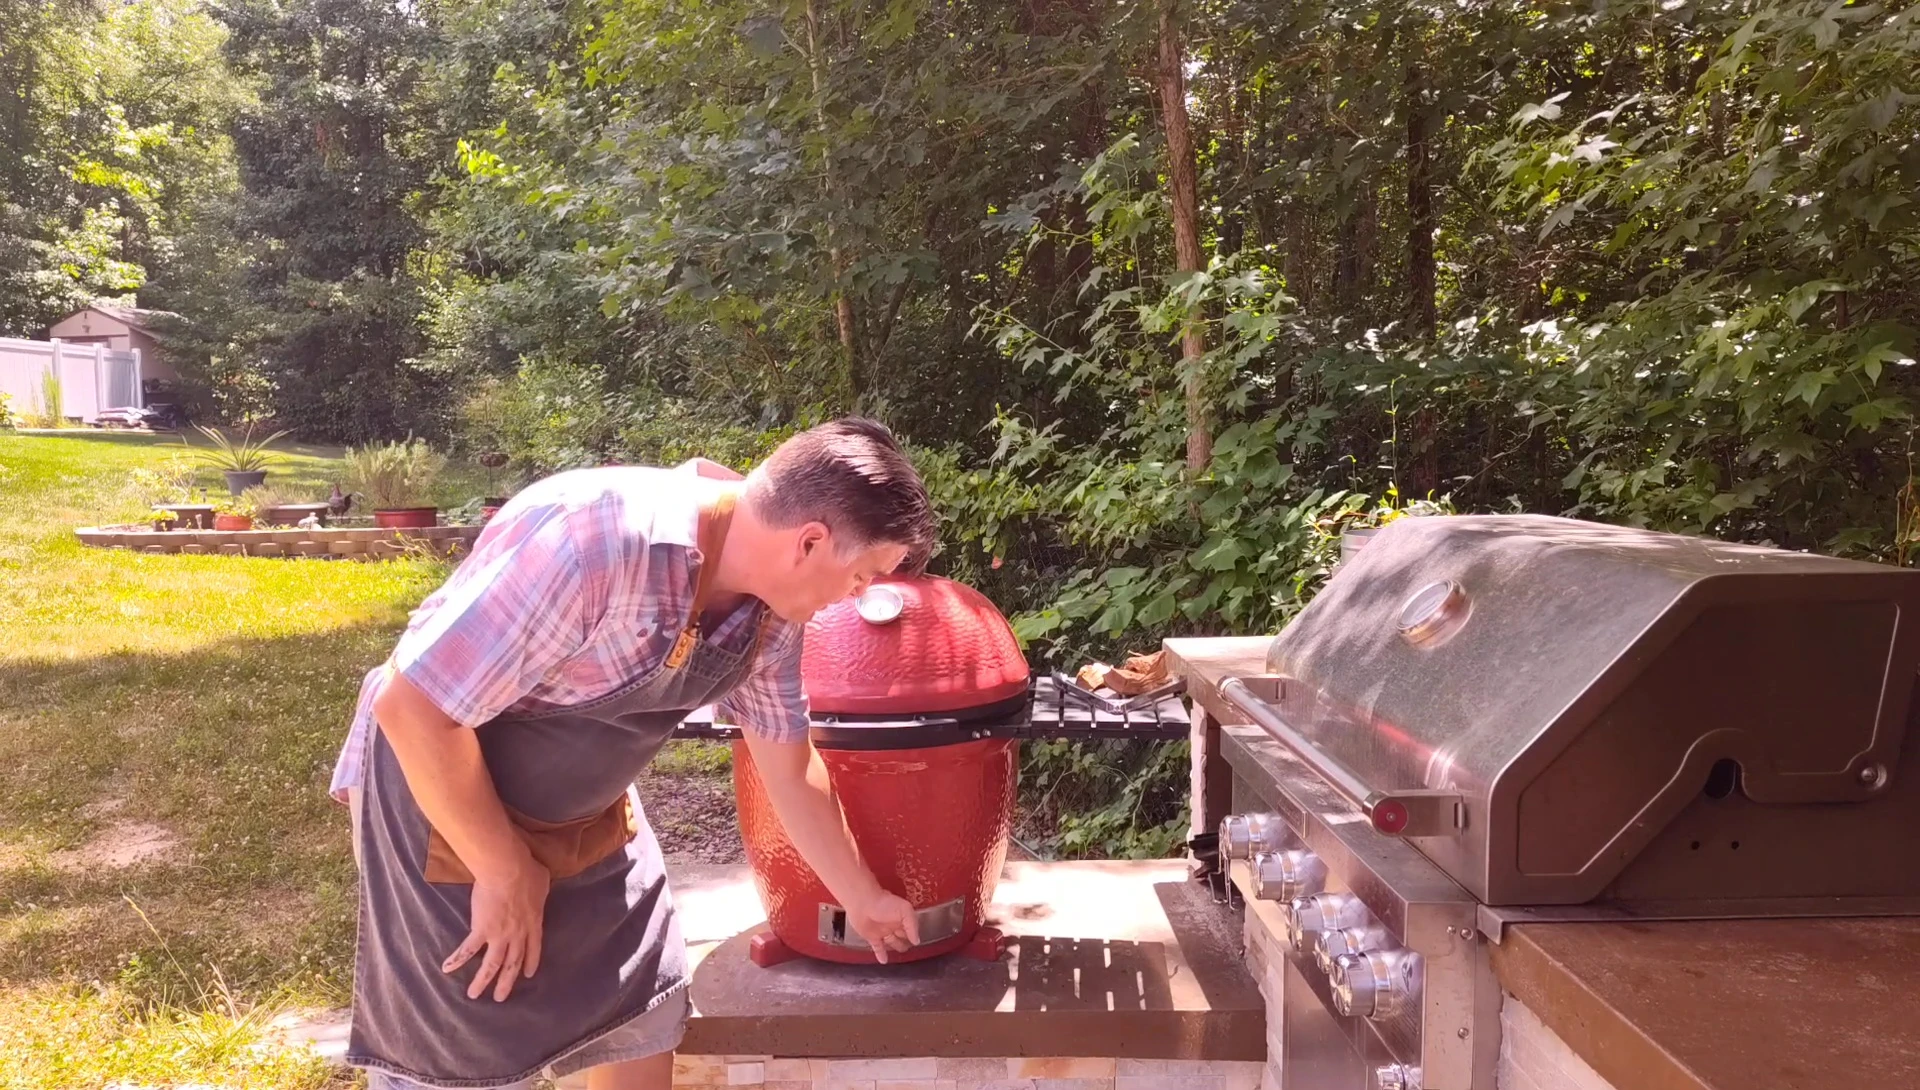
Direct Lighting in the Kamado: The Slow and Steady Method
If you're smoking, a slower lighting method works best. This involves directly lighting the charcoal within the kamado grill itself. This is a more relaxed approach, ideal for those who prefer a less rushed cooking process.
The direct method allows for simultaneous preparation of other cooking elements. This eliminates an extra step and fits perfectly into a more leisurely cooking style.
This method has been a personal preference for many years due to its simplicity and compatibility with slow-cooking applications.
Step-by-Step Guide to Direct Lighting
Begin by opening the bottom vent to allow sufficient airflow. This facilitates the ignition of the fire starter and even distribution of heat among the coals.
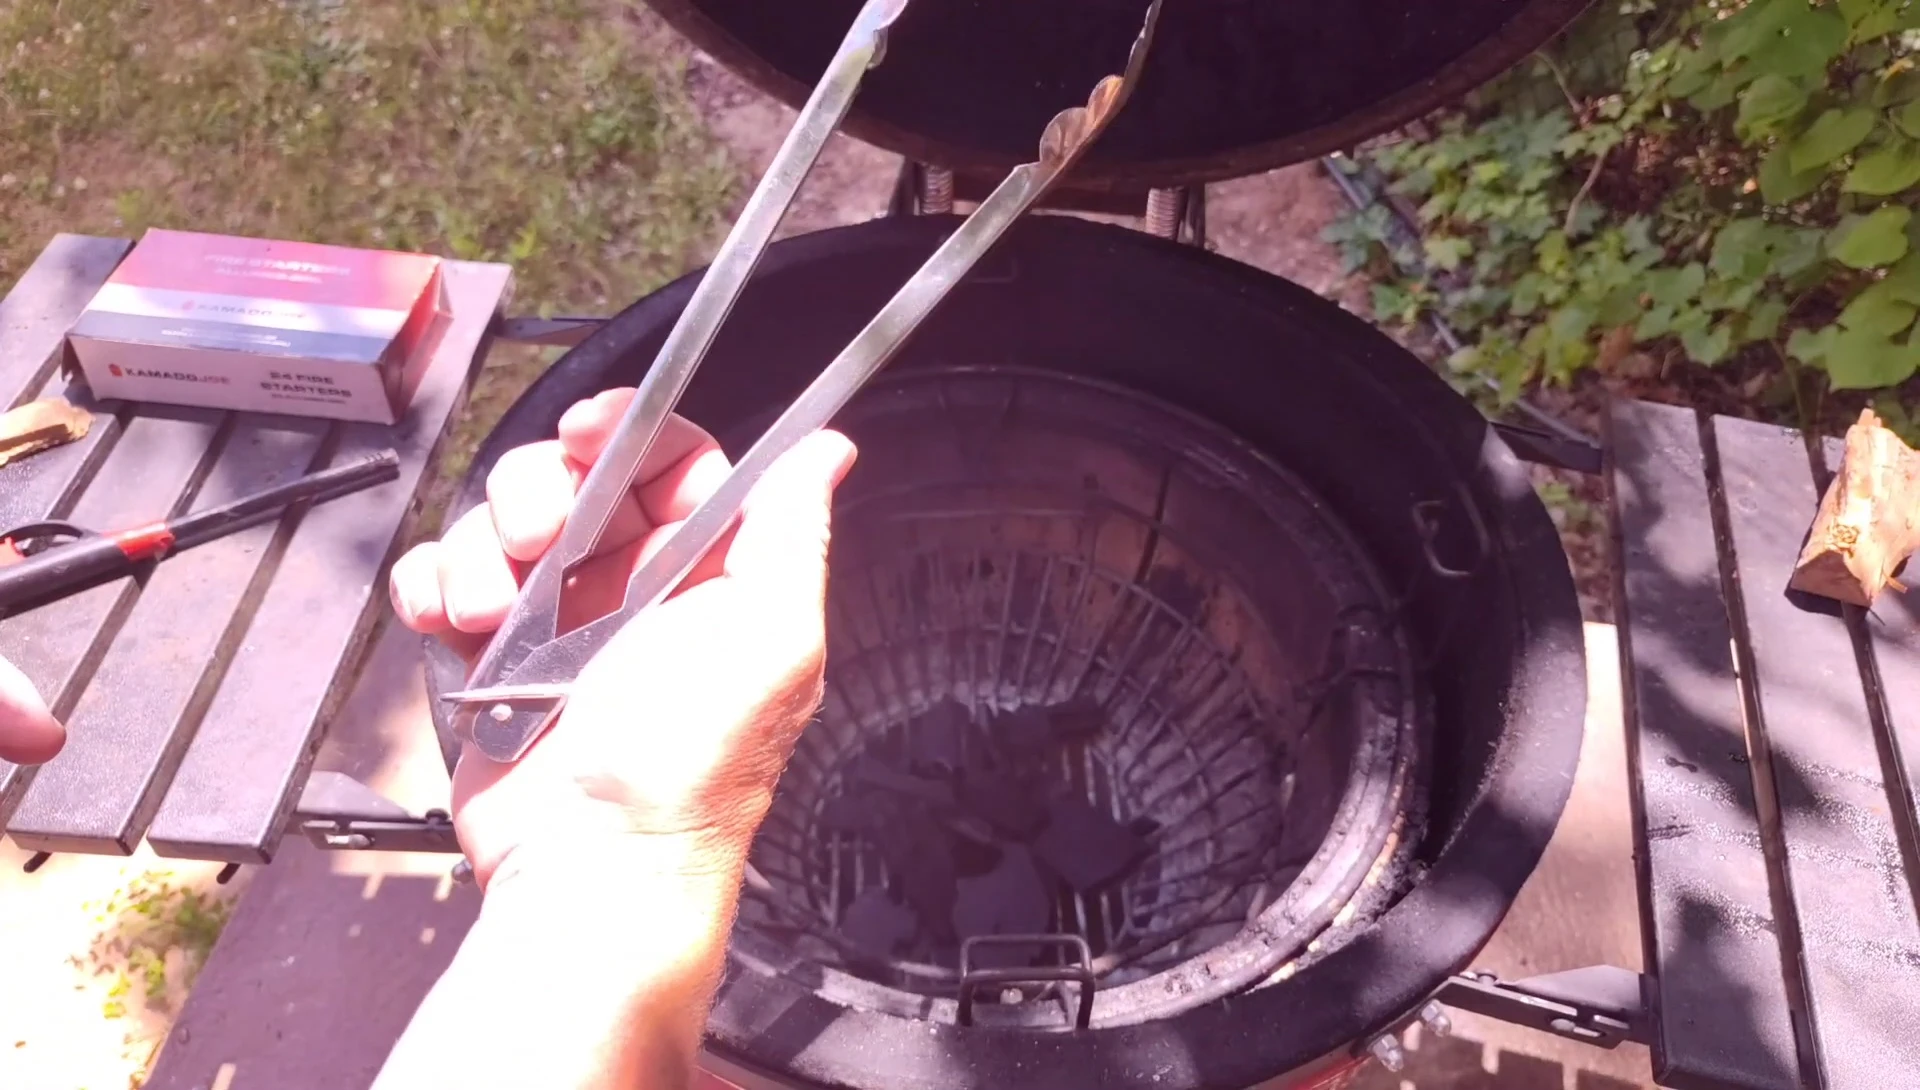
Use specialized tongs to handle the hot charcoal and avoid burning your hands. This ensures a safer and more comfortable lighting experience. A long lighter provides ample distance for safe ignition.
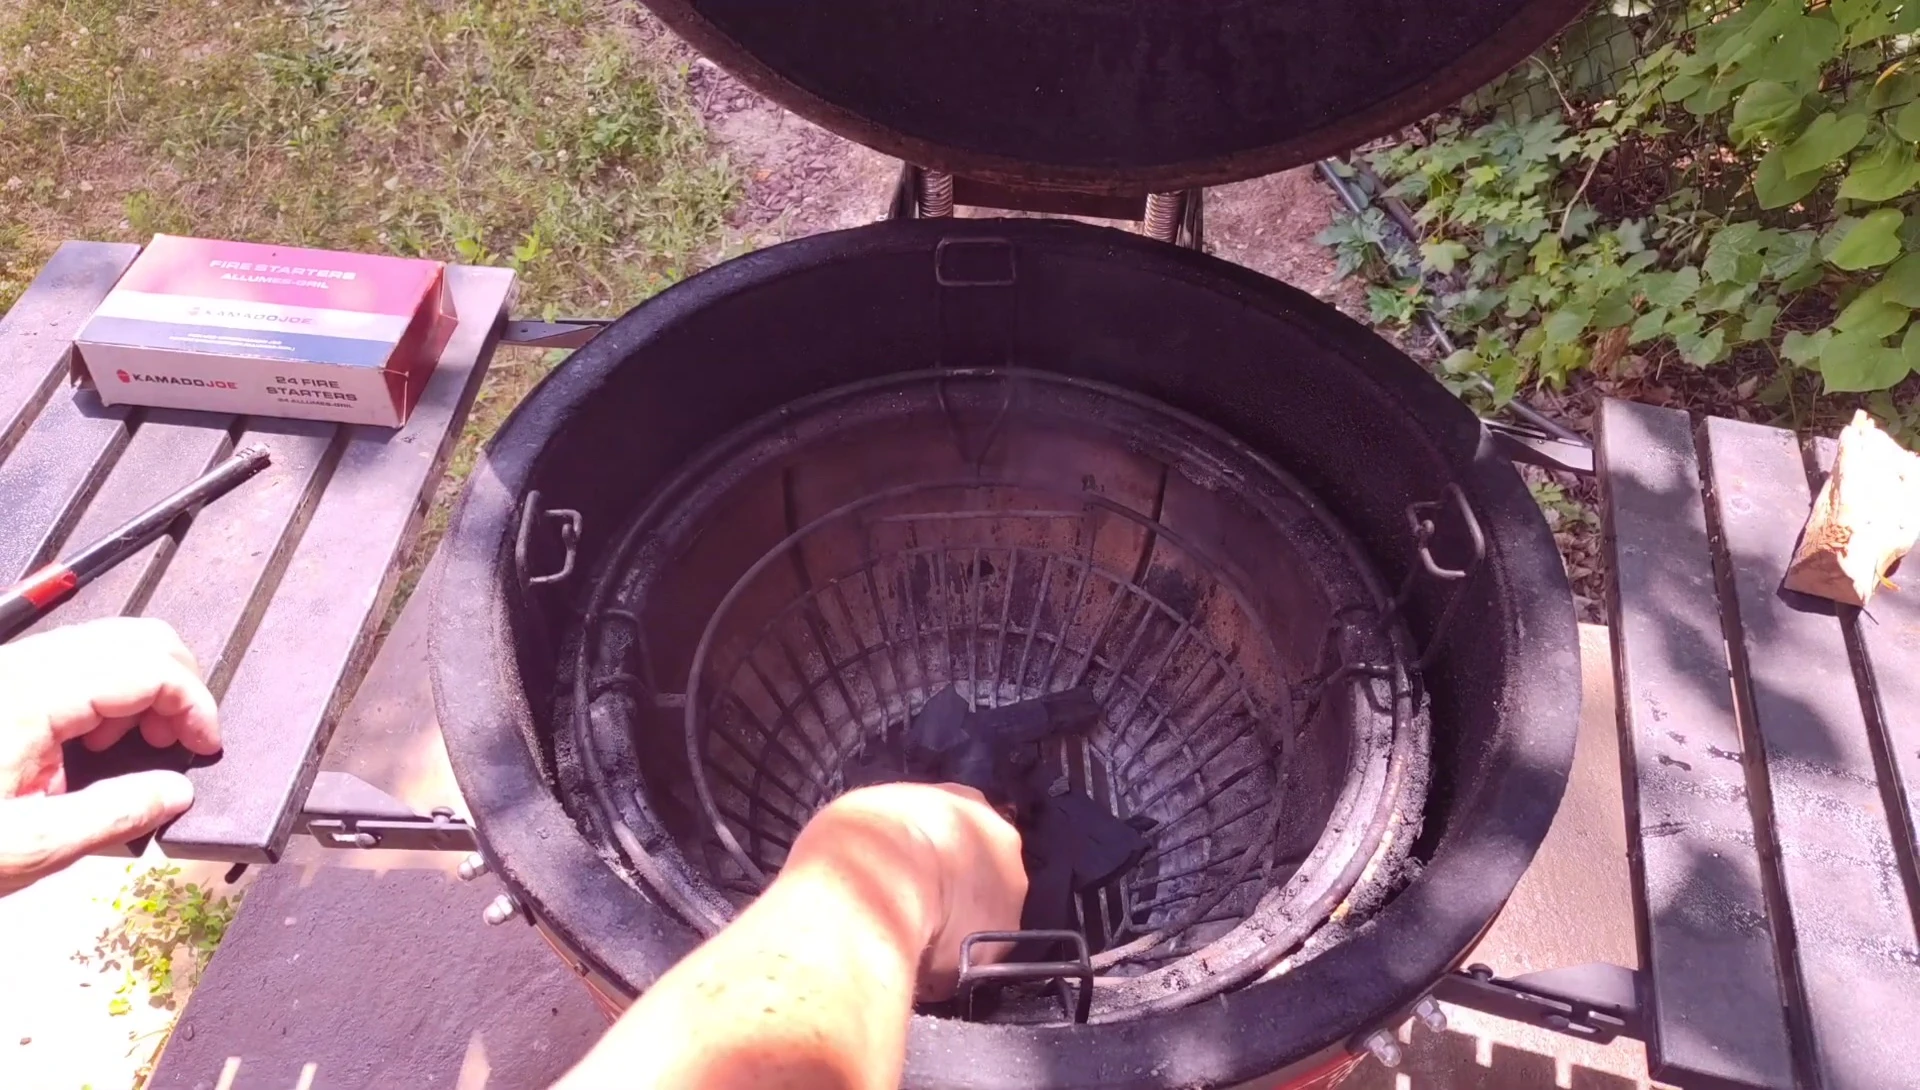
Place fire starters at the bottom, adding more coals around it to protect the flame and create a stable base for even heat distribution. Allow time for the fire to establish before adding more charcoal.
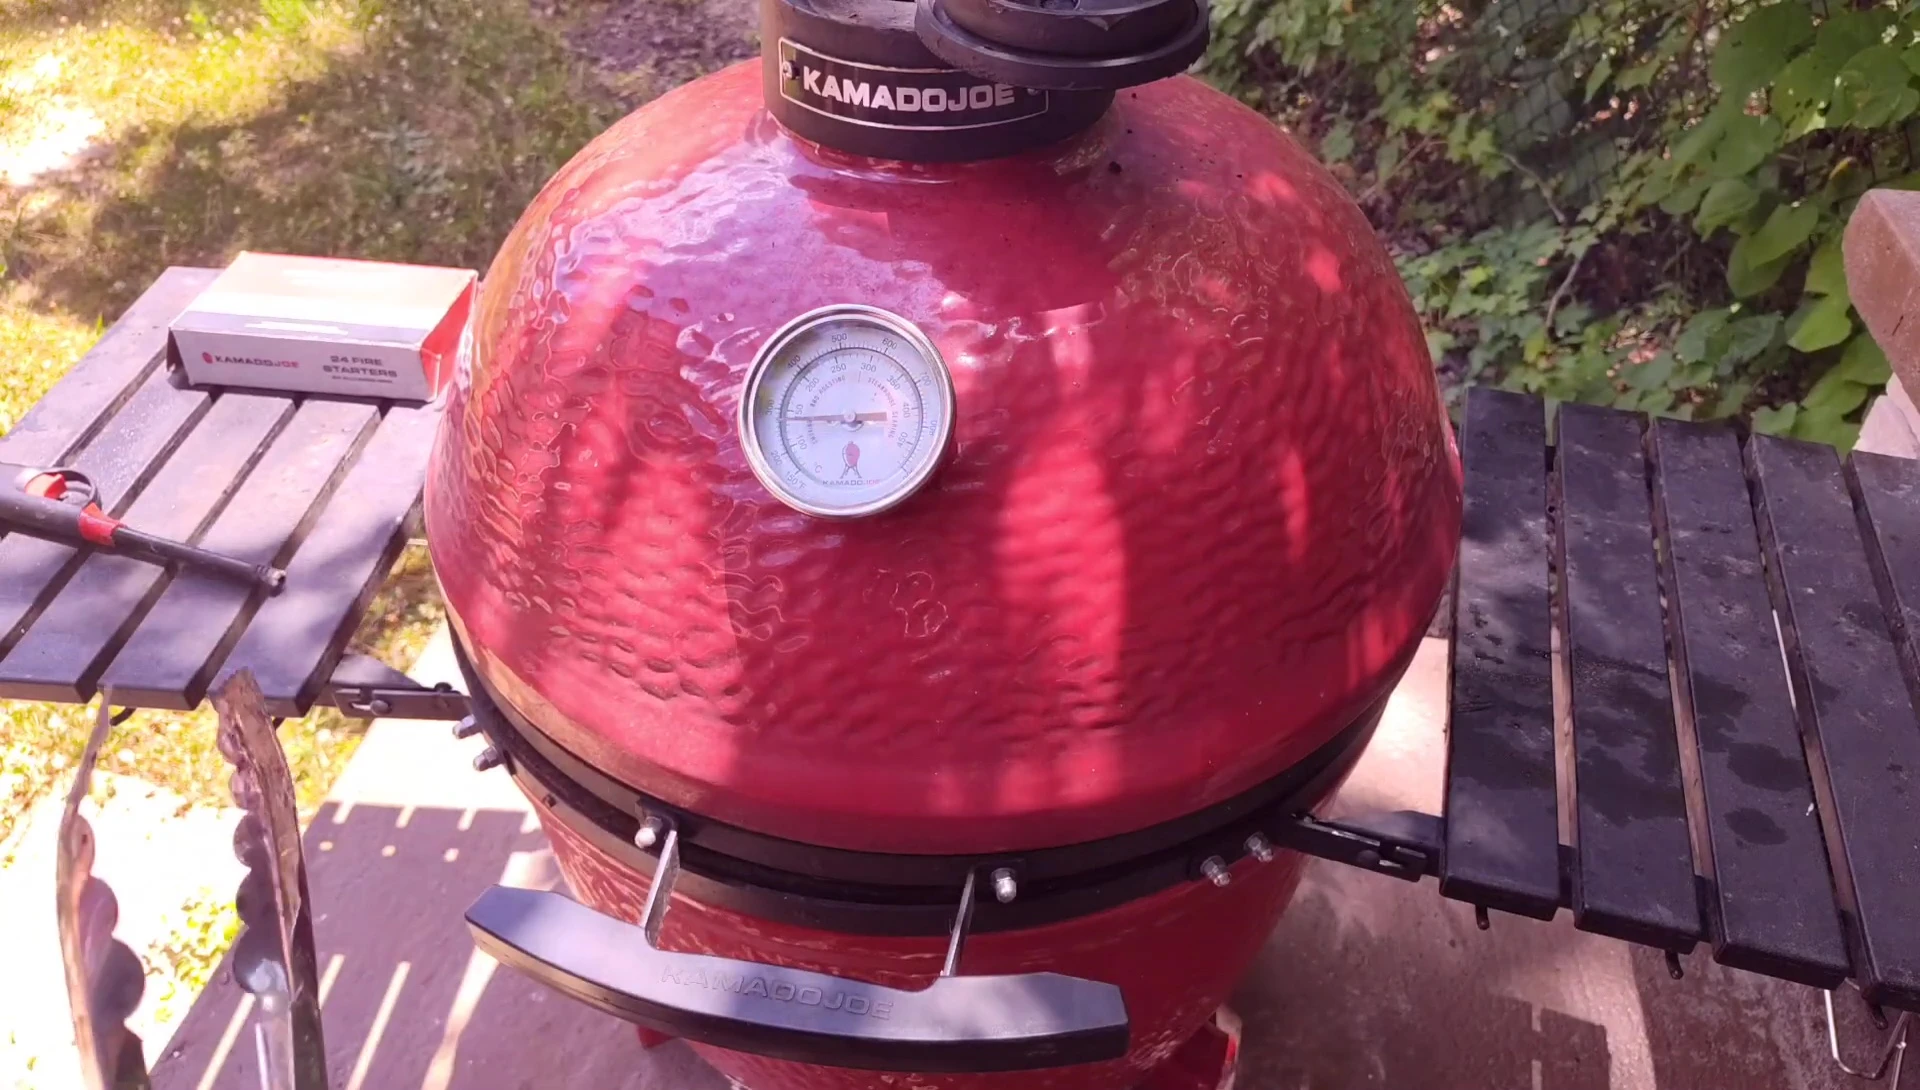
Monitoring and Achieving Optimal Heat
After about 15-30 minutes, the charcoal should be glowing nicely. Adjust the charcoal placement if necessary to ensure even heat distribution throughout the grill.

For smoking, adding wood chips later (not at the beginning) can enhance the flavor profile. Wait until the fire has established itself before adding these.

Monitor the smoke color: gray smoke indicates impurities burning off, while a blue tint signals the fire is ready. This is a key indicator of optimal cooking temperature.
Safety Precautions and Conclusion
Always prioritize safety when working with open flames. Keeping the lid closed during initial lighting can help manage potential flare-ups and provides a safer environment.

Both the chimney starter and the direct lighting methods have their merits. The chimney starter is quicker for grilling, while the direct method is more relaxed and well-suited for smoking.
The choice of method depends on your cooking style and time constraints. Experiment to find what works best for you and always practice safe grilling techniques.