This step-by-step guide will walk you through the simple assembly process of your new Magma Charcoal Kettle Grill. Unboxing is easy, with components neatly organized for effortless access. This guide ensures a smooth and efficient setup, minimizing frustration and maximizing your time spent enjoying delicious grilled food, not wrestling with hardware. We'll cover attaching the lid, securing the crucial L-bracket for mounting, and provide tips for optimal alignment and tightening.The Magma Charcoal Kettle Grill is designed for ease of use, from the intuitive packaging to the pre-installed components. This guide will highlight the thoughtful design features, such as the conveniently positioned draft door, making air flow control simple and efficient. With clear instructions and visual cues, you'll be ready to fire up your new grill and start grilling in no time. Let's get started!
Pros And Cons
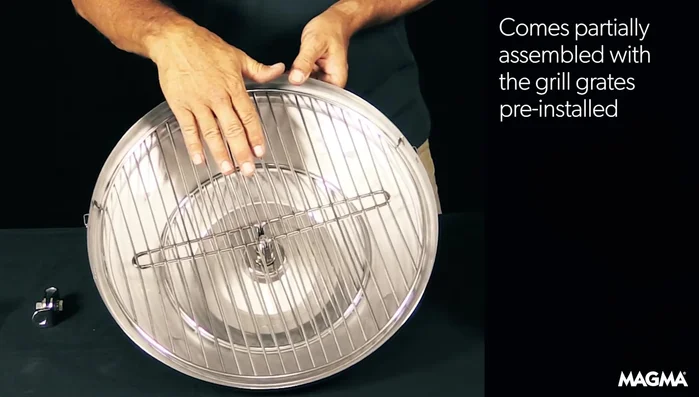
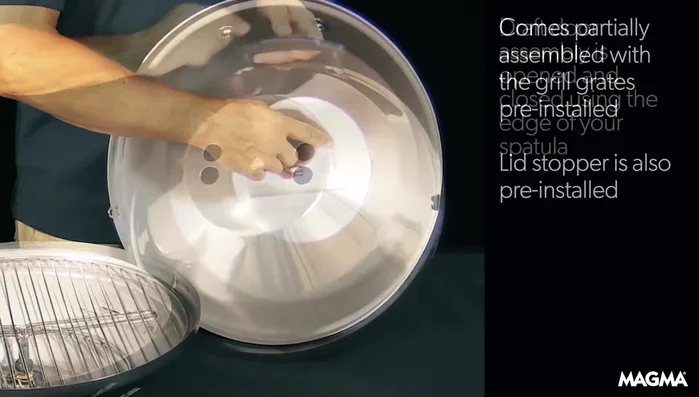
- Partially assembled with grill grates pre-installed
- Includes pre-installed lid stopper
Read more: 10 Best Commercial Charcoal Grills: A Buyer's Guide
Unpacking and Initial Inspection
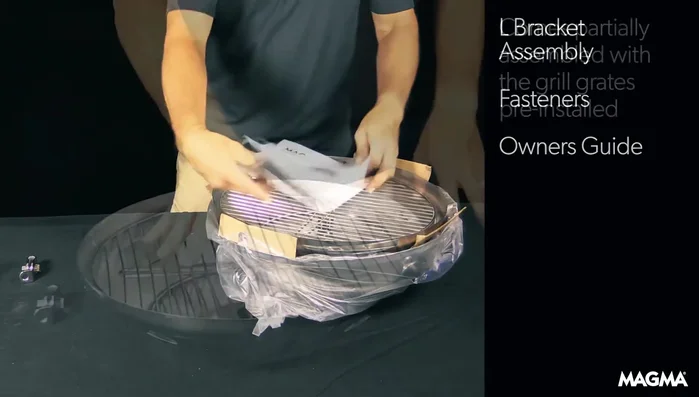
Carefully remove the grill from its packaging. You should find the main grill body, a bracket assembly, fasteners, and the owner's manual. Inspect all components for any damage before proceeding. The grill grates should be pre-installed on the grill body for ease of assembly.
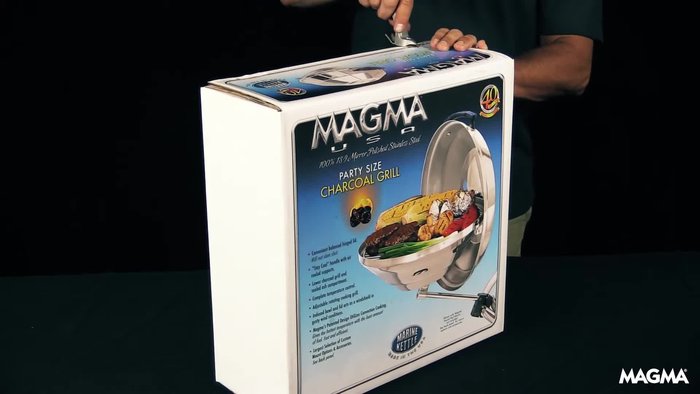
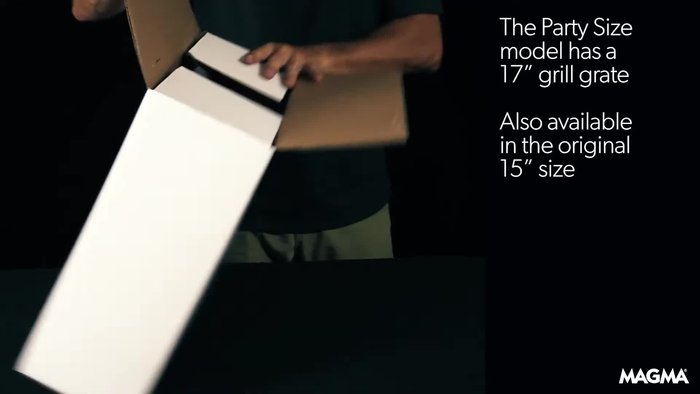
The packaging is designed for easy access. Remove the staples and open the top flap to reveal the nested components. This allows for a smooth and organized unpacking process. Take your time to make sure everything is accounted for.
Attaching the Lid and Draft Door
Flip the lid upside down. Align the tabs on the lid with the corresponding slots on the grill body. Secure the lid using the pre-installed lid stopper. This should be a straightforward process, ensuring the lid fits snugly.
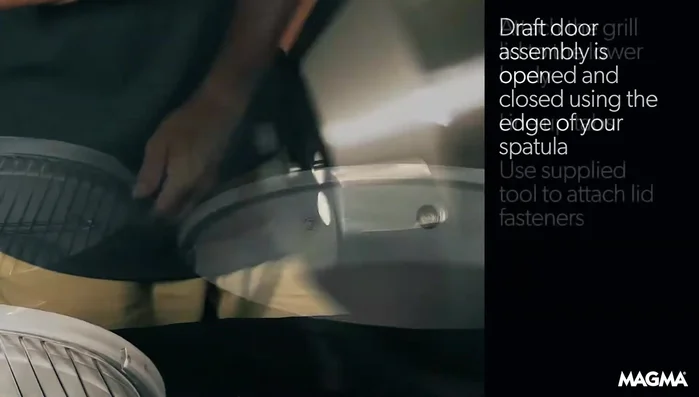
The draft door assembly is designed for convenient opening and closing. It uses the edge of a spatula, making adjustments easy. This thoughtful design ensures effortless air flow control during grilling.
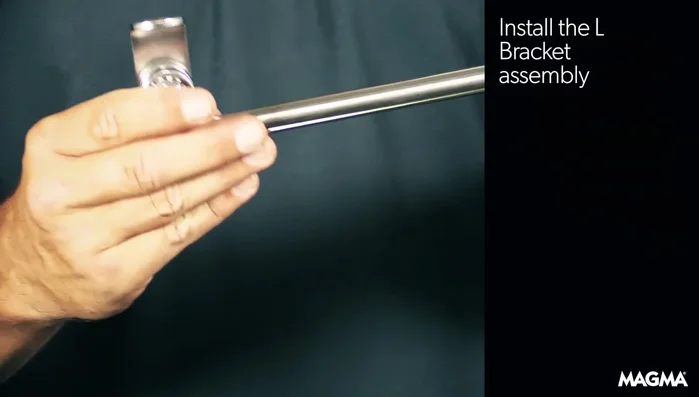
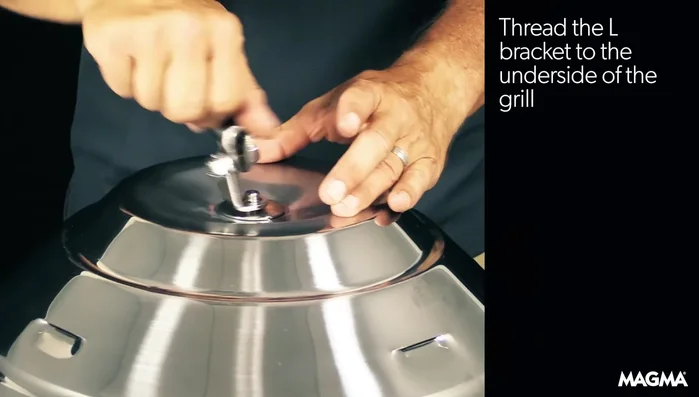
Installing the L-Bracket and Final Assembly
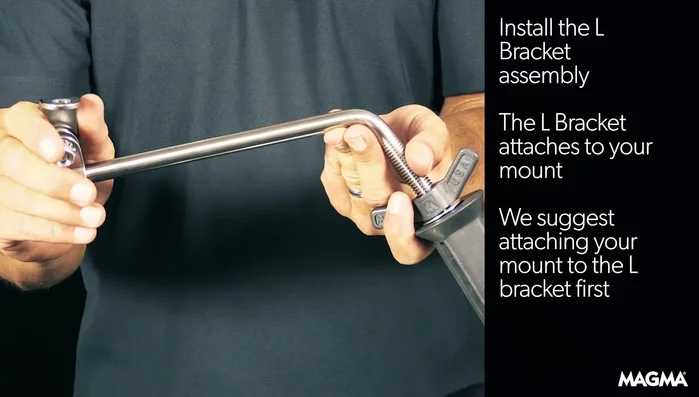
The L-bracket is crucial for mounting the grill to your chosen surface. It is recommended to attach the L-bracket to your mounting point first. This step ensures correct orientation and proper alignment.
Once correctly oriented, attach the L-bracket to the grill using the supplied fasteners. Tighten securely. Your Magma Charcoal Kettle Grill is now ready to use. Ensure everything is firmly in place before using the grill.
Remember to consult your owner's manual for specific instructions and safety precautions before use.
Conclusion
Assembling the Magma Charcoal Kettle Grill is a relatively straightforward process, thanks to its intuitive design and clear instructions. The pre-installed components, like the grates and lid stopper, significantly reduce assembly time. The grill's design emphasizes both function and ease of use.
The thoughtful design of the draft door, which allows for easy opening and closing using a spatula, showcases the attention to detail. Overall, this grill seems well-suited for those looking for a relatively easy-to-assemble and functional charcoal grilling option.