This article details a woodworking mishap involving a router and unexpectedly stubborn wood. The author recounts a frustrating experience where the router repeatedly caught, resulting in a significant gouge in the workpiece. Initial attempts to rectify the damage using conventional methods proved unsuccessful, only exacerbating the problem. The narrative vividly portrays the author's journey from initial disappointment and frustration to a determined pursuit of a solution, highlighting the challenges and setbacks encountered along the way.The story focuses on the creative problem-solving employed to salvage the project. It highlights the iterative process of trial and error, involving adjustments, additional grooving, and extensive sanding. While the final result isn't flawless, the author successfully mitigates the initial damage, turning a potentially ruined project into a finished piece with a unique, albeit imperfect, aesthetic. This compelling account offers valuable lessons about resilience, adaptability, and the unpredictable nature of working with wood.
Pros And Cons
- Improved appearance after sanding
- Added grooves to hide mistakes
- Initially a mess
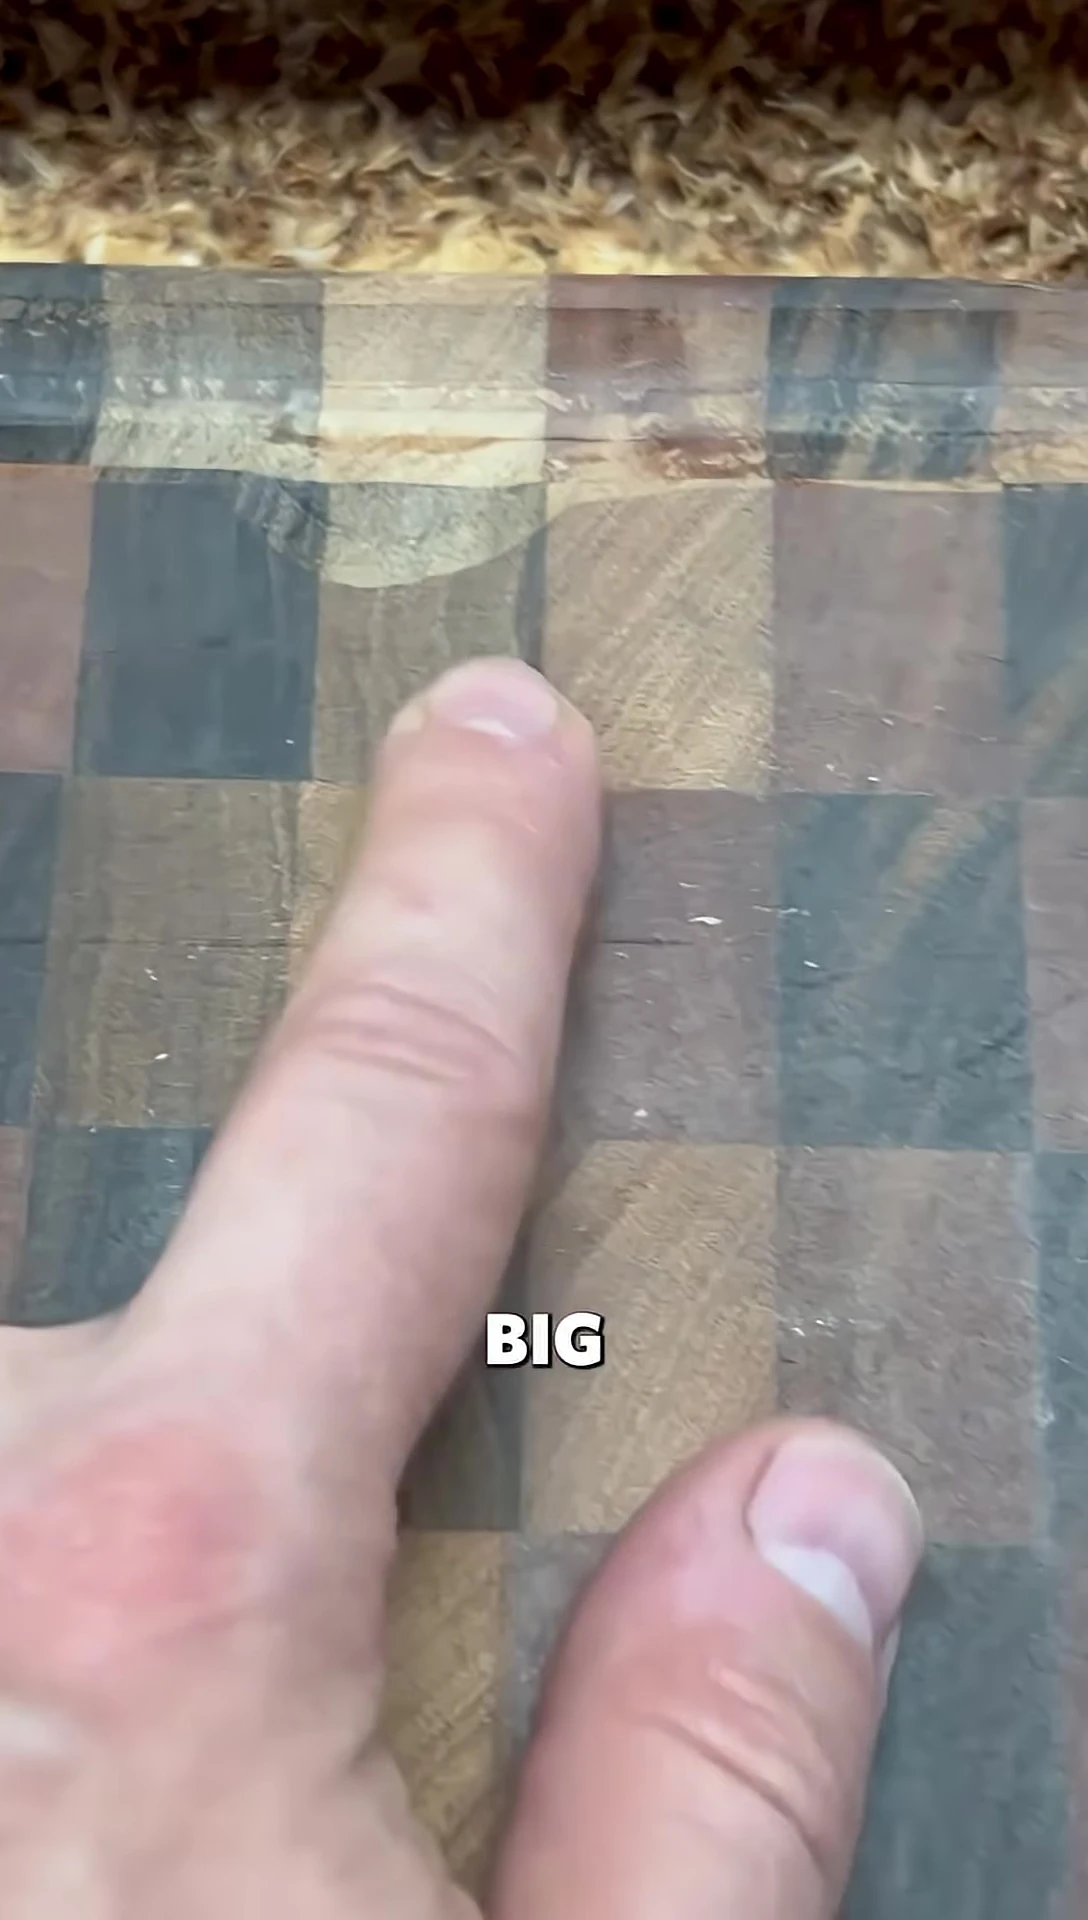
- Hard wood caused router bit to jump
- Large gouge created
- Ridge needed smoothing
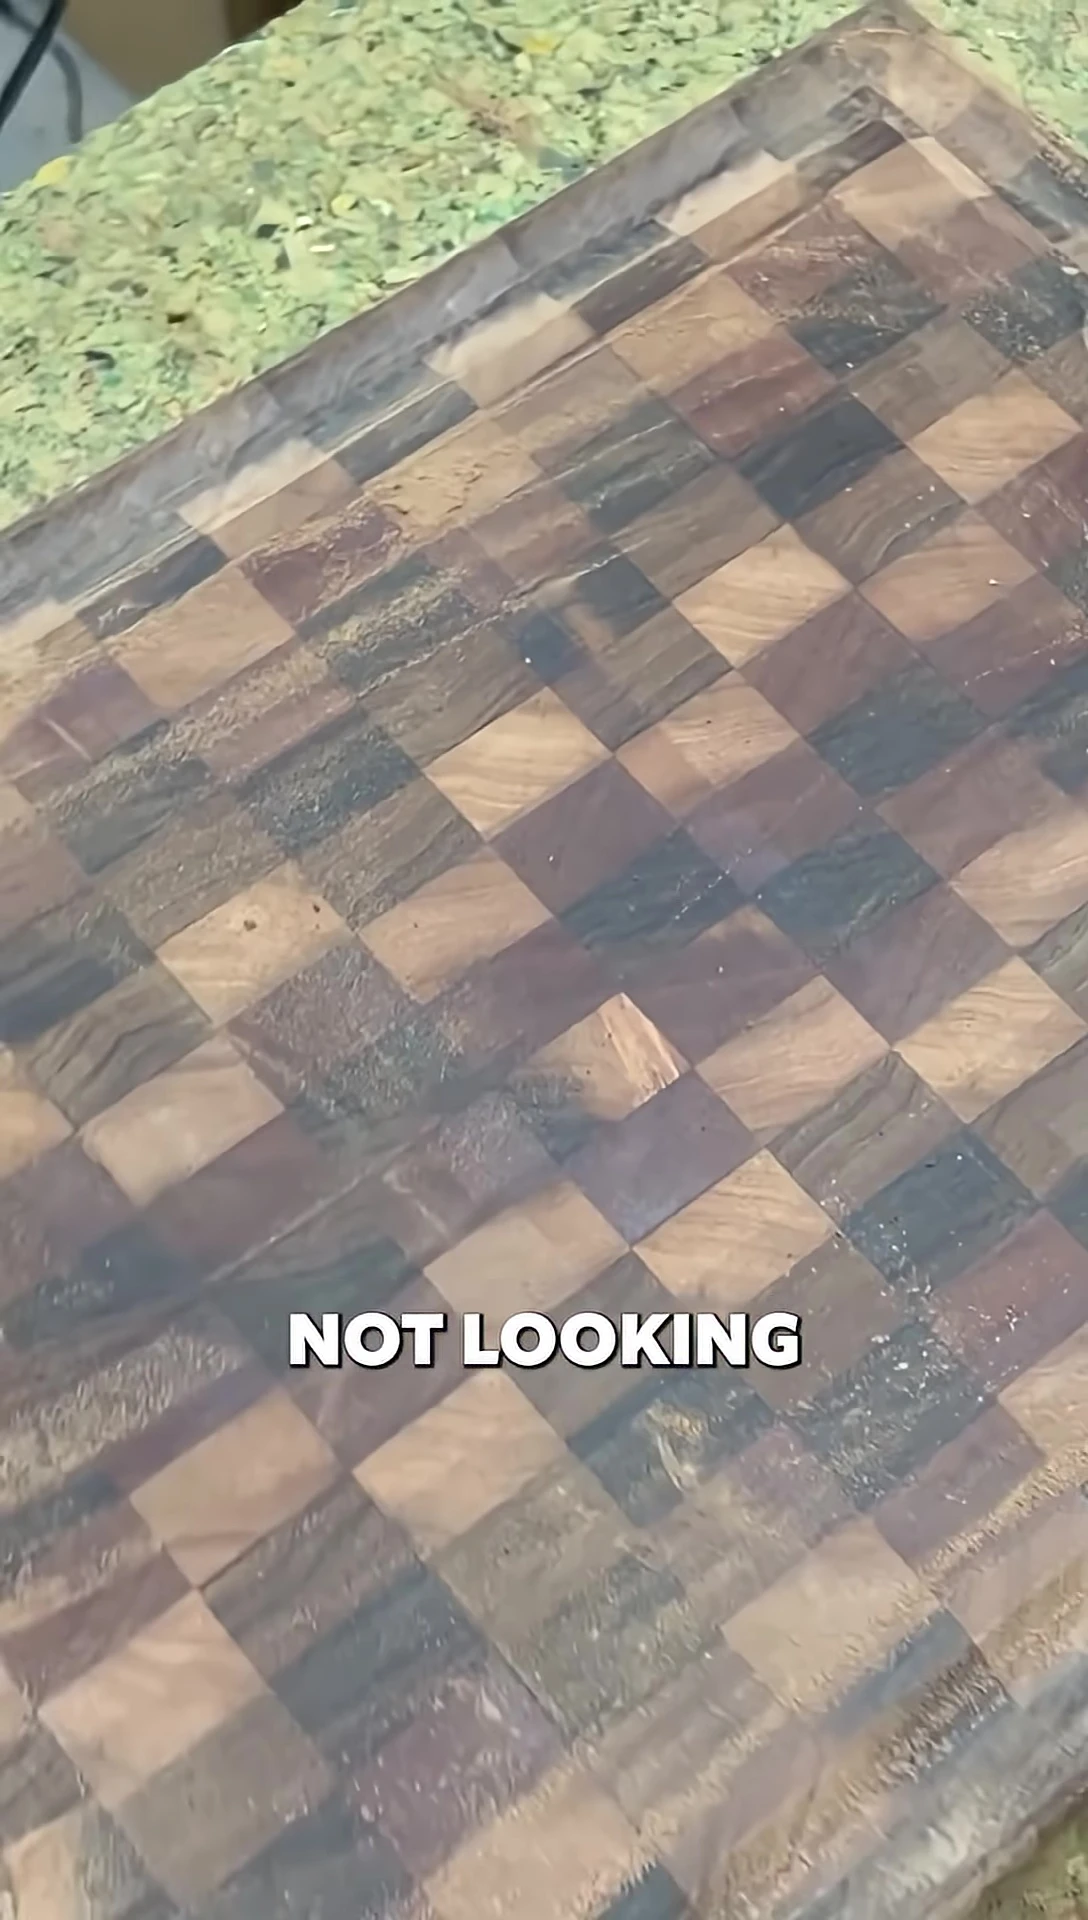
- Overall not great looking
Read more: 10 Best Commercial Charcoal Grills: A Buyer's Guide
The Initial Problem
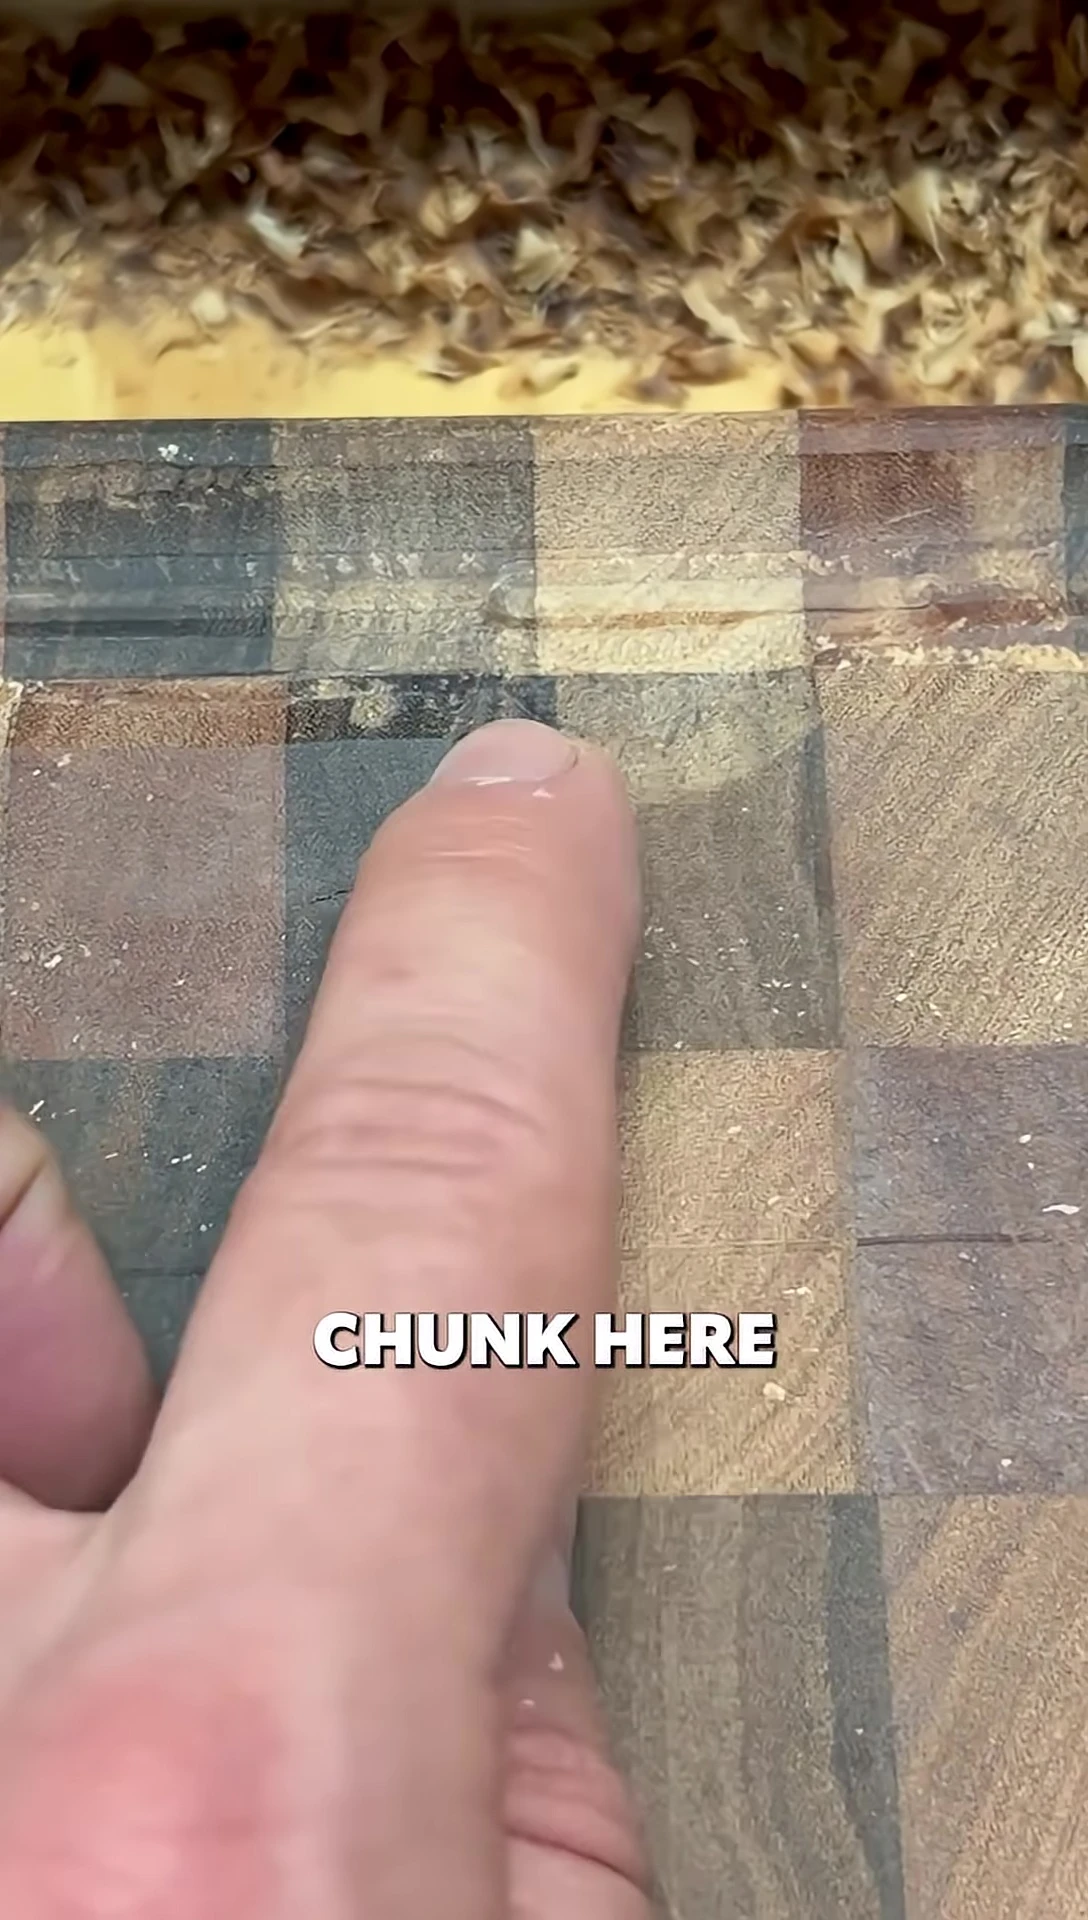
My woodworking project hit a snag. I was using a router on some particularly stubborn eBay wood, and it kept grabbing the bit, causing the router to jump. This resulted in a significant gouge in the wood, leaving a section looking quite damaged and uneven.
I wasn't sure how to proceed. The error was substantial, leaving me questioning if I could salvage the piece. The initial reaction was frustration, but I was determined to find a solution.
Attempting Repairs
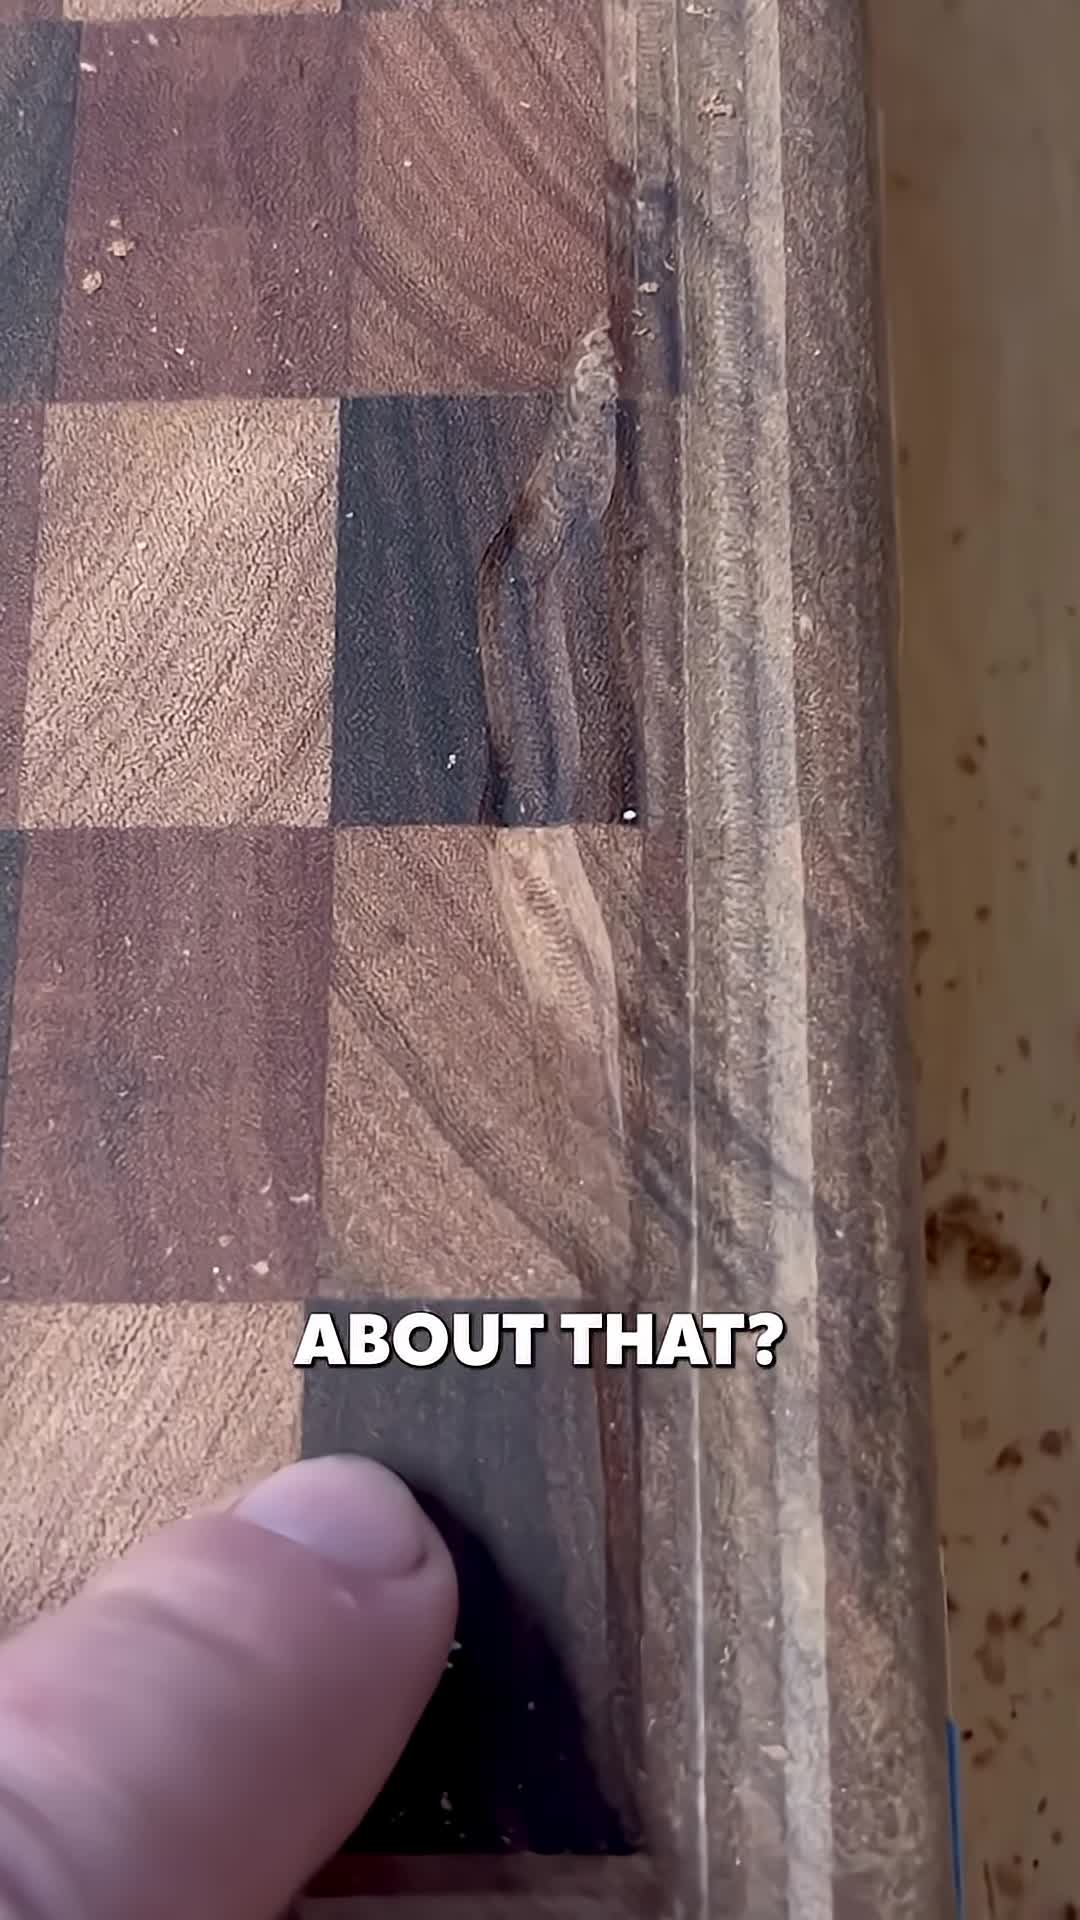
My first attempt at fixing the error involved adding another blocker and trying to adjust the size of the juice screw. I hoped that by carefully creating more defined grooves, I could mask the original damage. Sadly, this only made the problem worse. The wood remained difficult to work with. It was frustrating, but not the end of the project
The project had become more challenging than anticipated. Even with additional efforts, the wood continued to resist my attempts at repair.

Refining the Approach
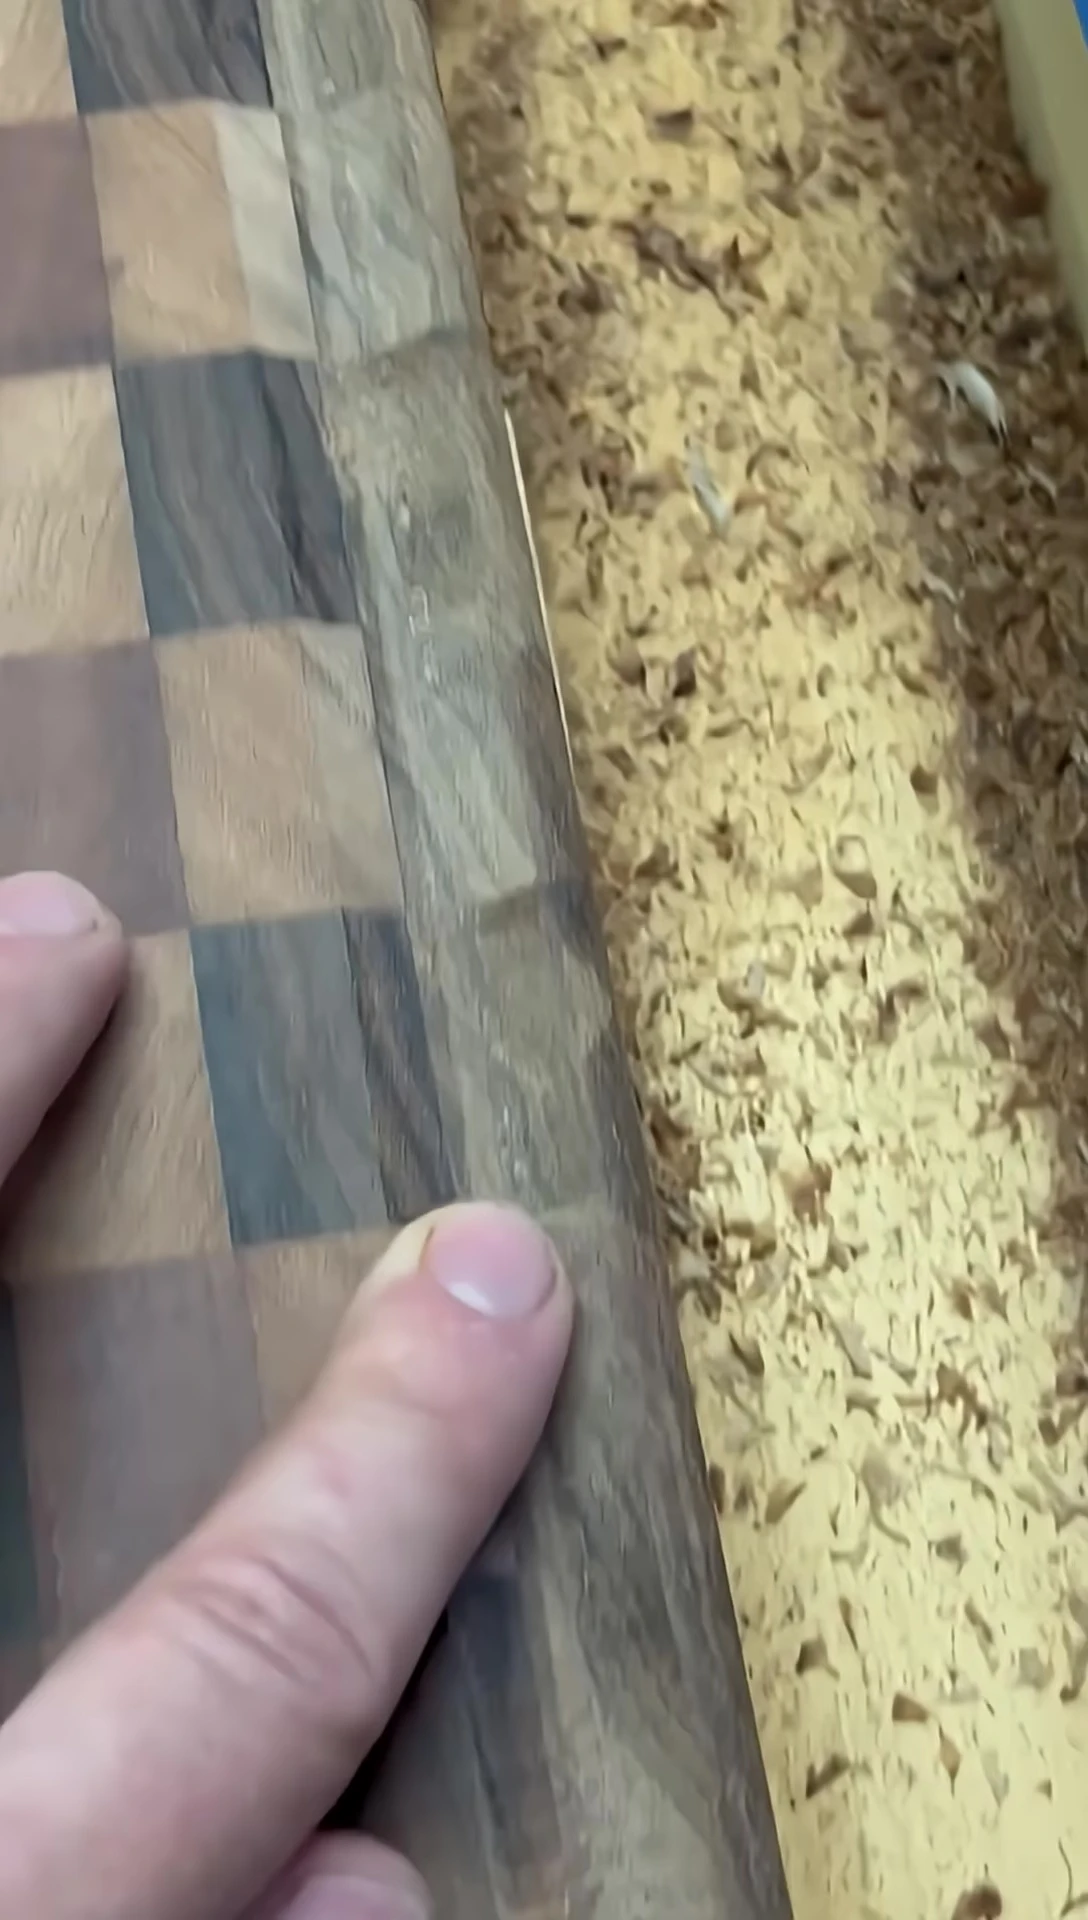
I decided to take a different approach. I added another groove inside to further disguise the original mistake. This helped to create a more consistent look. I also cleaned up the large mistake as best I could, acknowledging it was a setback in my plan.

Though I had a ridge remaining to smooth out, I focused on shaping the remaining chunk of wood. My plan was to create a symmetrical design, making the irregularity blend into the overall aesthetic.
Final Touches and Conclusion
After a significant amount of sanding, the project started to look much better. The two larger grooves successfully hid the major mistakes, creating a more visually appealing piece. The juice groove, though, was still relatively thick.
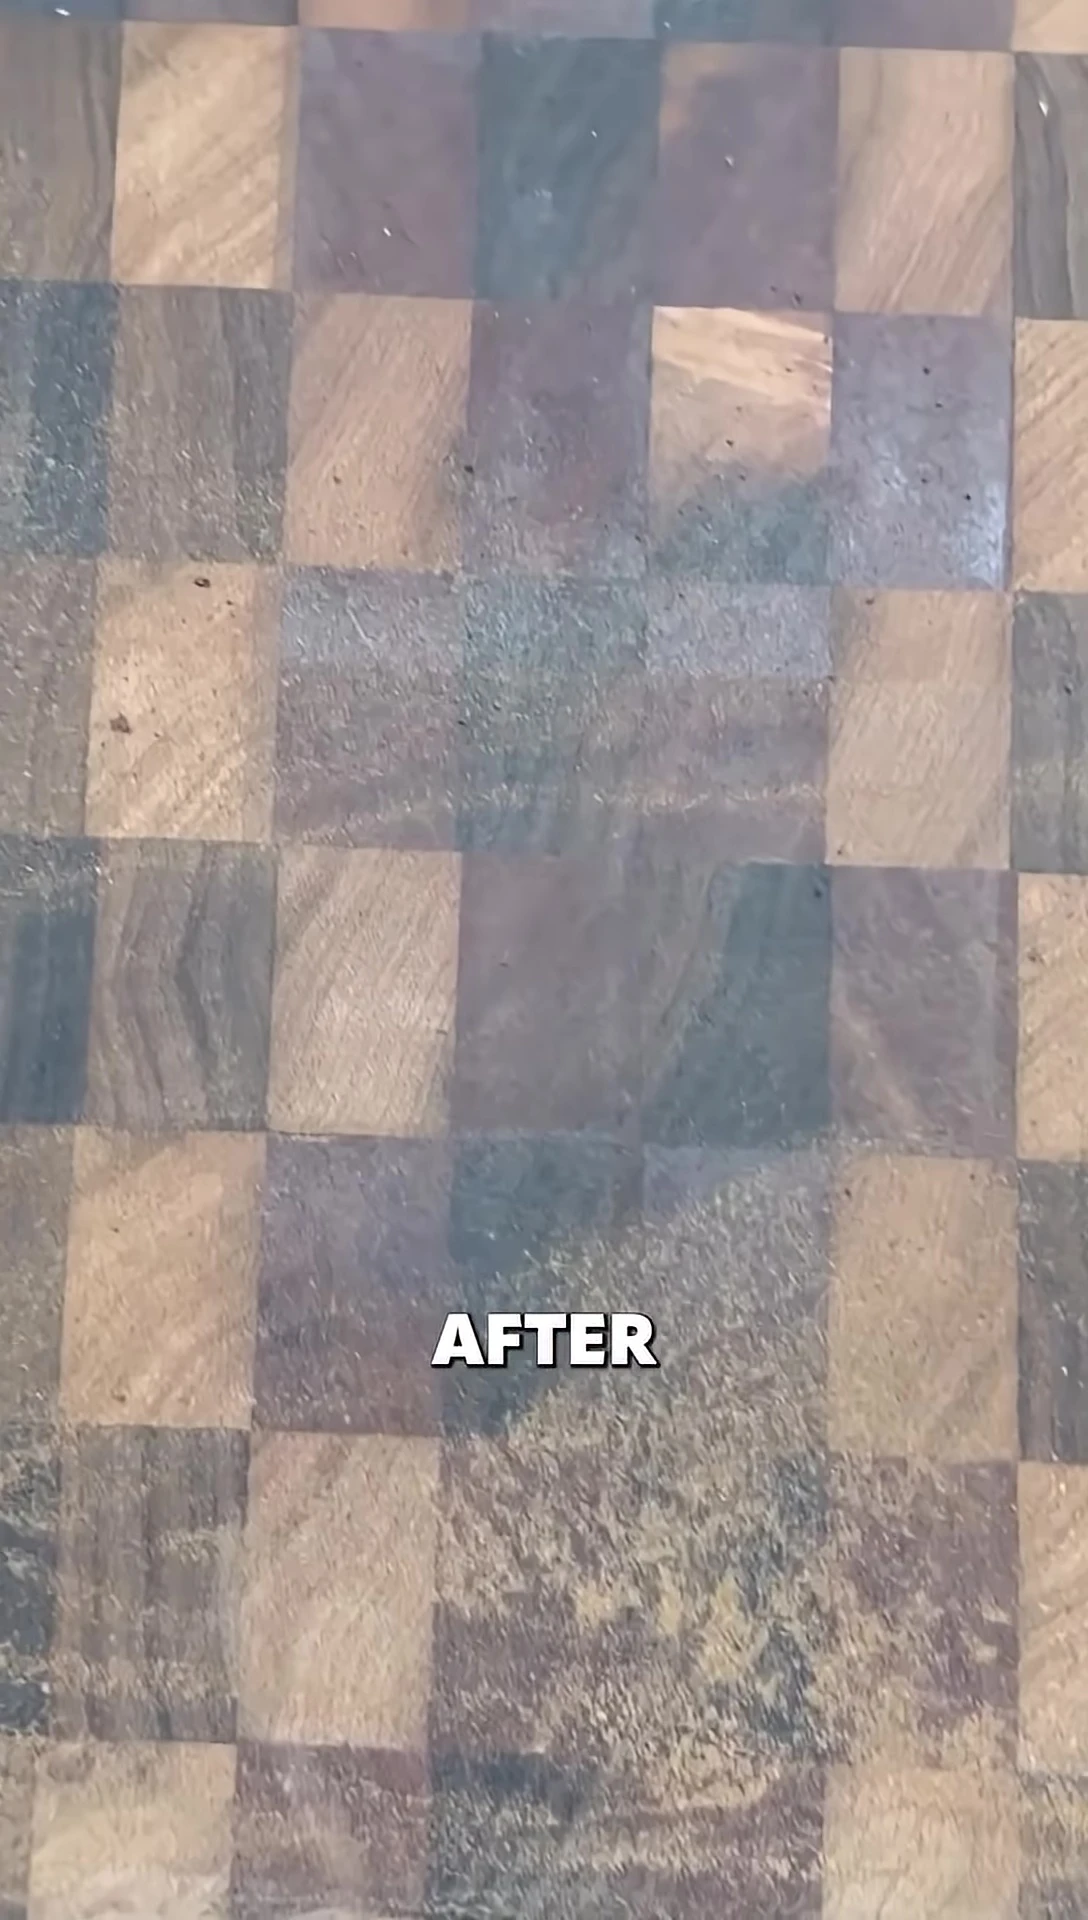
While not perfect, the final product is an improvement over the initial damage. The repair work is visible but doesn't detract significantly from the overall outcome. This project served as a reminder to always account for the unpredictability of wood, especially when using power tools.