This review dives into the Turbro Fireside 29in Smokeless Fire Pit, covering everything from unboxing and assembly to its first fire test and overnight burn. We'll detail the contents of the package, highlighting the included components like the ash pan, protective cover, and decorative glass rocks. The assembly process is examined step-by-step, providing insight into the ease and clarity of the instructions. Crucially, we'll assess the fire pit's performance, focusing on its advertised smokeless design, heat output, and overall efficiency.Expect an honest assessment of the Turbro Fireside's functionality and aesthetic appeal. We'll explore the effectiveness of the airflow design, the impact of the bottom grate, and the convenience of the ash pan. The review concludes with an overall evaluation, considering factors like ease of assembly, durability, and the overall user experience, helping you determine if this fire pit is the right choice for your outdoor space.
Pros And Cons
- Unique design with many features
- Includes ash pan with a handle for easy ash removal
- Airflow design for more complete burn and less smoke
- Produces high flames with good coverage
- Radiates significant heat
- Decorative glass stones reflect light
- Includes a waterproof cover with drawstring
- Heavier than expected
- Requires some assembly (attaching feet and ash pan)
- Slight discoloration around the rim may occur over time
Read more: 10 Best Commercial Charcoal Grills: A Buyer's Guide
Unboxing and Contents
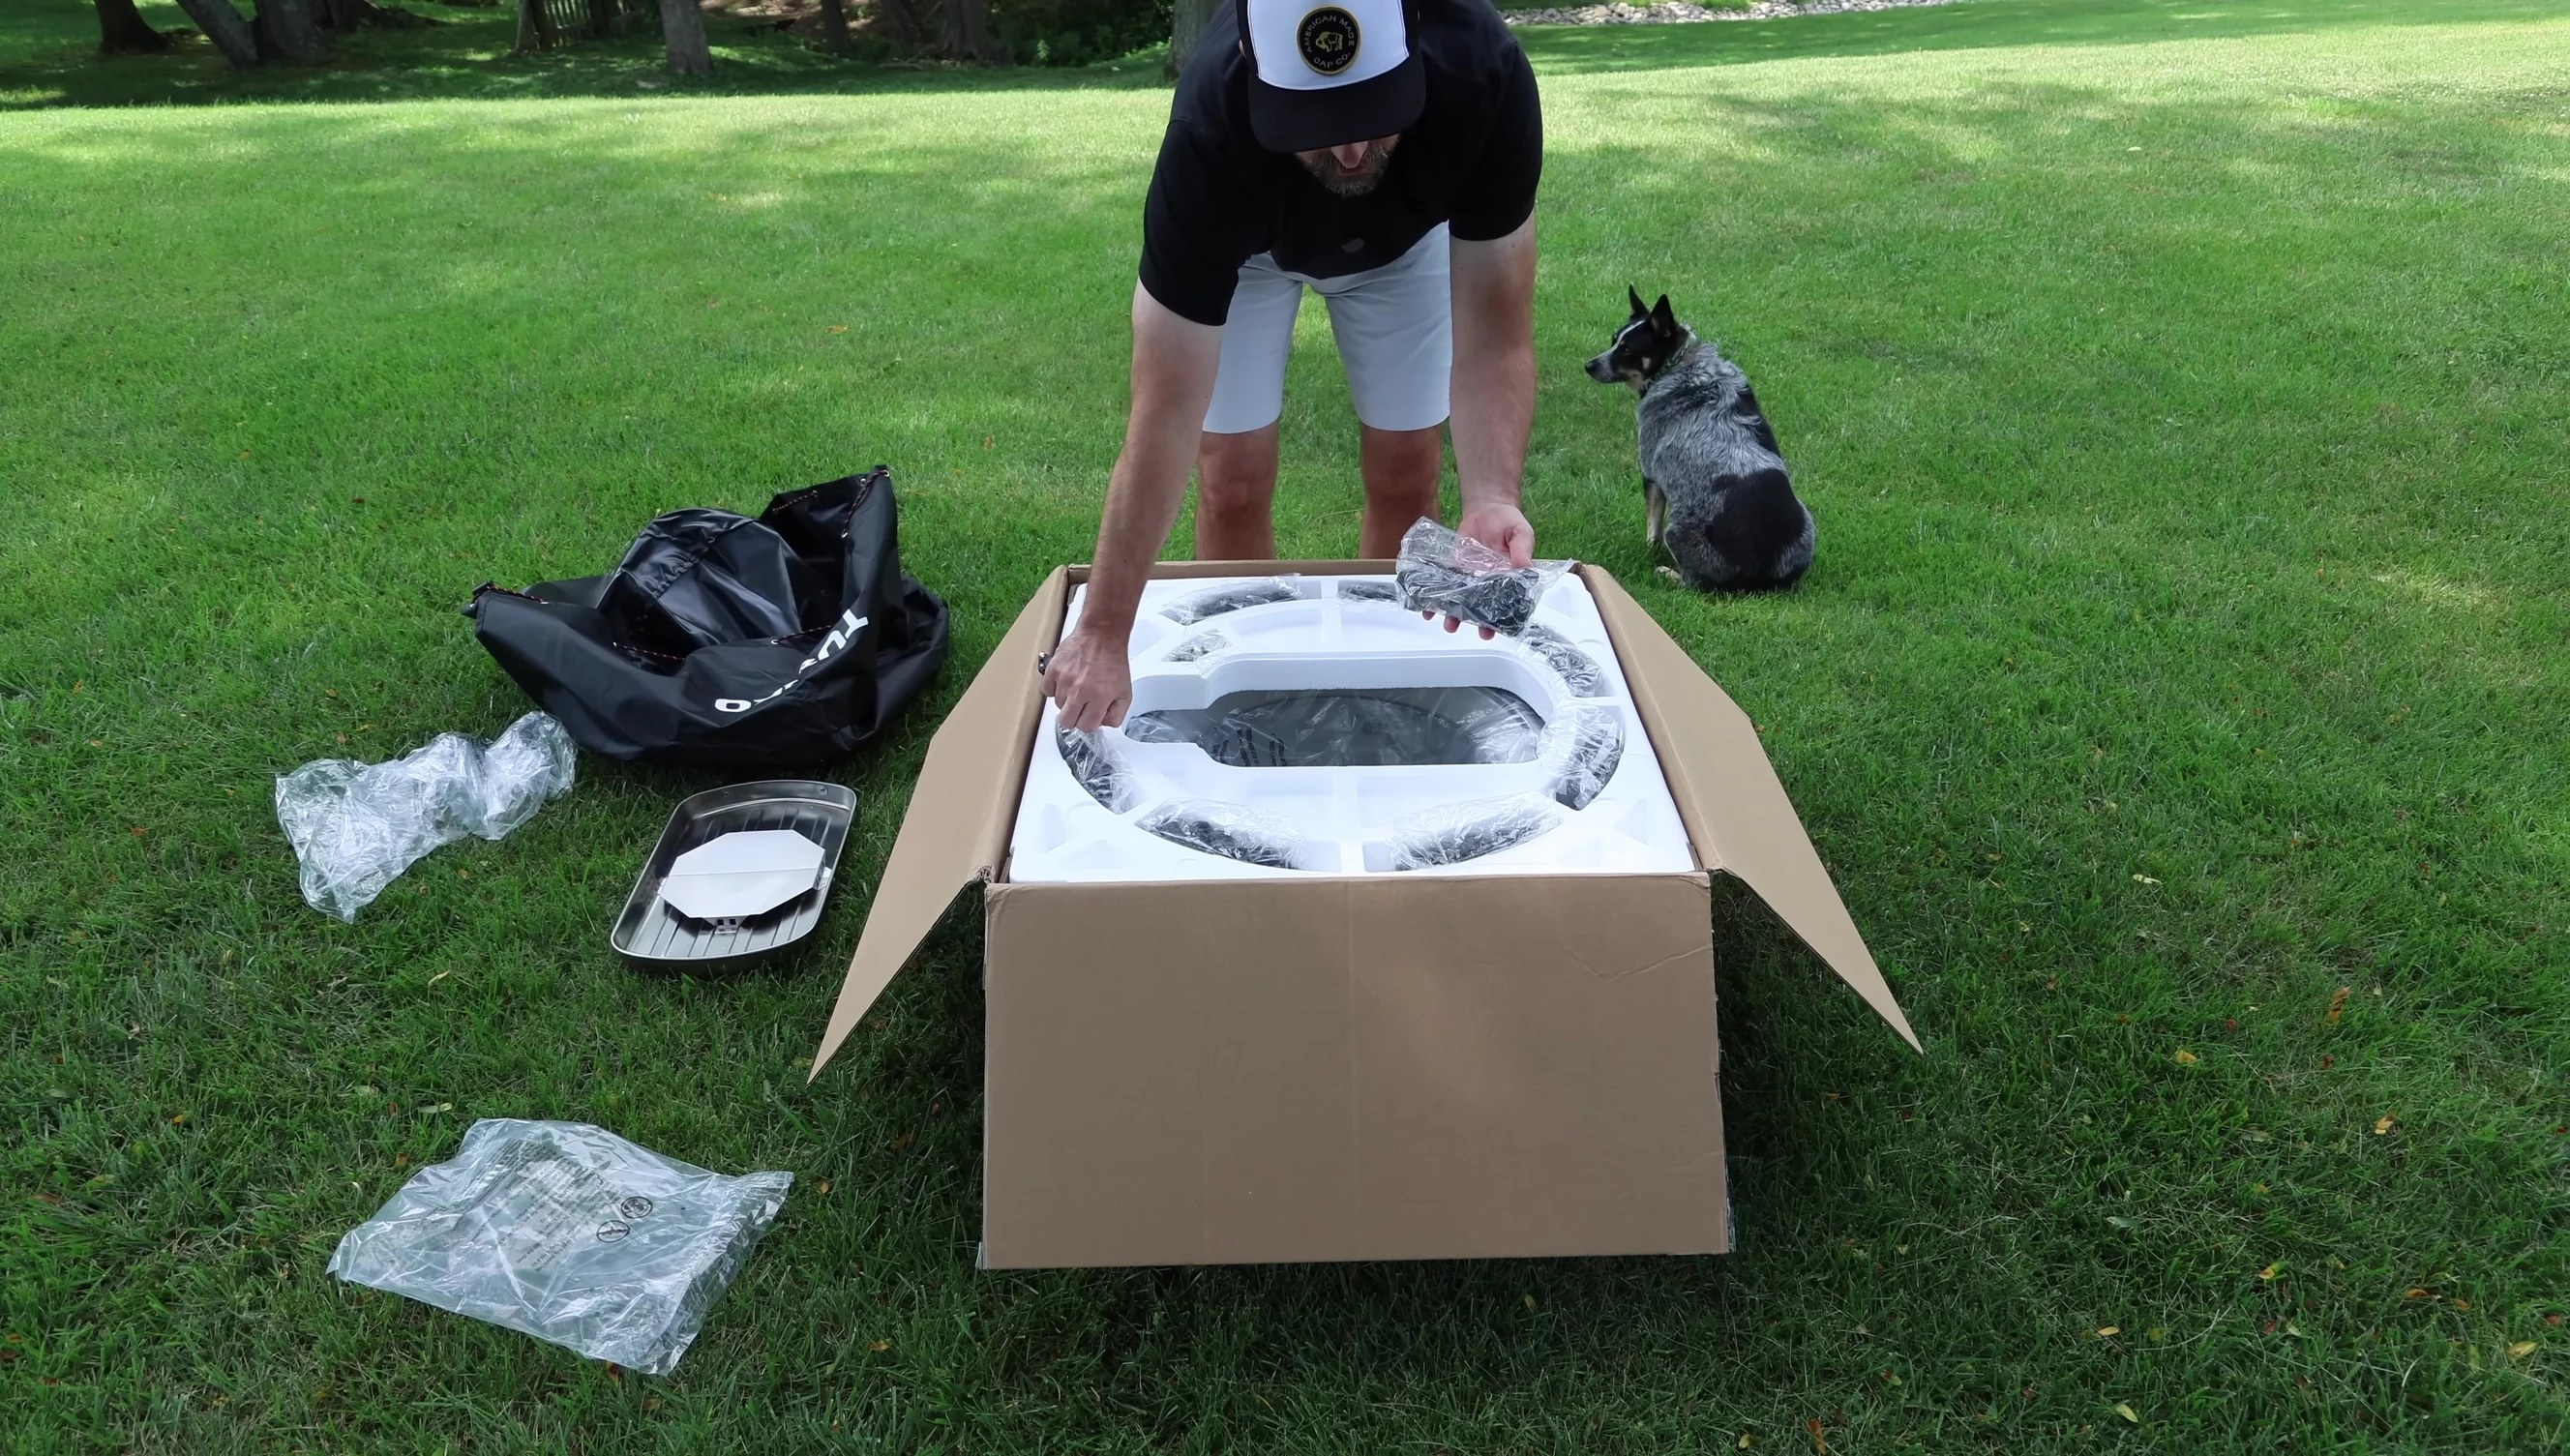
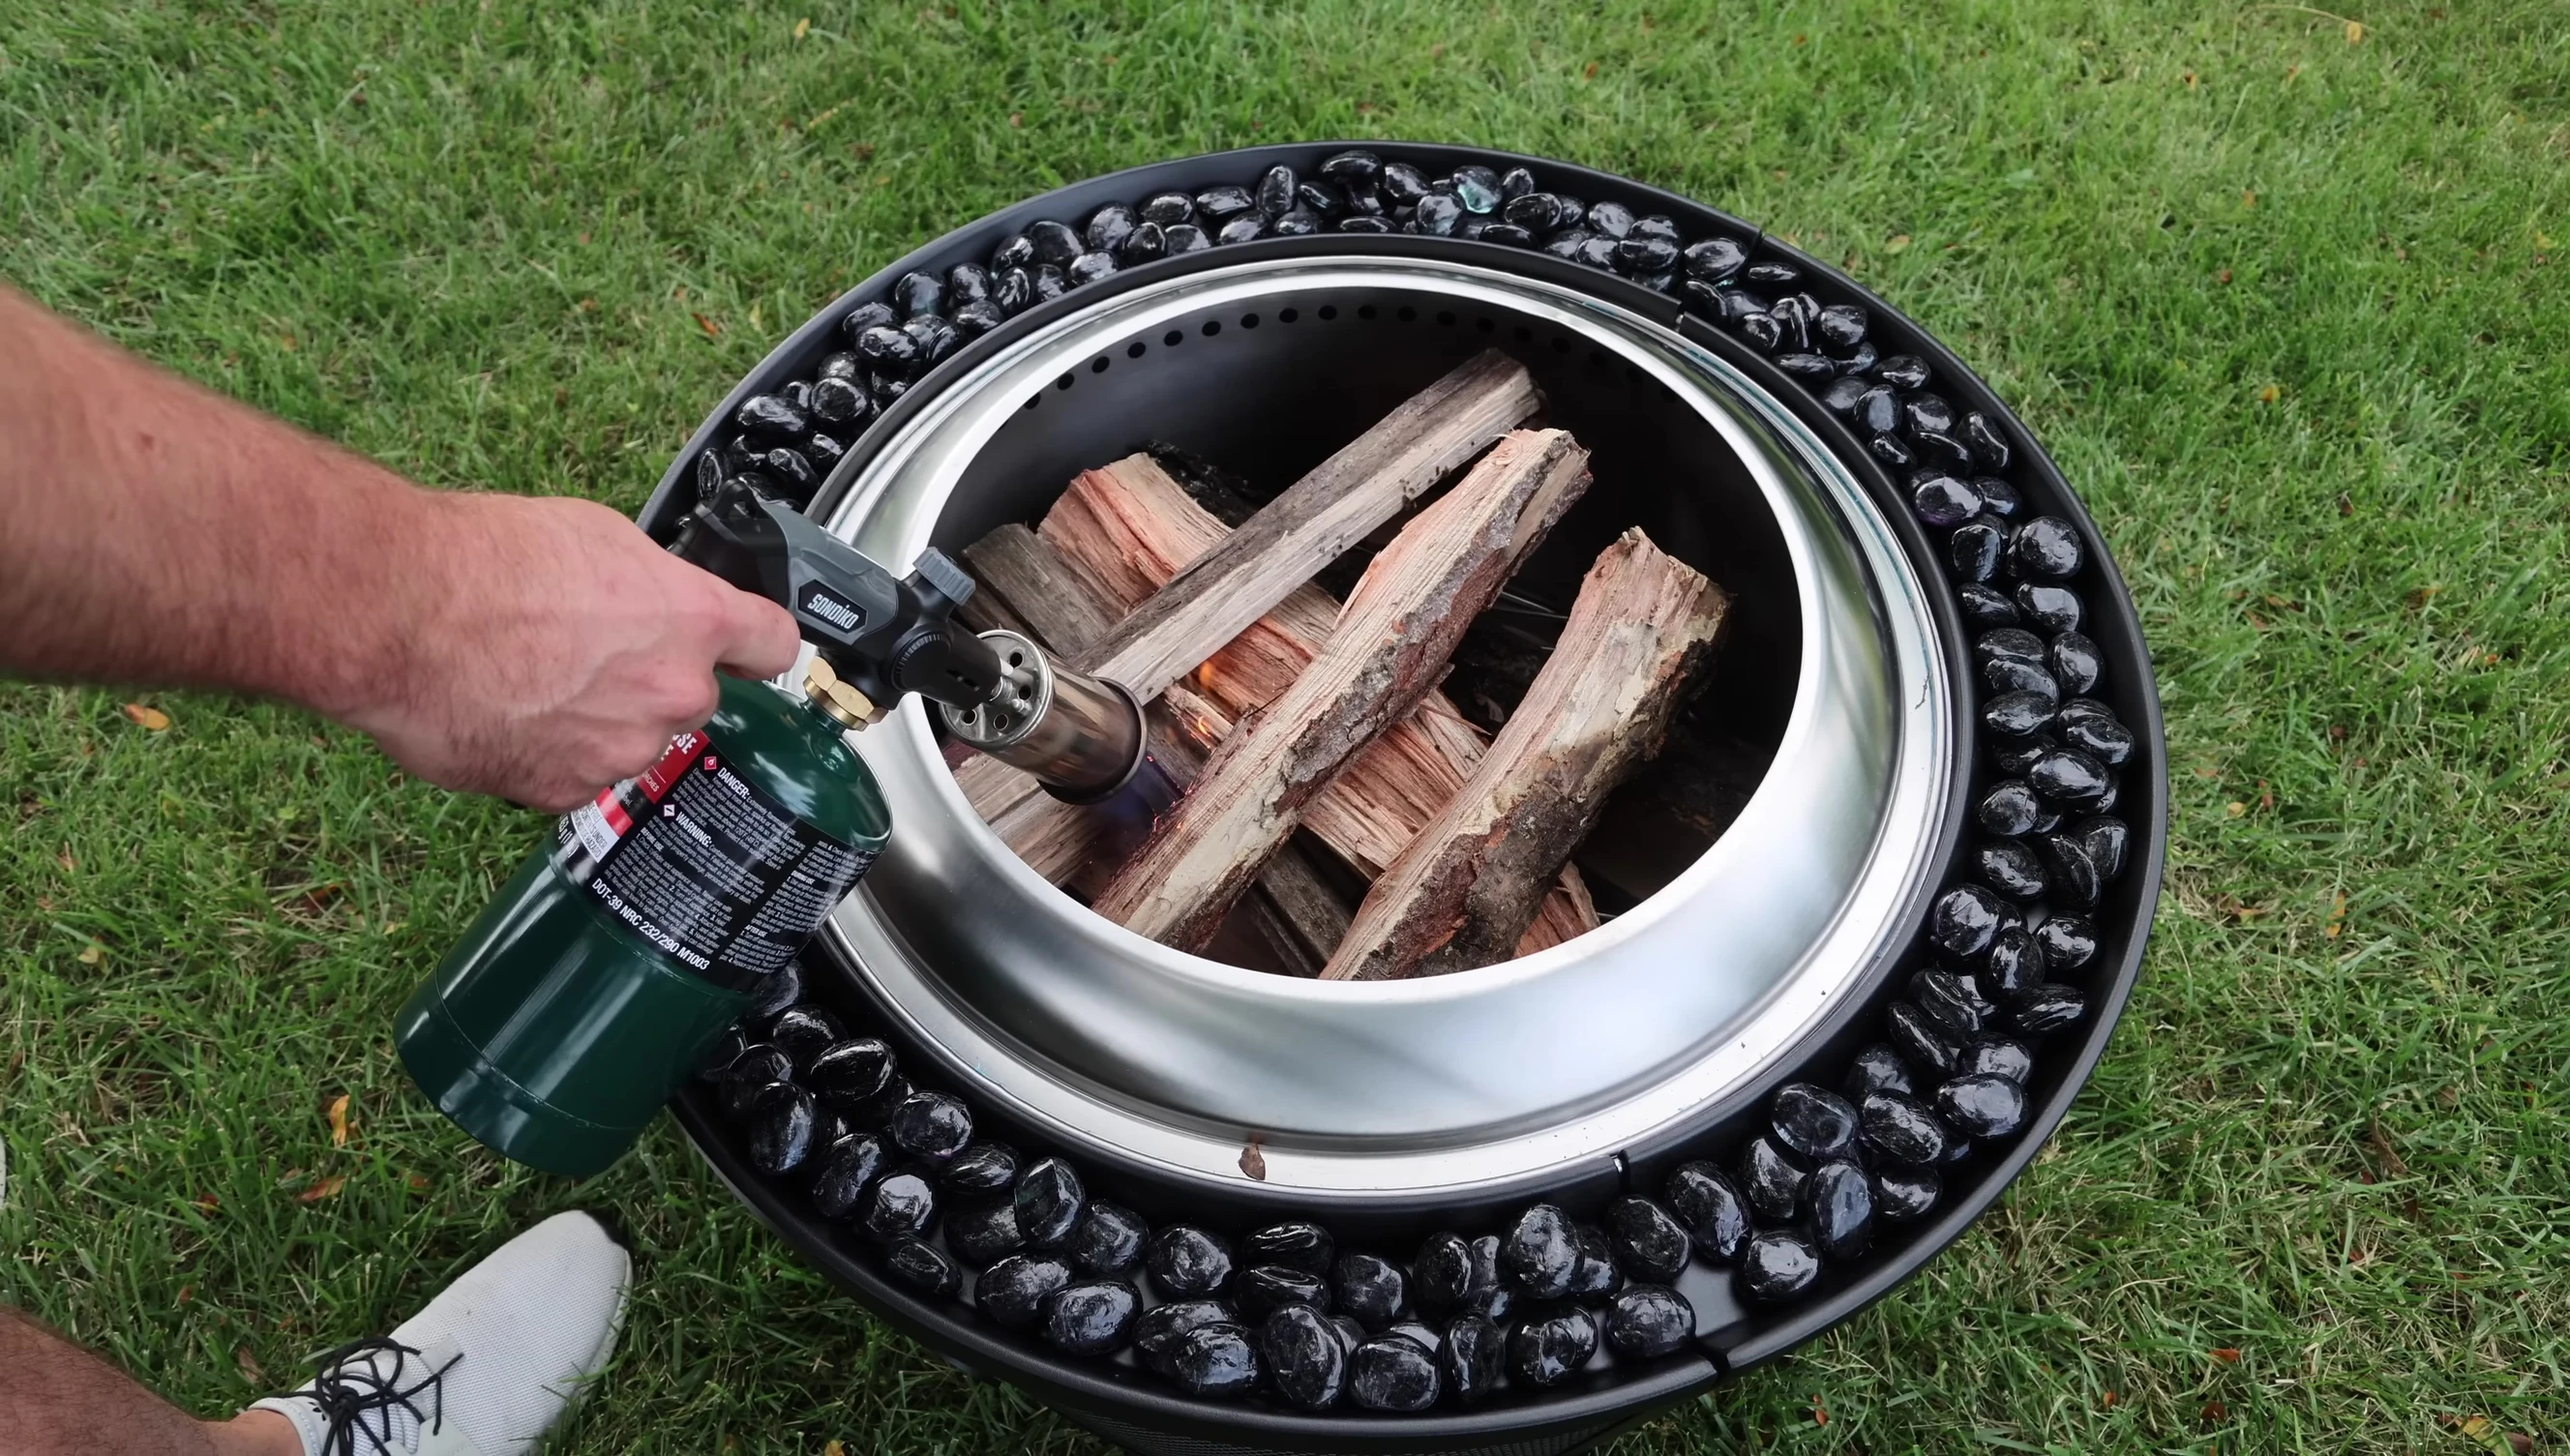
The package arrived containing the fire pit's components. It included the ash pan, user's manual, a protective cover with the Turbro logo, and several bags of translucent glass rocks for decorative use around the fire pit's top. Everything appeared to be well-packaged and protected.
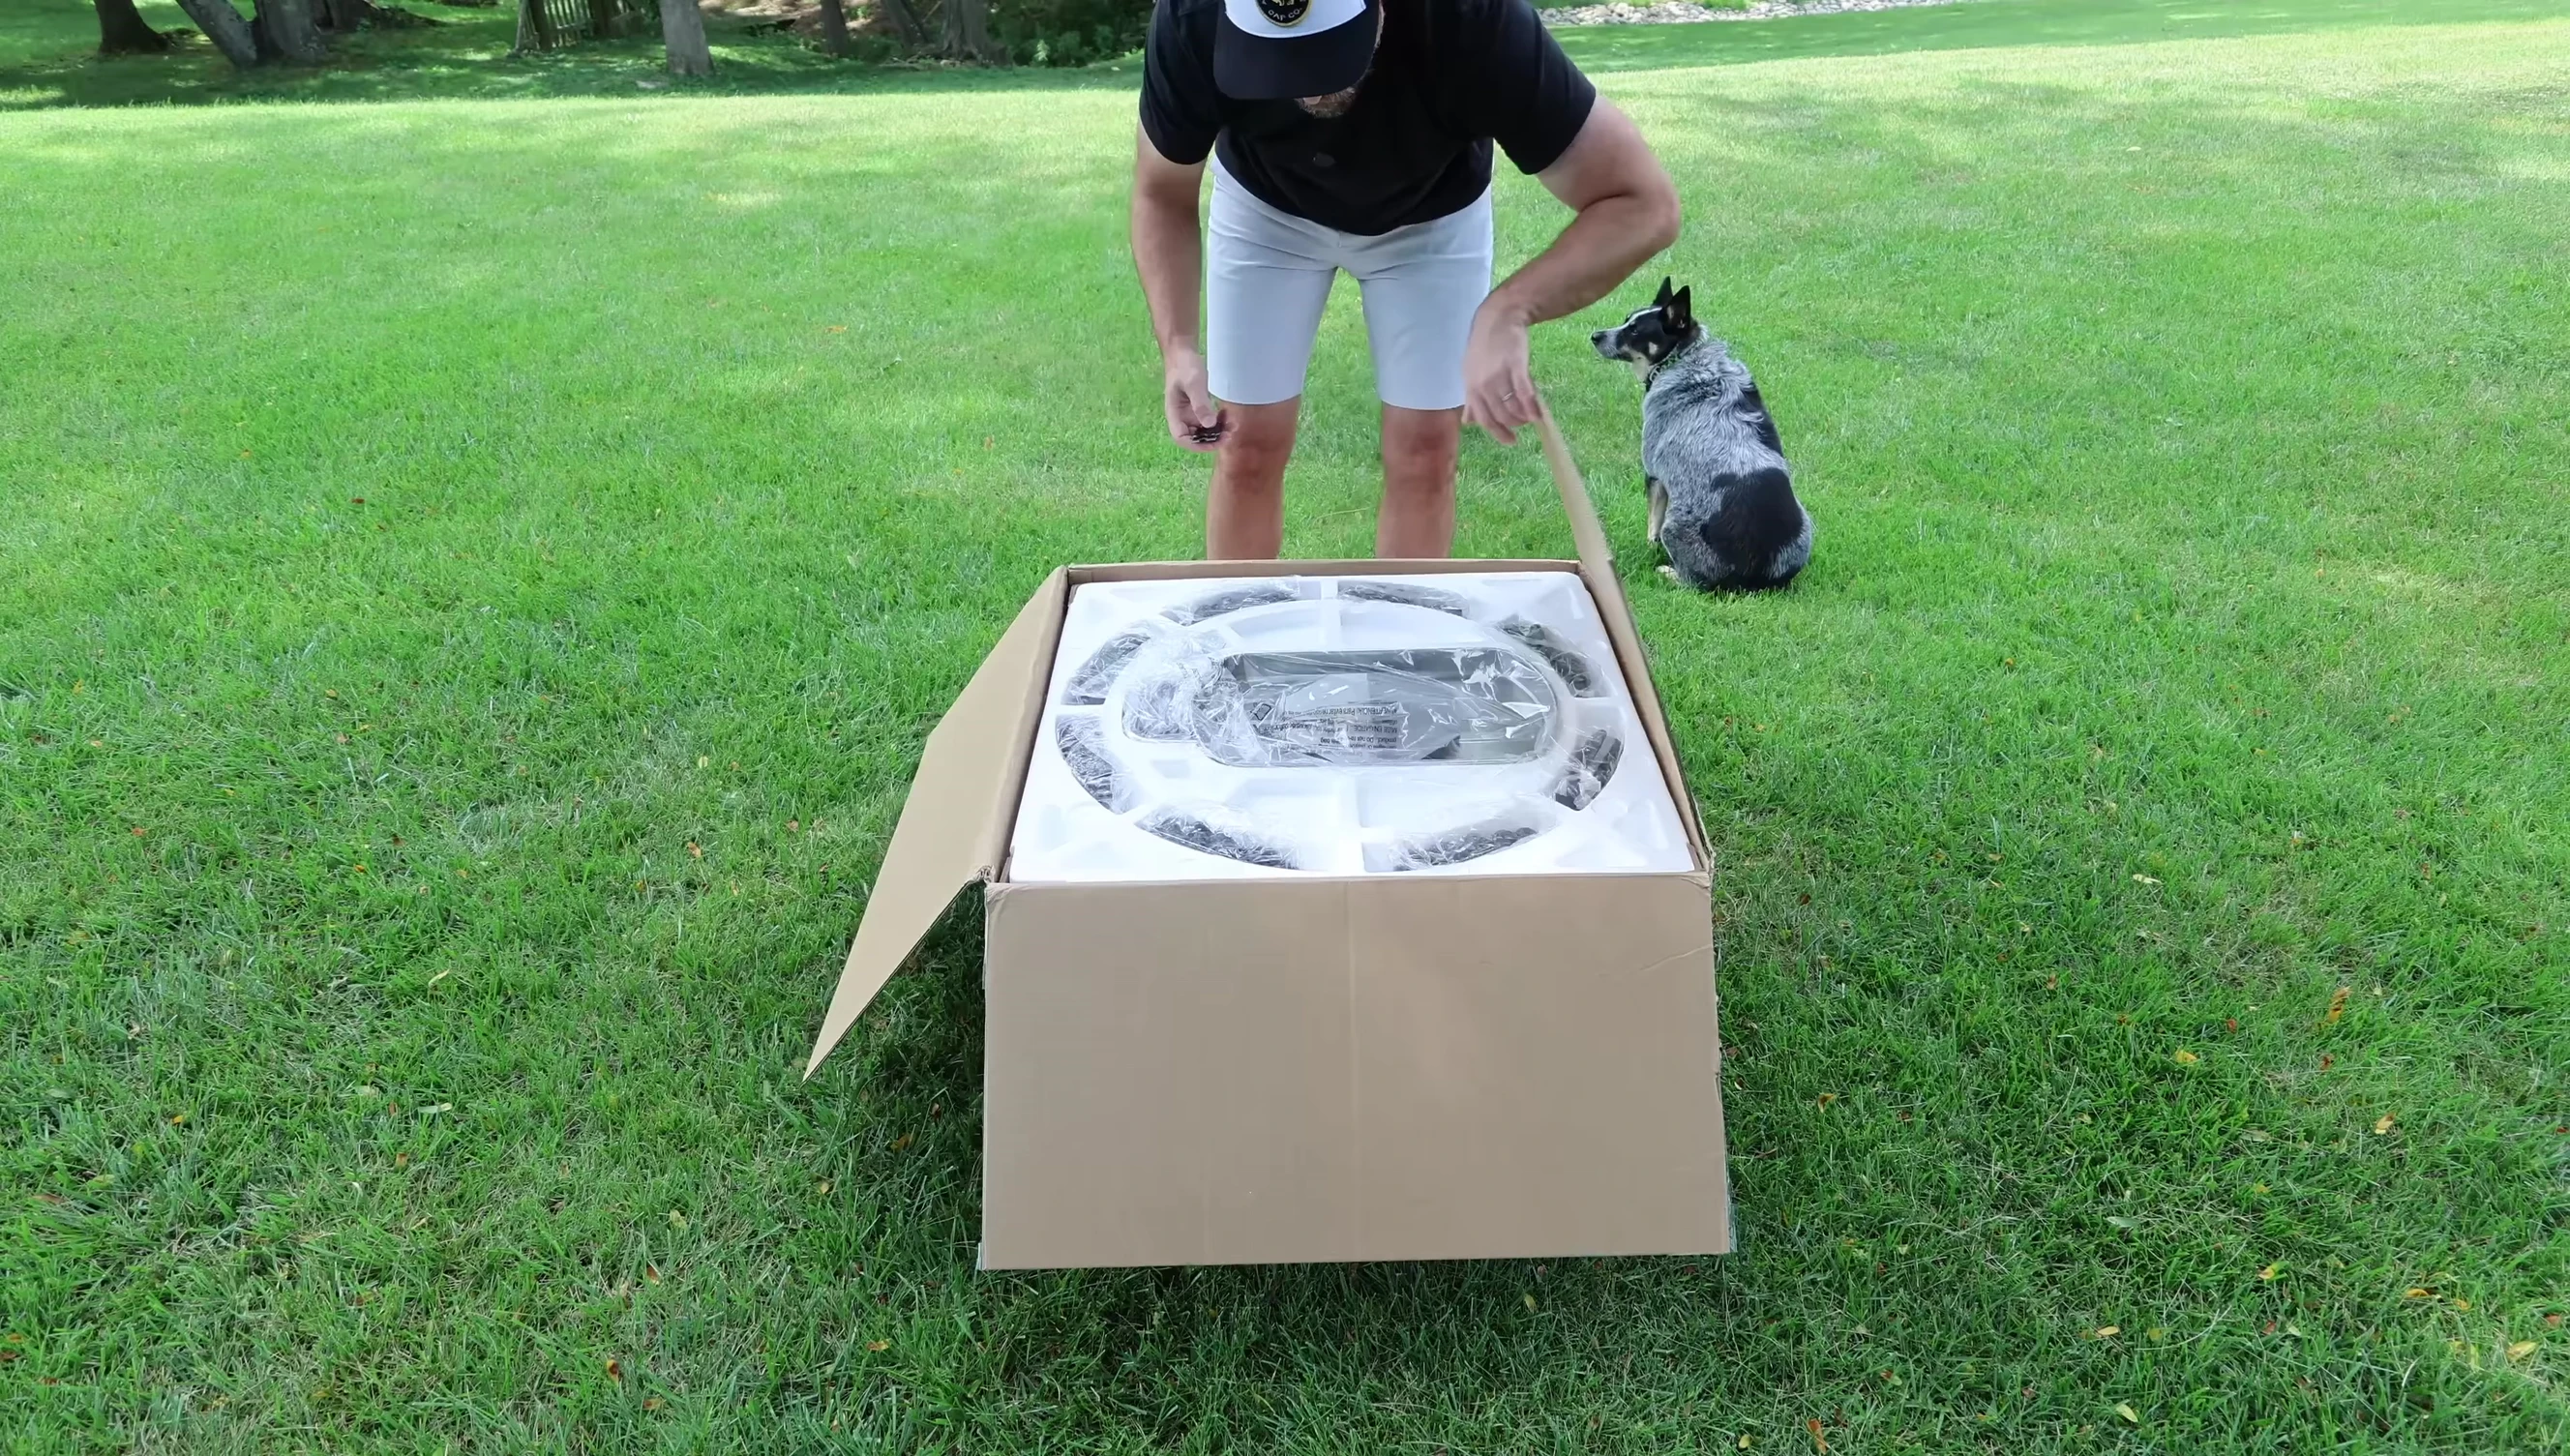

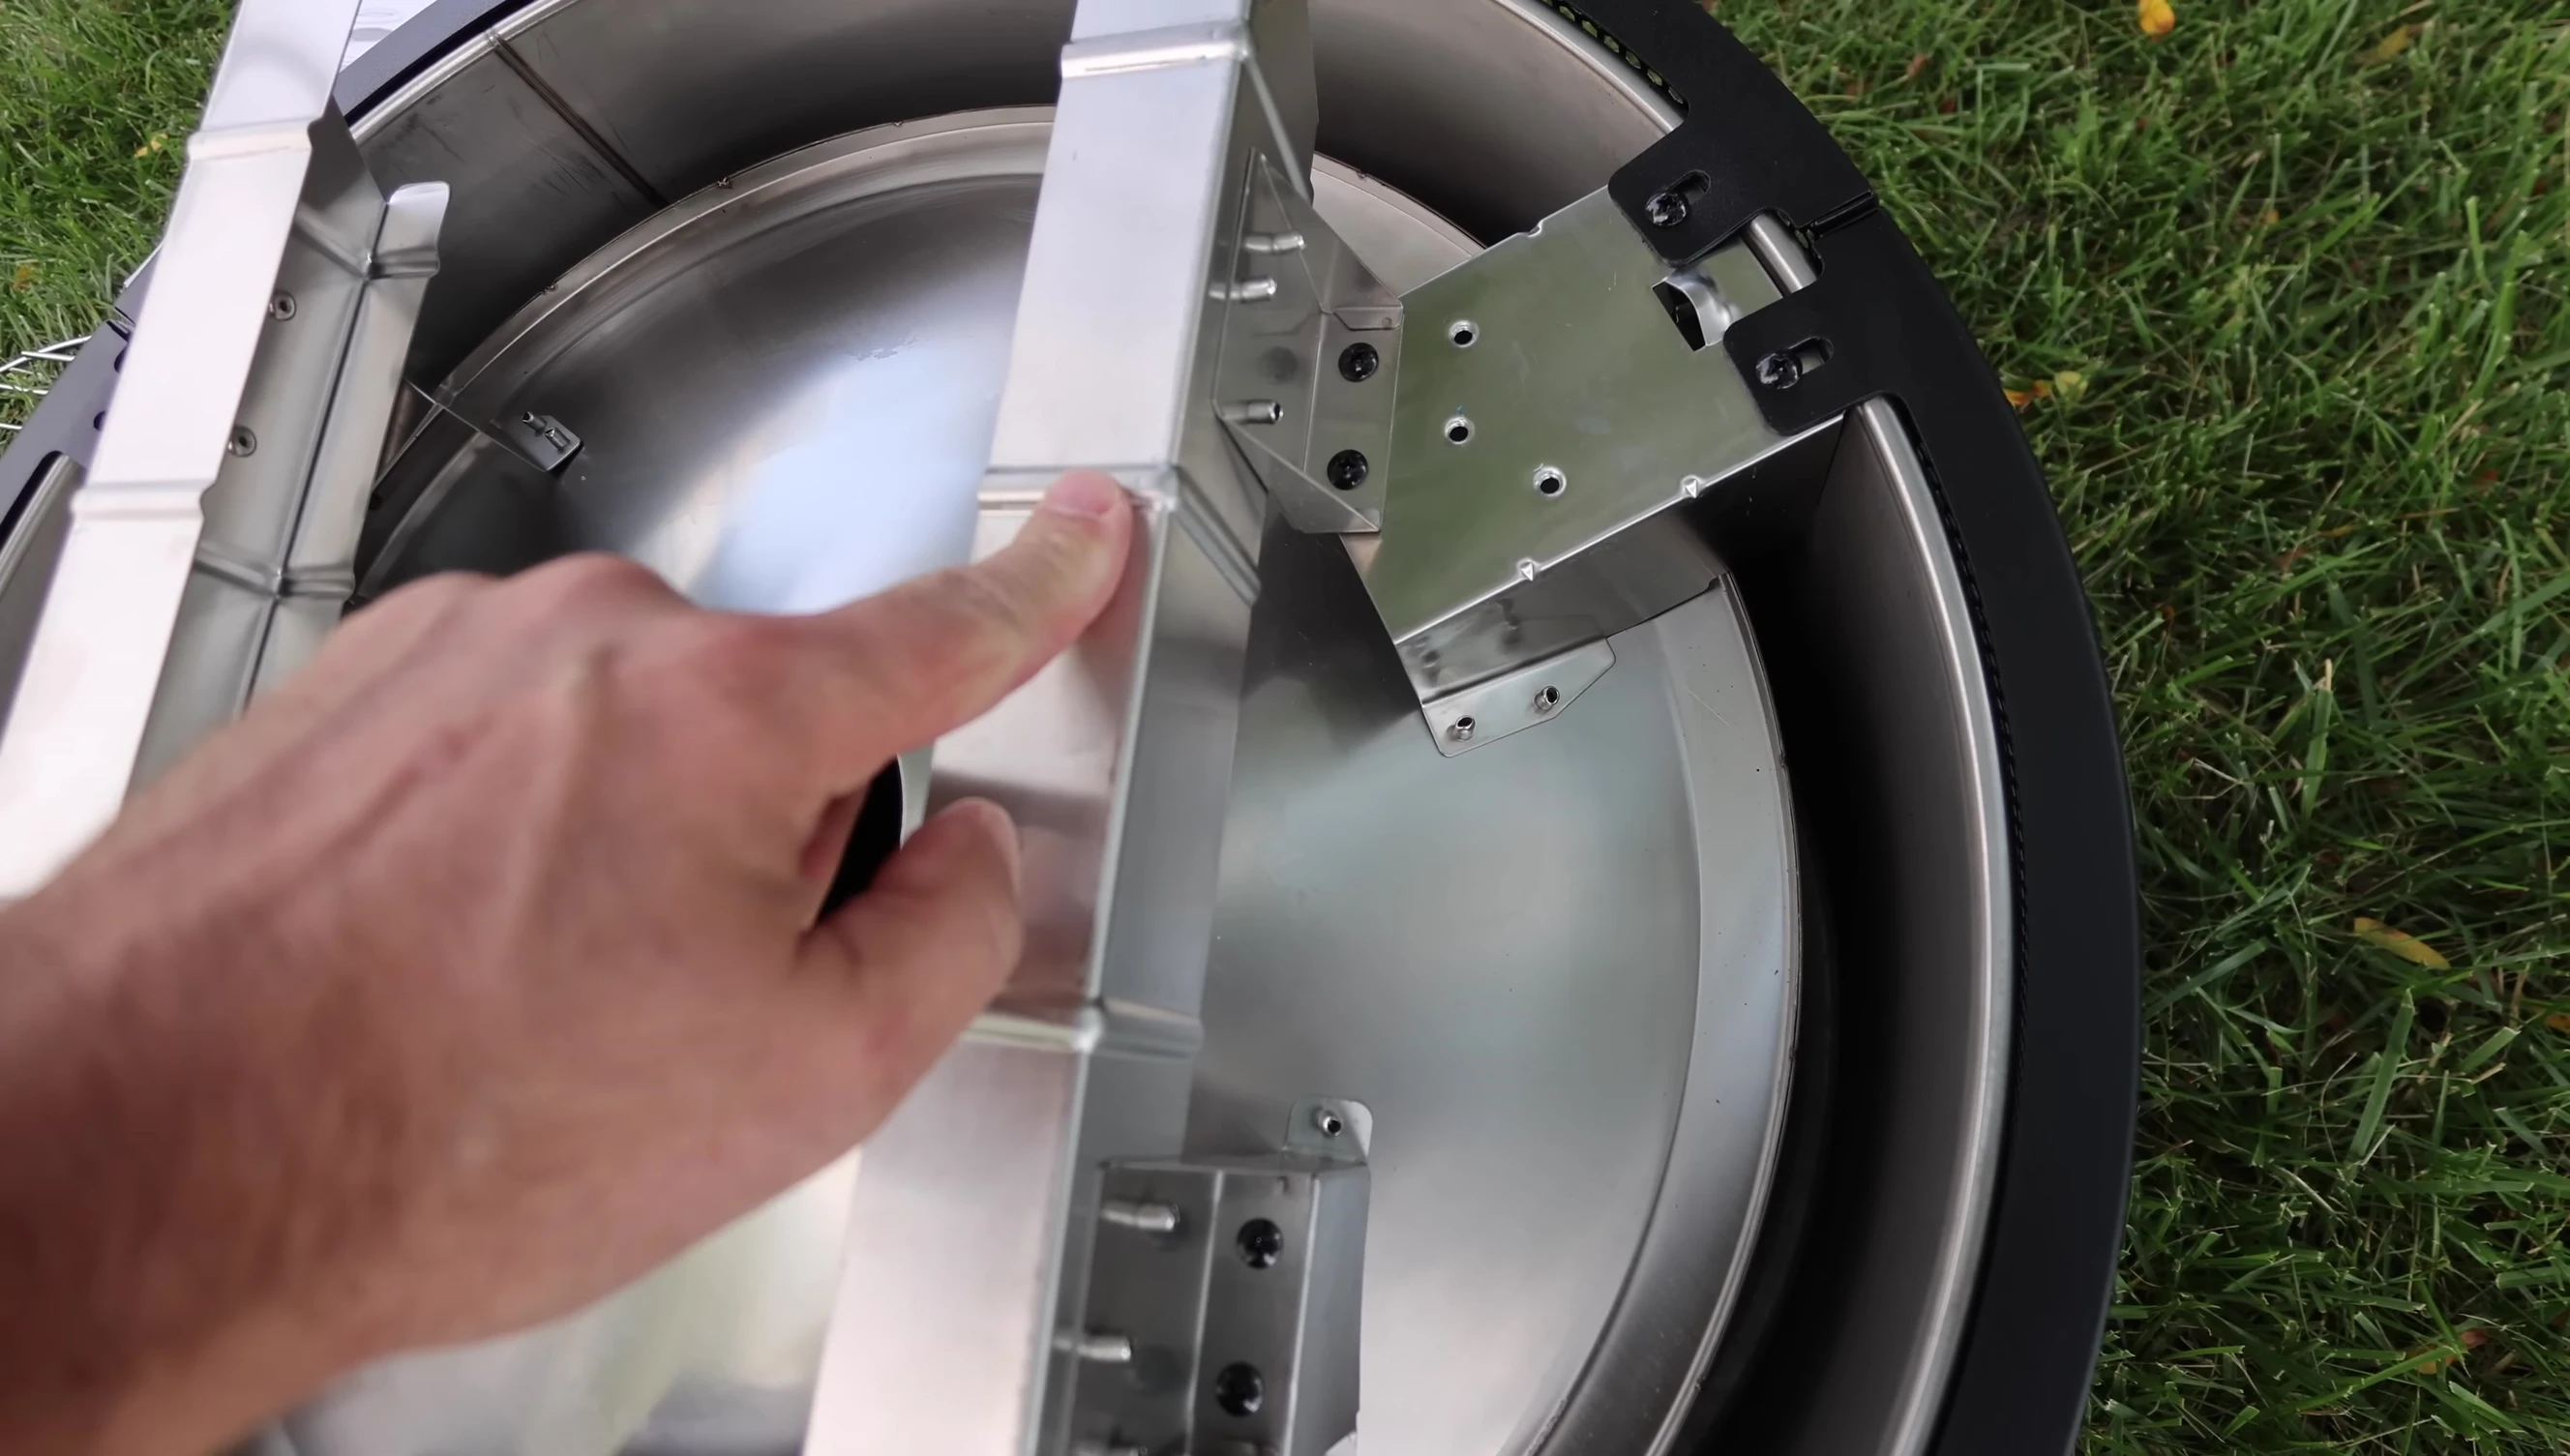
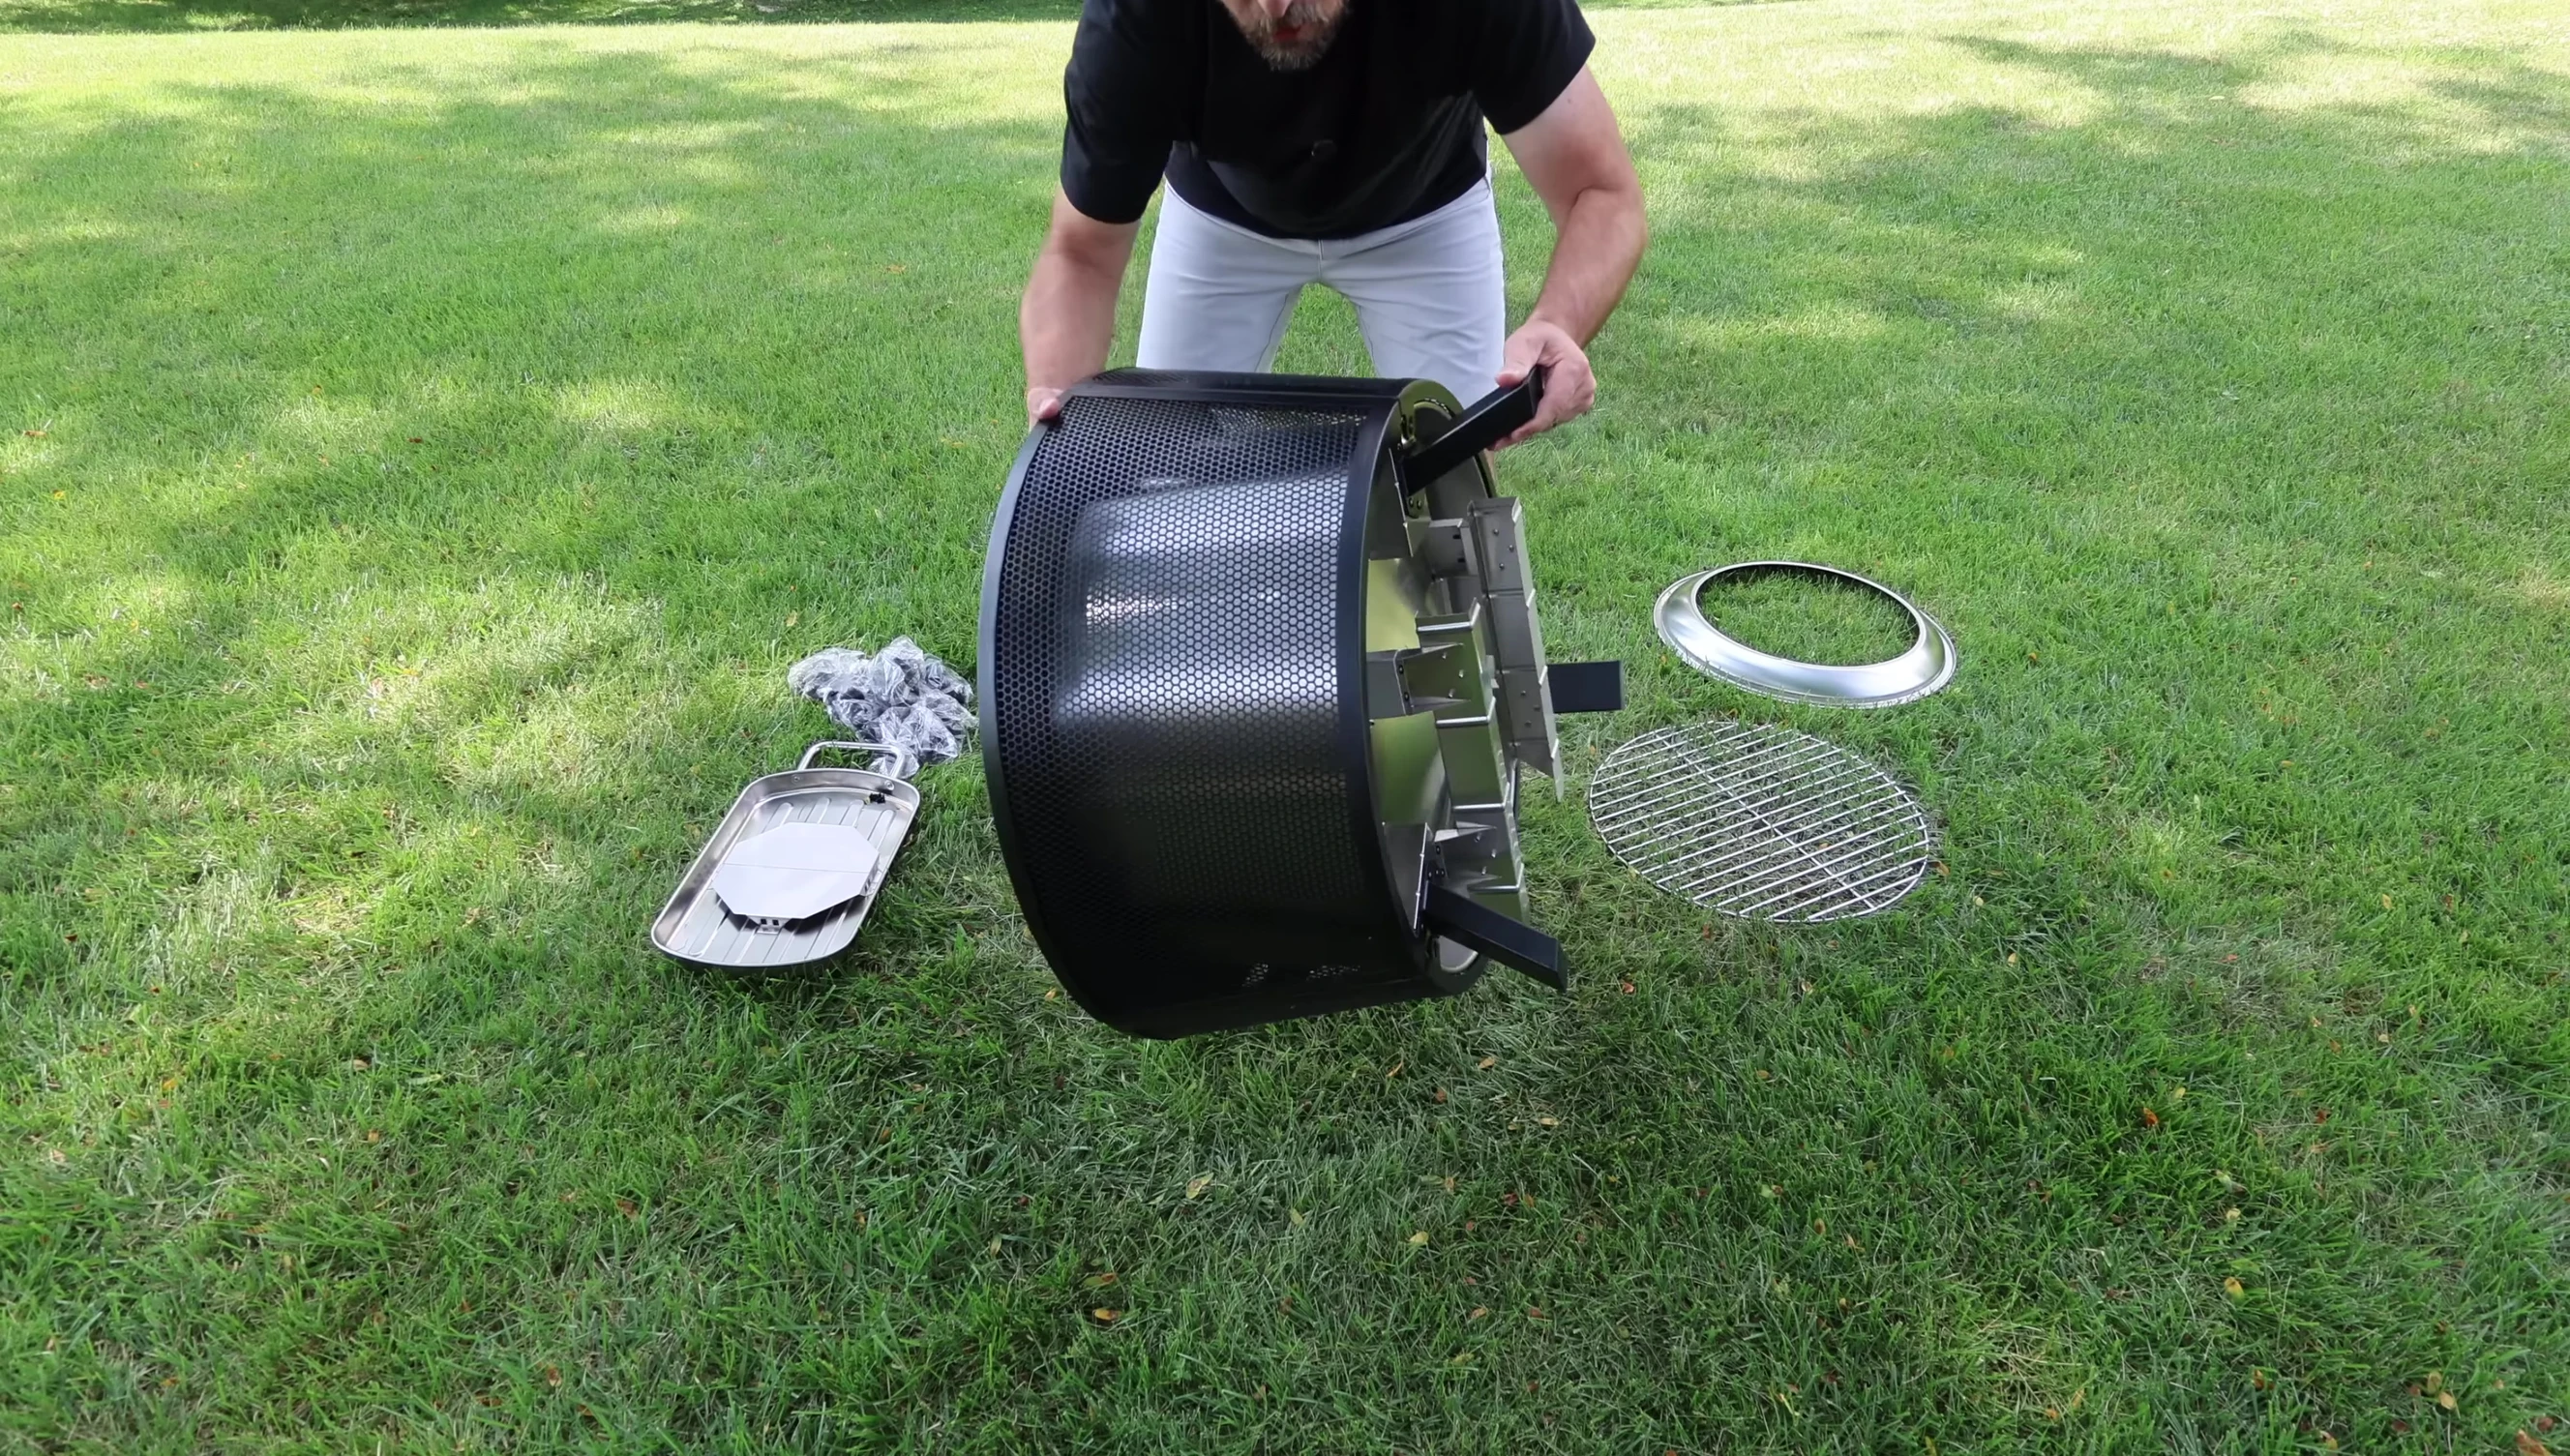
Beyond the decorative items, I discovered the main fire pit bowl, a top ring, a grill grate (later identified as a bottom grate), and several brackets for assembly. A small bag of screws was also included. Initial inspection indicated that some assembly would be required.
Assembly Process
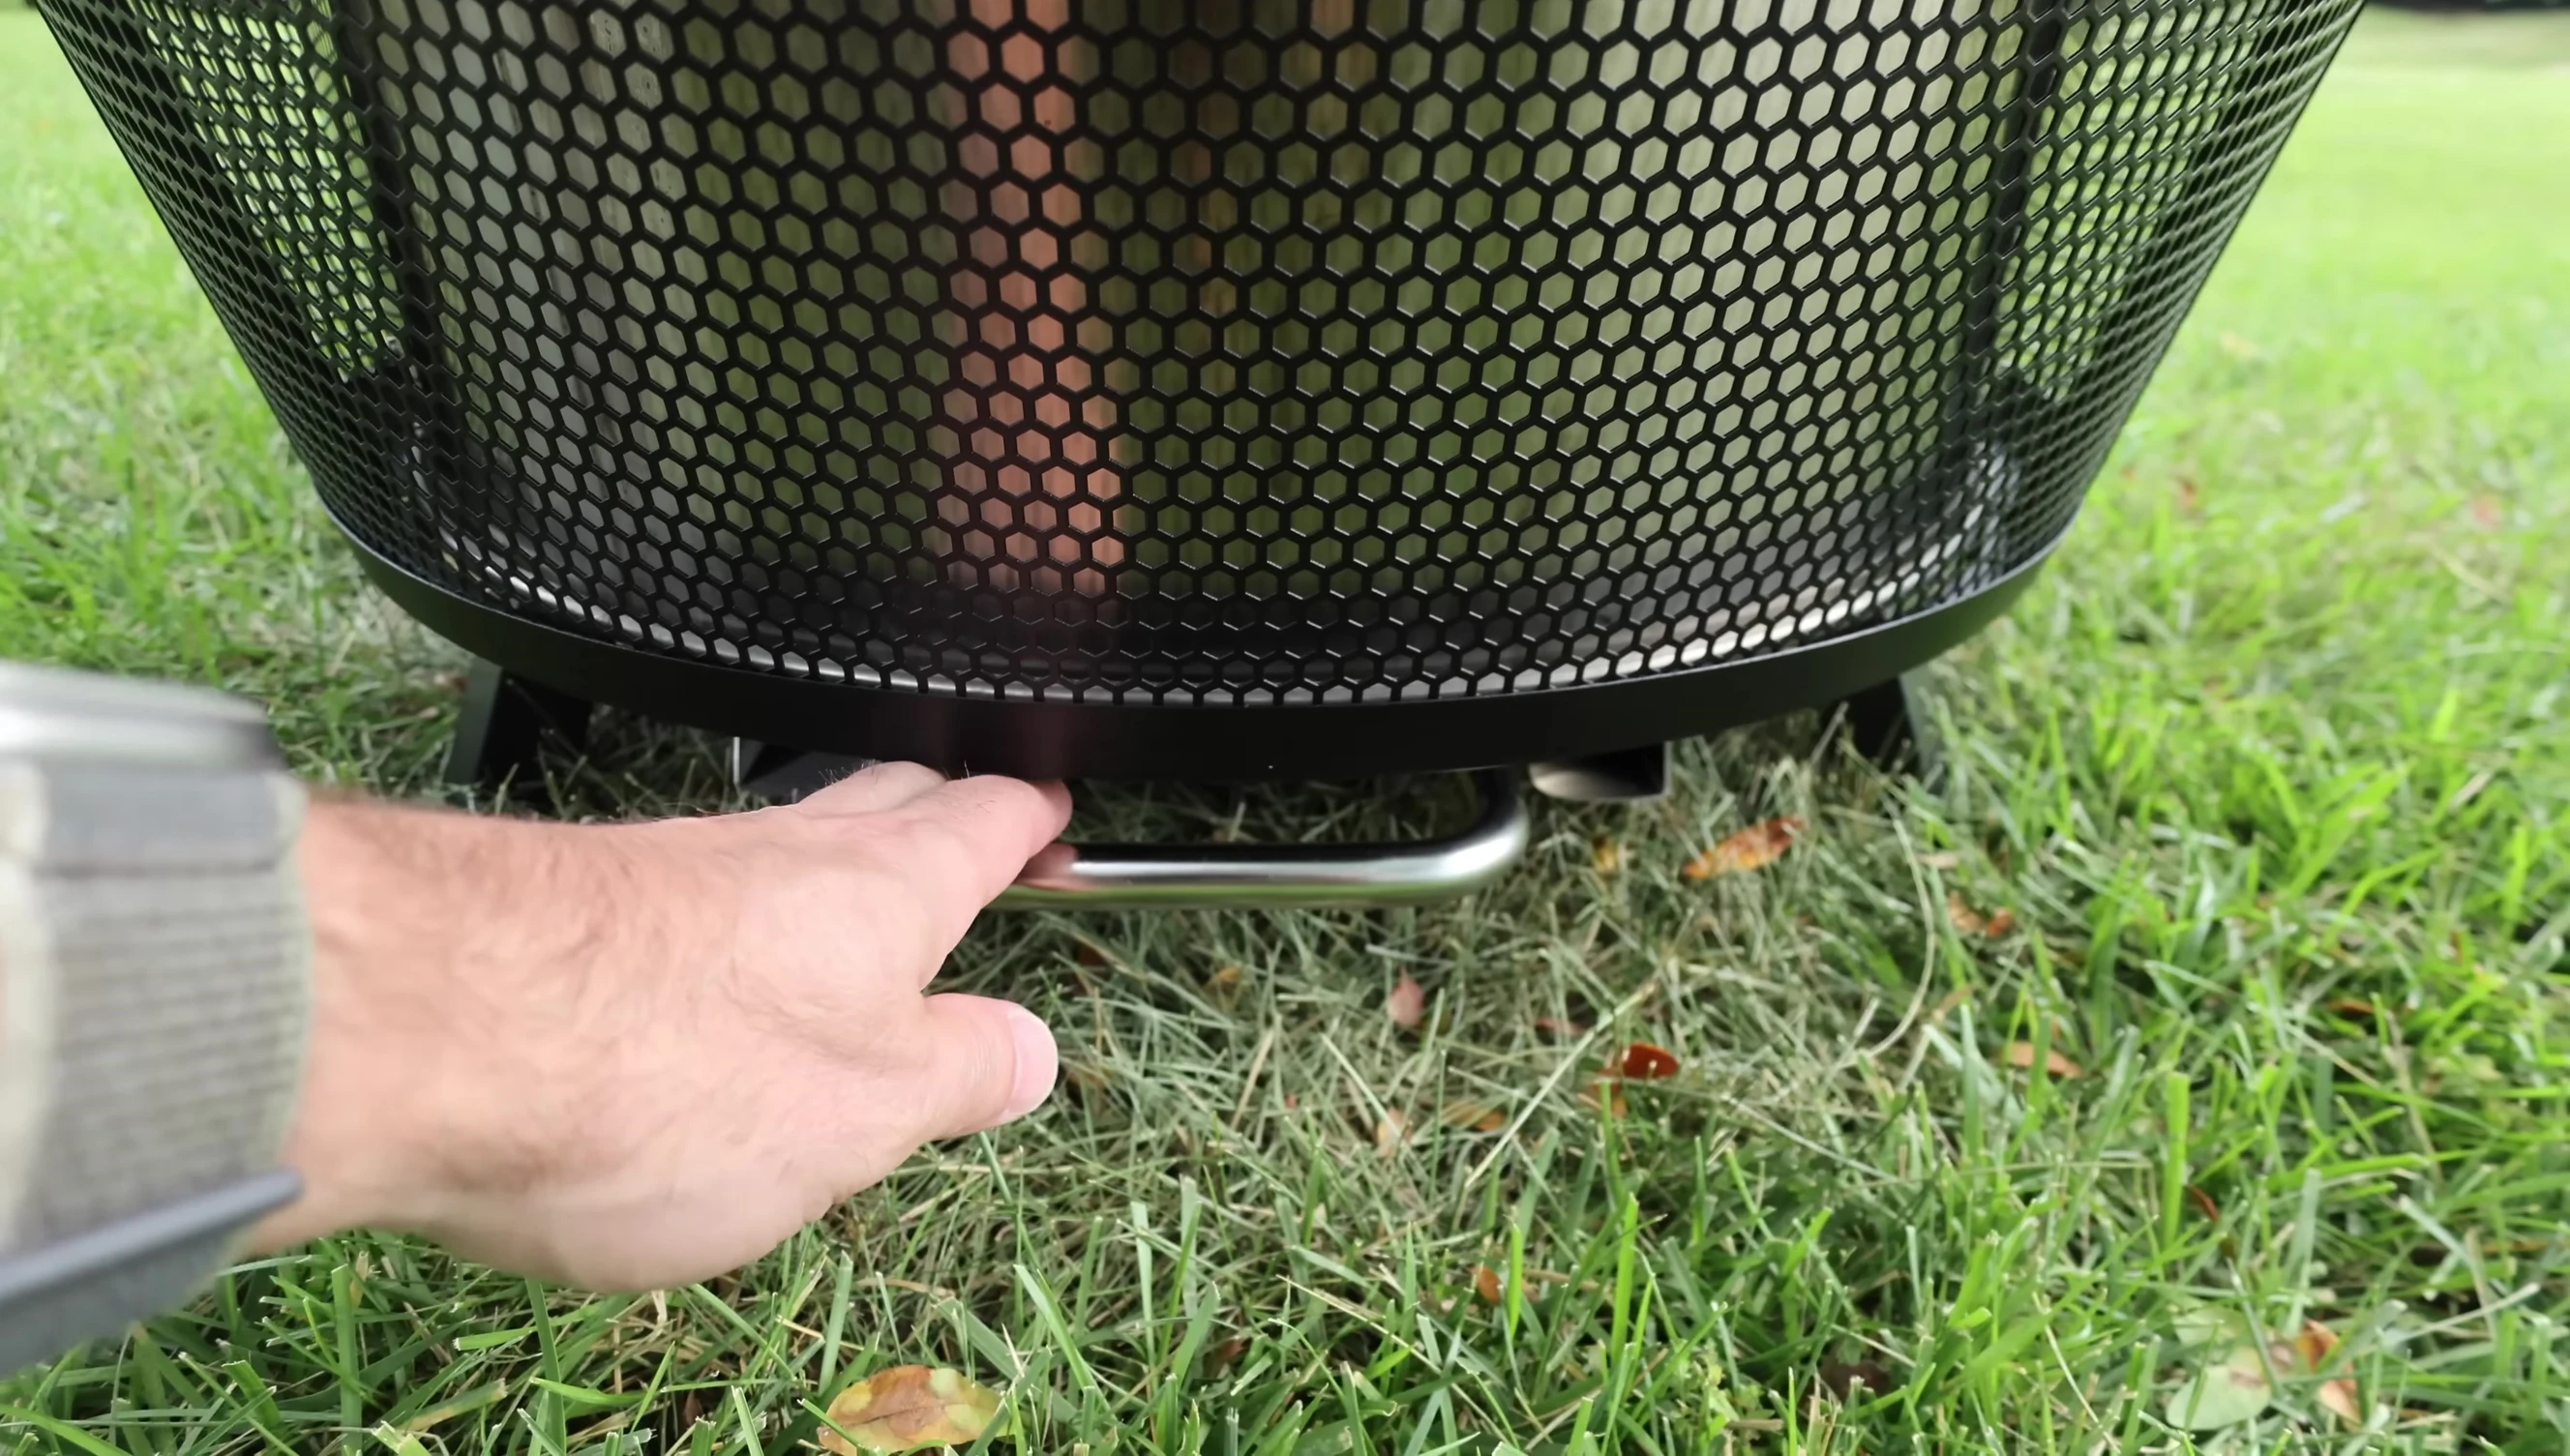
The assembly proved straightforward, guided by the included instructions. I began by attaching the ash pan trays, ensuring the screw holes aligned correctly. These trays allow the ash to collect and slide out, a feature missing in my other fire pits.

Next, I secured the feet to the fire pit's base using the provided screws and brackets. This step required careful alignment to ensure stability. The feet have indentations for precise placement of the brackets for a secure fit.
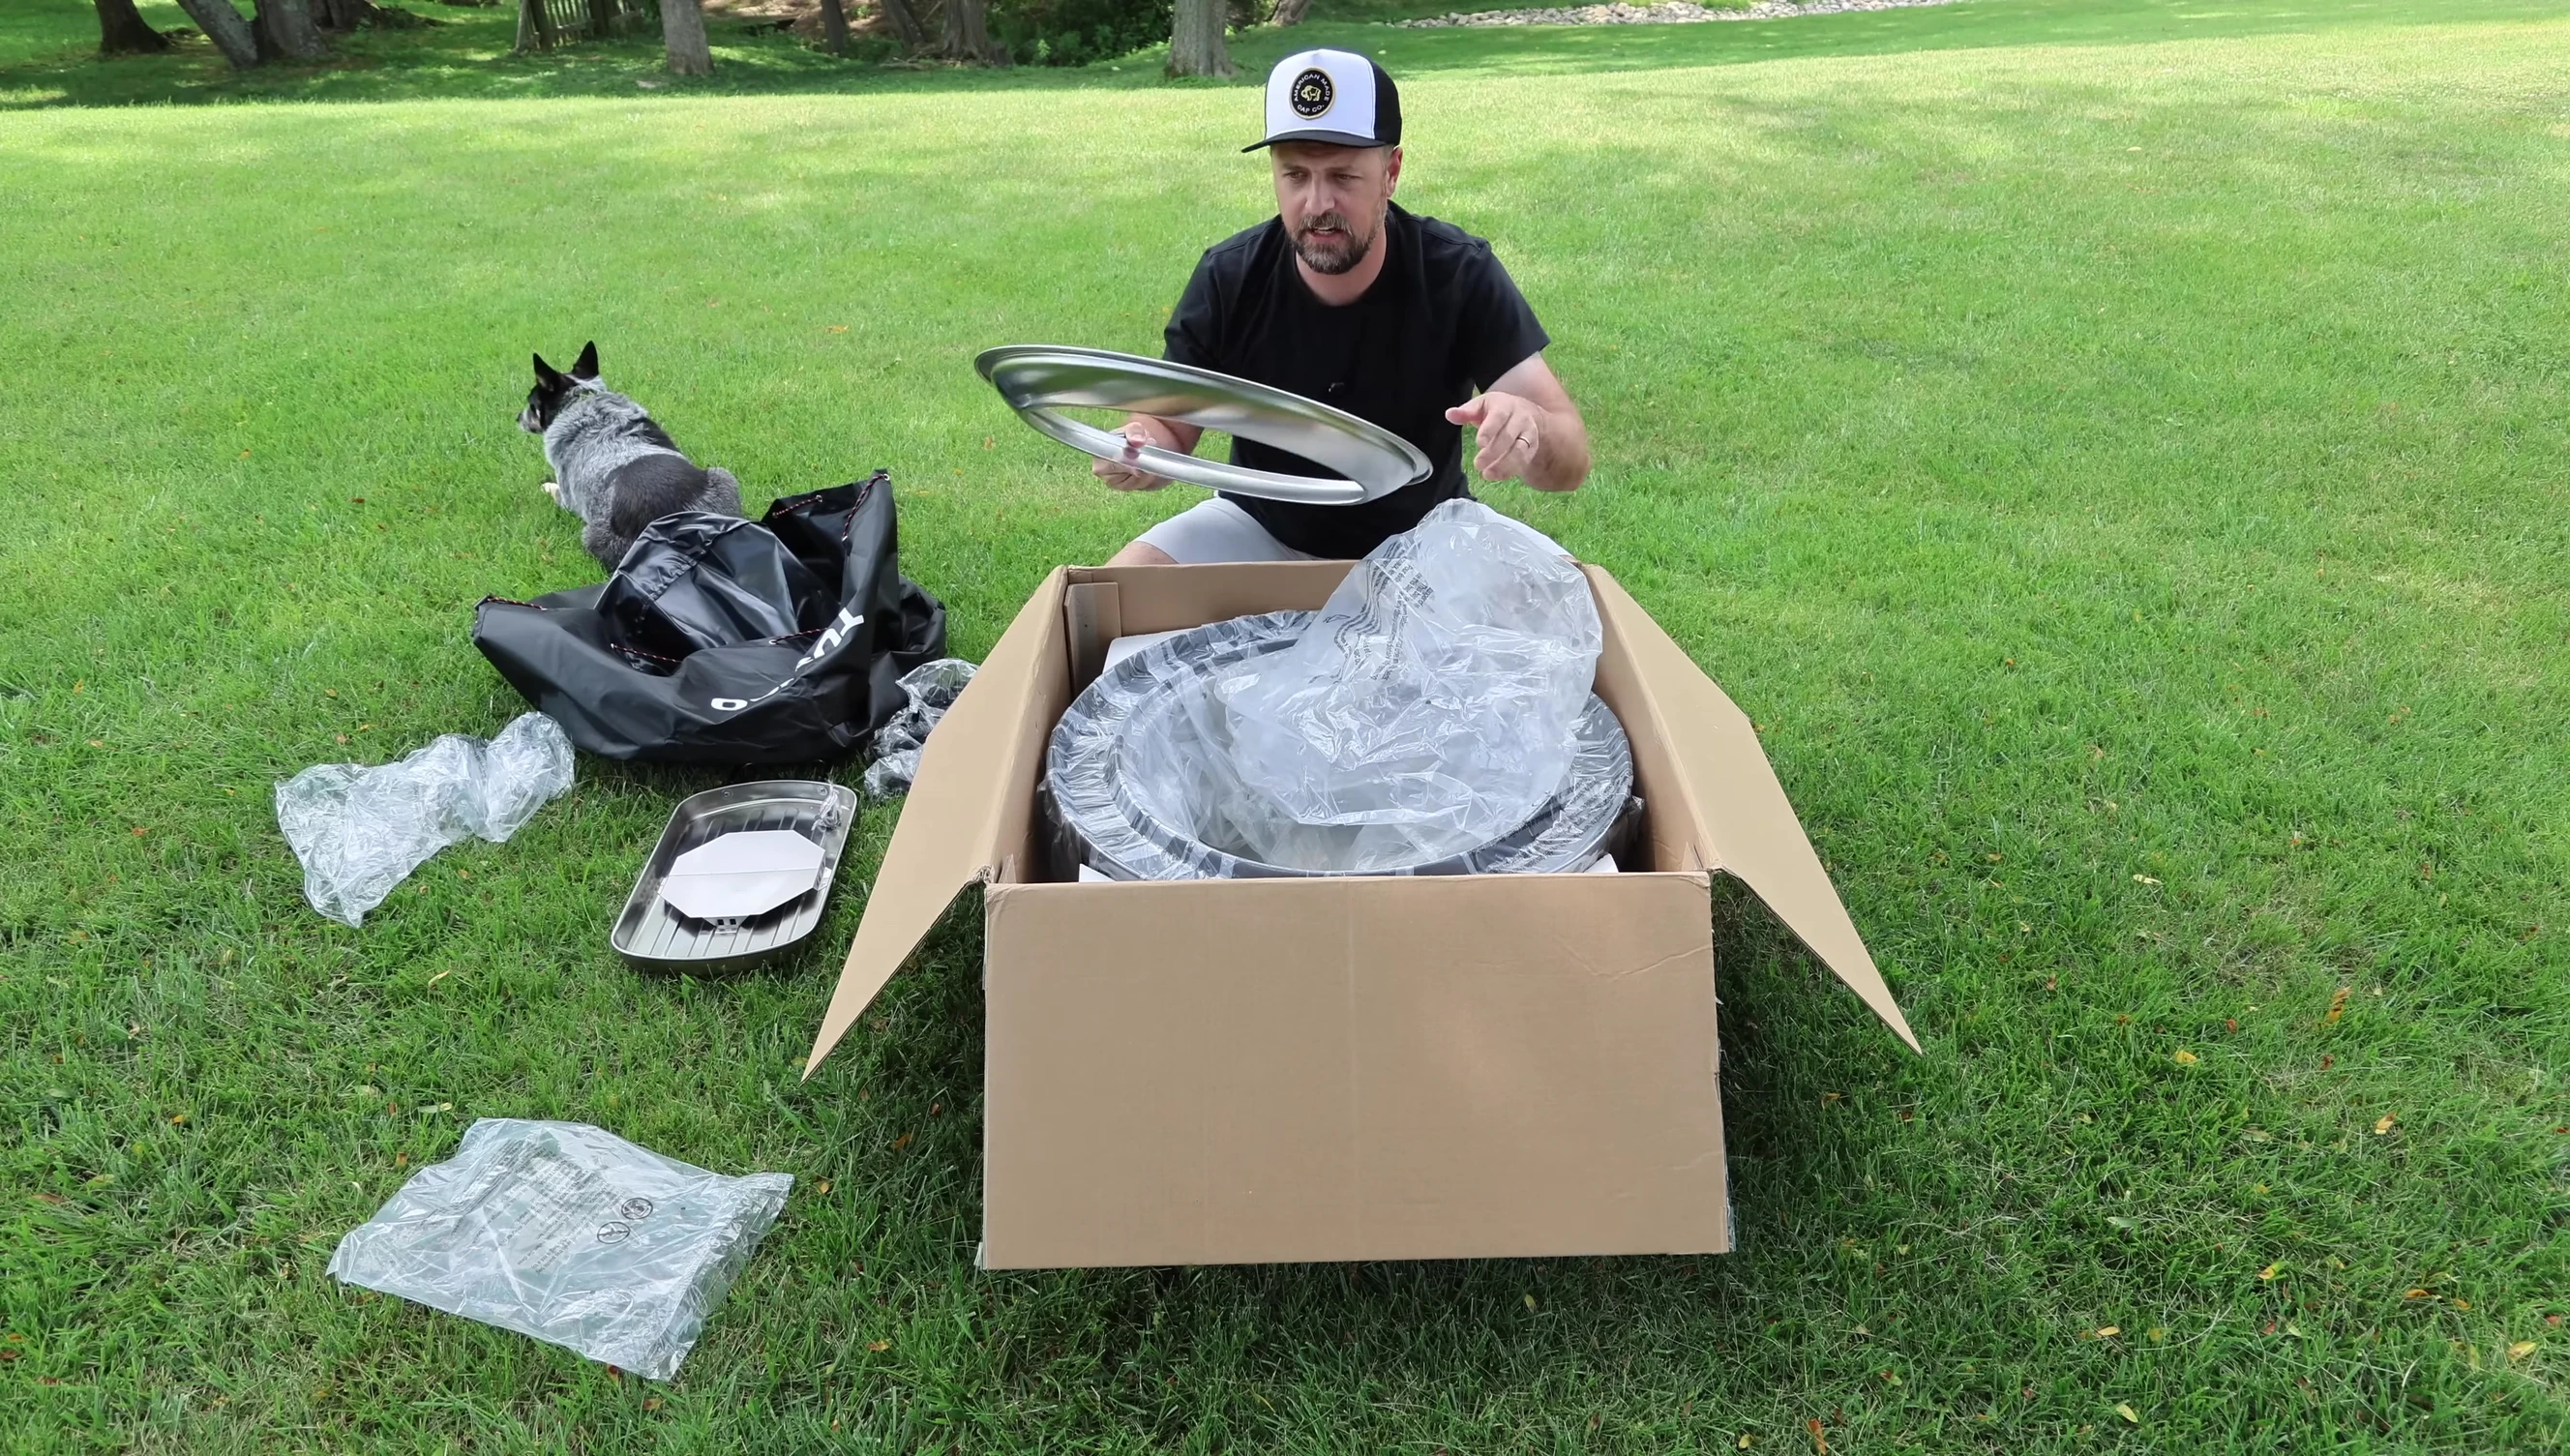
Finally, I flipped the assembled unit over, inserted the ash pan, and attached the top ring. The entire process was relatively simple and didn't take very long.
Final Assembly and Features
After correctly identifying the grill grate as a bottom grate for air circulation, I placed it into the base of the fire pit. The grate, combined with air holes in the bottom, is designed to improve airflow and reduce smoke production. This grate adds to the overall effectiveness of the fire pit.
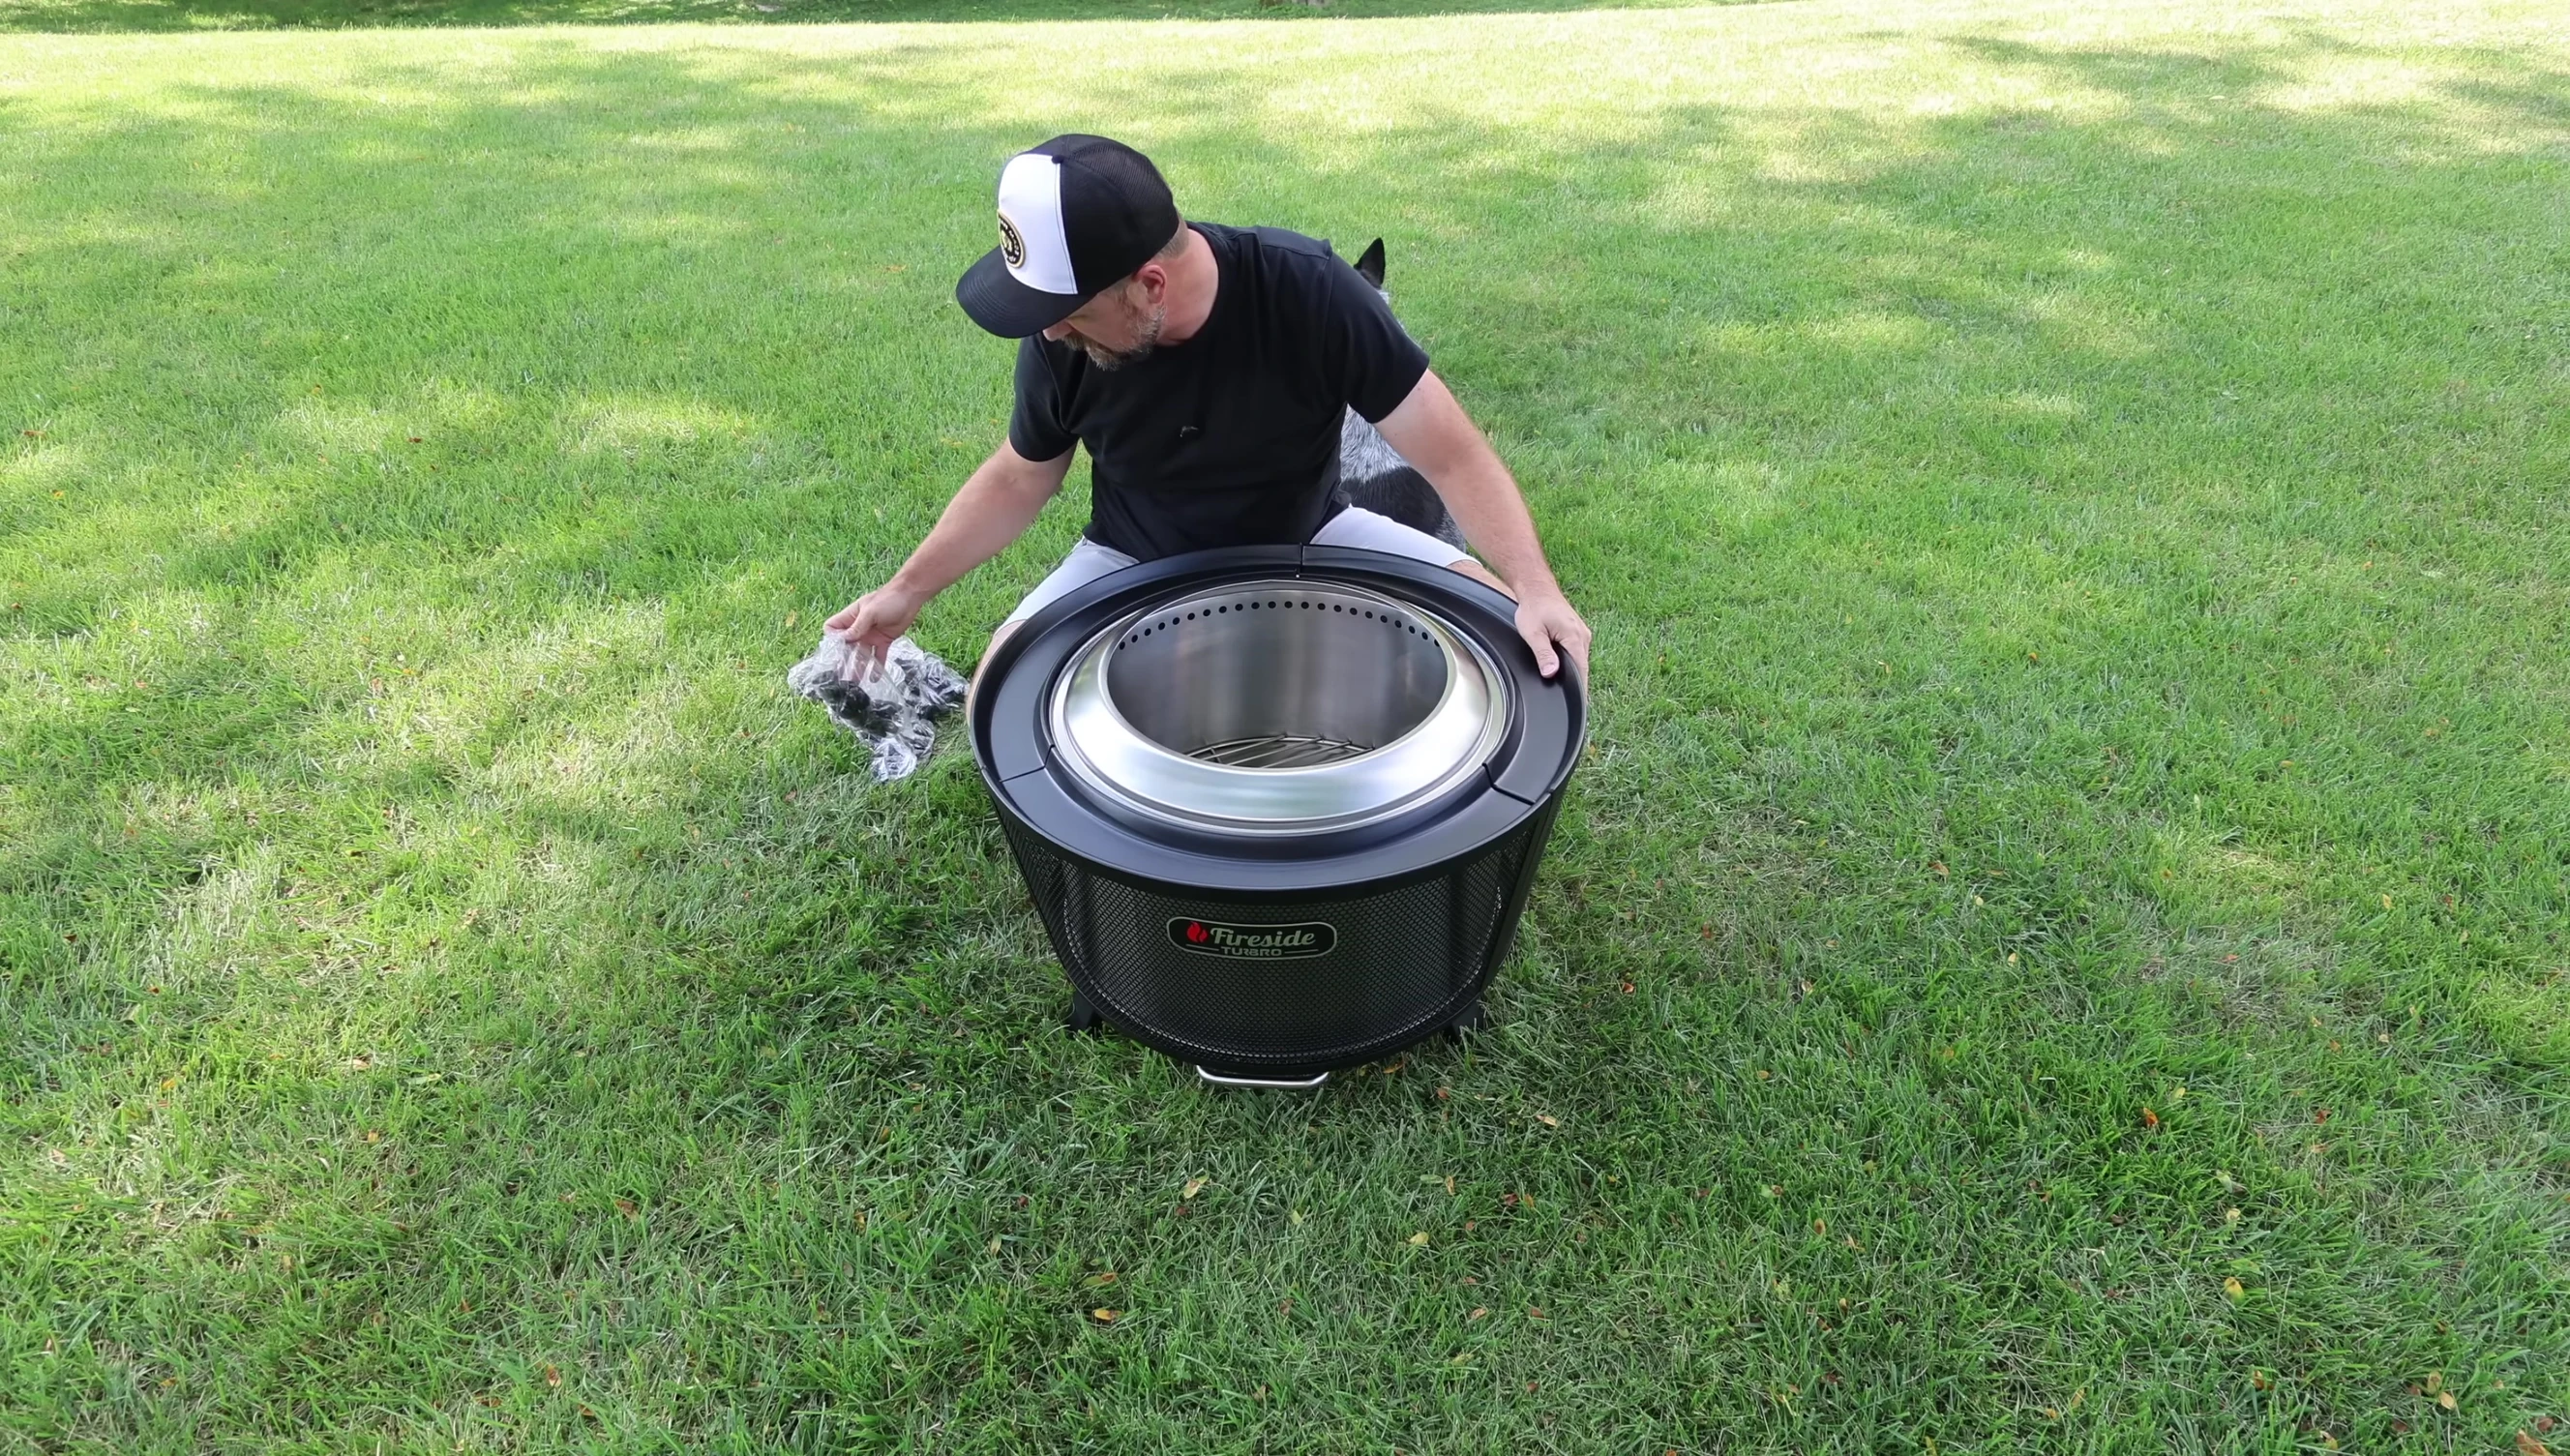
I added the decorative glass rocks to the top ring. This adds a nice aesthetic touch, helping to refract the flames and improve the fire’s visual appeal.
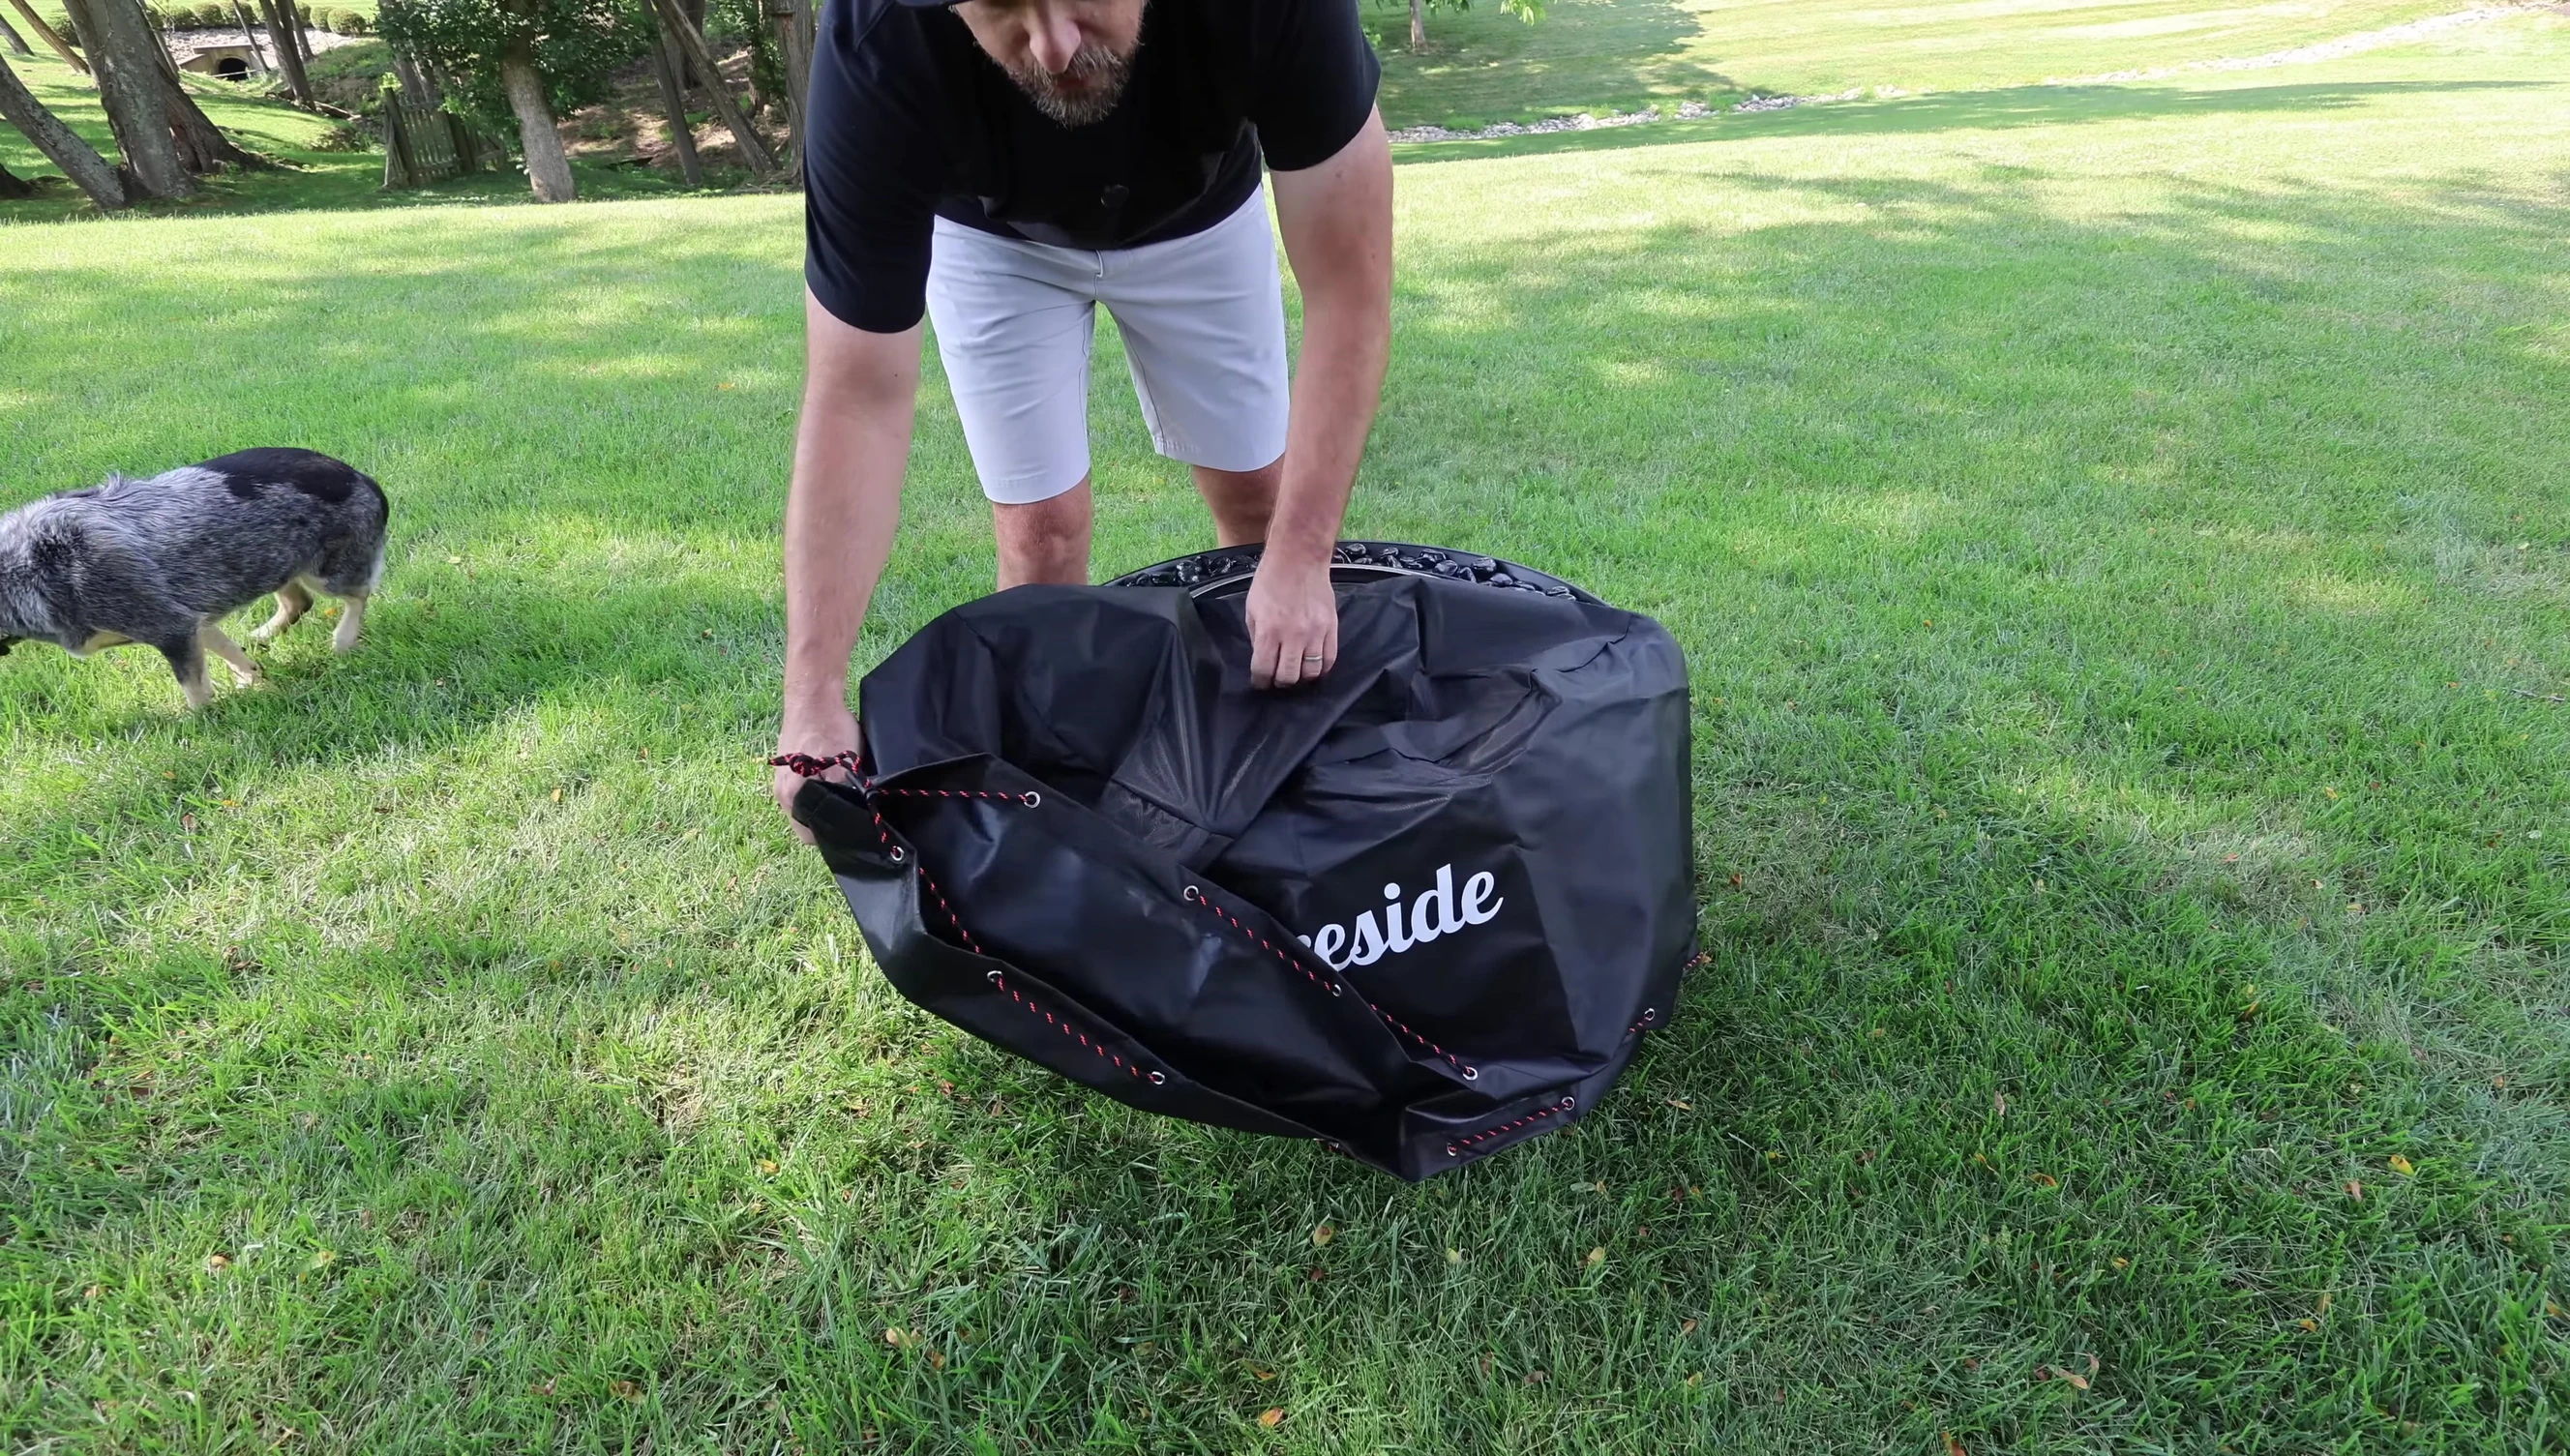
Lastly, the waterproof cover was tested. It fits securely with a drawstring closure, ensuring protection from the elements.
First Fire Test and Performance
The first fire test was impressive. The fire pit ignited quickly and produced a robust, clean-burning flame with minimal smoke. The airflow design, facilitated by the ports and the bottom grate, clearly worked well.
The flames reached a substantial height, and the glass stones created a beautiful, visually appealing effect. Even at a distance of several feet, significant heat was felt, highlighting the fire pit's efficiency.

The overall experience was very positive. The heat output was great, and the smokeless design functioned as advertised. The design elements contributed to both functionality and aesthetics.

Ash Removal and Conclusion
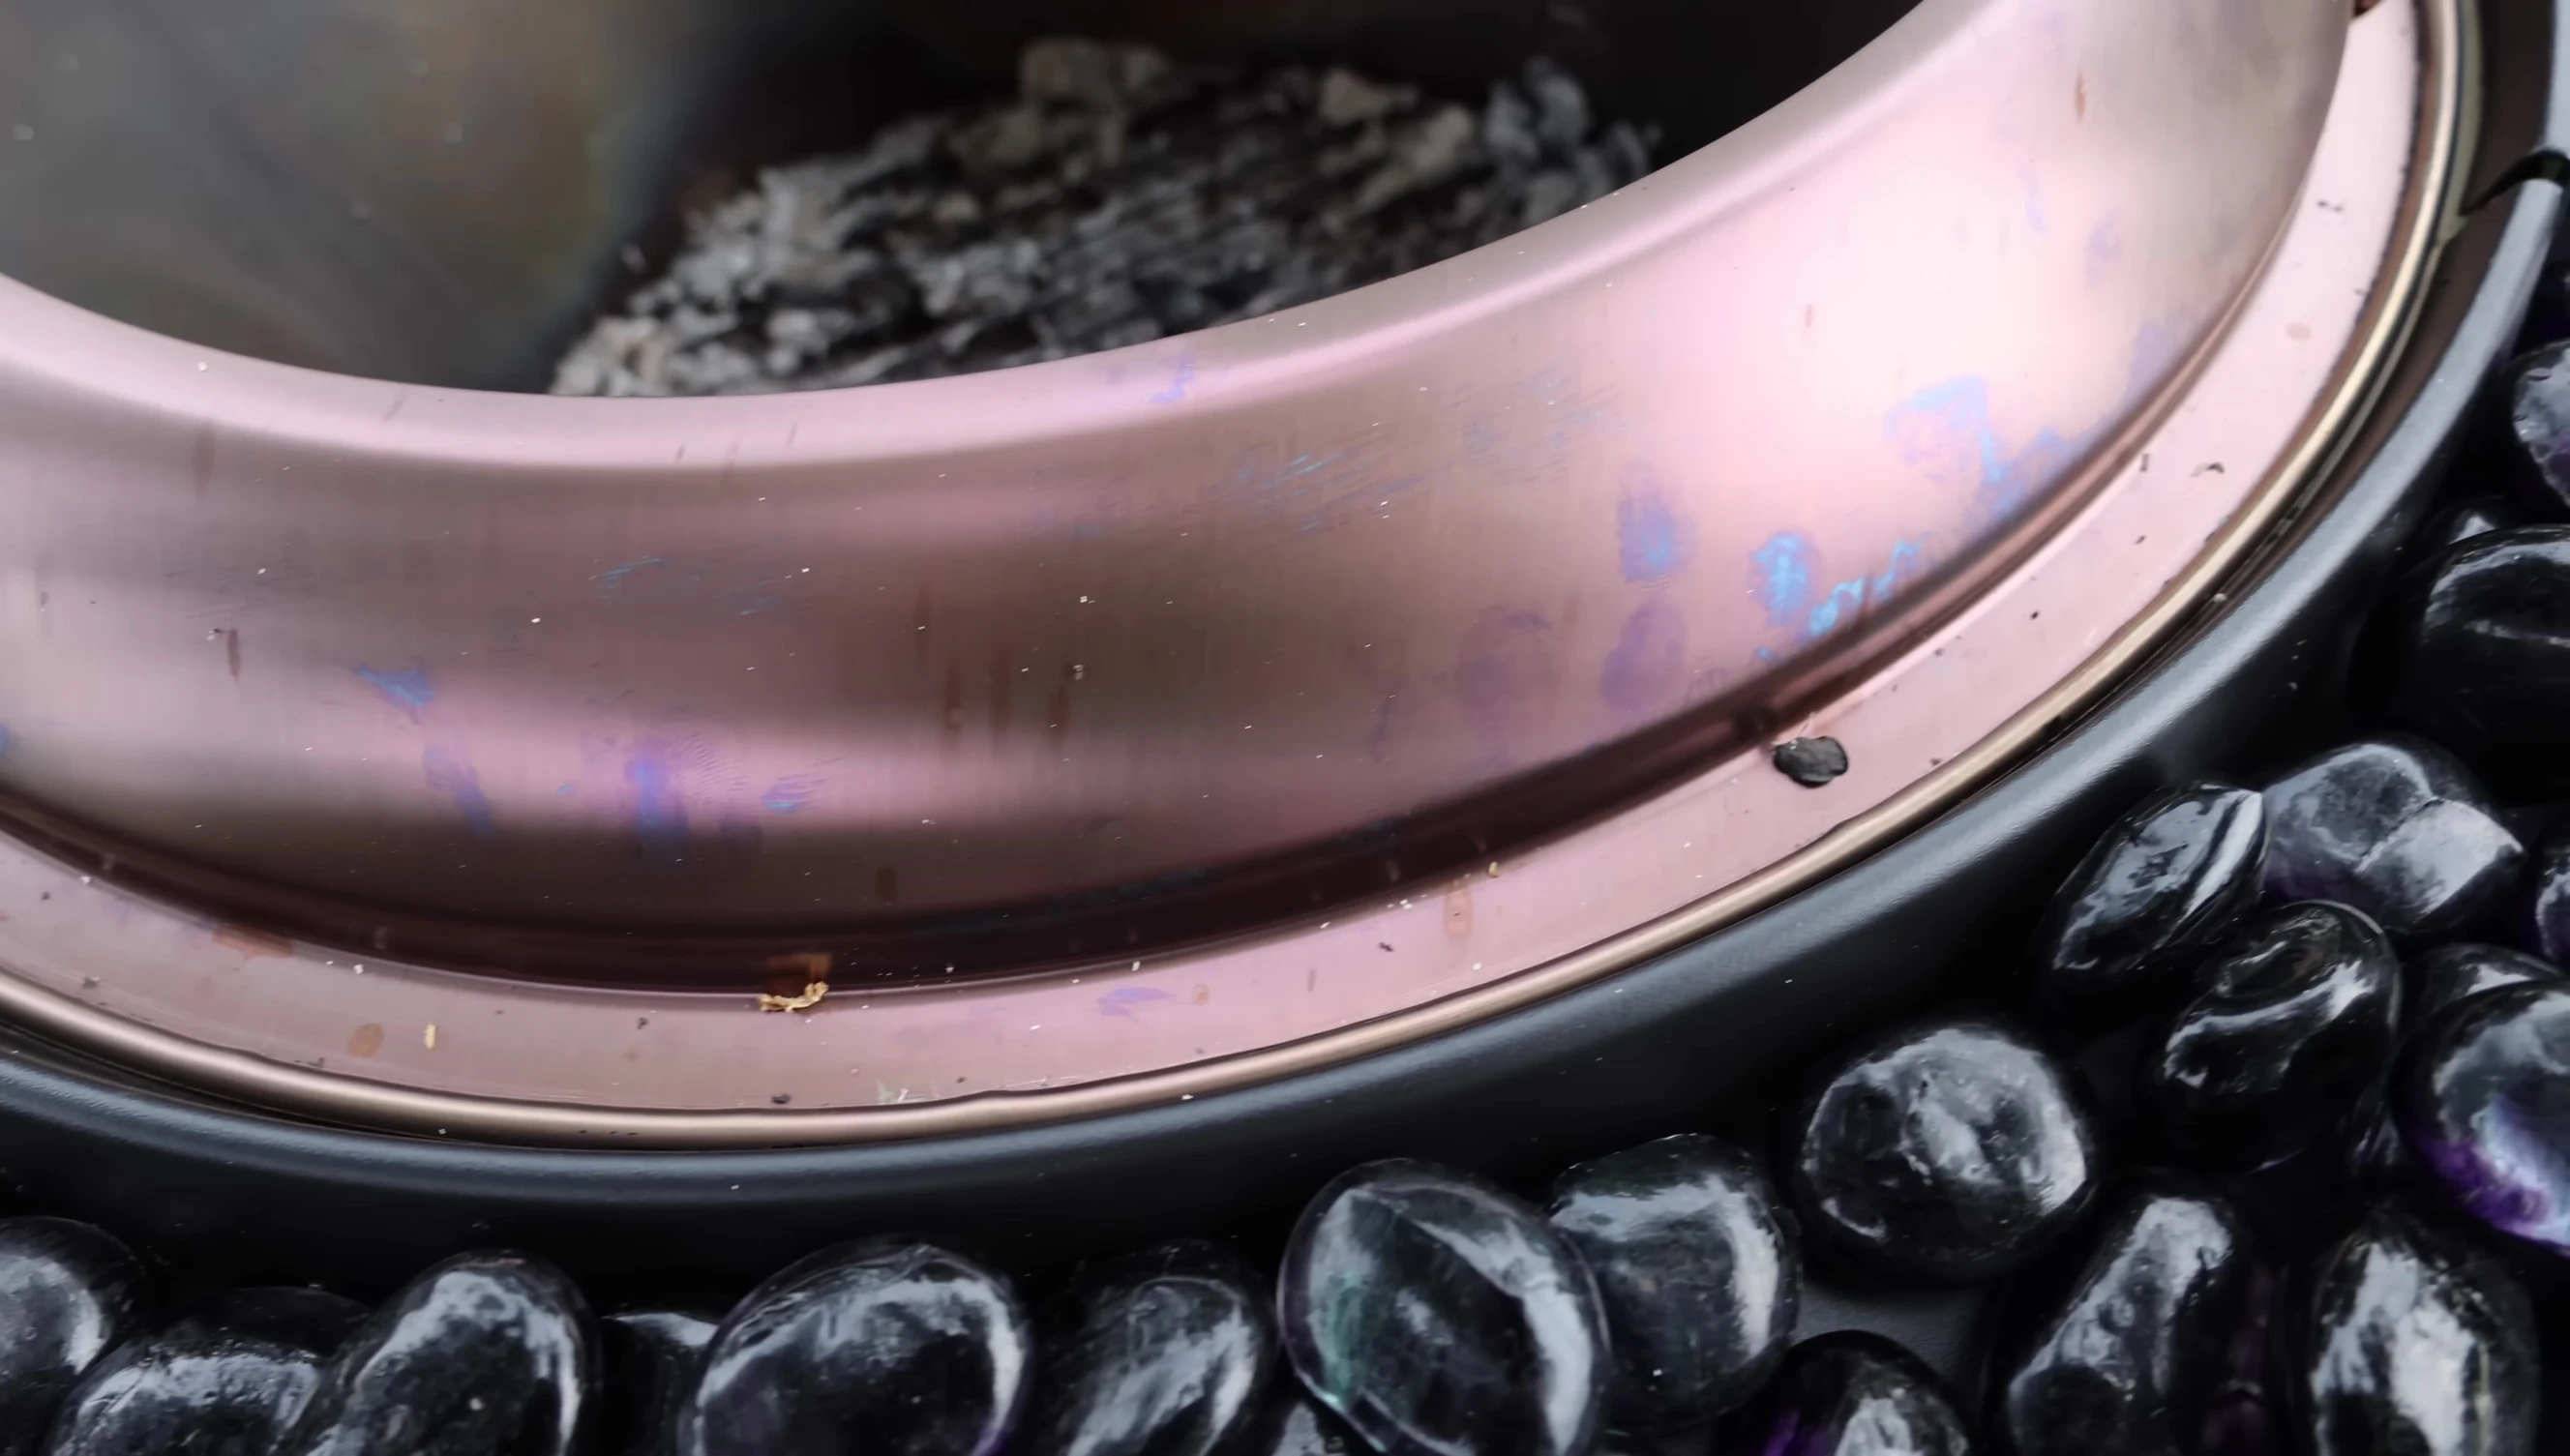
After burning overnight, the ash pan contained a significant amount of ash, indicating a complete burn. The fire pit itself held only a minimal amount of ash and embers, showcasing the effectiveness of the ash pan design.
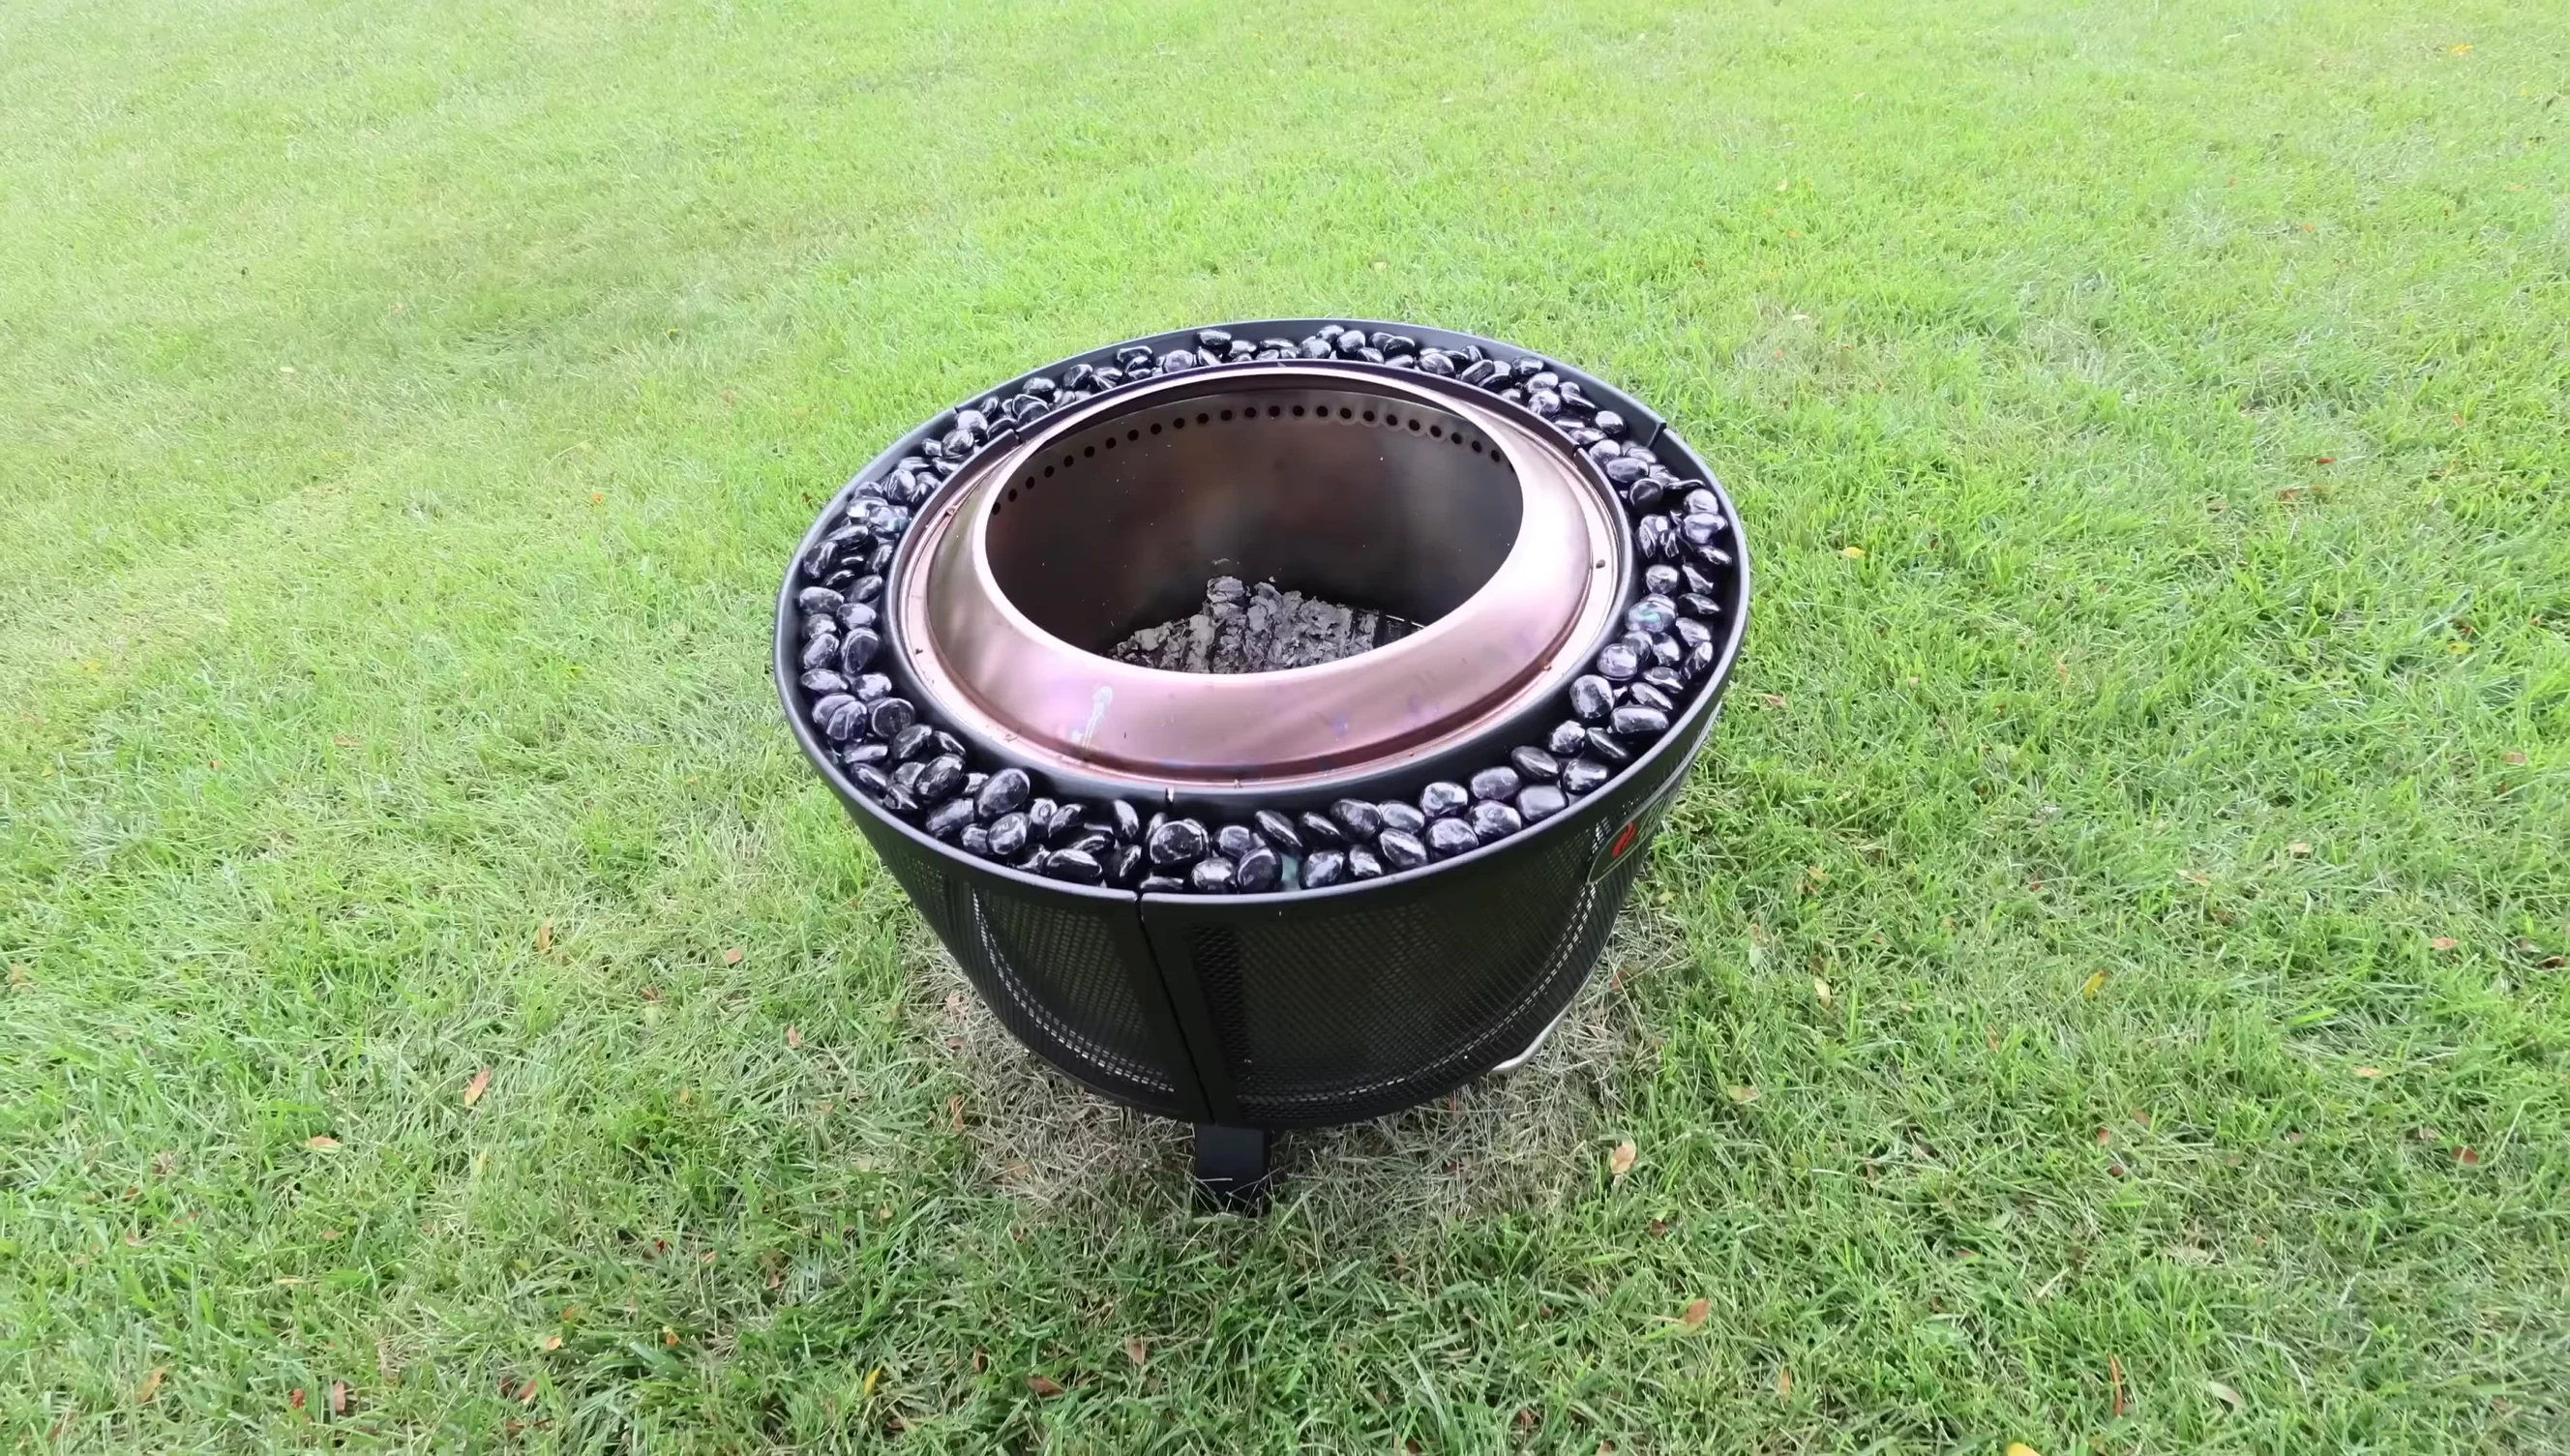
Minimal discoloration was observed around the rim, a normal occurrence with fire pits. Overall, the Turbro Fireside 29in Smokeless Fire Pit impressed with its functionality, aesthetic design, and ease of assembly.
The smokeless design, efficient heat output, and convenient ash removal make this fire pit a strong contender. It's well-worth considering if you're seeking a high-quality, low-smoke outdoor fire experience.