This review dives into the Weber rib rack, exploring its performance from unboxing to the final, delicious result. We received this rib rack as a surprise giveaway and were eager to put it to the test. Our journey documented the straightforward unboxing, revealing a sturdy and well-constructed rack promising even cooking. Using Kingsford charcoal and following grilling advice from Kirby's Fishing Grill, we cooked Walmart ribs, showcasing the rack's capabilities in achieving perfectly tender and flavorful results.The process, detailed step-by-step, highlights the rib rack's ease of use and cleaning, alongside the importance of indirect heat and the strategic wrapping technique with apple juice for enhanced moisture. The final product was undeniably impressive, with the ribs exhibiting exceptional tenderness and a rich smoky flavor. This review concludes with a strong recommendation for the Weber rib rack, praising its contribution to a simplified and consistently successful rib-cooking experience, making it a worthwhile investment for any grilling enthusiast.
Pros And Cons
- Looks like it's doing amazing
- Allows for cooking dinner outdoors
Read more: 10 Best Big Green Egg Rib Racks: A Buyer's Guide
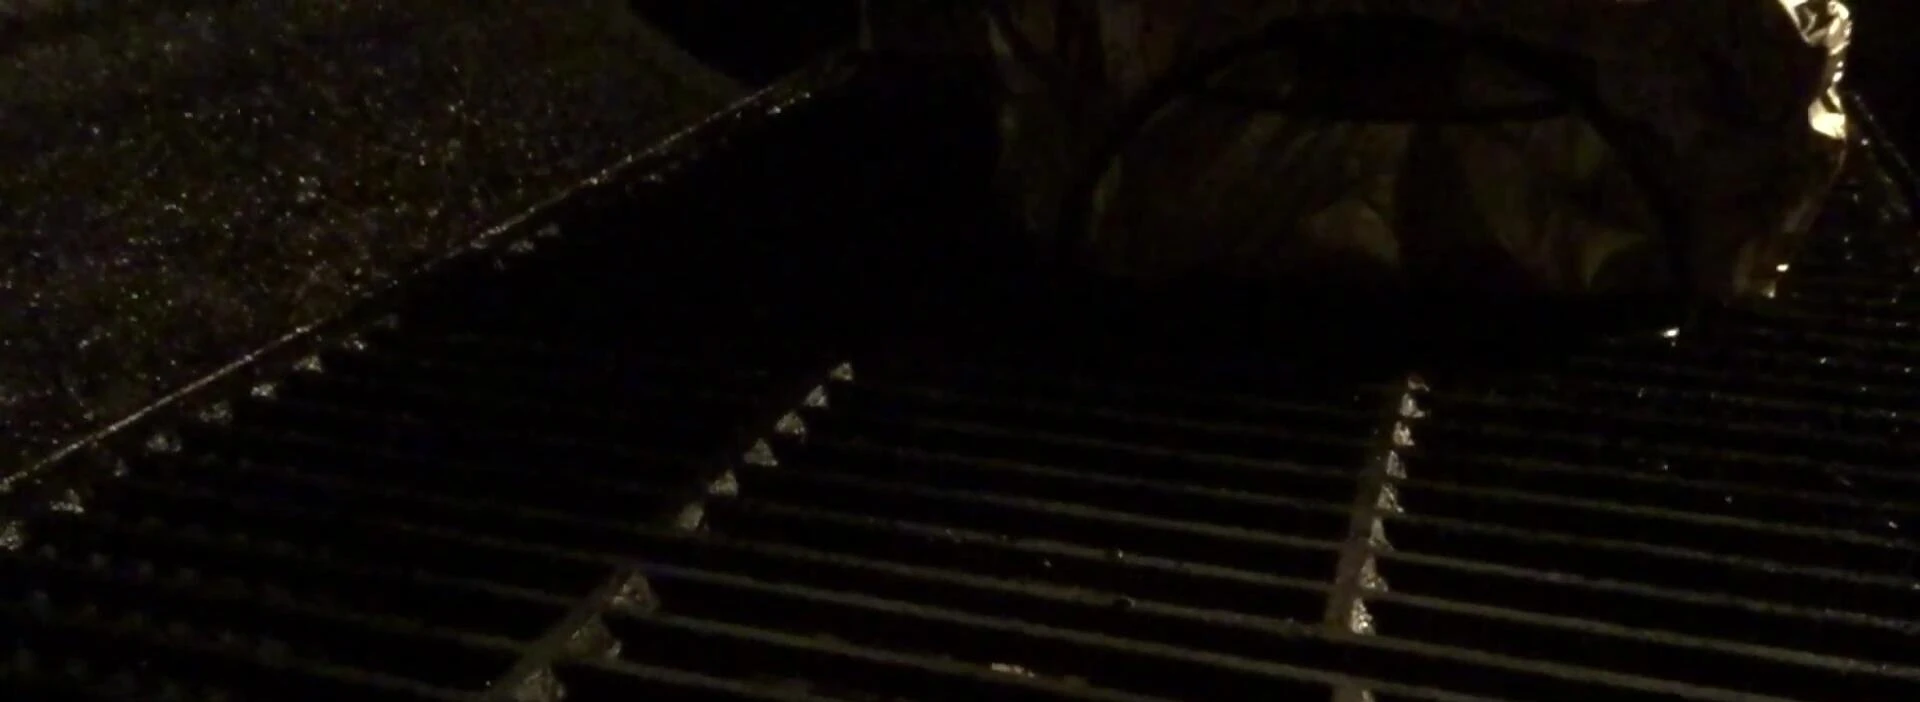
Unboxing the Weber Rib Rack
The package arrived from the Amazon Fulfillment Center, a surprise giveaway from Kirby's Fishing Grill. Anticipation was high as we prepared to unbox the Weber rib rack and get cooking.

The unboxing itself was straightforward. The rib rack was well-packaged and appeared to be of sturdy construction. The excitement was palpable; this was the first time we'd use it.
Immediately, the quality felt promising. It appeared durable enough to handle multiple racks of ribs. We were ready to test its performance on some ribs from Walmart.
Grilling Preparation and Initial Cooking
We fired up the grill using Kingsford charcoal, a classic choice for that smoky flavor. We followed advice from Kirby himself on getting the best results.

The initial grilling stage involved indirect heat for an hour. This was to ensure even cooking of the ribs. It was crucial to get this right for the best tenderness.

We placed the ribs on the Weber rack, ensuring they were spaced appropriately for airflow. The rack itself was easy to use and clean and seemed very durable.

Wrapping and the Second Cooking Stage
After about 20 minutes, the ribs looked promising. We continued cooking for approximately 30 more minutes before following Kirby's instructions to wrap them.

Wrapping involved adding apple juice for extra moisture and flavor. The ribs were then cooked for another hour in the foil. We maintained a consistent, slow fire to prevent burning.

This wrapping method was key to ensuring tender, juicy ribs. The apple juice provided extra flavor and kept the meat moist during the second cooking stage.
Finishing and Final Thoughts
After the final cooking stage, we basted the ribs with barbecue sauce and cooked them for an additional five minutes per side, directly over the heat. It was the finishing touch!
The final product was delicious! The ribs were incredibly tender and flavorful, a testament to the Weber rib rack and Kirby’s method. Even the Walmart ribs turned out great.
The Weber rib rack proved invaluable. It facilitated even cooking and enhanced flavor. It’s a worthy investment for any serious rib lover.
Overall Review and Conclusion
The Weber rib rack greatly simplified the rib-cooking process, leading to perfectly cooked ribs every time.
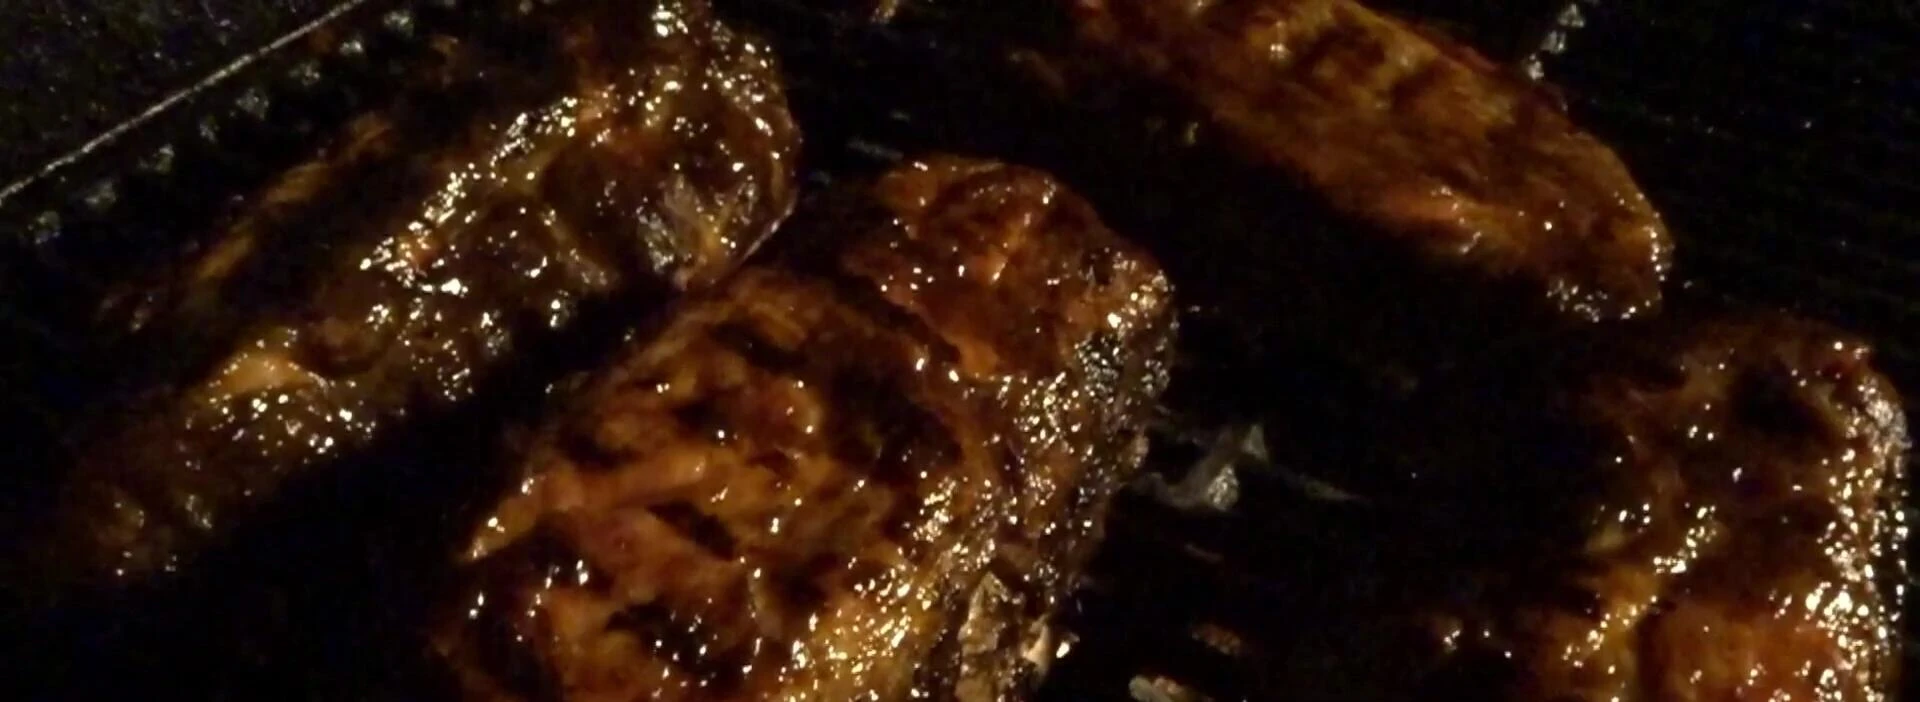
The even cooking and moistness achieved using this rack was remarkable, surpassing expectations. We highly recommend it.
Kirby's tips and tricks, combined with the Weber rib rack, resulted in a fantastic meal. It’s a must-have for anyone who enjoys grilling ribs!