Summer's here, and that means it's time to fire up the grill! But before you start grilling those perfect burgers and sizzling veggies, let's talk about something equally important: deep cleaning your grill. A clean grill isn't just about aesthetics; it's crucial for food safety and ensuring delicious, flavorful meals all season long. Grilling residue, grease build-up, and leftover food particles can affect the taste of your food, potentially leading to flare-ups and even health concerns. Ignoring this crucial pre-season step can lead to disappointing results and a less-than-enjoyable grilling experience.
Neglecting your grill's cleanliness can also shorten its lifespan. A thorough cleaning removes harmful buildup, preventing rust and ensuring your grill performs at its best for years to come. Ready to get started on achieving that sparkling, pristine grill you've been dreaming of? Let's dive into our comprehensive, step-by-step guide to deep cleaning your grill and get you ready for a truly amazing BBQ season.
Preparation and Safety Guidelines
- Wall-mounted pressure washer
- Biodegradable food-safe barbecue cleaner
- Medium coarse bristle brush
- Coarse bristle brush
- Foam cannon (optional)
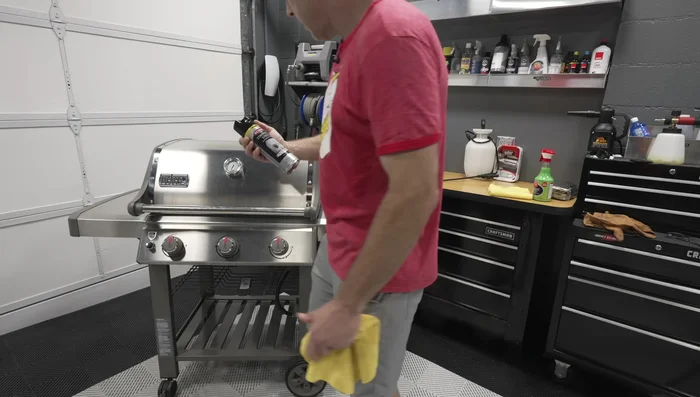
- Stainless steel protectant
- Griot's Garage ceramic 3M One wax
- High-temperature cooking oil
- Always disconnect the propane tank or turn off the electricity before cleaning your grill to prevent accidental ignition or electric shock.
- Allow the grill to cool completely before cleaning to avoid burns. Hot metal parts can cause serious injury.
- Use appropriate safety gear like heat-resistant gloves and eye protection when handling hot or abrasive cleaning materials.
Step-by-Step Instructions
Preparation
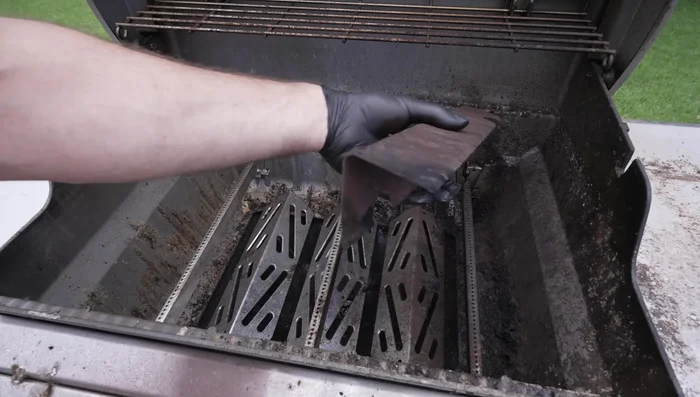
- Warm up the grill to loosen debris. Then, shut down, cool, remove propane tank, grill grates, and flavorizer bars.

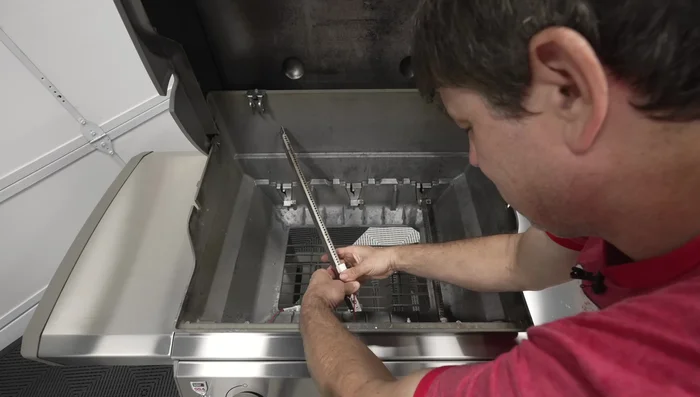
Preparation Component Inspection and Removal
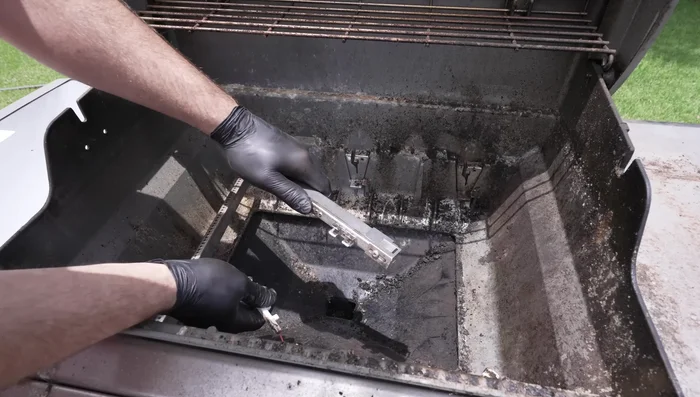
- Inspect internal components (burner tubes, igniters). Replace any needed parts (links in description).
- Remove burner tubes by popping them out and disconnect the igniter.
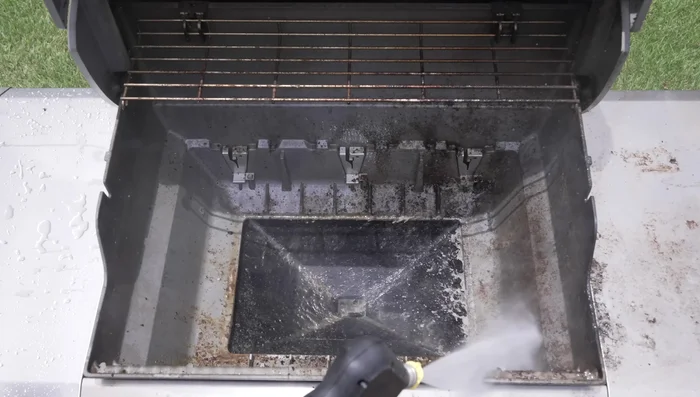
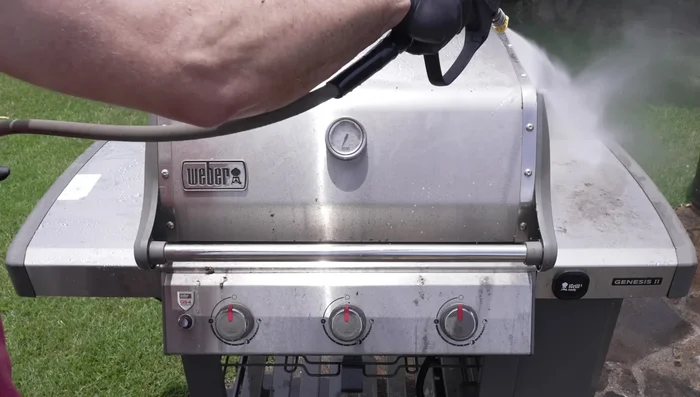
Component Inspection and Removal Initial Cleaning (Pressure Wash)
- Use a pressure washer to remove large debris from the grill components.
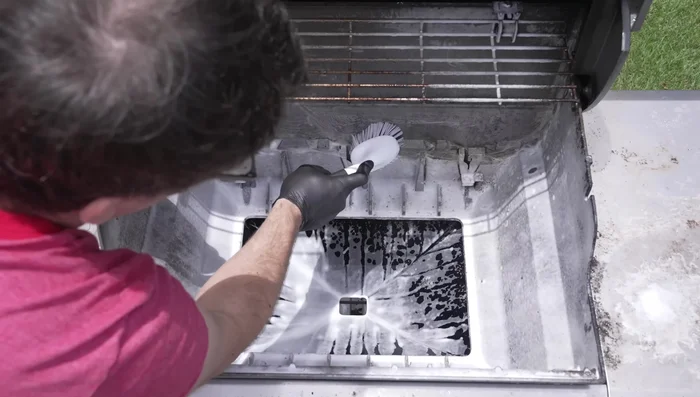
Initial Cleaning (Pressure Wash) Deep Cleaning (Biodegradable Cleaner)
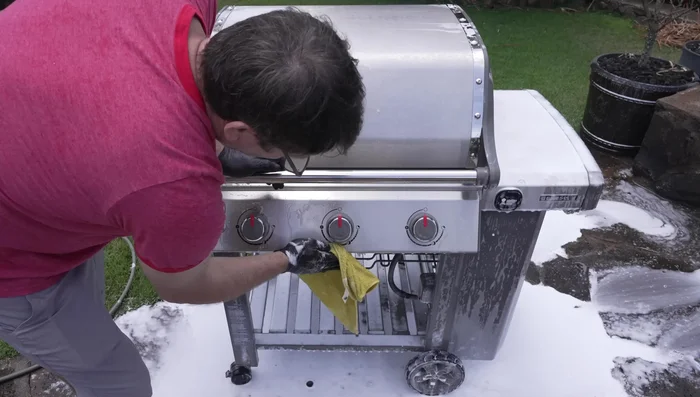
- Apply a biodegradable barbecue cleaner thickly, agitate with a medium-coarse bristle brush, and rinse.
- Reapply the cleaner and scrub with a coarse bristle brush, focusing on tough areas.
- Thoroughly rinse all cleaner residue.
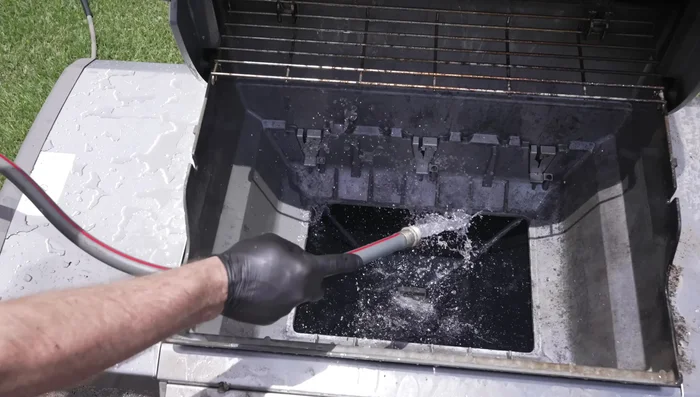
Deep Cleaning (Biodegradable Cleaner) Stubborn Grime Removal (Pressure Wash)
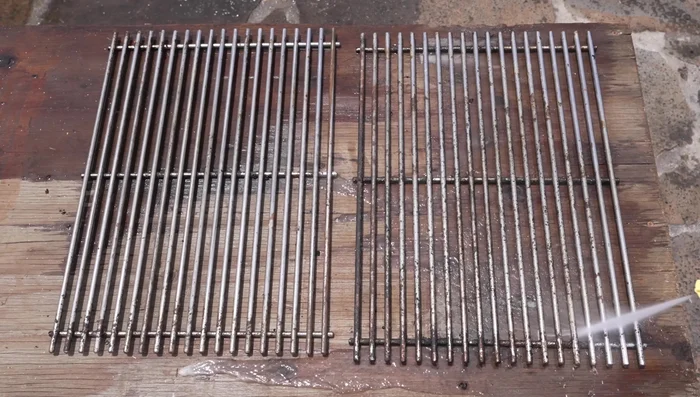
- Use the pressure washer again to clean off stubborn dirt and grime (especially effective on the grill grates).
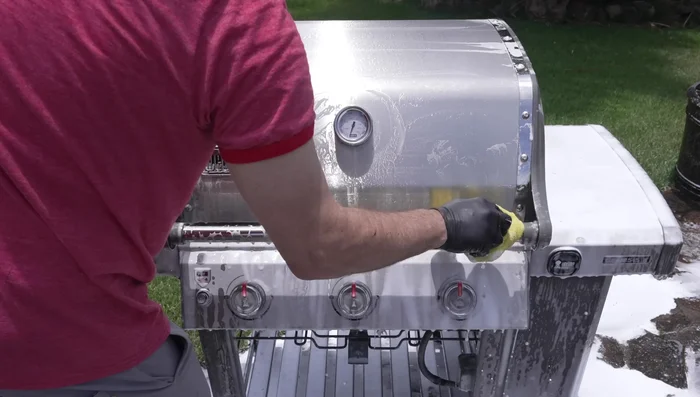
Stubborn Grime Removal (Pressure Wash) Stainless Steel Cleaning
- Clean the stainless steel components carefully, using light pressure and working in the direction of the grain to avoid scratches. A foam cannon or wash bucket can be used to apply cleaner.
- Wipe clean with a microfiber towel, repeating if necessary. Rinse thoroughly.
Stainless Steel Cleaning Additional Cleaning
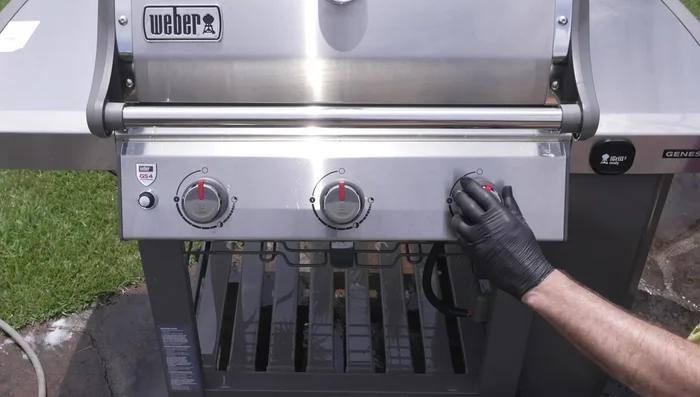
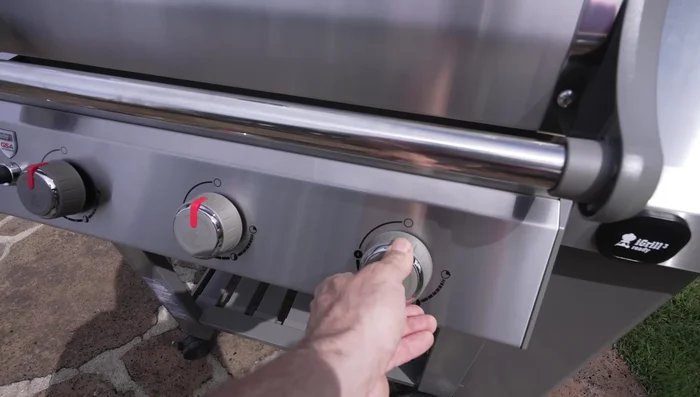
- Remove and clean knobs.
- Wipe down igniters to remove any water.
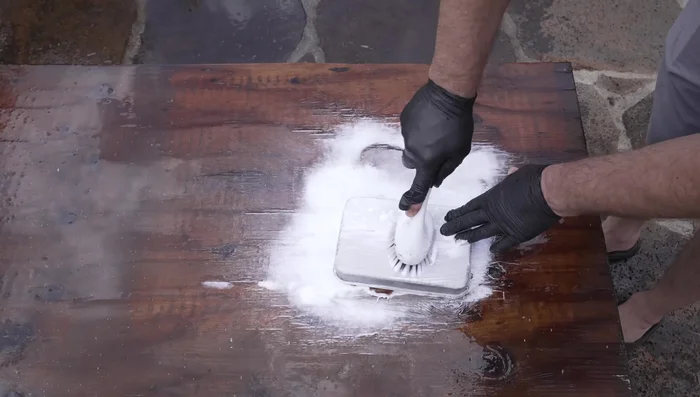
- Clean the drip tray (replace if necessary).
Additional Cleaning Protective Coating
- Apply stainless steel protectant, working in the direction of the grain, then buff to a shine.
- Apply Griot's Garage ceramic 3M One wax to painted surfaces to protect from water and UV damage.
Protective Coating Reassembly
- Reassemble the grill.
Reassembly Final Burn and Seasoning
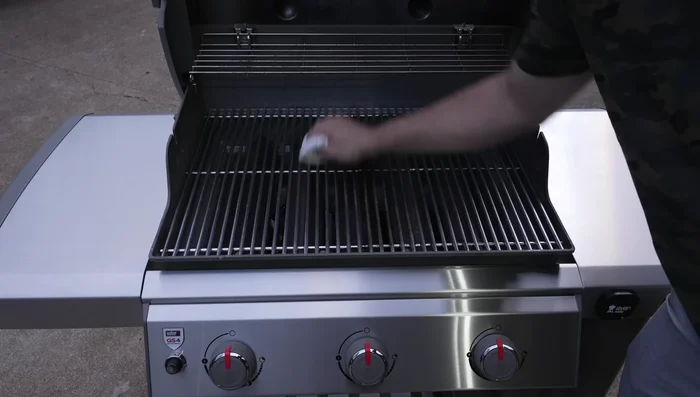
- Perform a 15-minute hot burn to dry the grill and remove any remaining residue.
- Season grill grates with high-temperature cooking oil.
Final Burn and Seasoning

Read more: Fire Honey Glazed Shrimp Recipe
Tips
- Use common sense when using the pressure washer; avoid spraying directly into components if it seems risky.
- Rinse thoroughly to remove all cleaning product residue from the cook box. A hot burn at the end will help eliminate any remaining product and water.
- Don't expect to get the grill back to brand-new condition, but aim for clean, disinfected surfaces.
- Replace damaged or unusable parts; links are provided in the video description.