Summer's sweet taste doesn't have to be confined to outdoor barbecues. Perfectly grilled corn on the cob, bursting with juicy kernels and a delightful char, is surprisingly easy to achieve right in your own kitchen. Forget the messy grills and unpredictable weather; this guide provides a quick and simple method for achieving restaurant-quality grilled corn, all within the comfort of your home. Imagine the satisfying crunch and the sweet, smoky flavor, all year round, without the hassle of charcoal or propane.
Forget complicated techniques and lengthy prep times. This guide offers a foolproof method using readily available kitchen equipment, resulting in deliciously charred corn that rivals anything you'd find at a summer fair. Ready to transform your weeknight meals with this simple yet impressive side dish? Let's dive into the step-by-step process to perfectly grilled corn, indoors!
Preparation and Safety Guidelines
- Grill pan
- Microwave or pot for boiling water
- Always use oven mitts or heat-resistant gloves when handling the hot grill pan and corn.
- Ensure adequate ventilation in your kitchen to avoid smoke buildup. Open a window or turn on your exhaust fan.
- Never leave the grill pan unattended while it's heating or while the corn is grilling.
Step-by-Step Instructions
Prepare the Corn
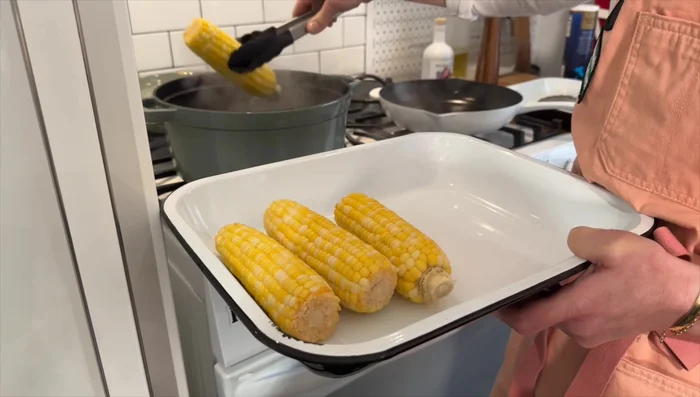
- Partially cook the corn. You can microwave it in a little water for 3 minutes or boil it for 4-5 minutes.
- The corn should be a bright yellow color.

Prepare the Corn Prep the Grill Pan
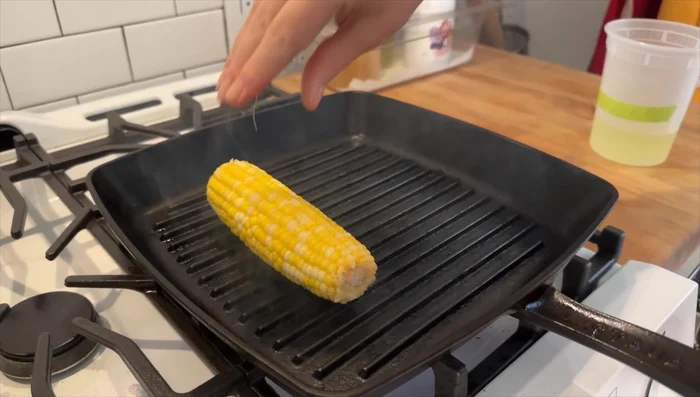
- Heat your grill pan until it's super hot.
Prep the Grill Pan Dry the Corn
- Dry the corn thoroughly. Excess moisture prevents good grill marks.
Grill the Corn
- Grill the corn, rotating every few seconds, until you achieve the desired color and grill marks.
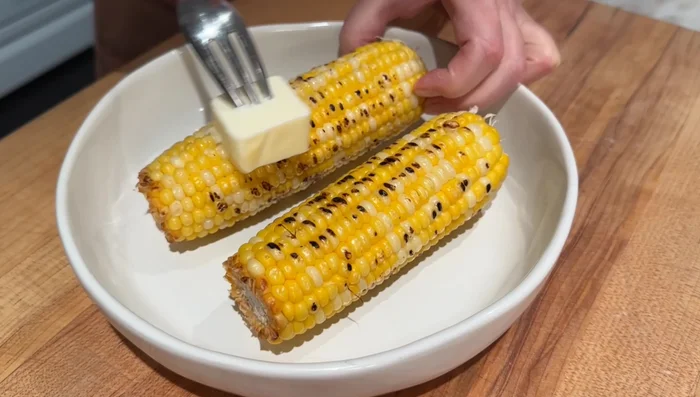
Grill the Corn Season and Serve
- Finish with chimichurri, butter, and salt.
Season and Serve
Read more: Deep Clean Your Weber Q 2400 Electric Grill: A Comprehensive Guide
Tips
- Pre-cooking the corn ensures it's cooked through before grilling, resulting in better grill marks and flavor.
- Drying the corn is crucial for achieving those perfect sear marks and preventing a soggy outcome.
- A super hot grill pan is key for good grill marks and a nice sear.