Master the art of backyard barbecue with our guide to perfectly smoked ribs. Forget overly sweet competition-style ribs; this recipe prioritizes a balanced, naturally smoky flavor that's perfect for casual gatherings. We'll walk you through each step, from proper trimming and simple seasoning to the optimal smoking temperature and a unique moisture-enhancing technique using beef tallow. This method eschews the traditional 3-2-1 method for a more controlled approach, ensuring juicy, tender ribs every time.Say goodbye to dry, overcooked ribs and hello to a smoky masterpiece that will impress your guests. Learn how to enhance the natural flavor of the meat with subtle seasonings and a deep, rich smoke. We'll cover essential techniques like scoring the membrane for better smoke penetration, utilizing a simple salt and pepper rub, and the benefits of incorporating beef tallow for unparalleled juiciness. Get ready to elevate your backyard BBQ game with our foolproof guide to perfect smoked ribs.
Pros And Cons
- Juicy
- Smoky
- Flavorful
- Balanced flavors (meat, smoke, seasoning)
- Tender
Read more: 10 Best Big Green Egg Rib Racks: A Buyer's Guide
Competition Ribs vs. Backyard Ribs
Competition ribs often prioritize sweetness and a visually appealing, glossy finish, achieved through copious amounts of butter and sugar. While undeniably delicious, this approach can result in a rich, almost overwhelmingly sweet taste, making them satisfying in small portions.
Backyard ribs, on the other hand, focus on a balanced flavor profile. The goal is to let the natural smoky flavor of the meat shine, complemented by subtle seasoning. This style produces ribs that are juicy, flavorful, and perfect for a casual get-together.

Trimming and Preparing the Ribs
Before smoking, properly trimming the ribs is crucial. Remove excess fat and any membrane on the bone side. This ensures even cooking and allows the smoke and seasoning to penetrate effectively.
Instead of completely removing the membrane, scoring it allows for better smoke penetration and flavor absorption while preventing the ribs from drying out during cooking.
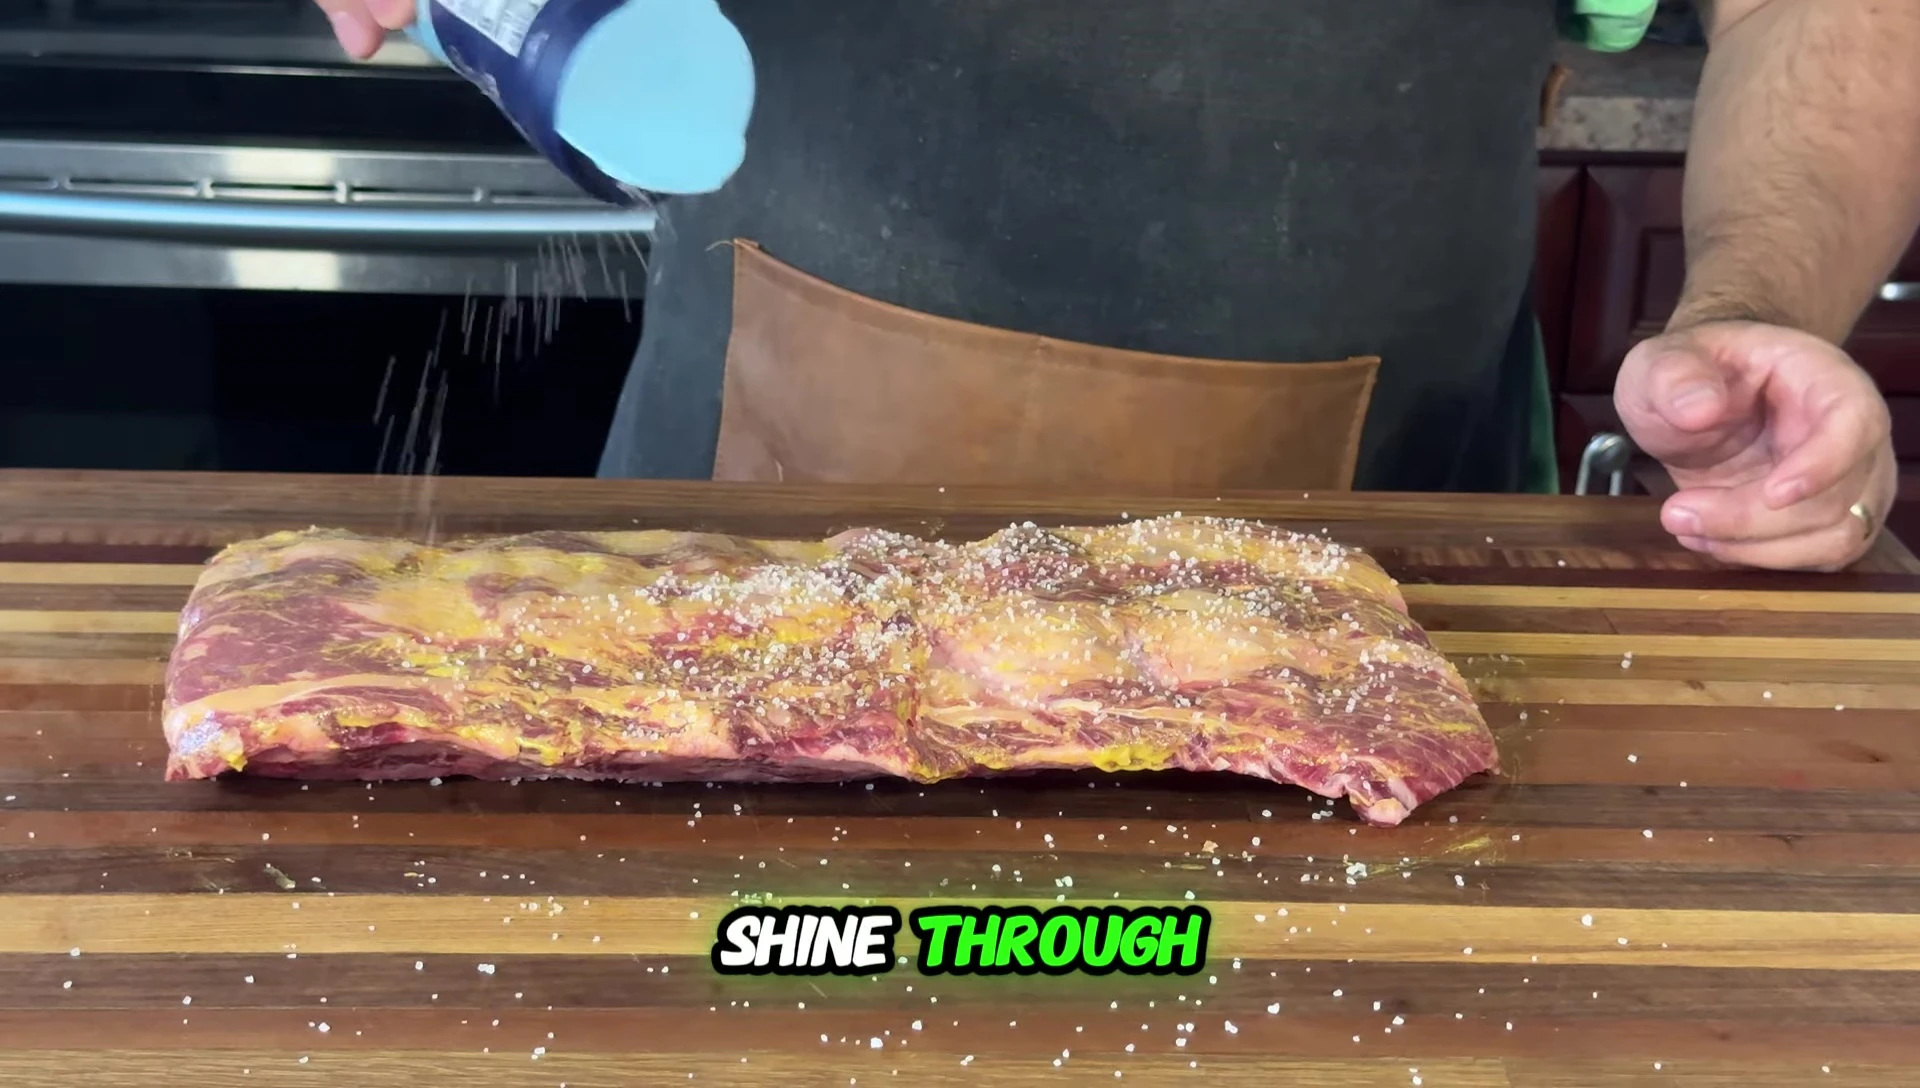
Simple Seasoning for Maximum Flavor
A simple seasoning blend of sea salt and freshly cracked black pepper allows the natural flavor of the beef to shine. The salt draws out moisture, while the pepper provides a subtle kick.
Avoid overly complex rubs at this stage, as they can compete with the smoky flavor you aim to develop during the smoking process. More complex flavors can be added later if desired.
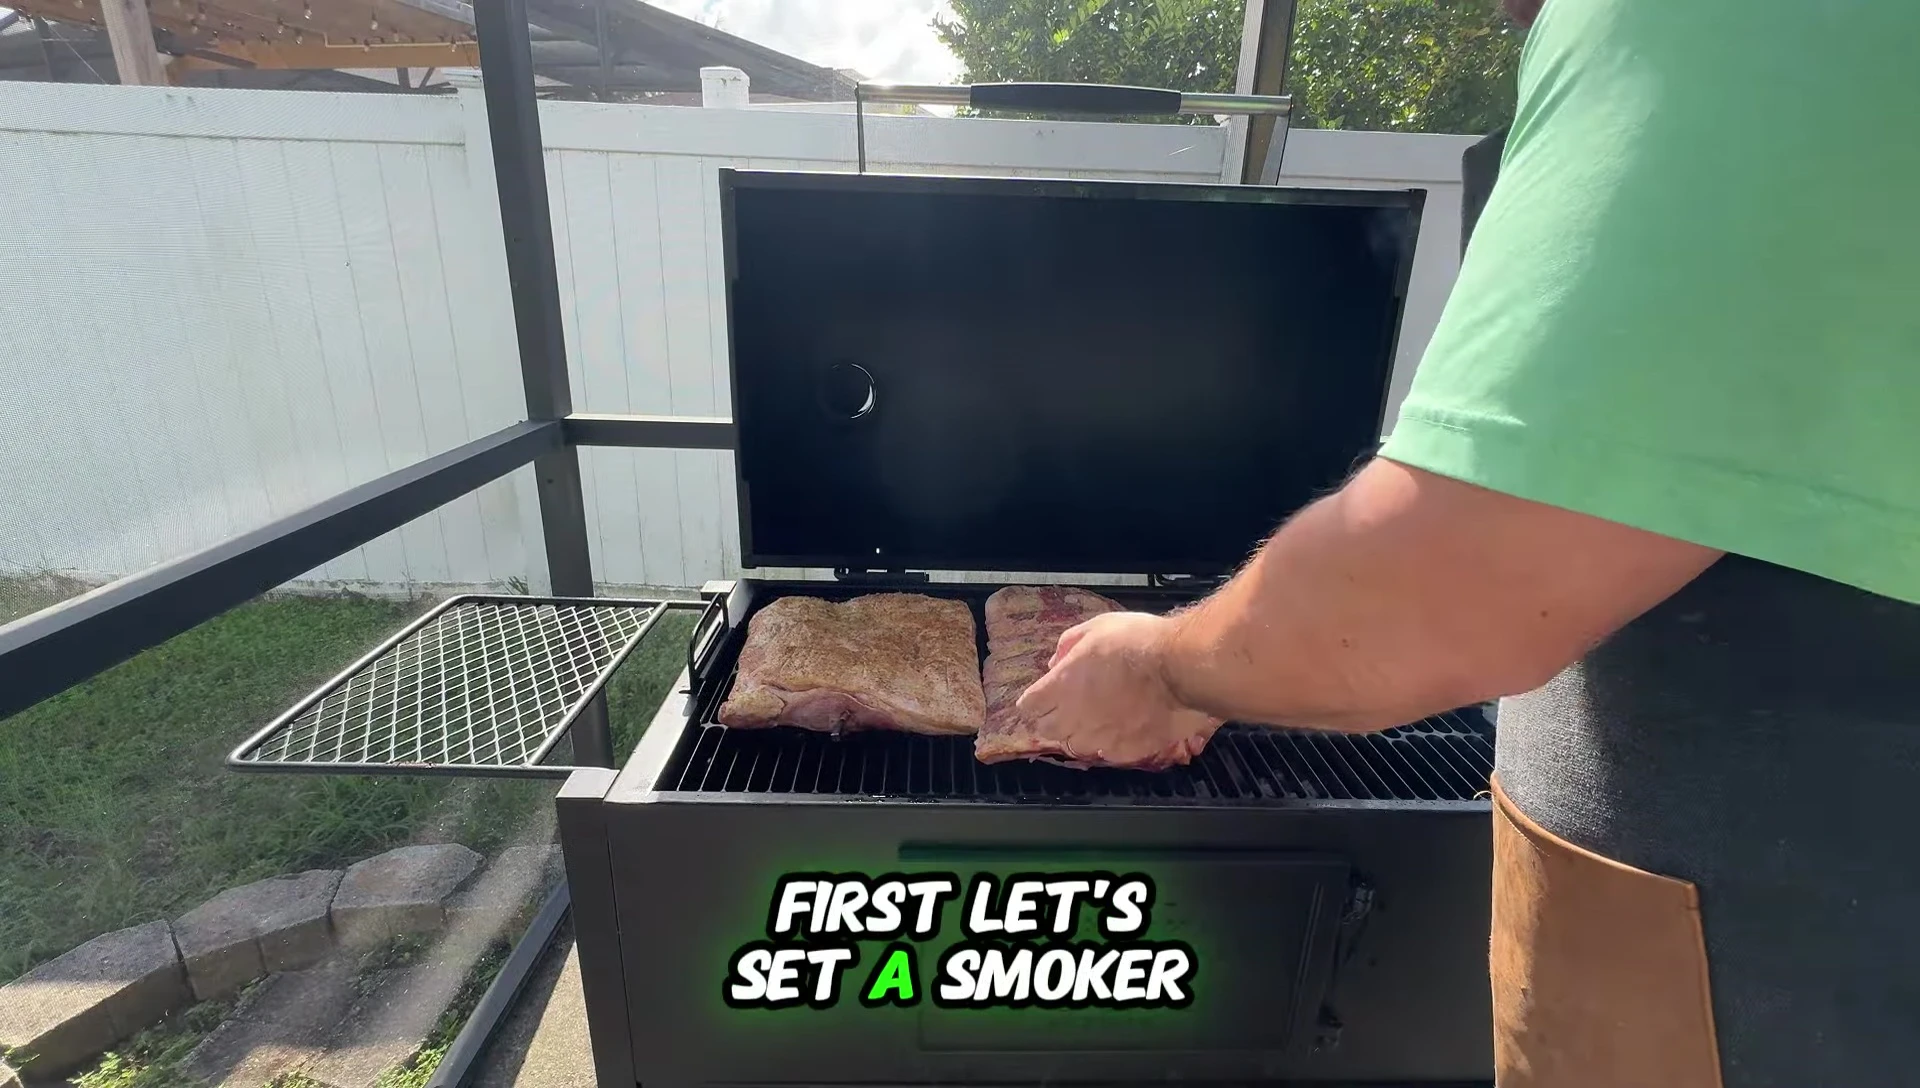
The Smoking Process: Low and Slow
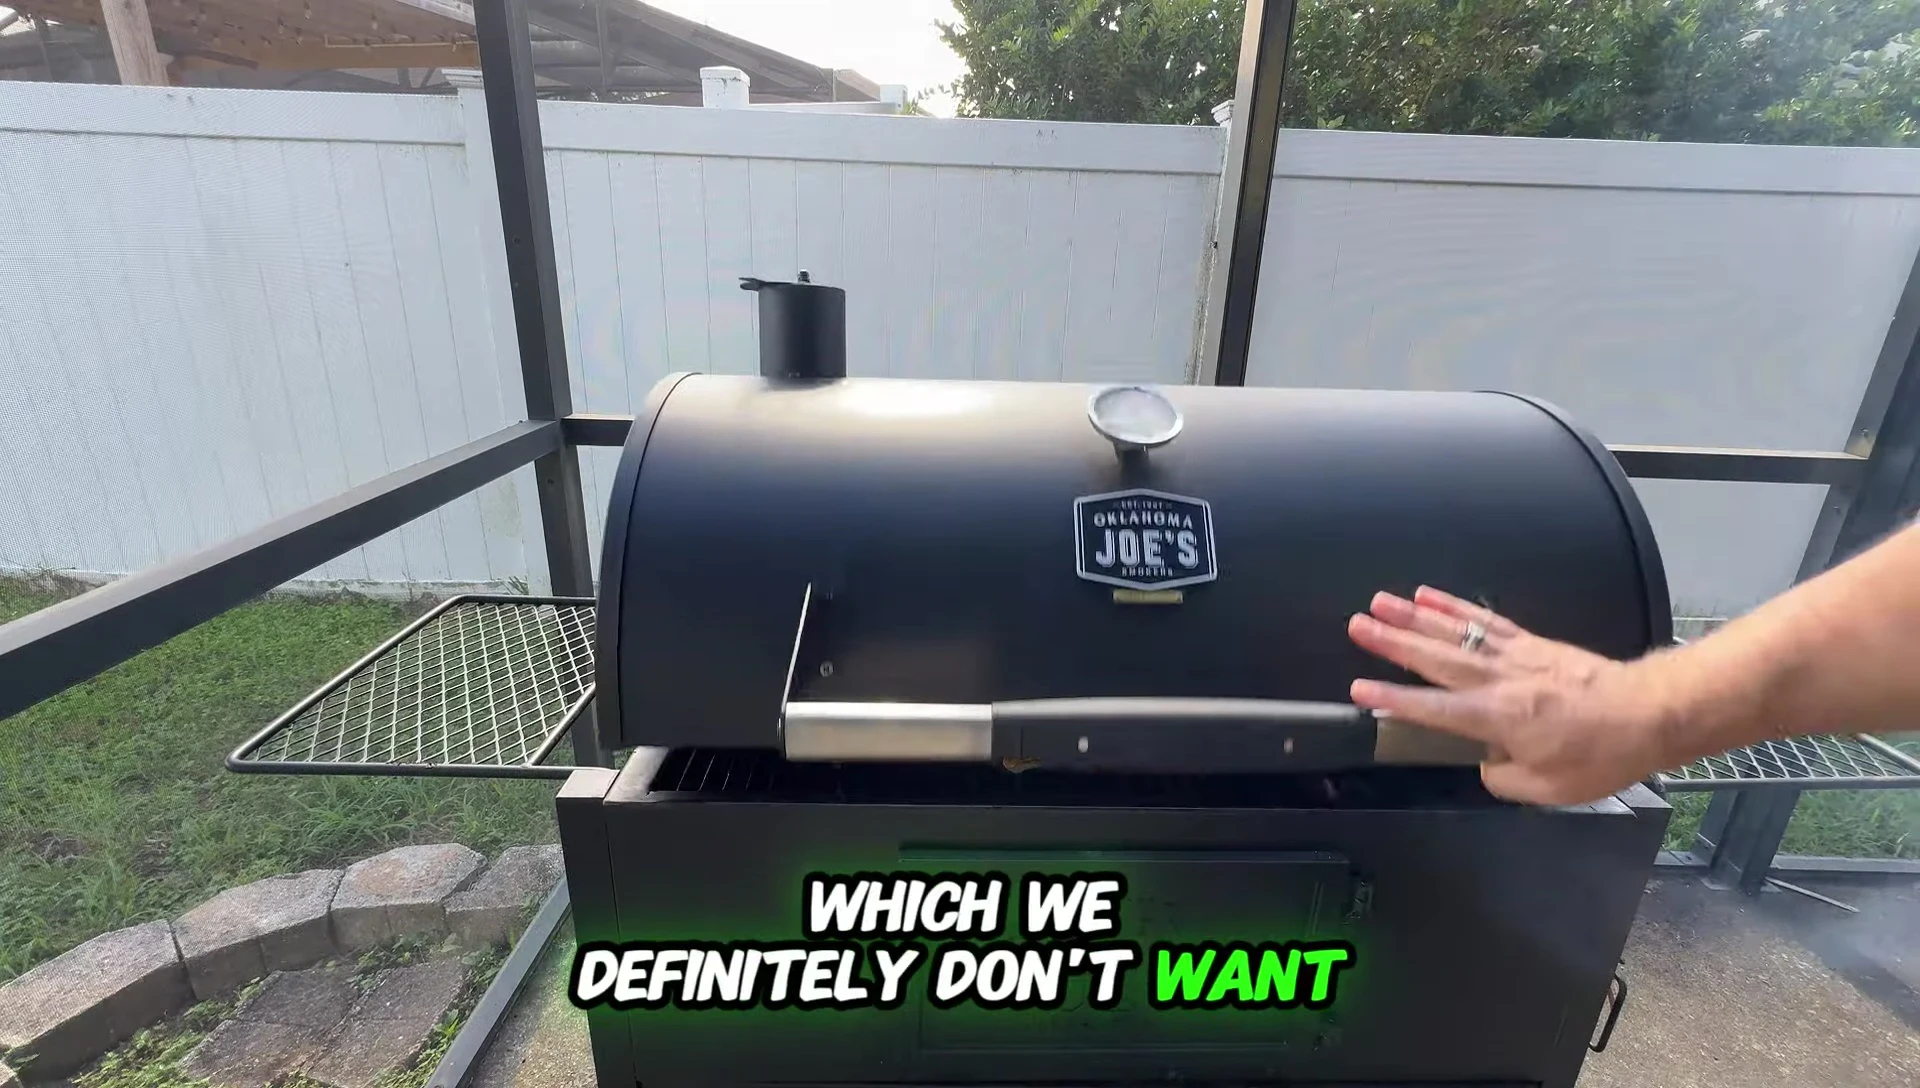
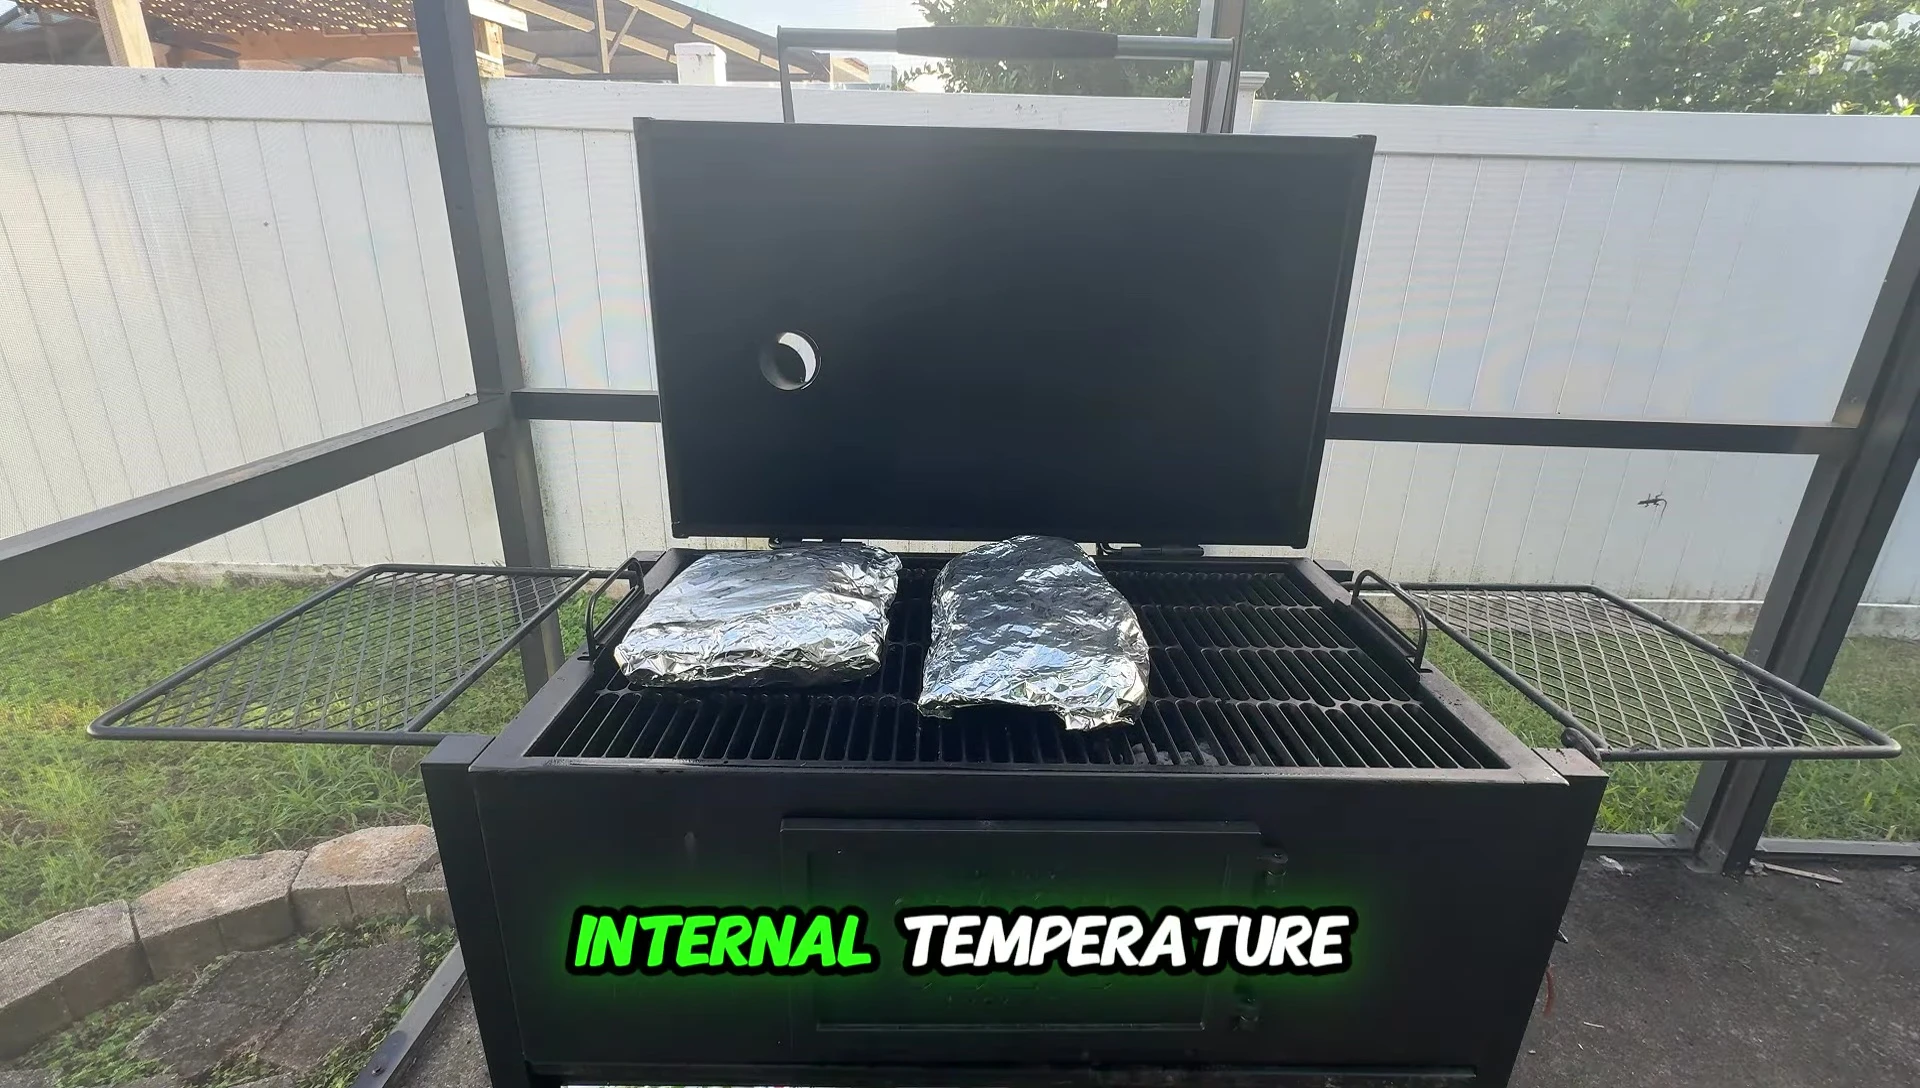
Smoke the ribs at a low temperature (225°F) for approximately 4 hours. This allows ample time for the smoke flavor to penetrate the meat thoroughly. Higher temperatures will result in the wood burning rather than smoking.
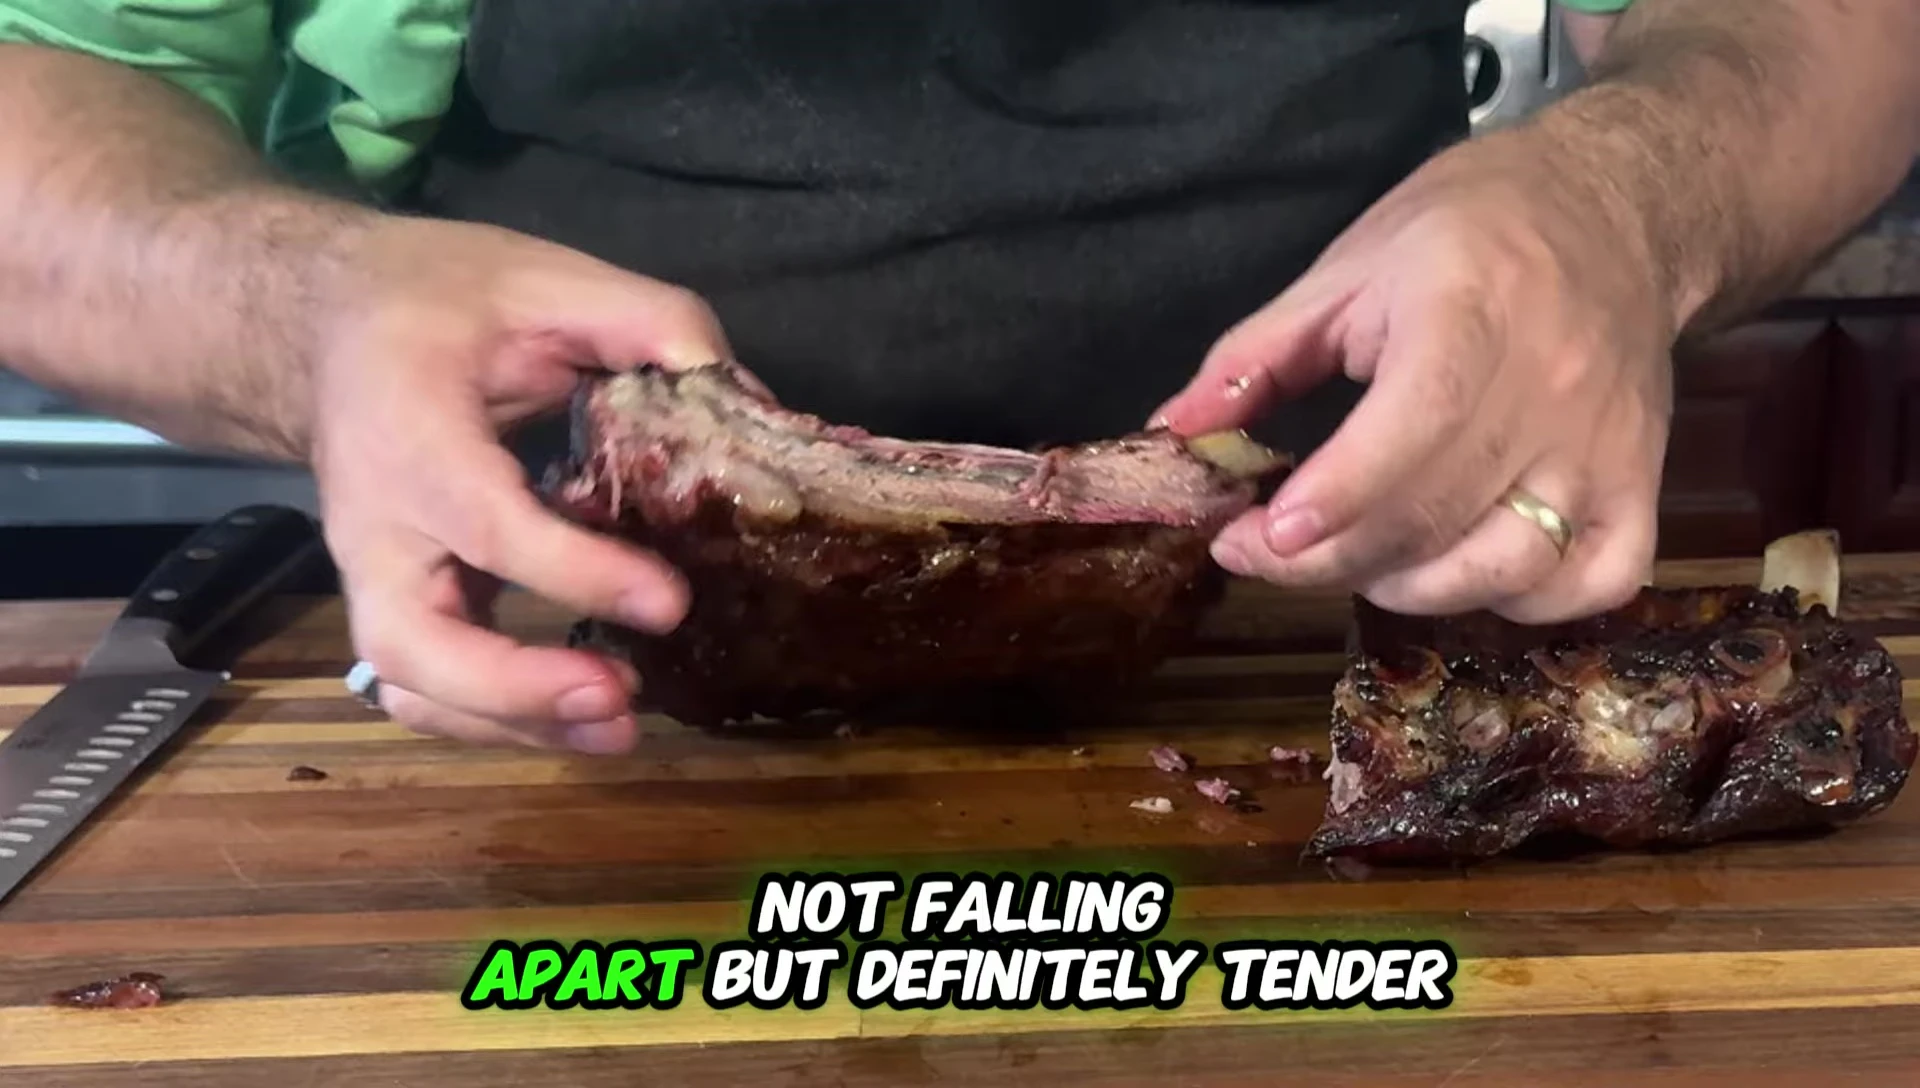
Avoid the traditional 3-2-1 method; this often leads to overcooked ribs. A modified approach ensures juicy and tender ribs. Monitor the internal temperature; tender ribs should offer little resistance when a probe is inserted.
Maintaining Juiciness and Adding Flavor
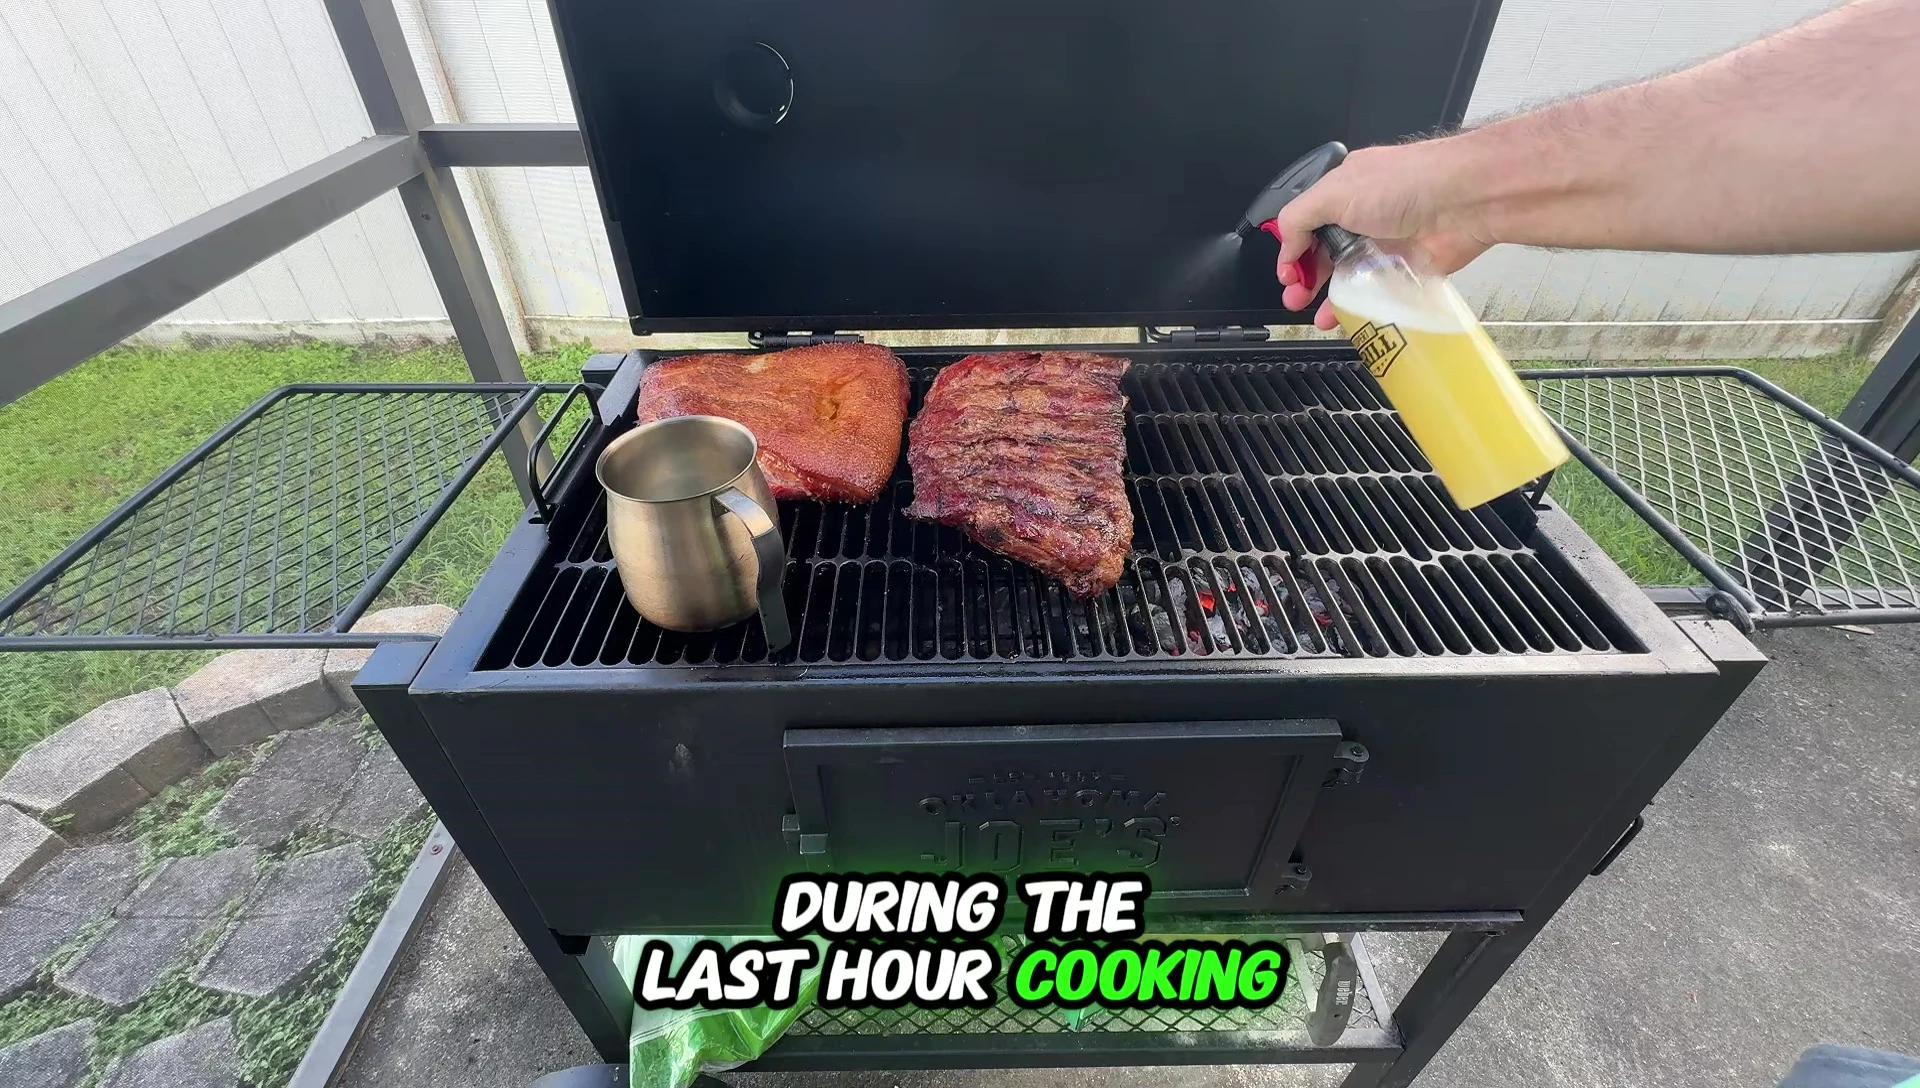
After about 3 hours of smoking, begin spraying the ribs with a mixture of 50% pineapple juice and 50% water. This prevents a burnt crust and keeps the ribs moist.
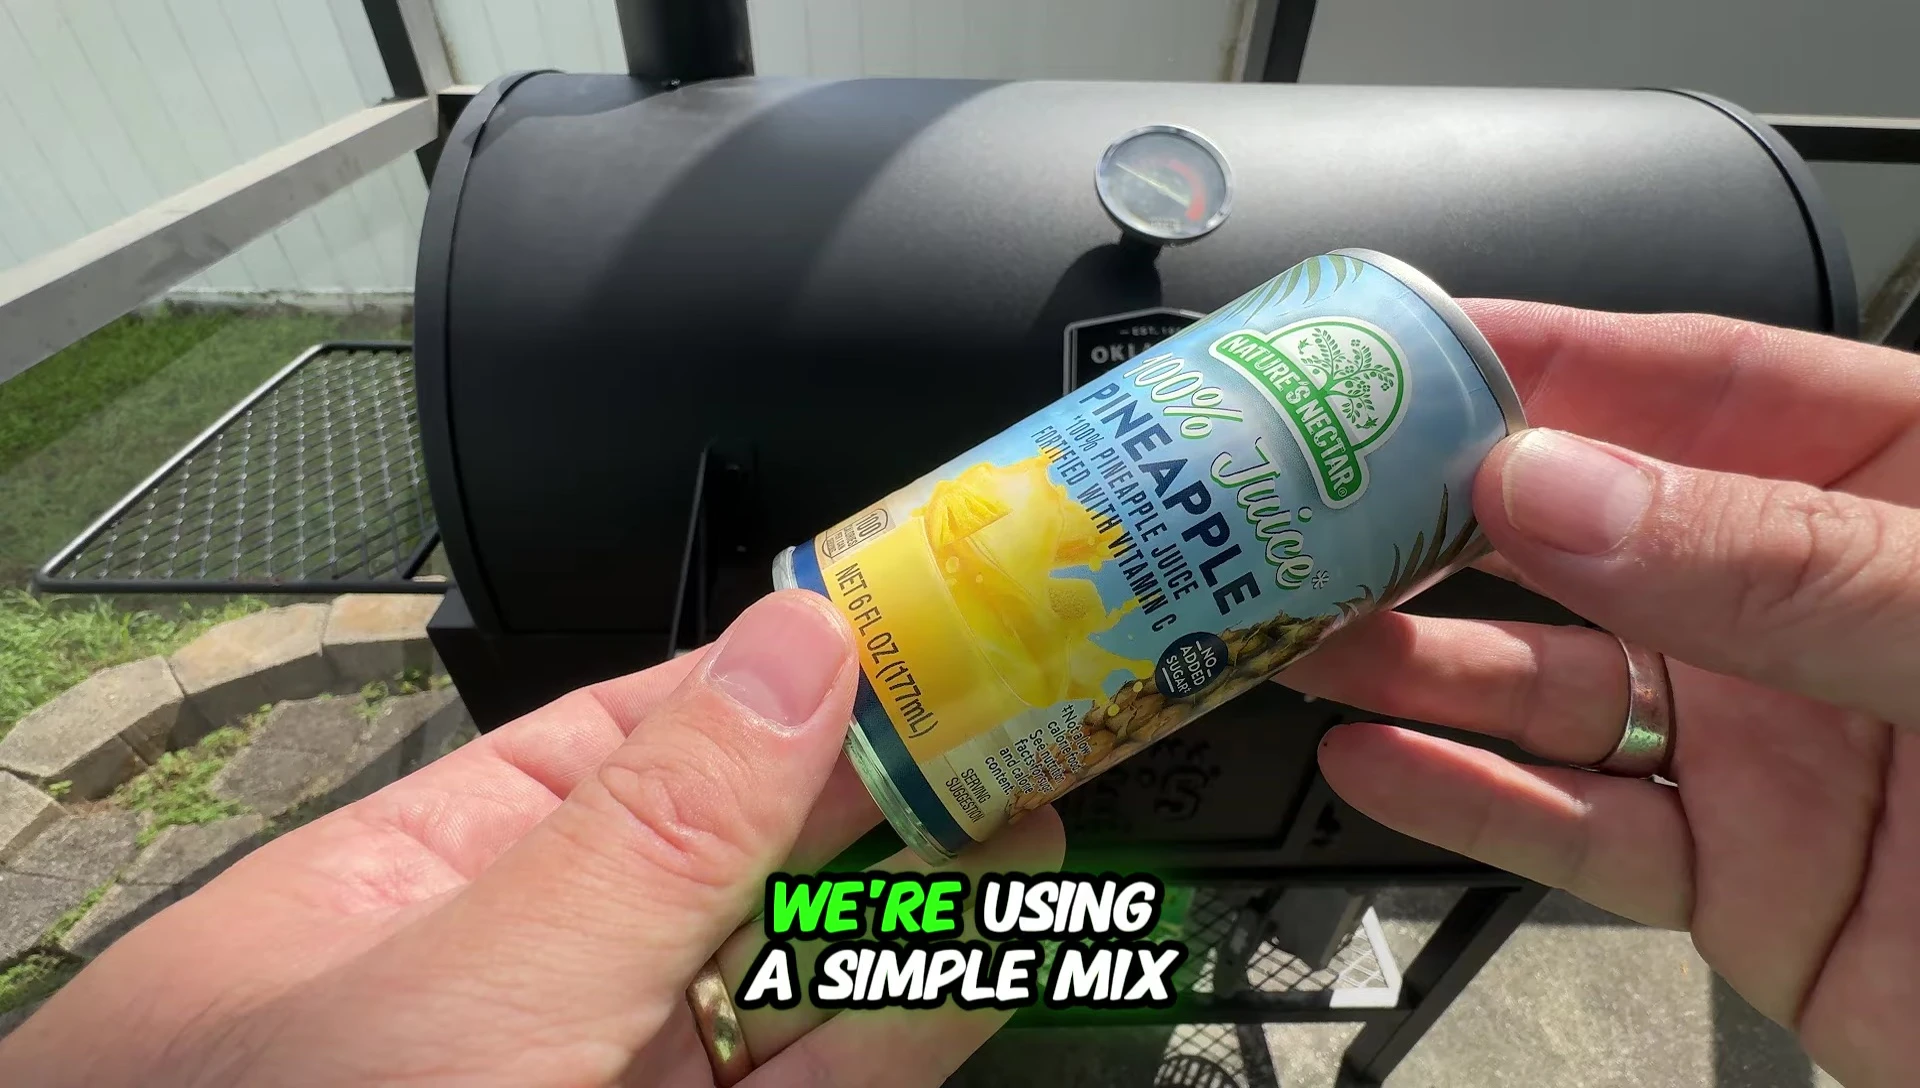
During the last hour, increase the frequency of spraying (every 15-20 minutes) to enhance moisture and flavor absorption.
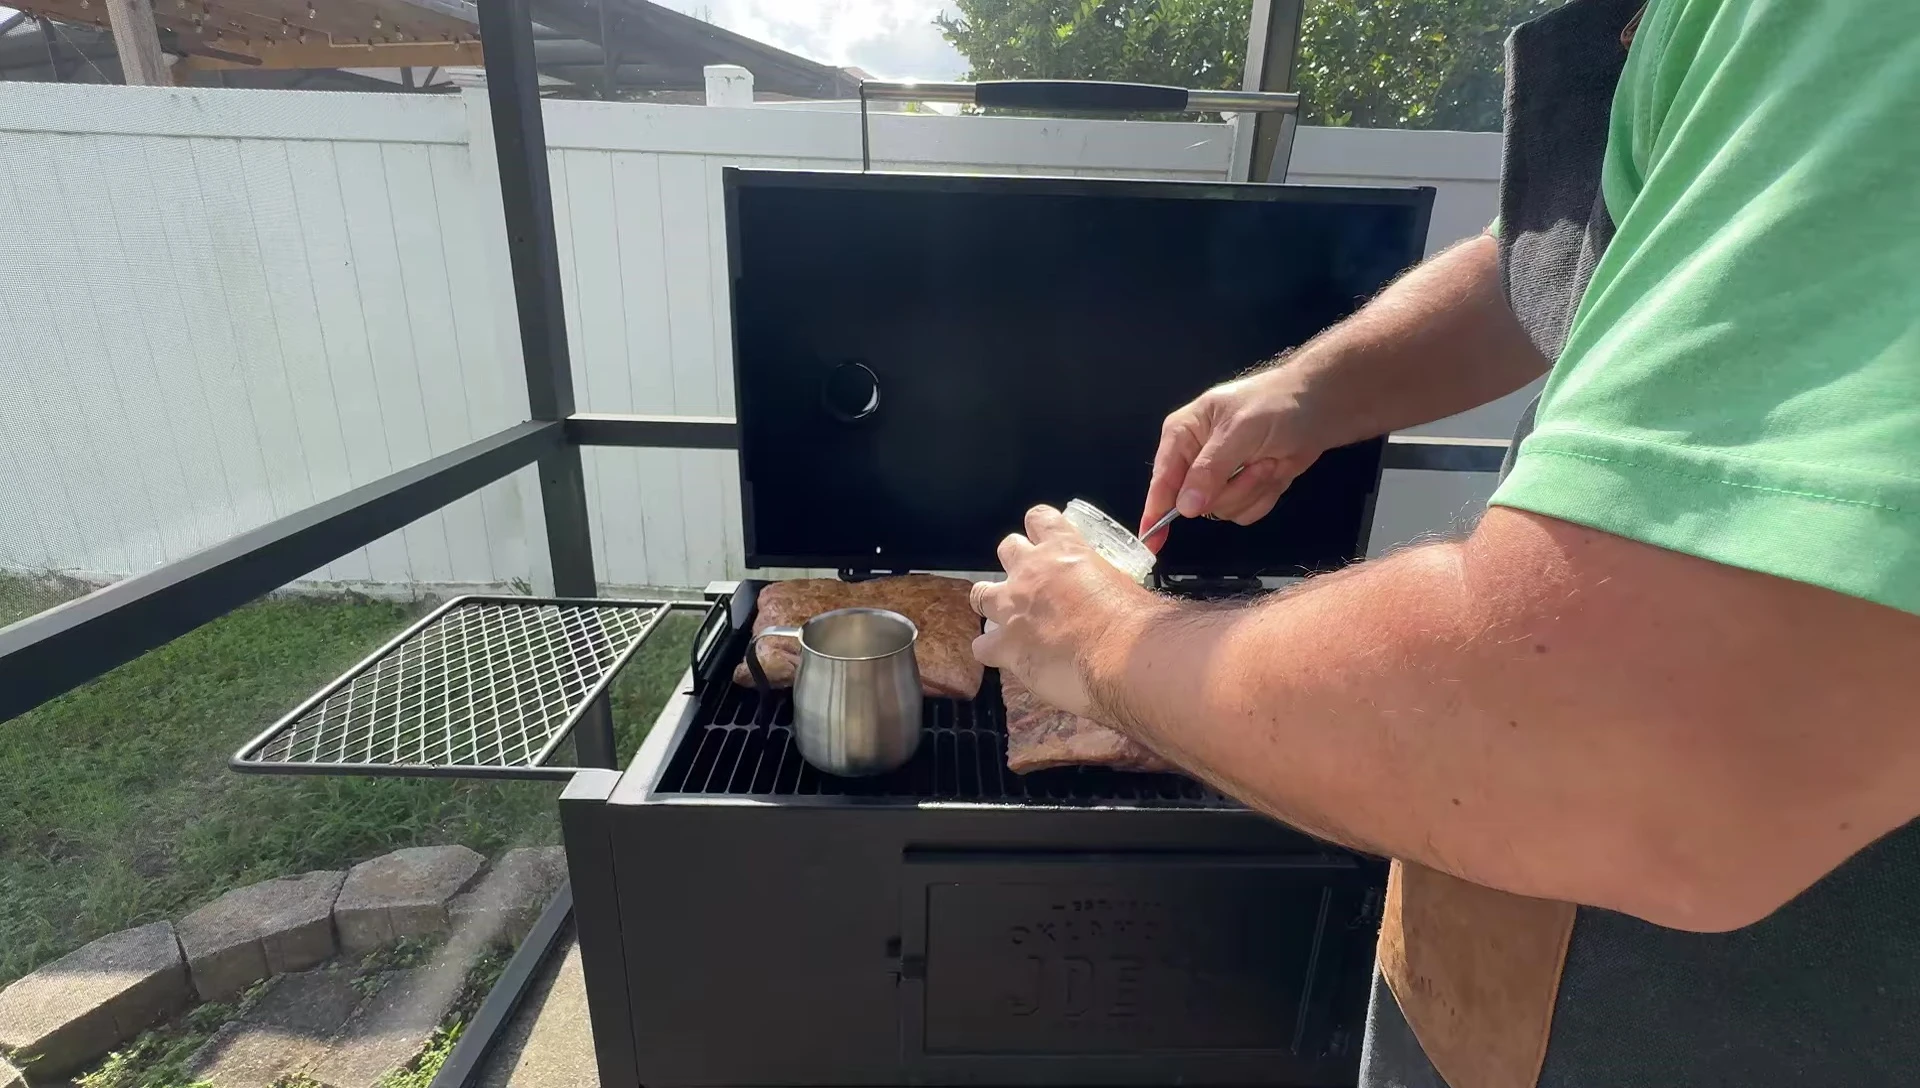
The Secret Ingredient: Beef Tallow
Smoking beef tallow alongside the ribs adds intense smokiness and moisture, resulting in exceptionally juicy and tender ribs. Simply place a saucepan of tallow in the smoker during the cooking process.
The melted tallow absorbs the smoke flavor and can be brushed onto the ribs later for an added flavor boost.
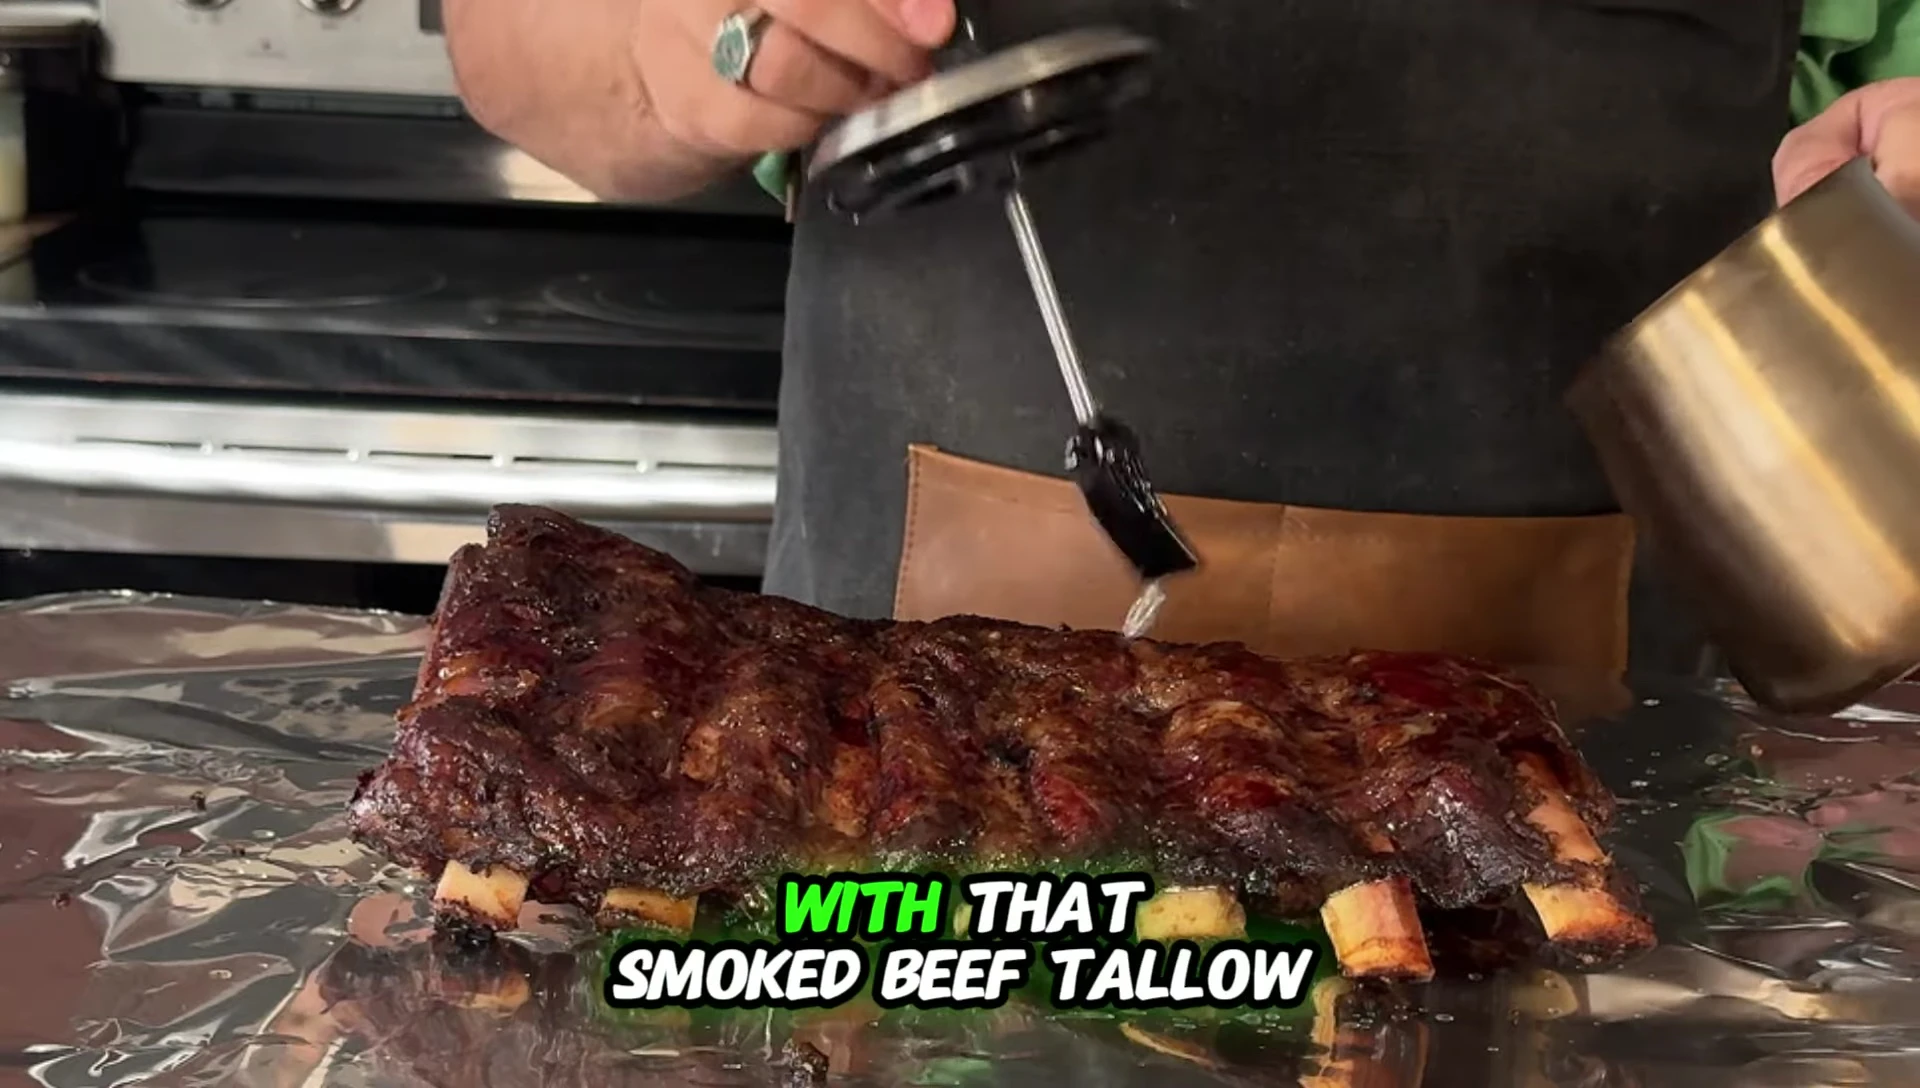
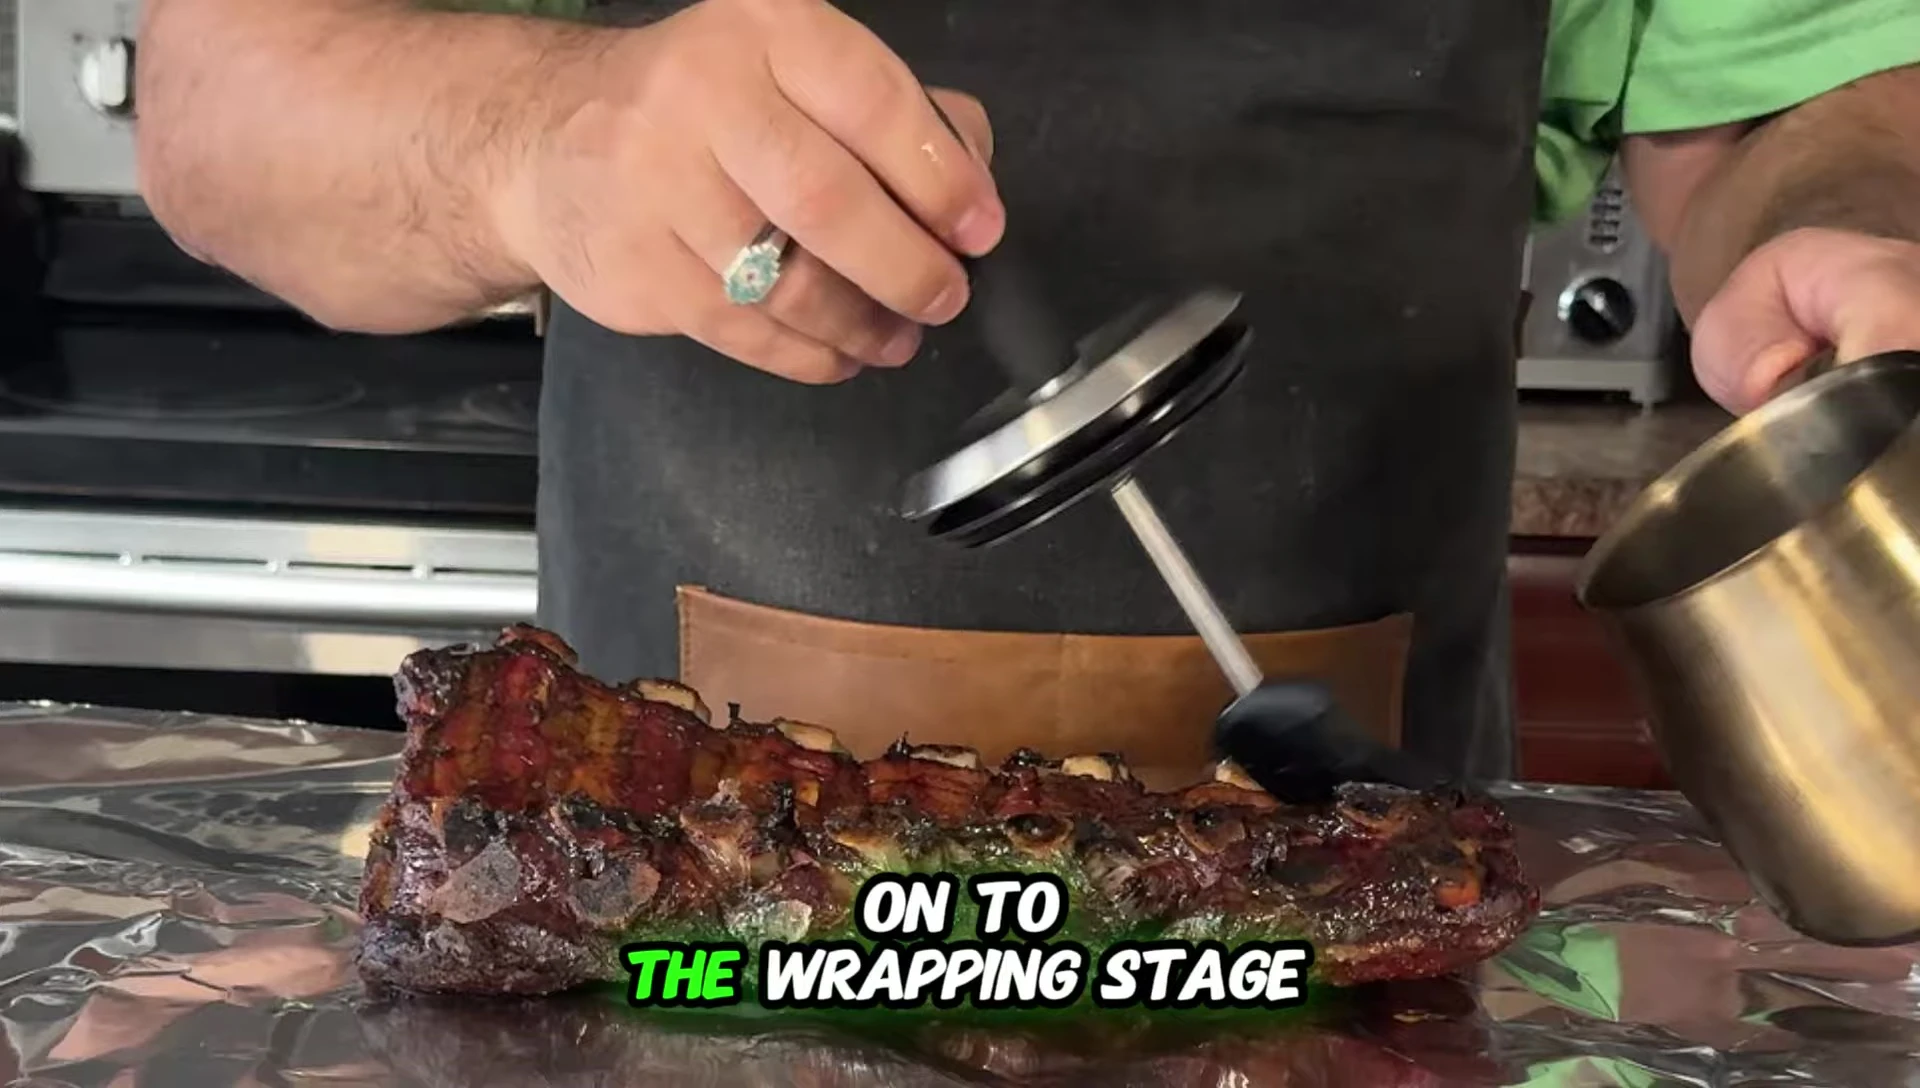
Wrapping and Finishing the Ribs
Wrap the ribs in foil with the smoked beef tallow after about 3 hours of smoking. This helps retain moisture and enhances flavor.
Monitor the internal temperature of the ribs; they are done when a meat probe slides in easily. Avoid overcooking by carefully checking for doneness.
Serving and Enjoying Your Perfect Ribs
The perfectly smoked rib should be juicy and tender, holding its shape but pulling apart easily. The smoke flavor should be prominent, with a well-balanced seasoning.
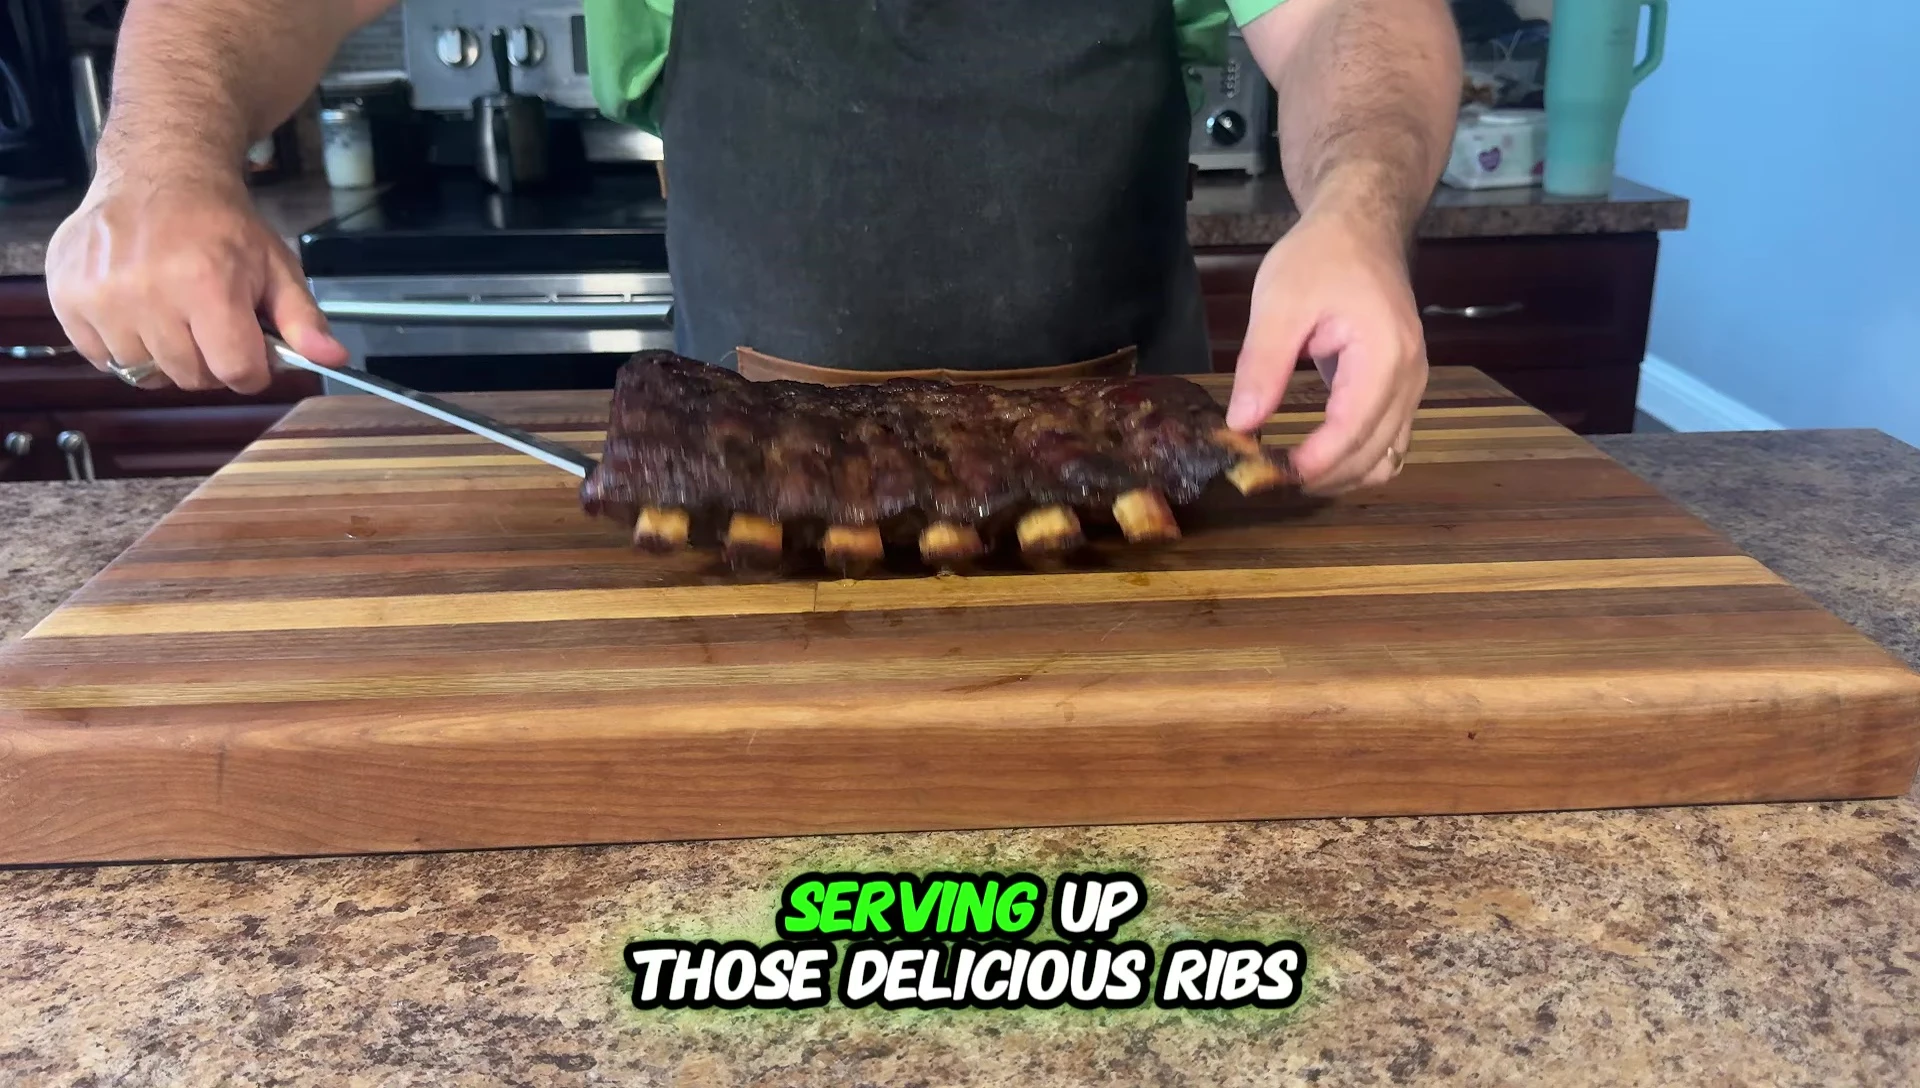
This method provides delicious, flavorful ribs perfect for any backyard barbecue, showcasing the natural flavors of the meat enhanced by subtle seasonings and a deep, rich smoke.
Making Beef Tallow
Beef tallow is easily made at home and adds a significant boost of flavor and moisture to barbecued meats.

A video on how to make beef tallow is available, providing detailed instructions and ensuring a delicious and rich addition to your next BBQ event.