Discover the ultimate guide to achieving perfectly succulent and smoky rotisserie ribs using your Napoleon Kettle Grill. This detailed recipe walks you through each step, from prepping the grill and selecting the finest ribs to mastering the art of applying the perfect barbecue rub and sauce. We'll explore the strategic use of Felipe's Blazin' rub and apple jalapeno sauce, creating a flavor explosion that will tantalize your taste buds. Get ready for a mouthwatering barbecue experience that will leave you craving more.This comprehensive tutorial provides a step-by-step approach to achieving restaurant-quality ribs right in your own backyard. Learn how to control the grill temperature for even cooking, understand the importance of proper rib placement on the rotisserie spit, and discover the secret to achieving that coveted smoke ring and tender, fall-off-the-bone texture. Prepare for an unforgettable grilling adventure that will impress your friends and family with its simplicity and delicious results.
Pros And Cons
- Added flavor to the ribs.
- Strong flavor mellowed out during cooking.
- Cooked ribs well in two hours.
- Ribs stayed on the spit well.
- Easy to use rotisserie attachment.
- Added flavor and a nice smell to the ribs.
- Created a nice tacky texture.
Read more: 10 Best Big Green Egg Rib Racks: A Buyer's Guide
Prep Work: Setting Up the Grill and Ribs
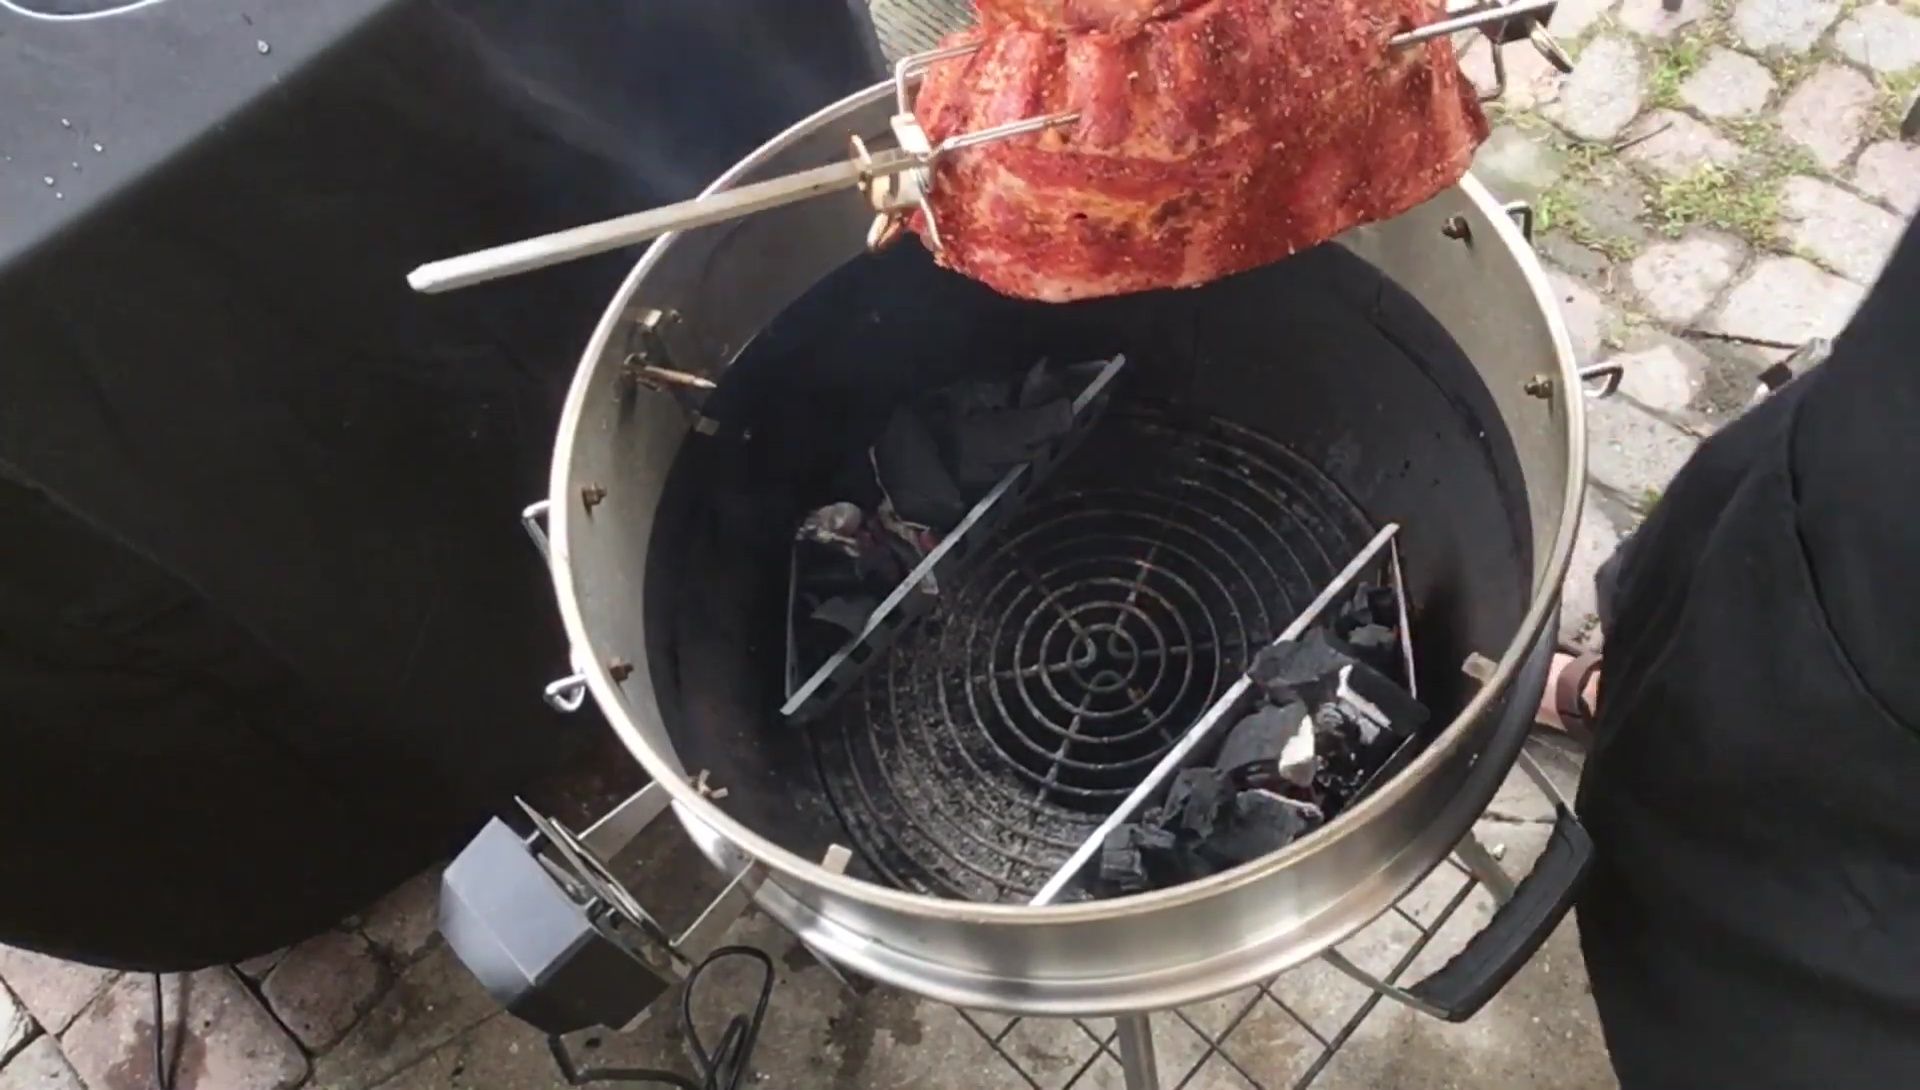
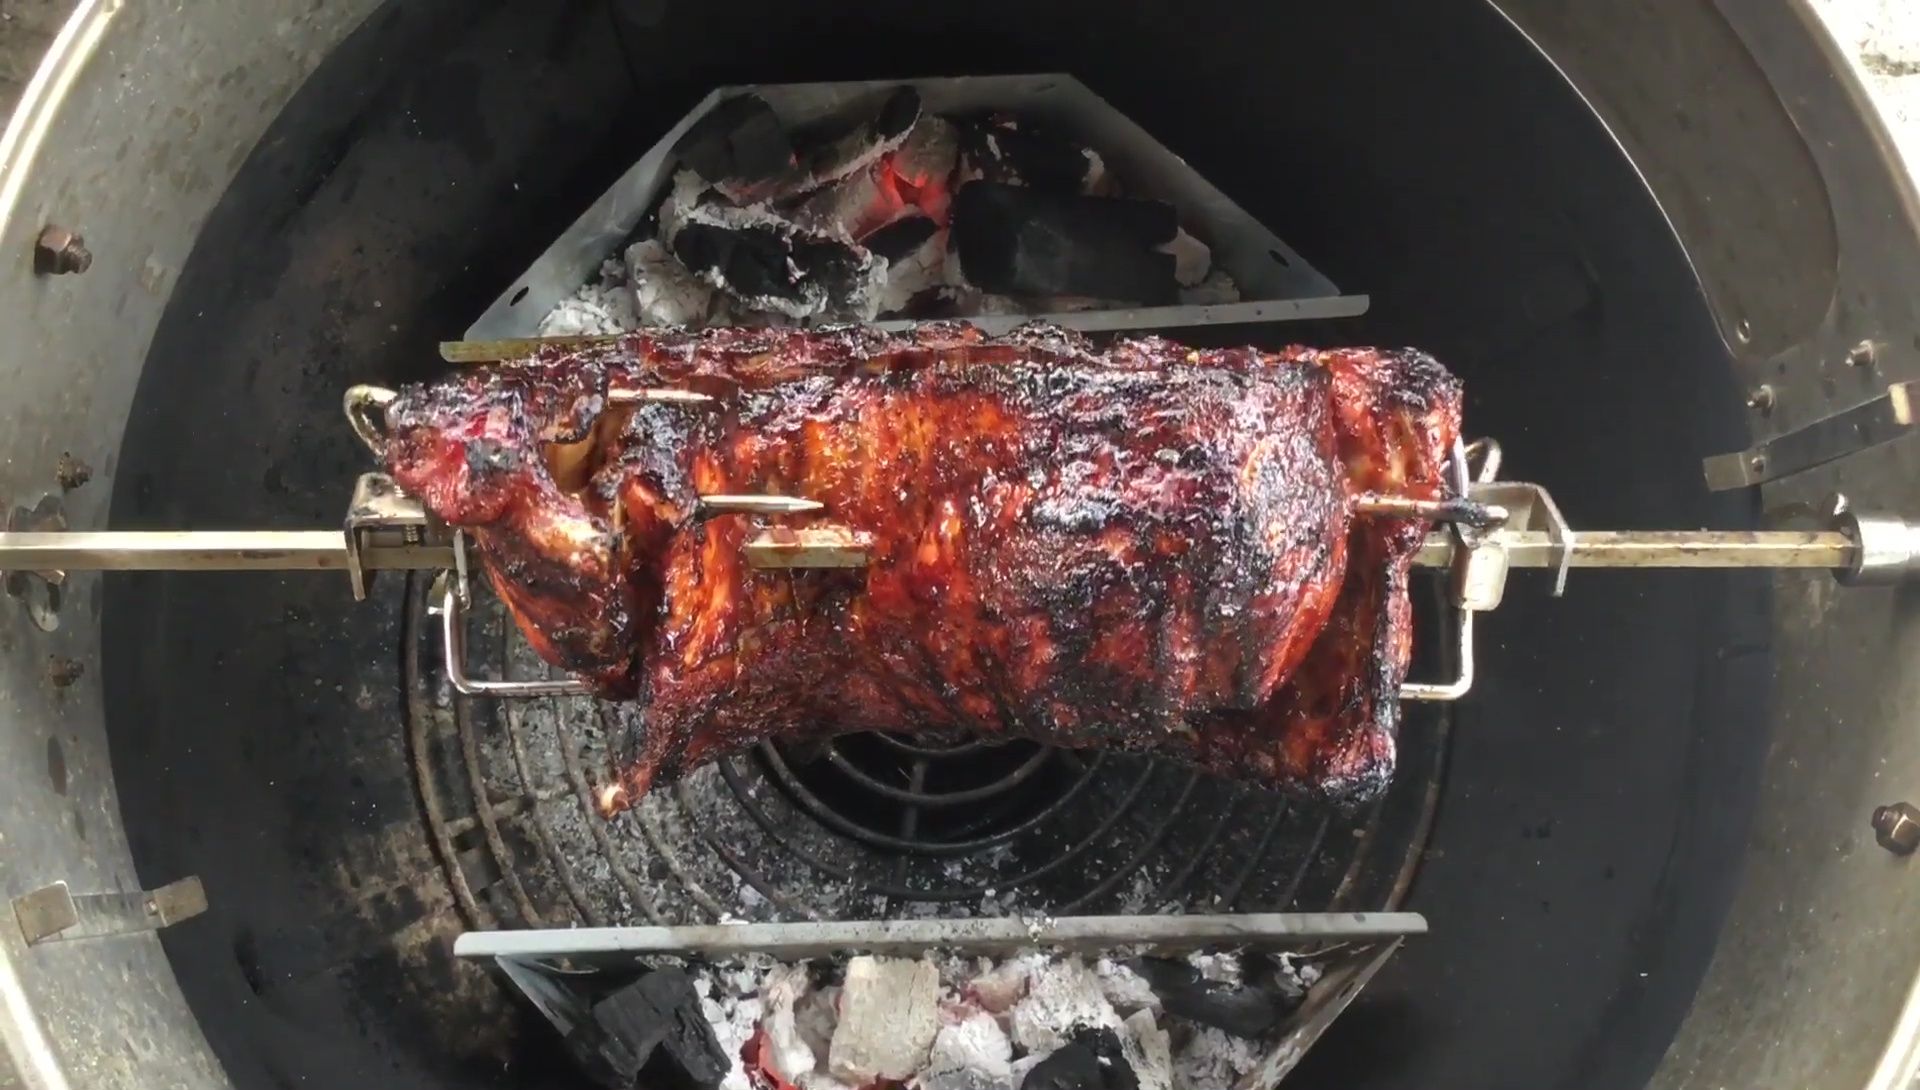
The grilling adventure began with preparing the Napoleon Kettle grill. Two charcoal baskets were filled, and Fire Starter cups were used to ignite the charcoal efficiently. This ensured even heat distribution for optimal rib cooking.

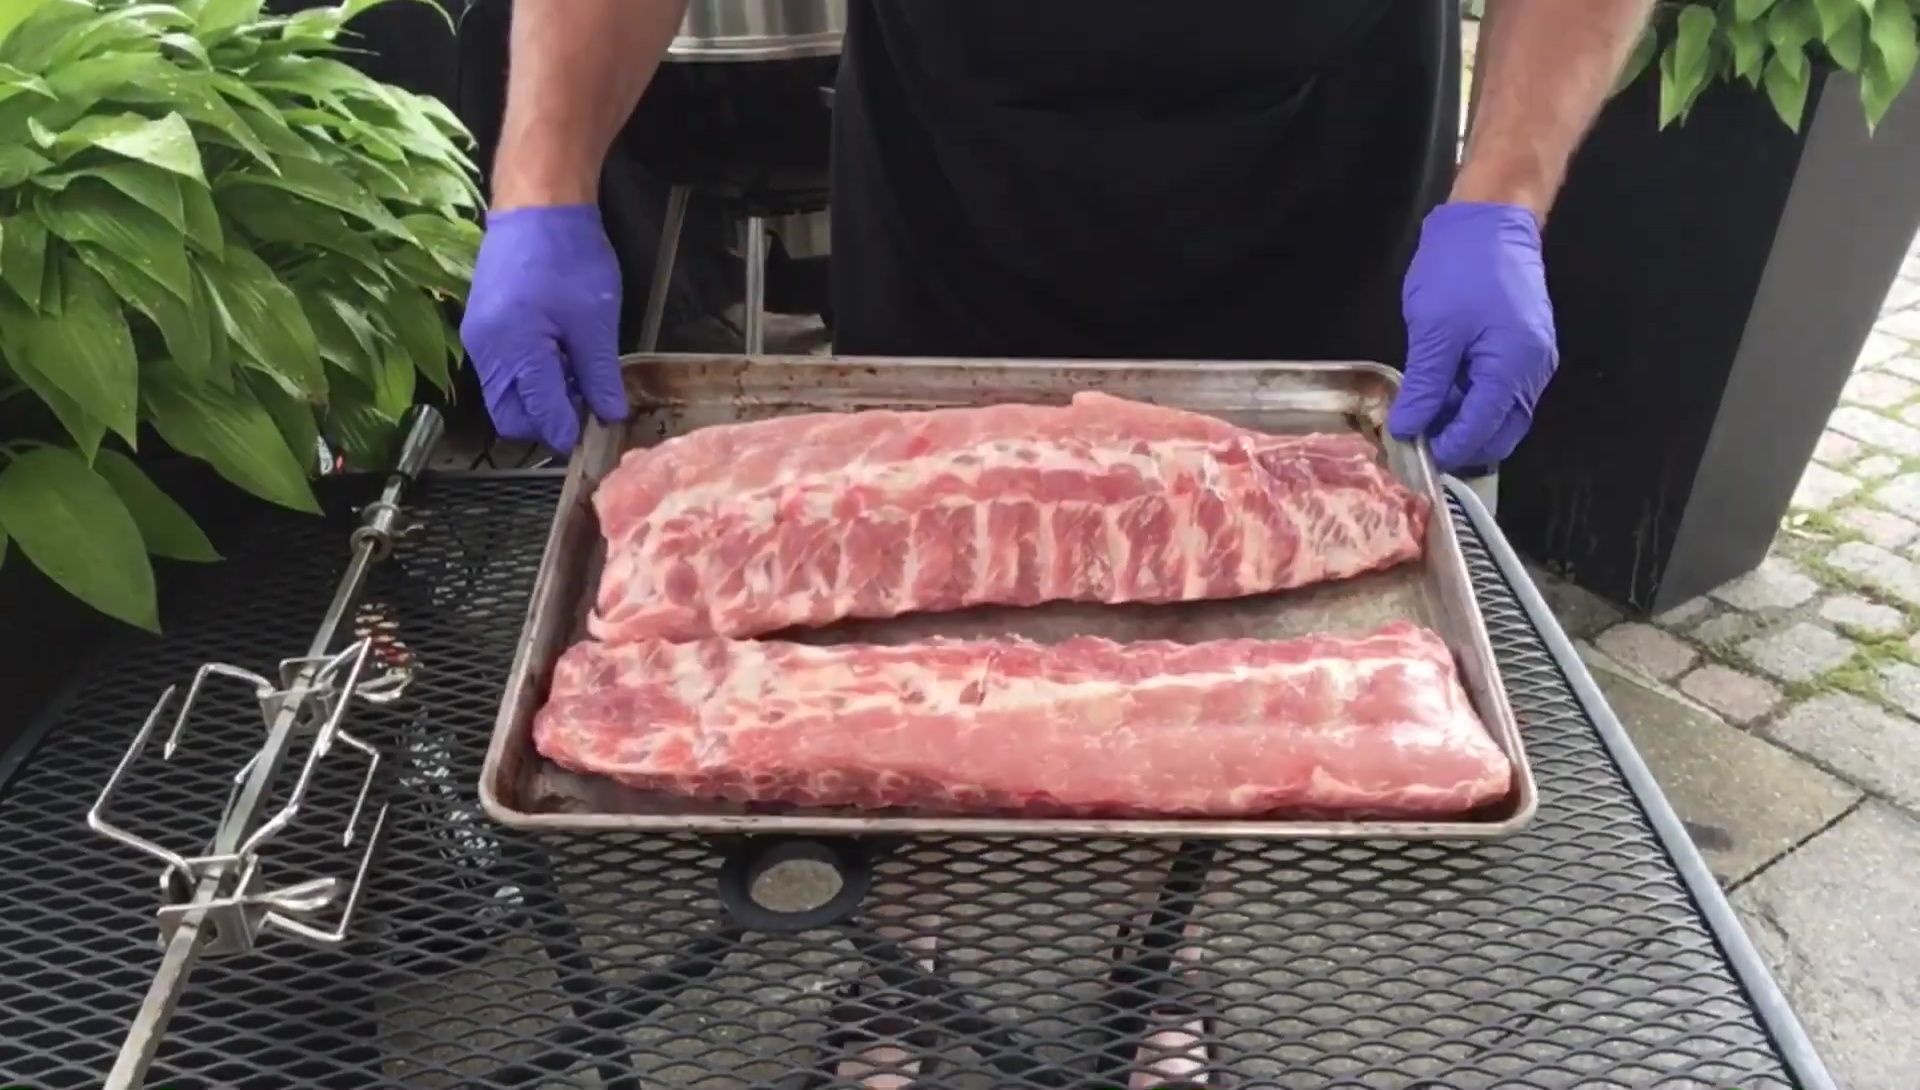
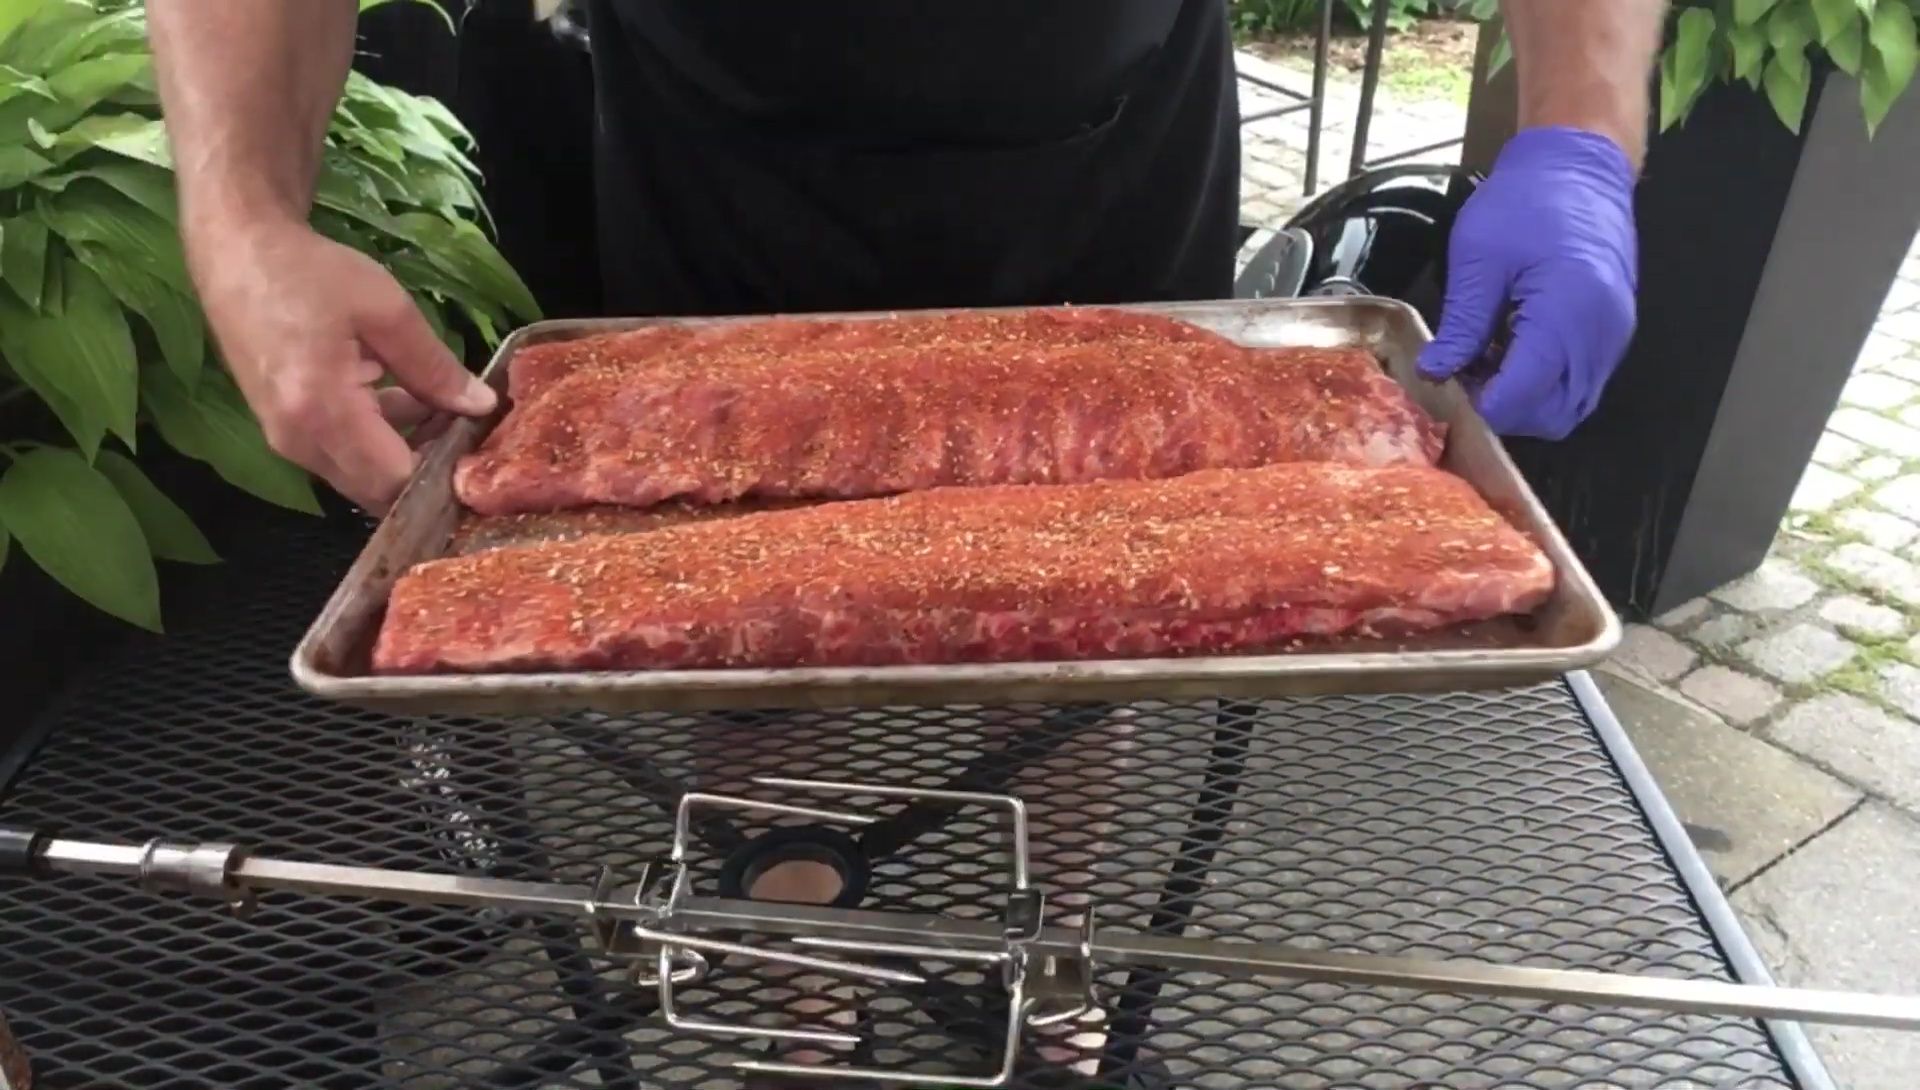
Meanwhile, two racks of ribs from a local butcher were selected. These ribs were described as meaty and visually appealing, setting the stage for a flavorful barbecue.
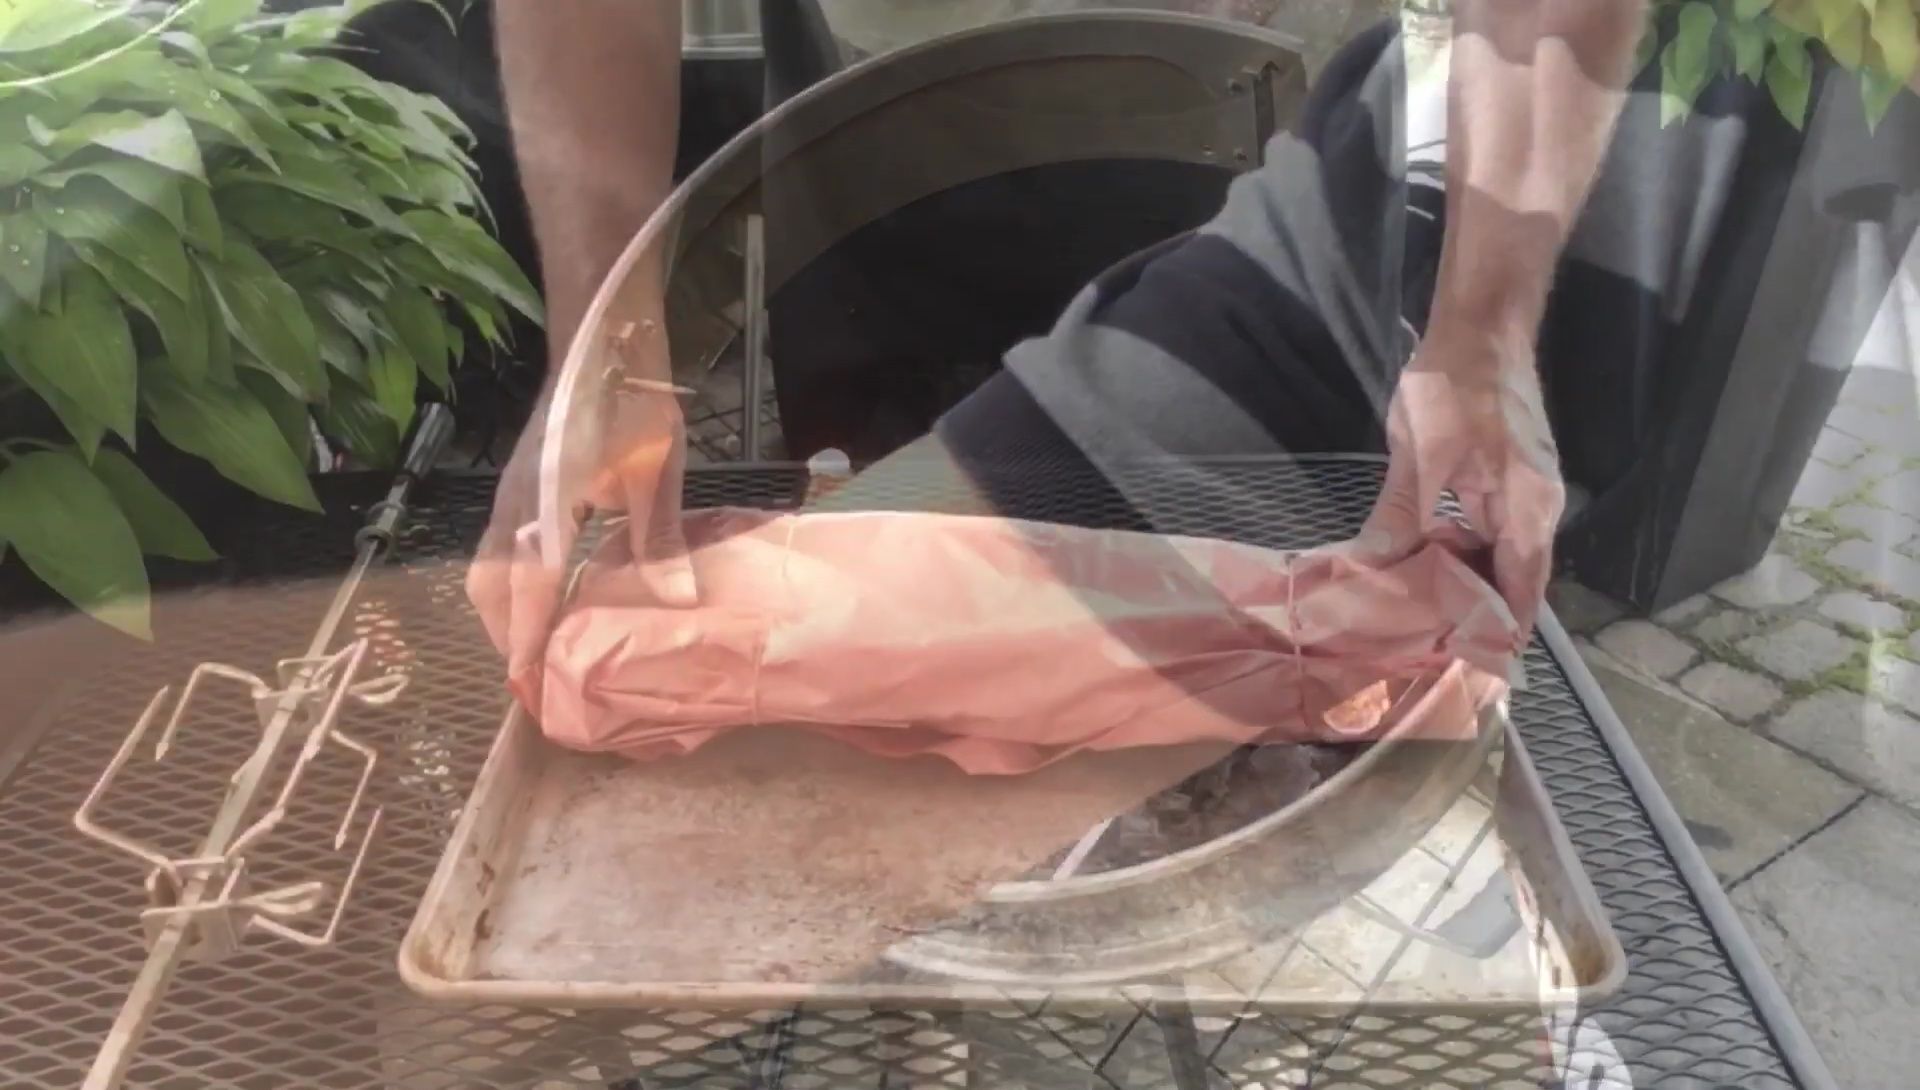
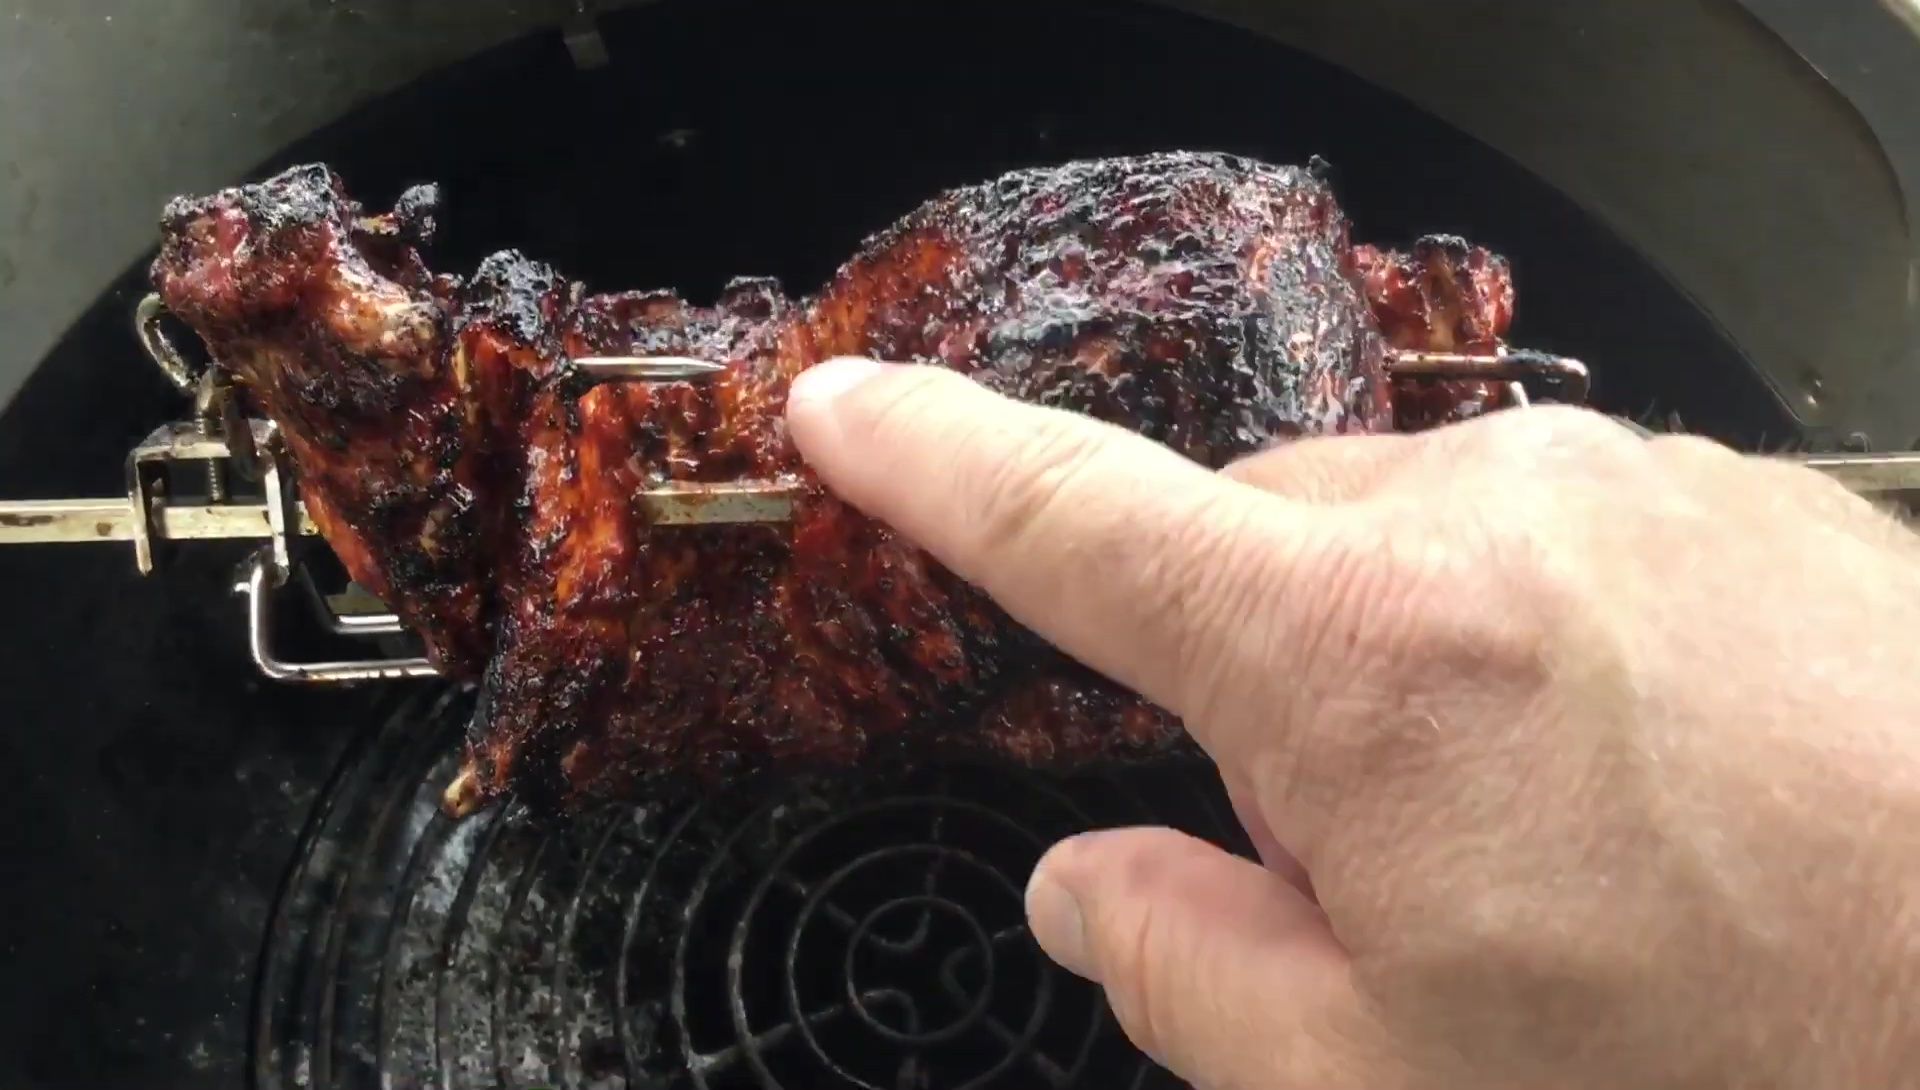
A strategic placement of the ribs onto the rotisserie spit was key. The membrane was left on to help hold the ribs together during the cooking process.
Seasoning and Rotisserie Setup
A generous application of Felipe's Blazin' barbecue rub was applied to both sides of the ribs. This rub was noted for its unique bite and flavor profile.
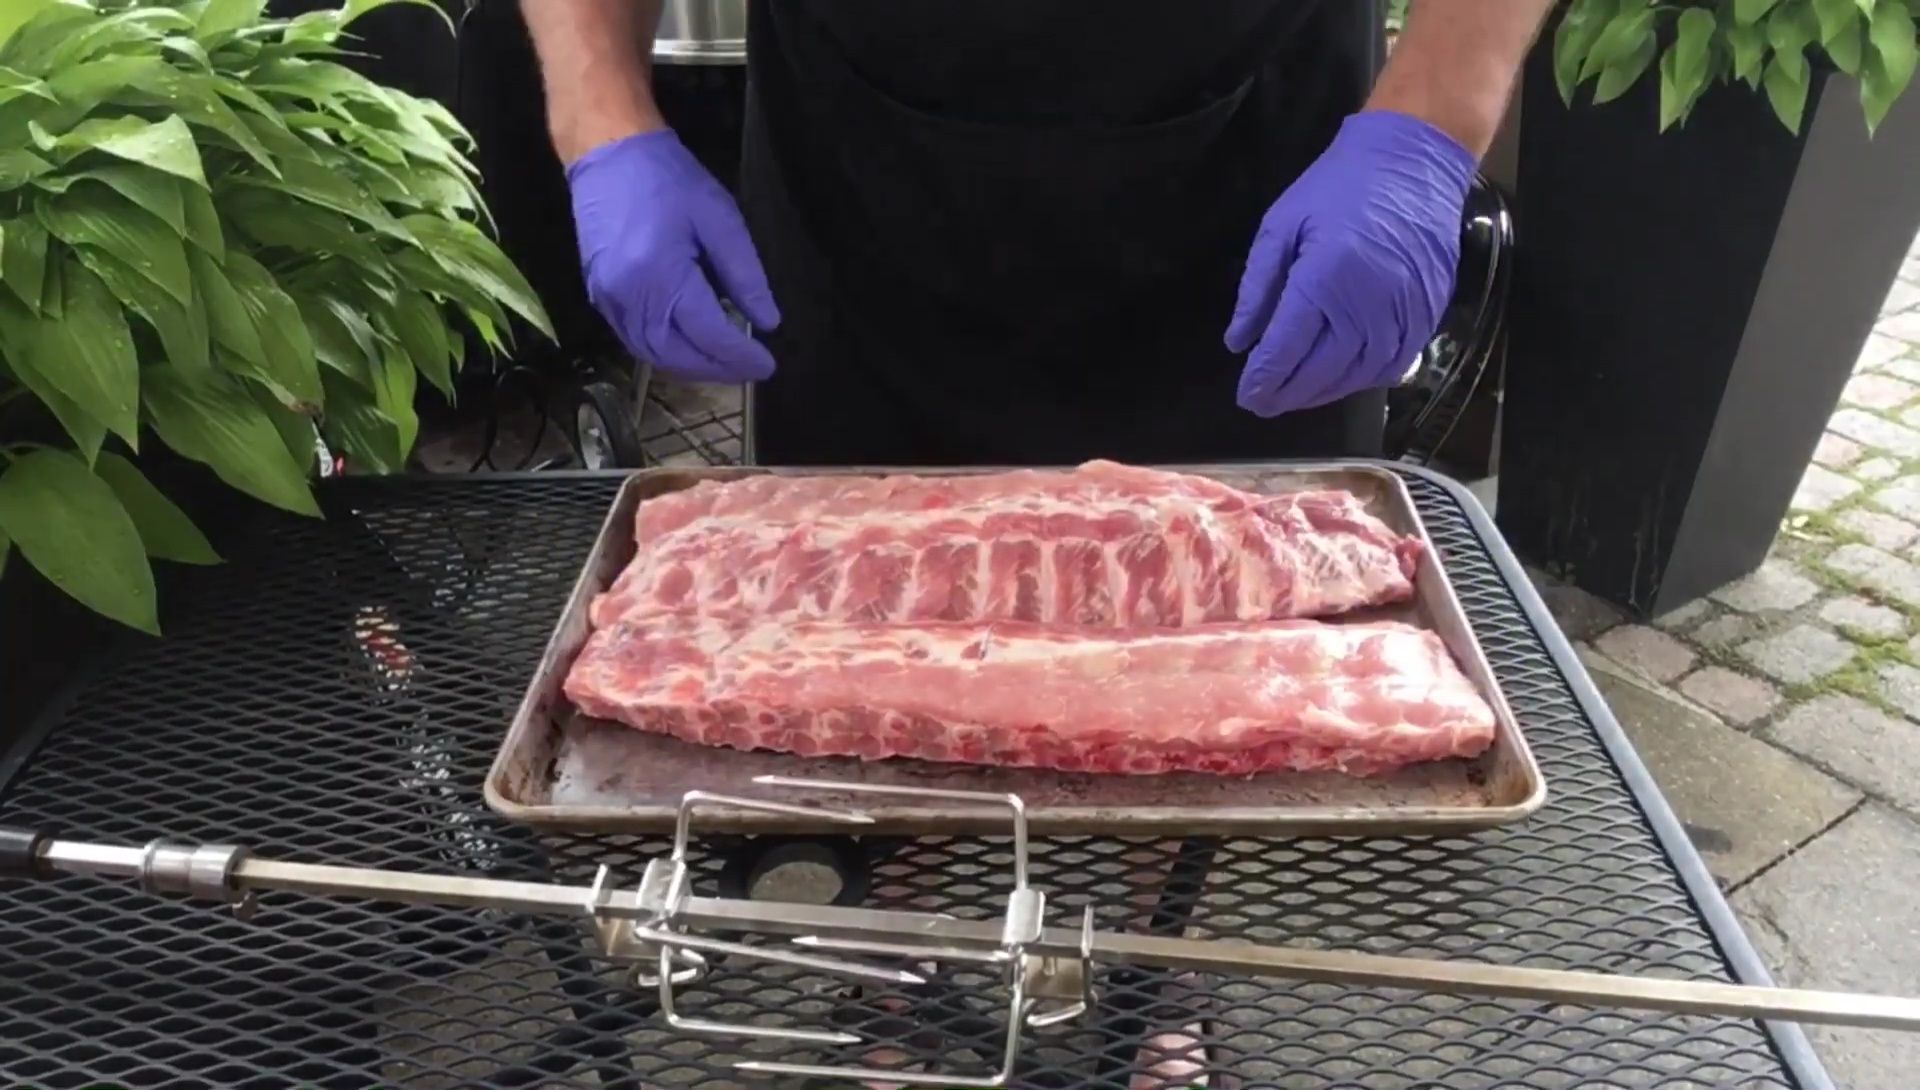
The ribs were carefully placed onto the rotisserie spit, ensuring even distribution of weight. Any excess rub was added back to enhance the flavor.
The rotisserie motor was attached, and the spit was carefully positioned within the grill, ready to begin the cooking process.
Cooking Process and First Hour
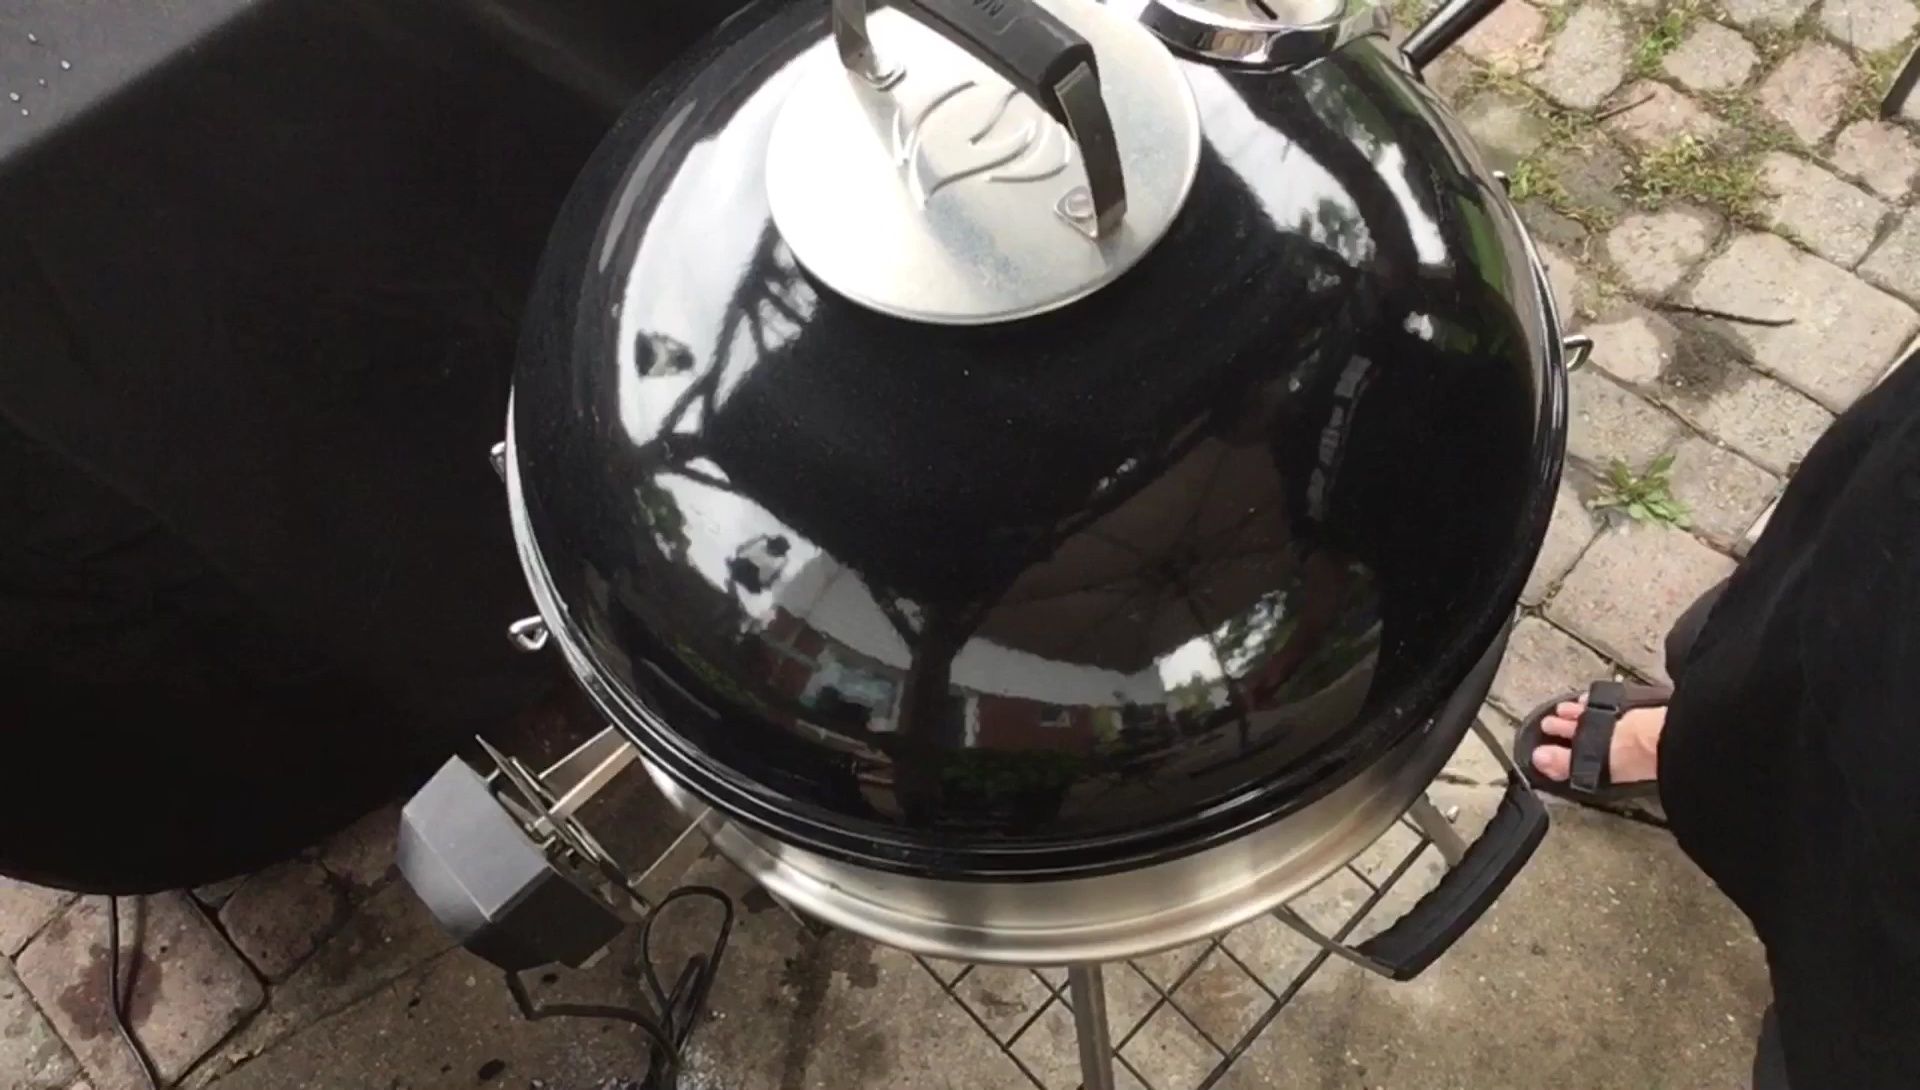
The grill's vent was adjusted slightly to maintain consistent temperature. The ribs were left to cook undisturbed for at least one hour.
The initial cooking period focused on achieving a good base level of smoky flavor and tenderness. The grill's temperature was monitored to ensure even heat distribution.
Saucing and Final Cooking Stage
After one hour, Felipe's Blazin' Apple Jalapeno barbecue sauce was brushed onto the ribs, adding another layer of flavor.
The lid was replaced, and the ribs continued to cook for another hour. The grill's temperature was carefully monitored and adjusted as needed to maintain optimal cooking conditions.
The second hour focused on glazing the ribs with the sauce and allowing the flavors to meld together. The aroma was noted as being incredible at this stage.
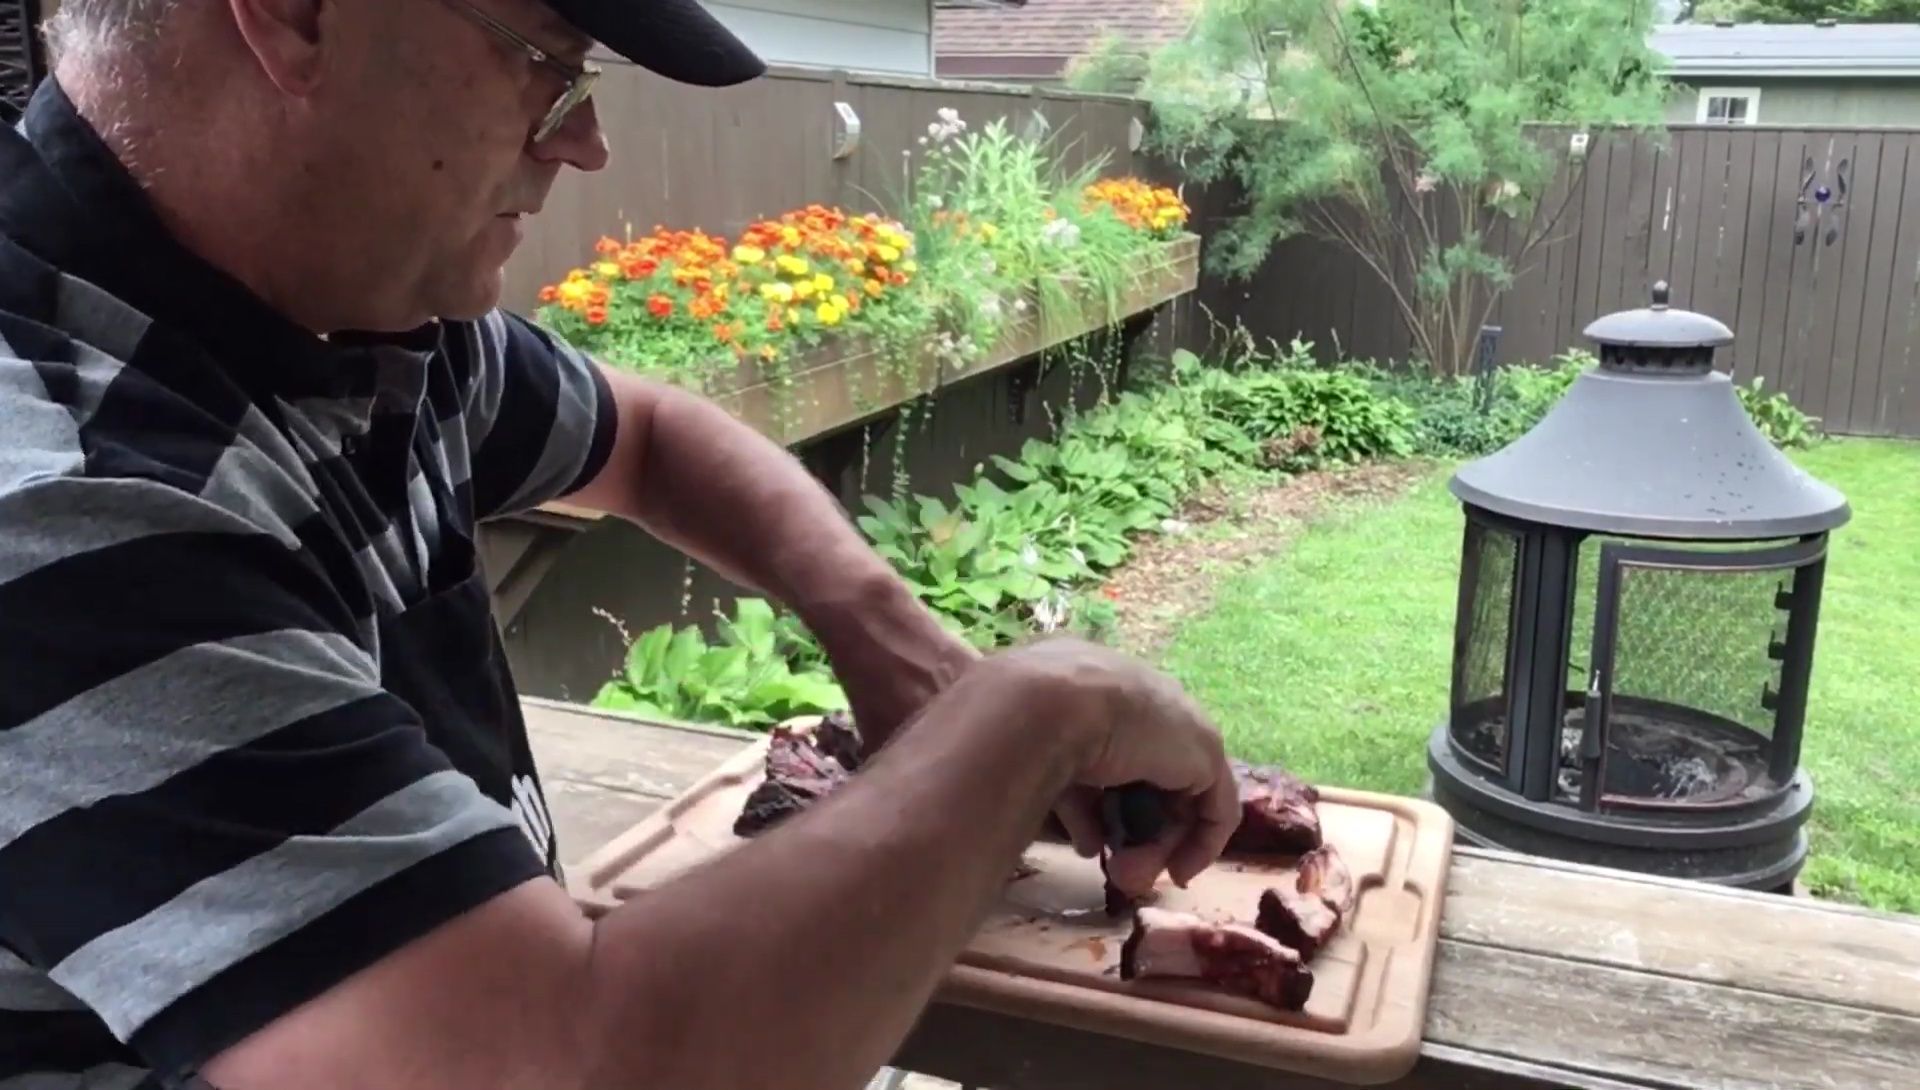
Results and Final Thoughts
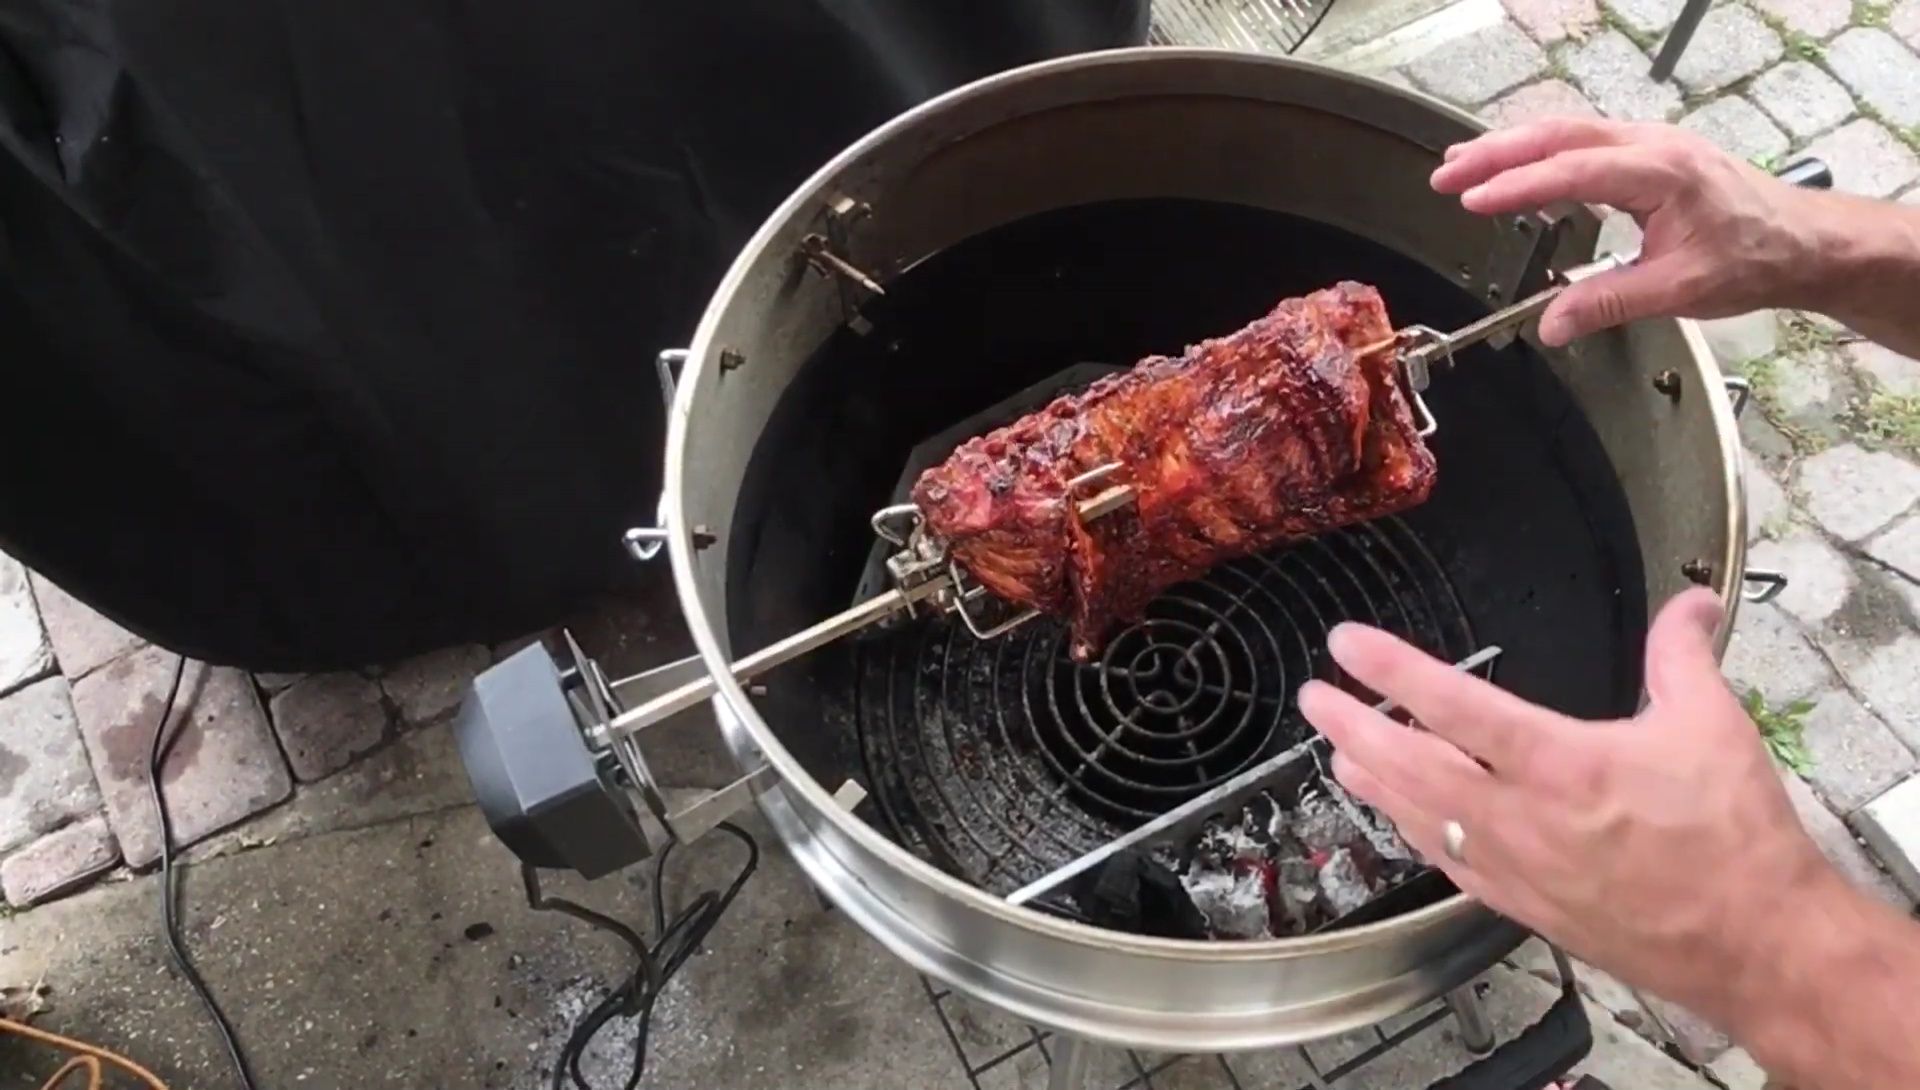
After two hours, the ribs reached an internal temperature of around 195-202°F, indicating they were cooked through. They were tender and easily pulled off the bone.
The final product featured a beautiful smoke ring, juicy interior, and a tasty, slightly tacky sauce. The Felipe's Blazin' rub, initially strong, mellowed out during cooking to create a balanced flavor profile.
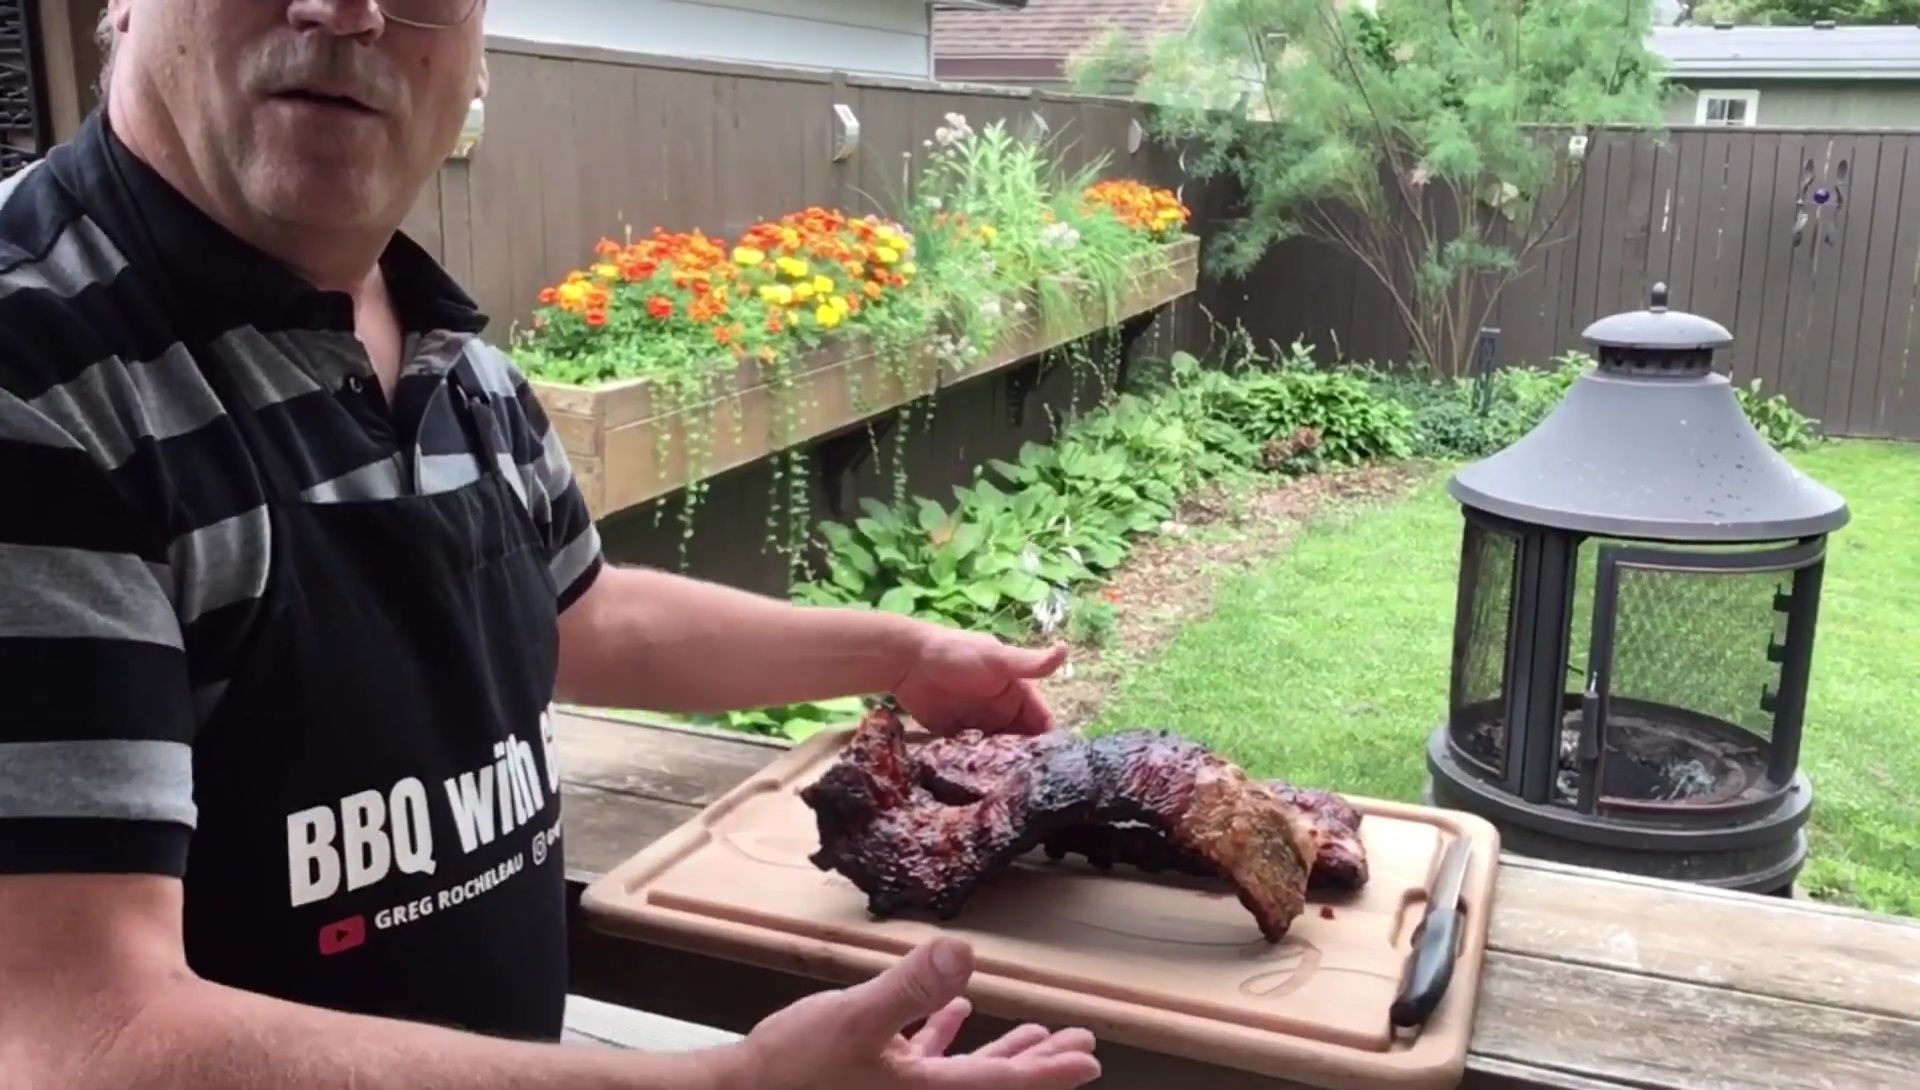
The rotisserie method proved to be effective, keeping the ribs intact and producing consistent cooking throughout. The overall experience was described as easy and delicious, resulting in exceptional ribs.