This recipe elevates the classic baby back rib sandwich to new heights using the Ninja Foodi Deluxe. Forget hours of slow cooking; this method delivers fall-off-the-bone tender ribs in a fraction of the time. We'll guide you through a simple, yet flavorful process that combines pressure cooking for unparalleled tenderness with air frying for a perfectly caramelized, crispy finish. Prepare for a juicy, satisfying sandwich that's both incredibly delicious and surprisingly easy to make. Get ready to experience the versatility of your Ninja Foodi Deluxe as we transform humble ribs into a gourmet-worthy meal.This step-by-step guide provides a complete walkthrough, from marinating and seasoning the ribs to building the ultimate sandwich. Learn how to achieve perfectly tender ribs using the pressure cooking function, and then enhance their flavor and texture with a quick air fry. We'll also share tips and tricks for maximizing flavor and creating a truly unforgettable sandwich experience. Whether you're a seasoned Ninja Foodi user or a curious newcomer, this recipe is guaranteed to impress. Let's get cooking!
Pros And Cons
- Pressure cooks ribs effectively
- Air frying functionality
Read more: 10 Best Big Green Egg Rib Racks: A Buyer's Guide
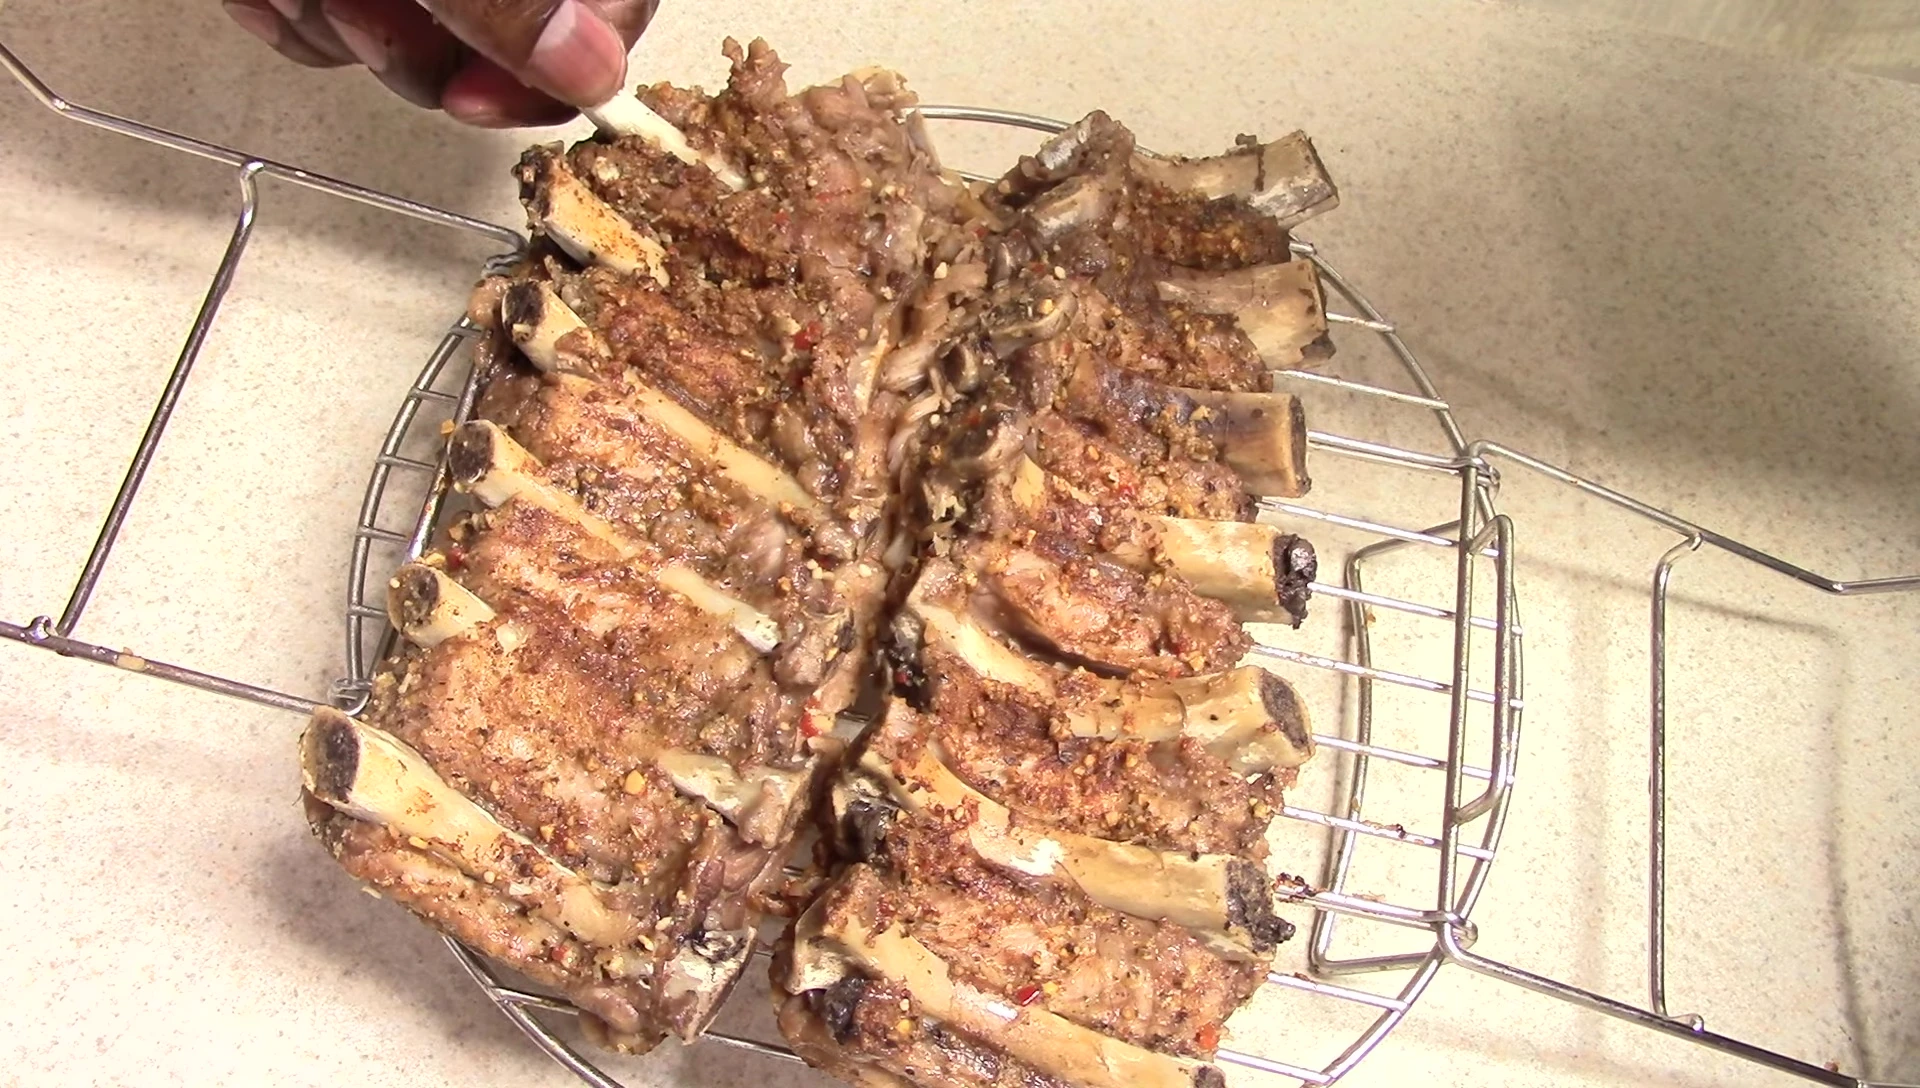
Marinade & Seasoning
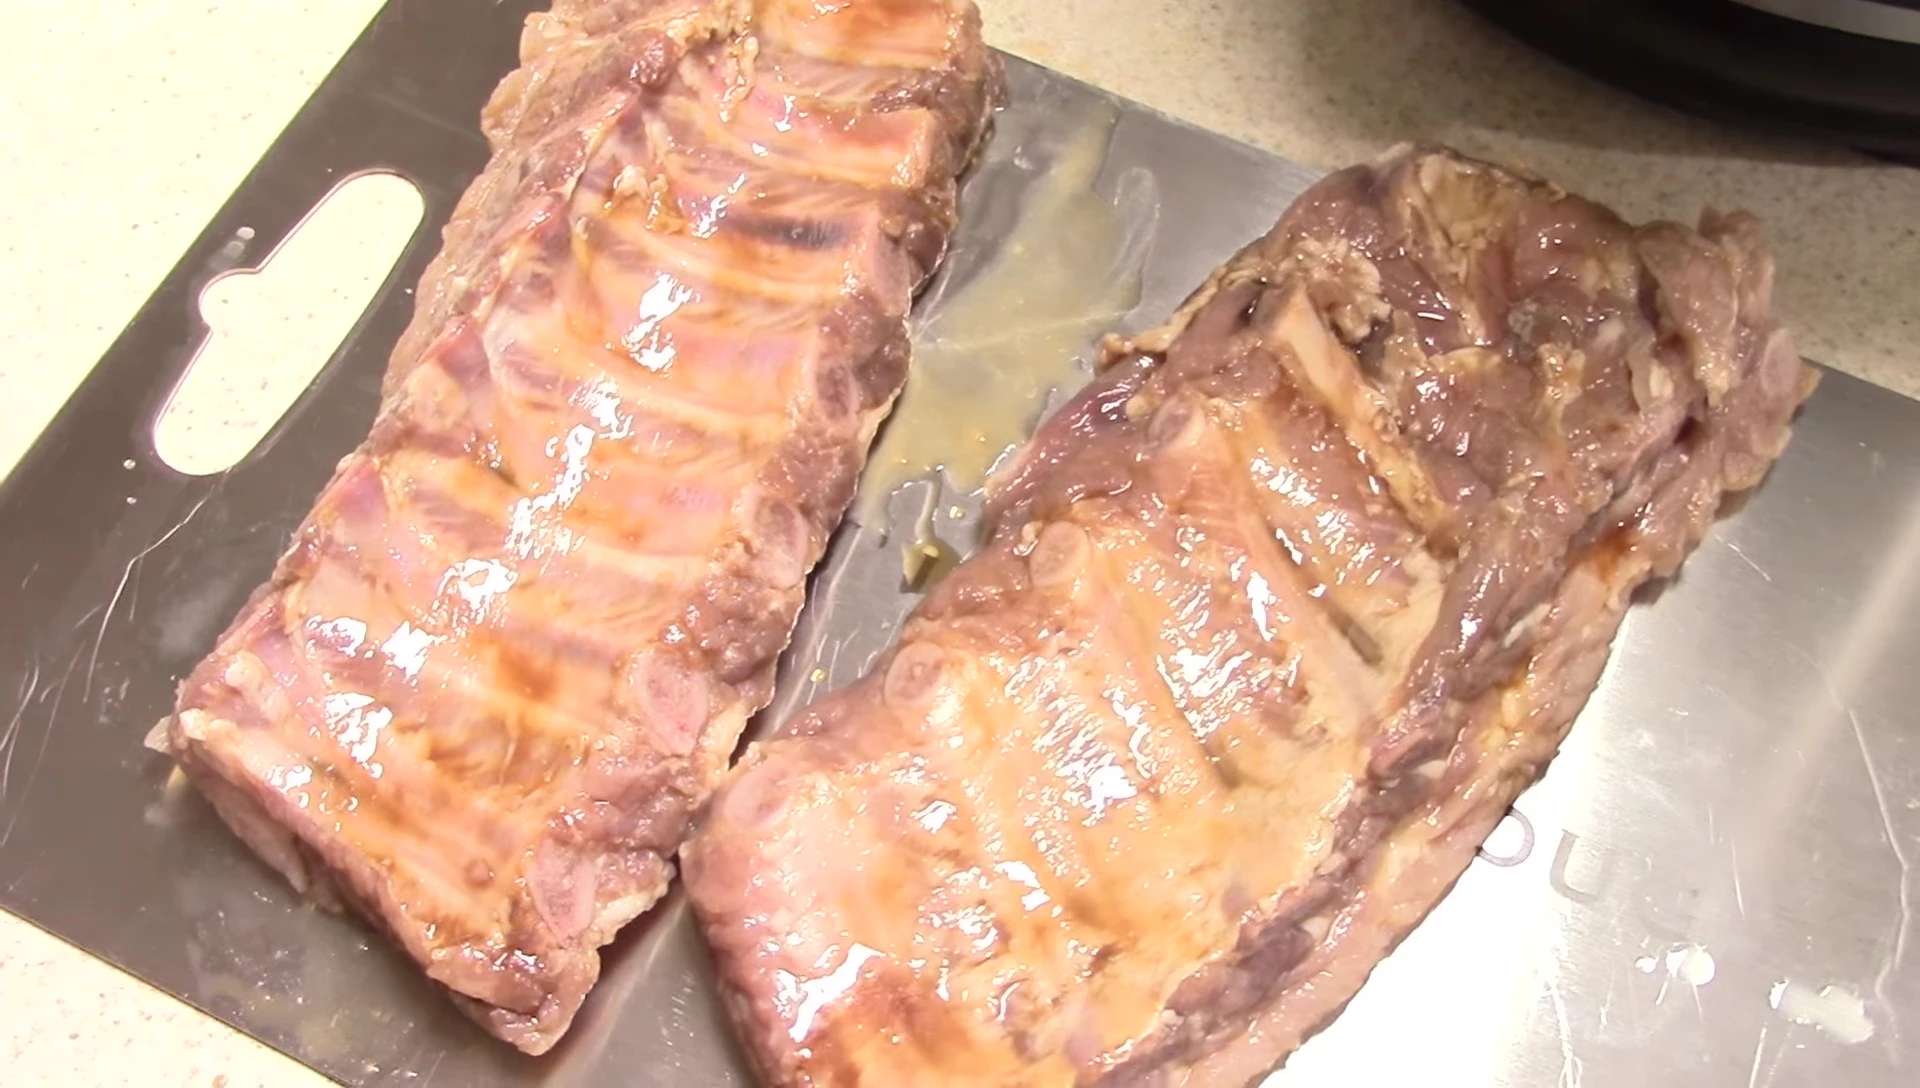
Begin by marinating the baby back ribs. I prefer using apple cider vinegar for a tenderizing and flavor-enhancing effect. This can be done overnight or, for a time-saving shortcut, use a rapid meat marinator (link in description).
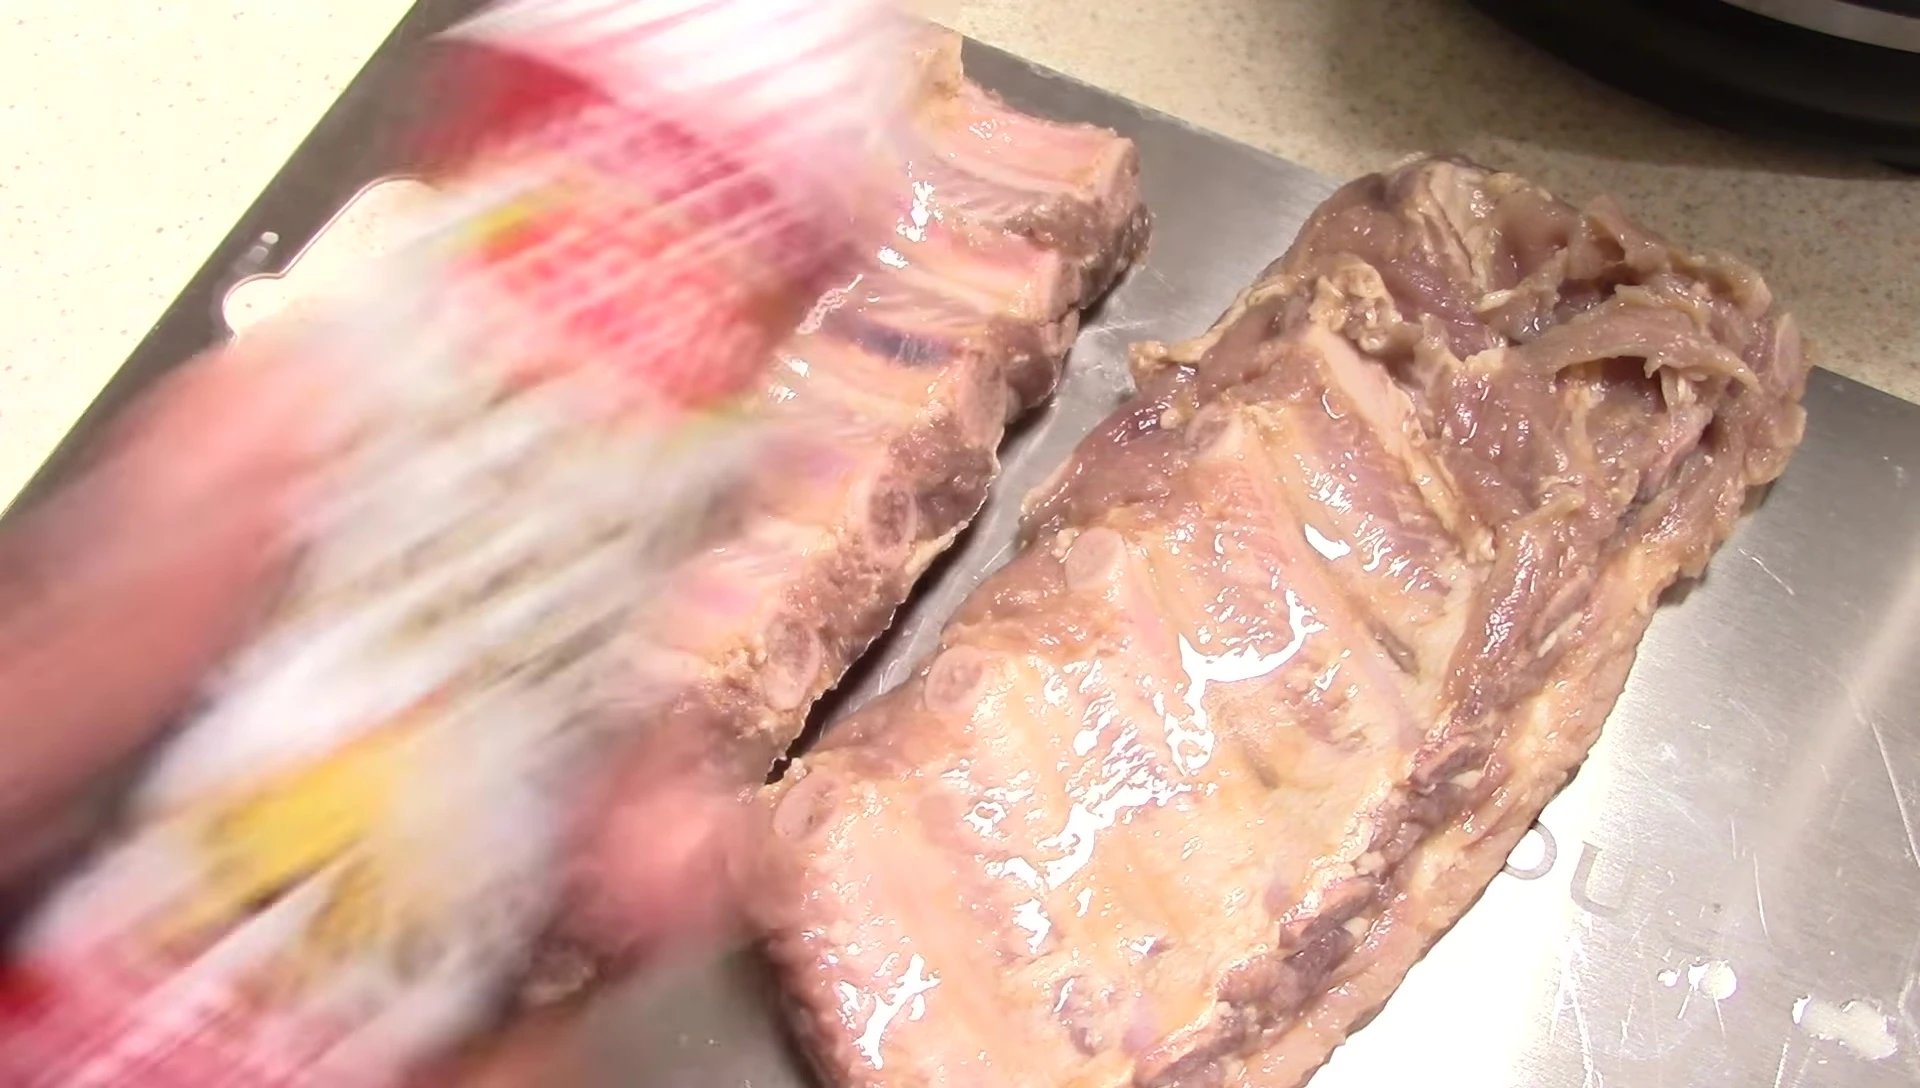
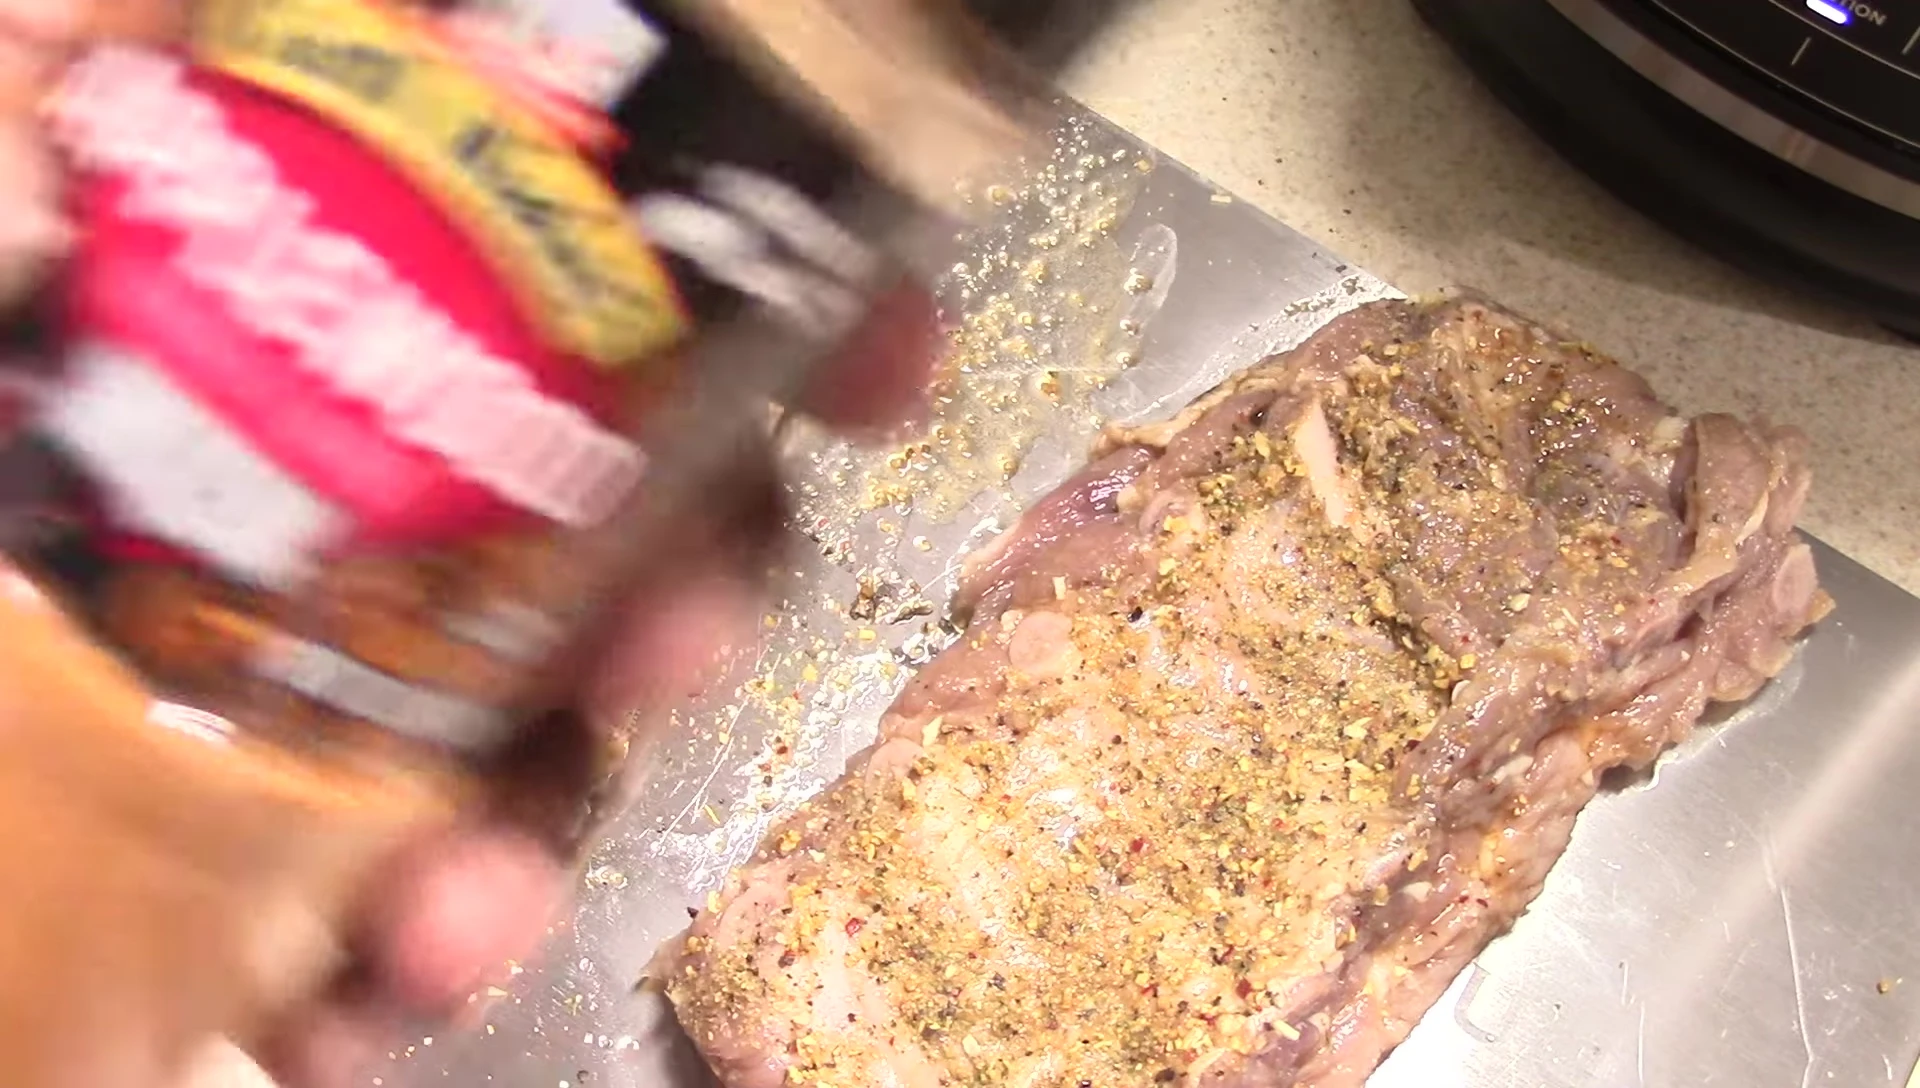
Next, generously season both sides of the ribs with liquid smoke (optional but recommended), pink salt, black pepper, and garlic powder. Don't forget to remove the membrane from the back of the ribs before seasoning for optimal tenderness.
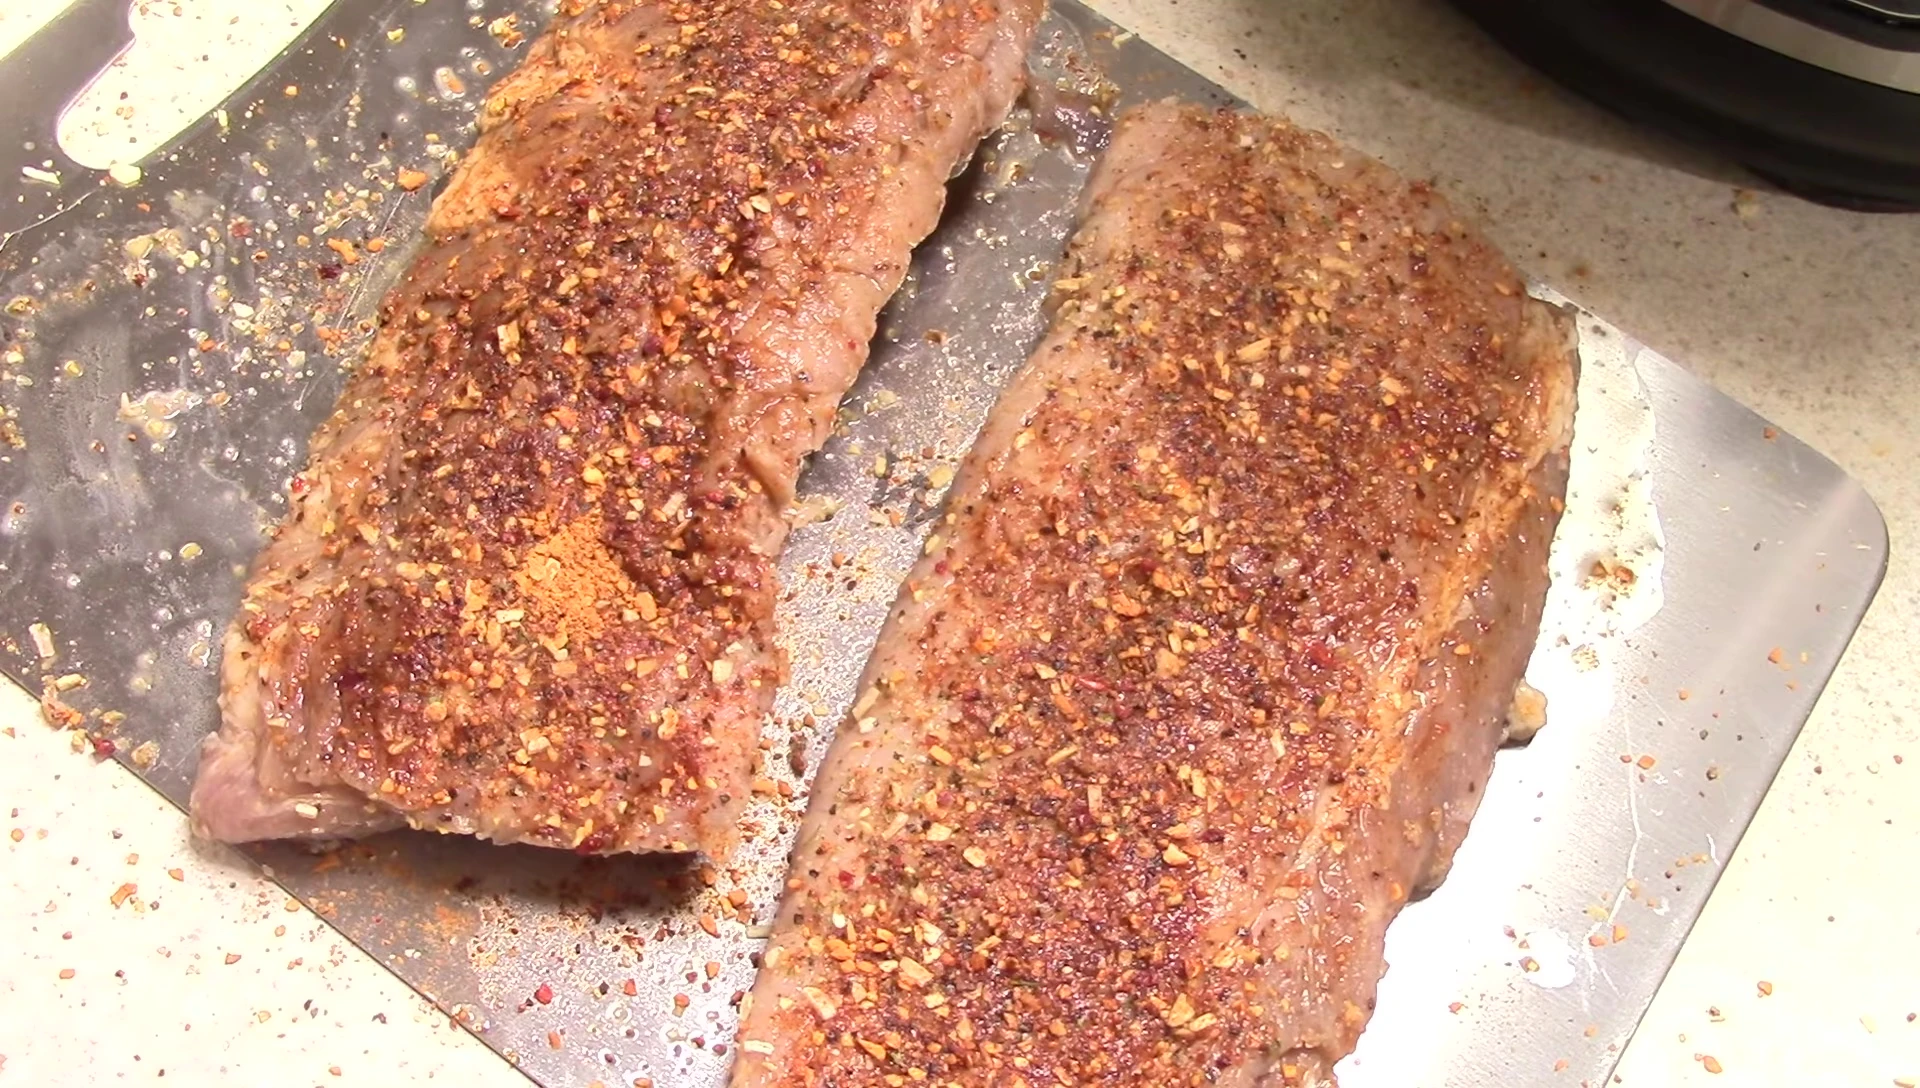
Finally, apply your favorite rub—I used an applewood rub—to both sides of the ribs. Remember, feel free to experiment with different rubs and spices to suit your taste preferences.
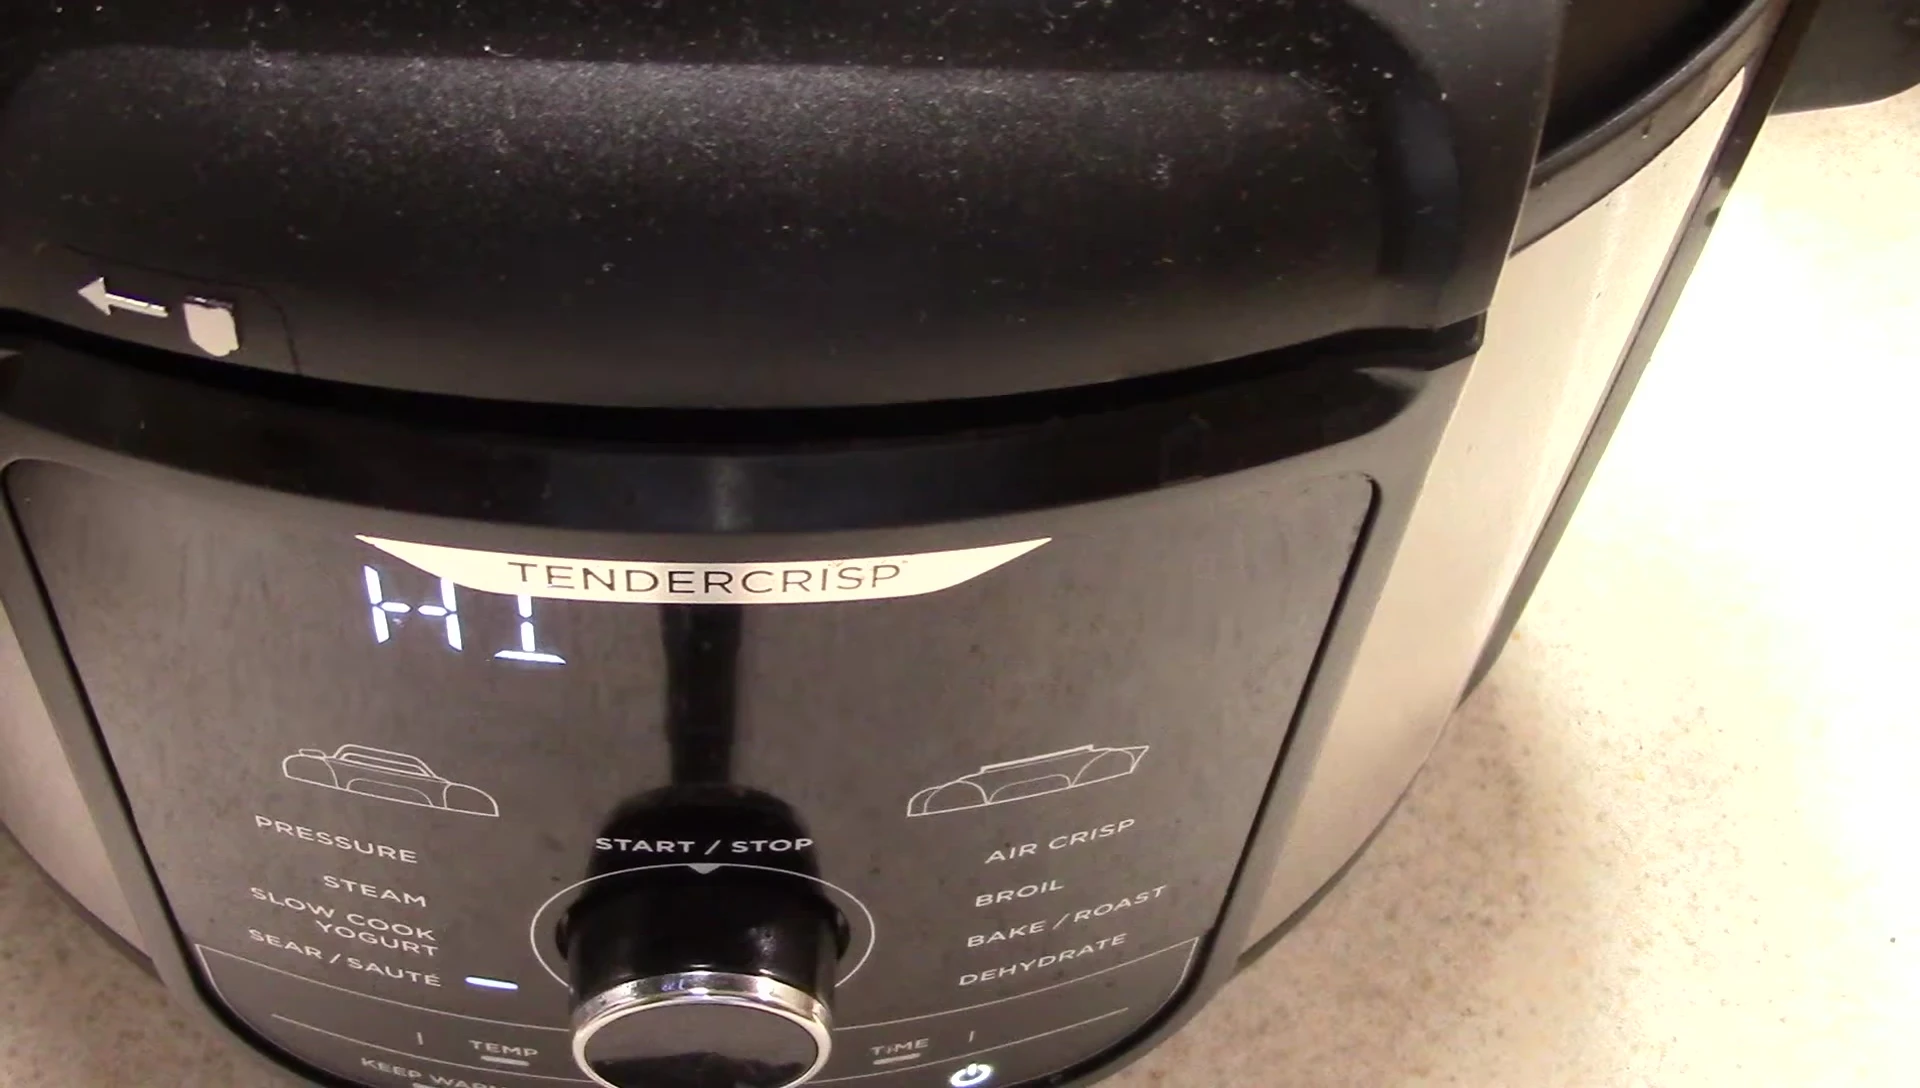
Pressure Cooking
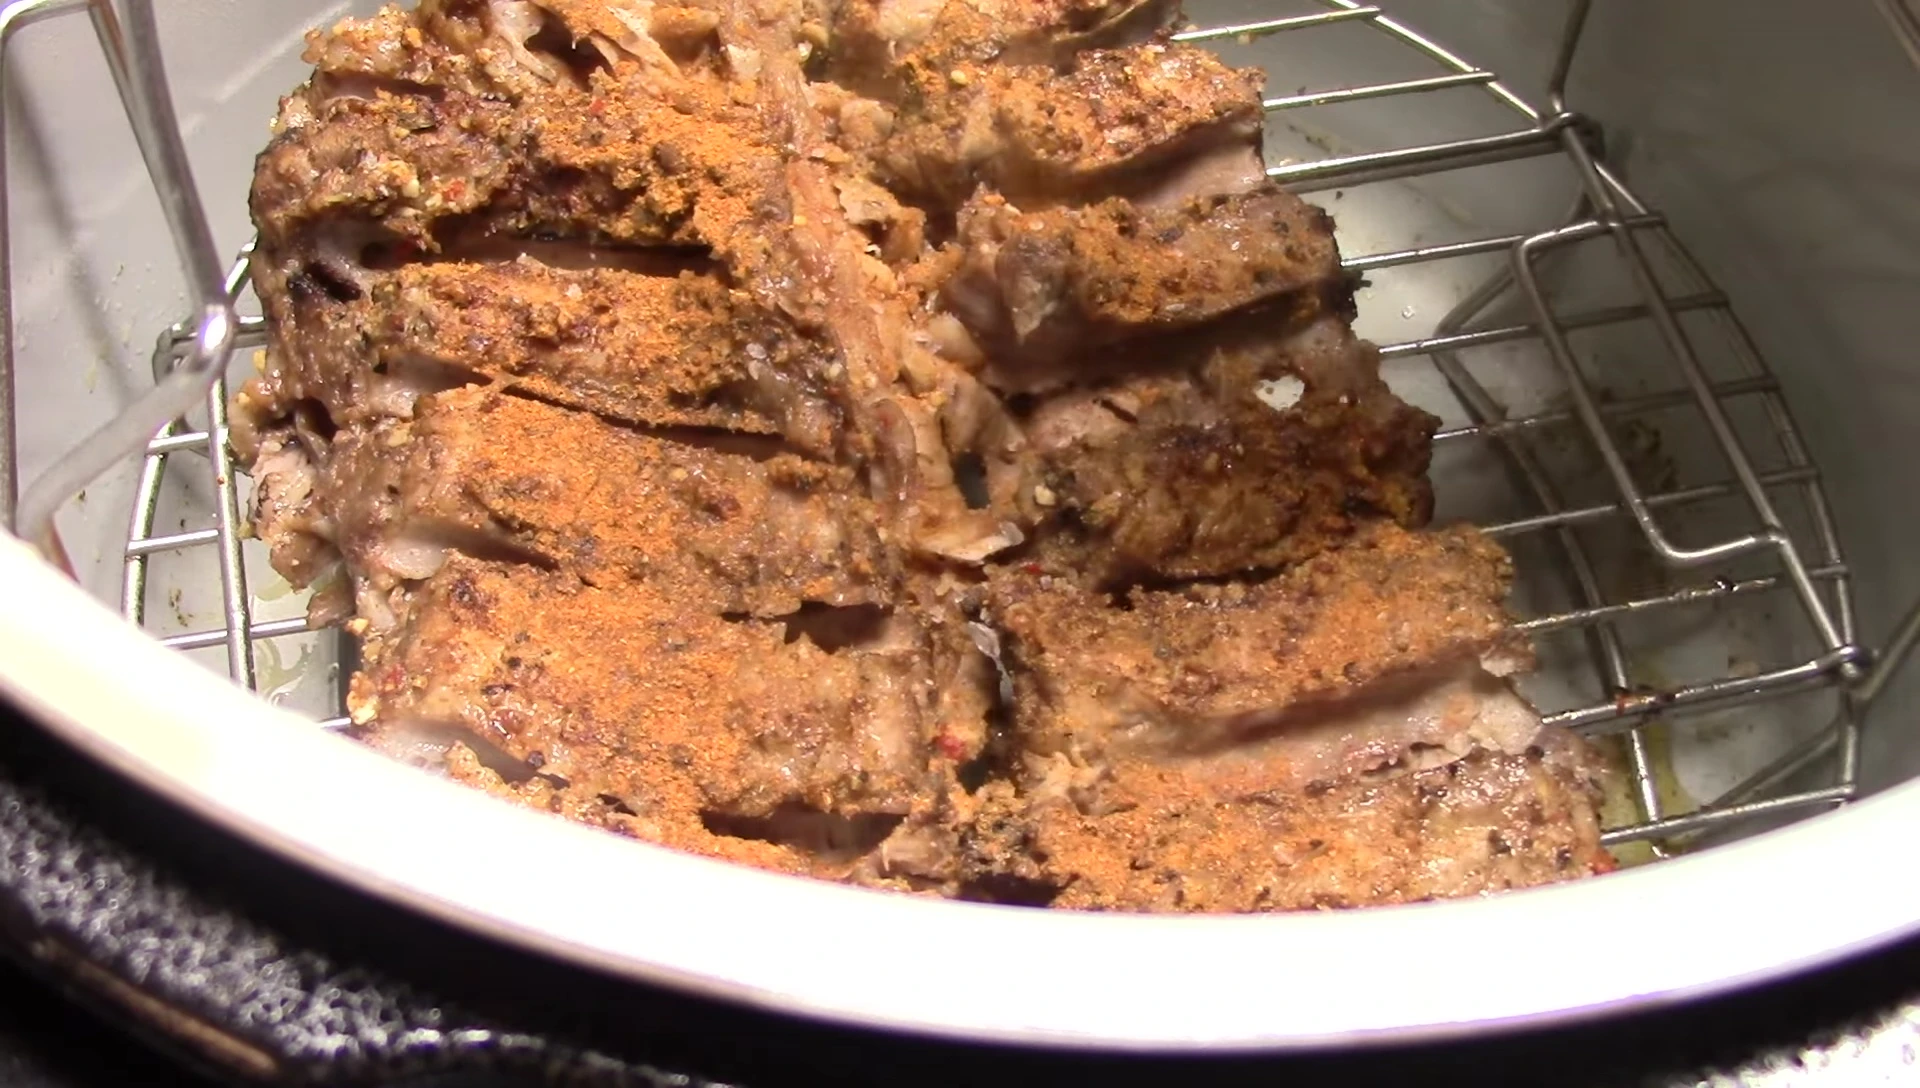
Place the seasoned ribs into your Ninja Foodi Deluxe pressure cooker. Add 1 ½ cups of water (or water with apple cider vinegar if you didn't pre-marinate).
Secure the lid, set the valve to “seal,” and select high pressure. Pressure cook for 20 minutes, followed by a 20-minute natural pressure release. This ensures perfectly tender ribs.
After the natural pressure release, carefully remove the ribs from the cooker. You can now remove the bones from the ribs for easier handling if desired.
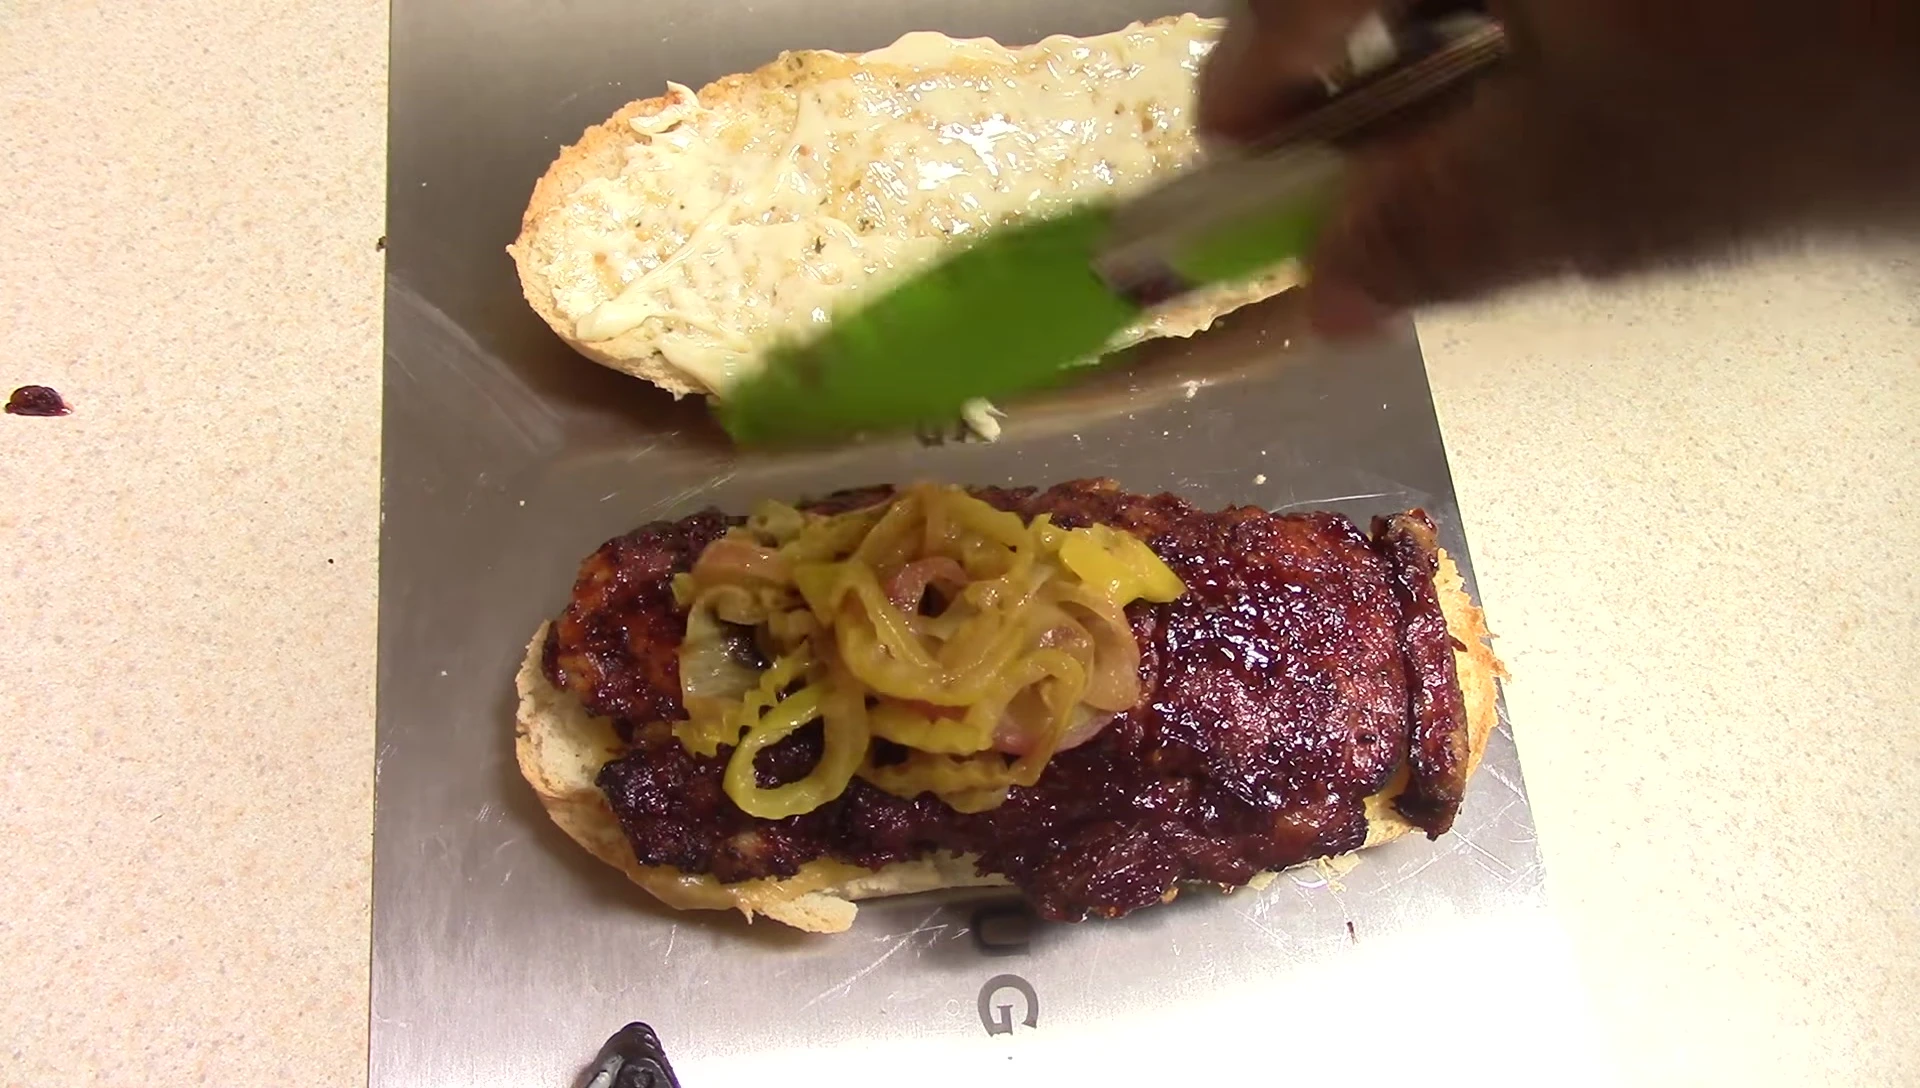
Finishing & Assembling the Sandwich
Once the ribs are cooked, generously apply your favorite barbecue sauce (I used Baby Ray's). You can also add some salt and cayenne pepper for extra flavor.
Place the ribs in the Ninja Foodi and air fry on broil for 5 minutes per side, flipping halfway through. This will help caramelize the sauce and create a beautiful glaze.
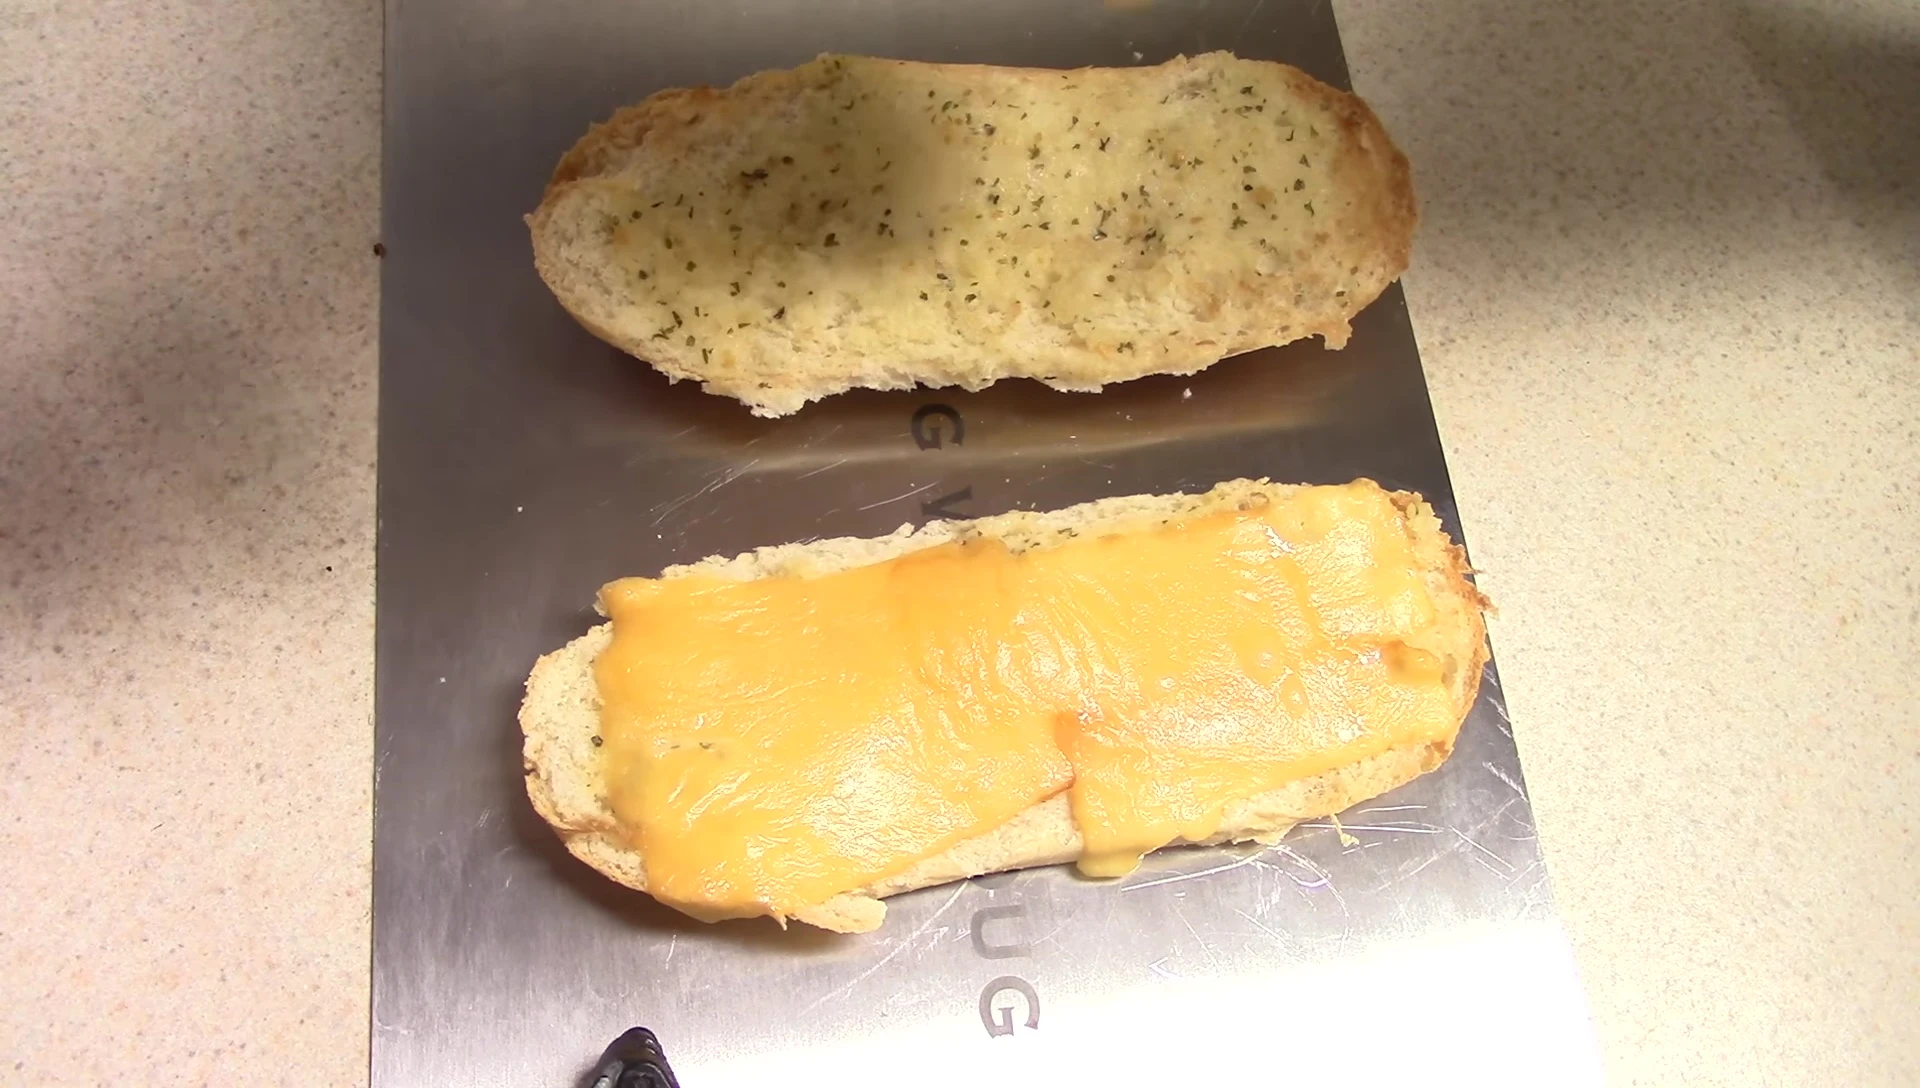
Build your sandwich! Use your favorite bread and add sauteed onions and peppers for extra flavor and texture. The recipe creator used yellow and red onions and banana peppers.
Conclusion & Final Thoughts
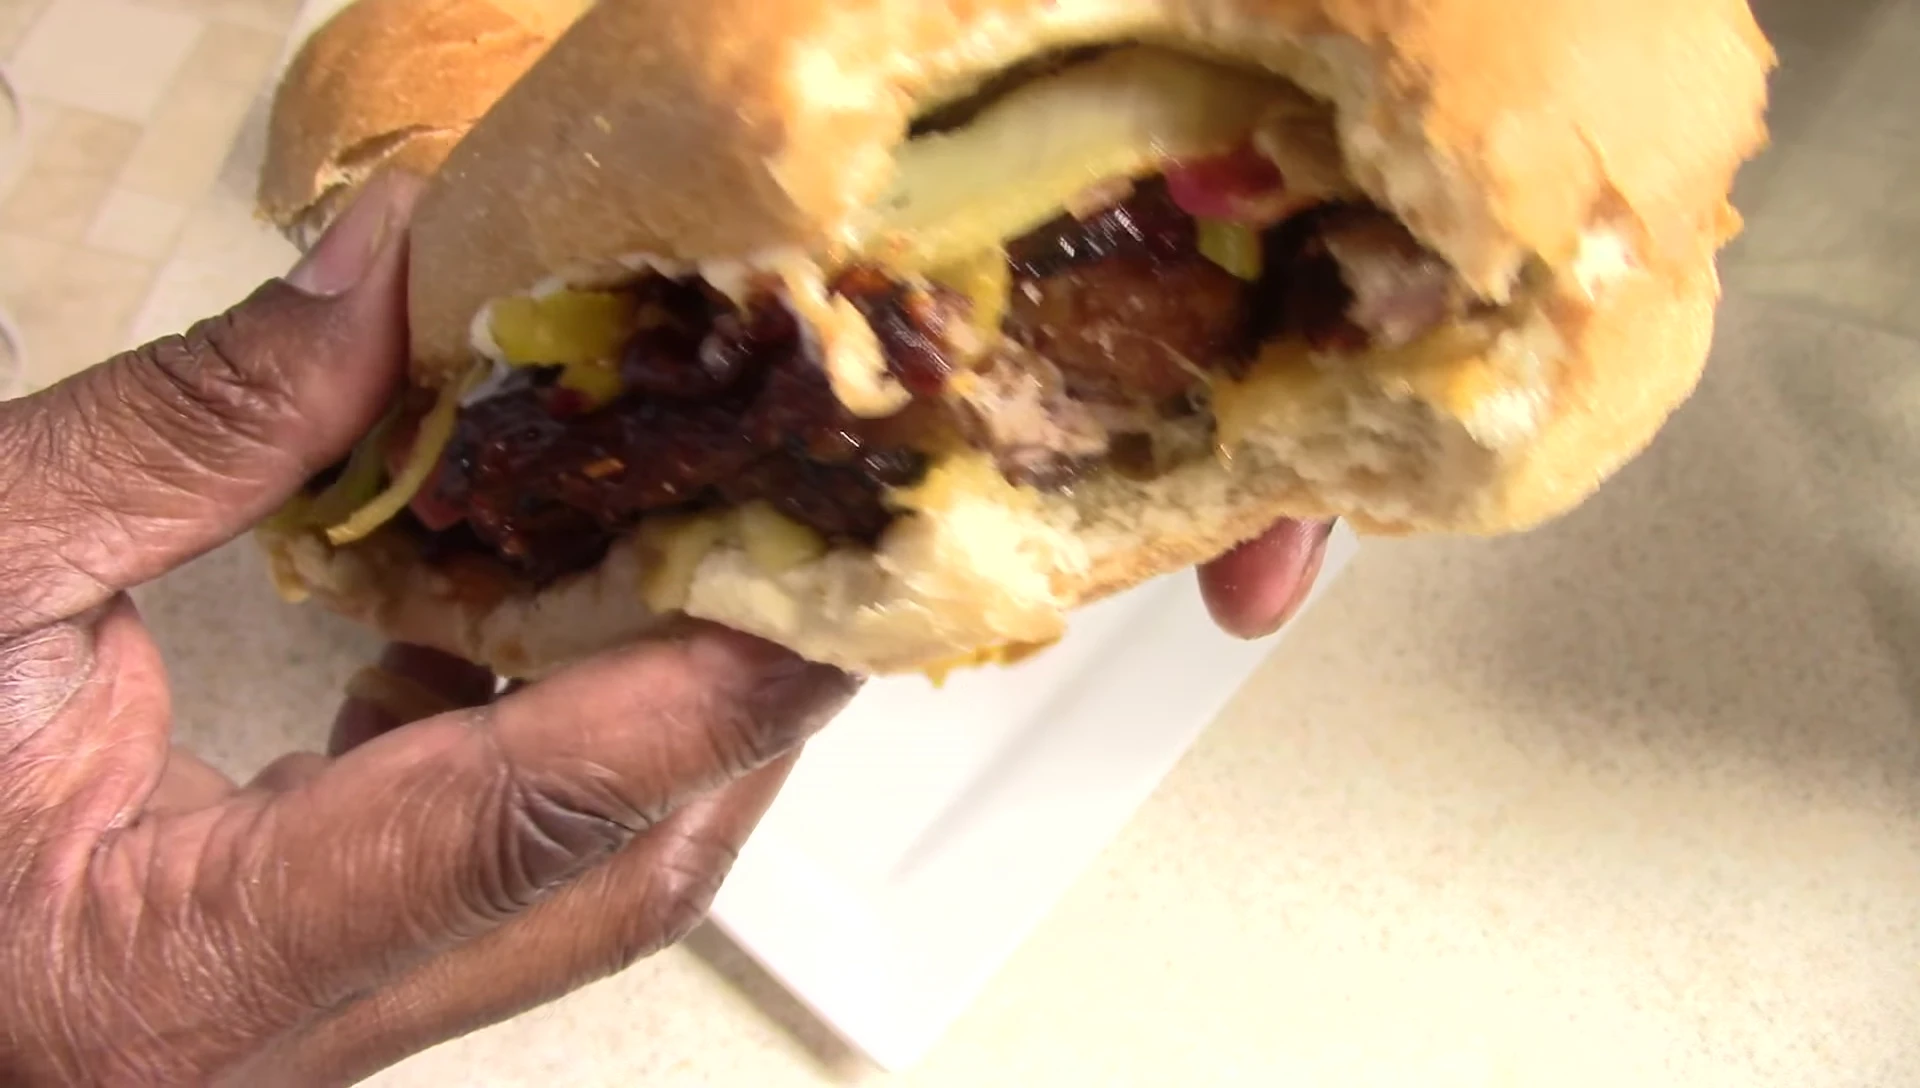
This Baby Back Rib Sandwich recipe is a fantastic way to utilize your Ninja Foodi Deluxe. The pressure cooking method creates incredibly tender ribs, while the air frying adds a delicious crispy texture and caramelized flavor.
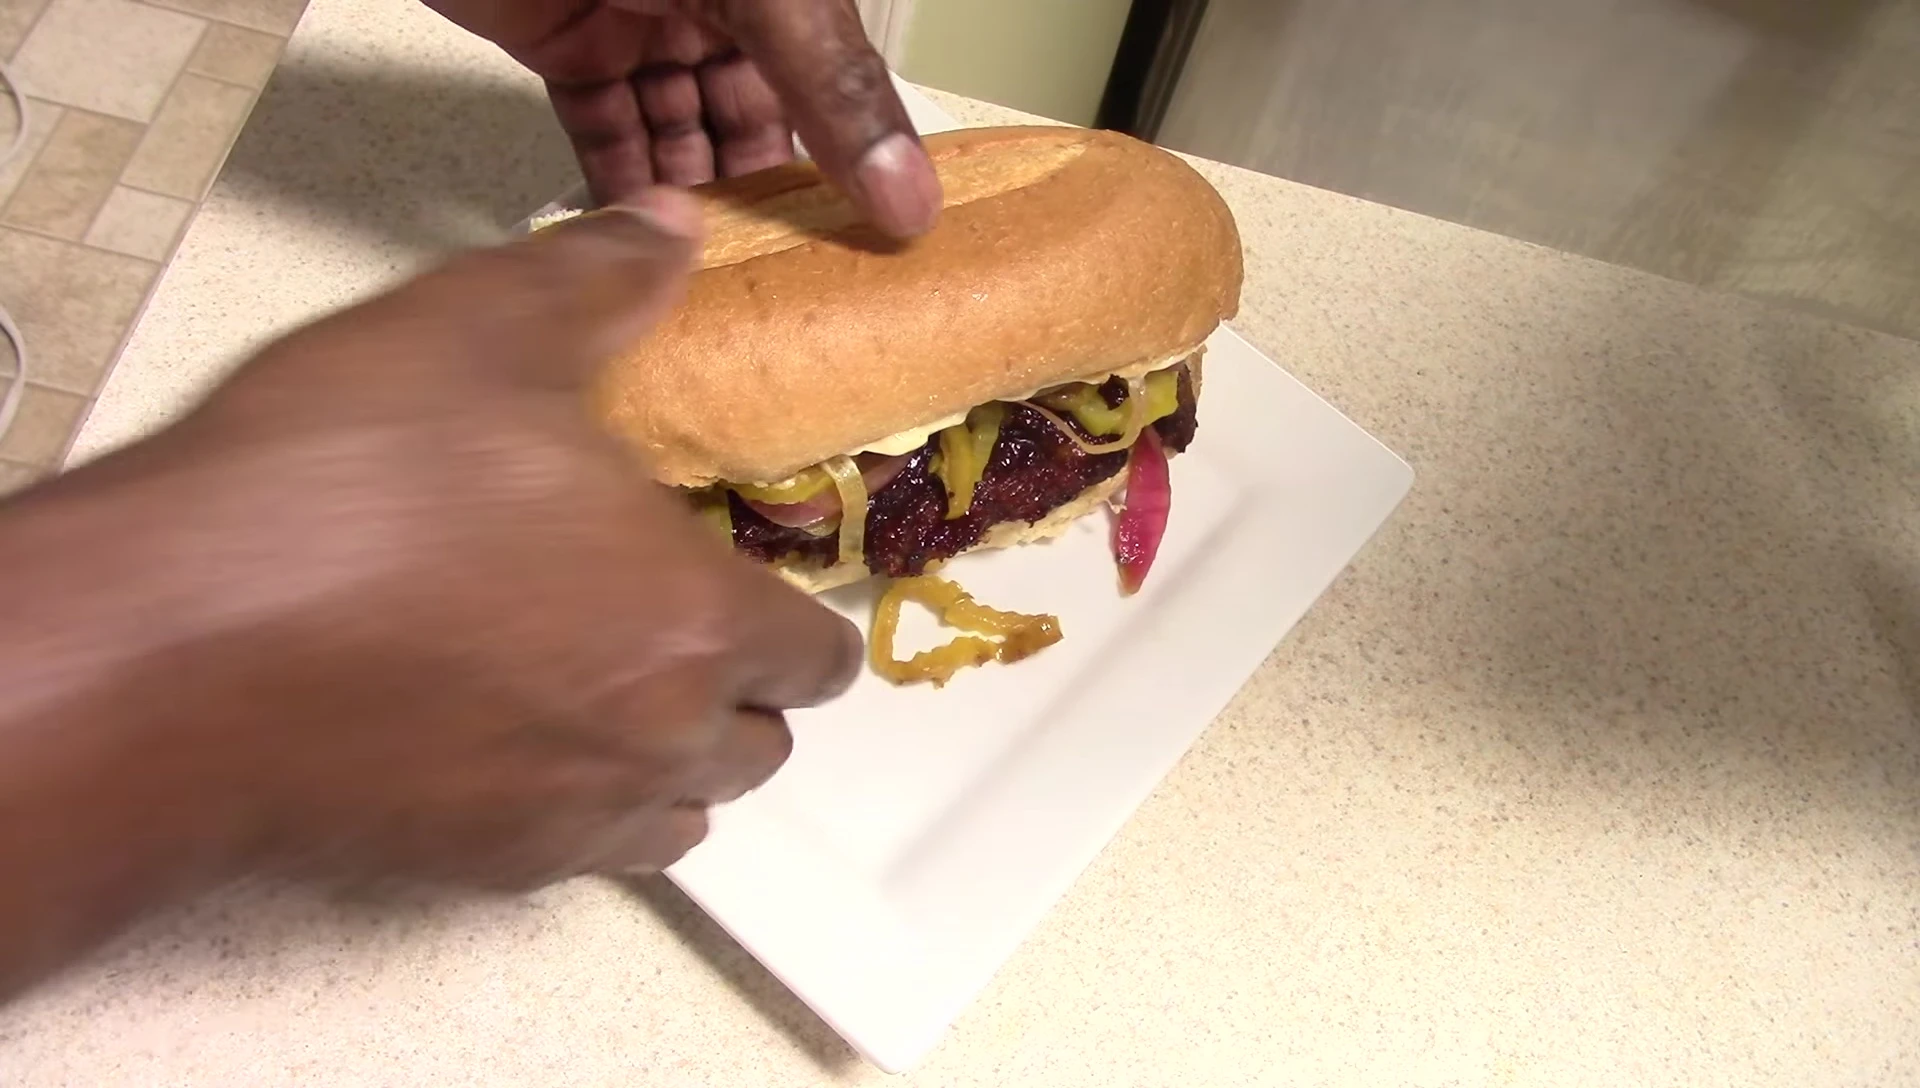
The addition of sauteed onions and peppers adds a nice balance of sweetness and heat. The entire process is relatively easy and efficient, making it perfect for a weeknight meal or a special occasion.
Overall, this recipe is a delicious and creative twist on a classic dish, showcasing the versatility of the Ninja Foodi Deluxe. Highly recommended for those looking for a flavorful and convenient meal.