This article details a head-to-head grilling competition between two Weber grills: the classic Weber Kettle and the high-end Weber Summit, using Kurobuta pork ribs as the star ingredient. We'll explore the entire cooking process, from meticulous rib preparation – including membrane removal and the application of a flavorful rub – to the precise temperature control and indirect cooking techniques employed on each grill. The goal? To achieve perfectly tender, fall-off-the-bone ribs with a beautiful bark and smoky flavor.This showdown focuses on the subtle differences in performance between these two popular grills. We’ll analyze the advantages of the Weber Summit’s superior temperature control and built-in heat deflector compared to the more traditional Weber Kettle, using temperature monitoring systems to track the cooking process and ensure consistent low and slow cooking. The results demonstrate the impact of consistent temperature management on the final product, offering insights for both seasoned and aspiring barbecue enthusiasts.
Pros And Cons
- Holds temperature better than ceramics
- Amazing temperature control
- Comes with a heat deflector for indirect heat
- Efficient fuel consumption
- Killer fat rendering
- Amazing flavor (based on reviewer's statement)
- Good bark
- Less meat than expected
- Half the membrane was left on by the butcher (according to reviewer)
- Meat and fat rendered well
- Good flavor (based on reviewer's statement)
Read more: 10 Best Big Green Egg Rib Racks: A Buyer's Guide
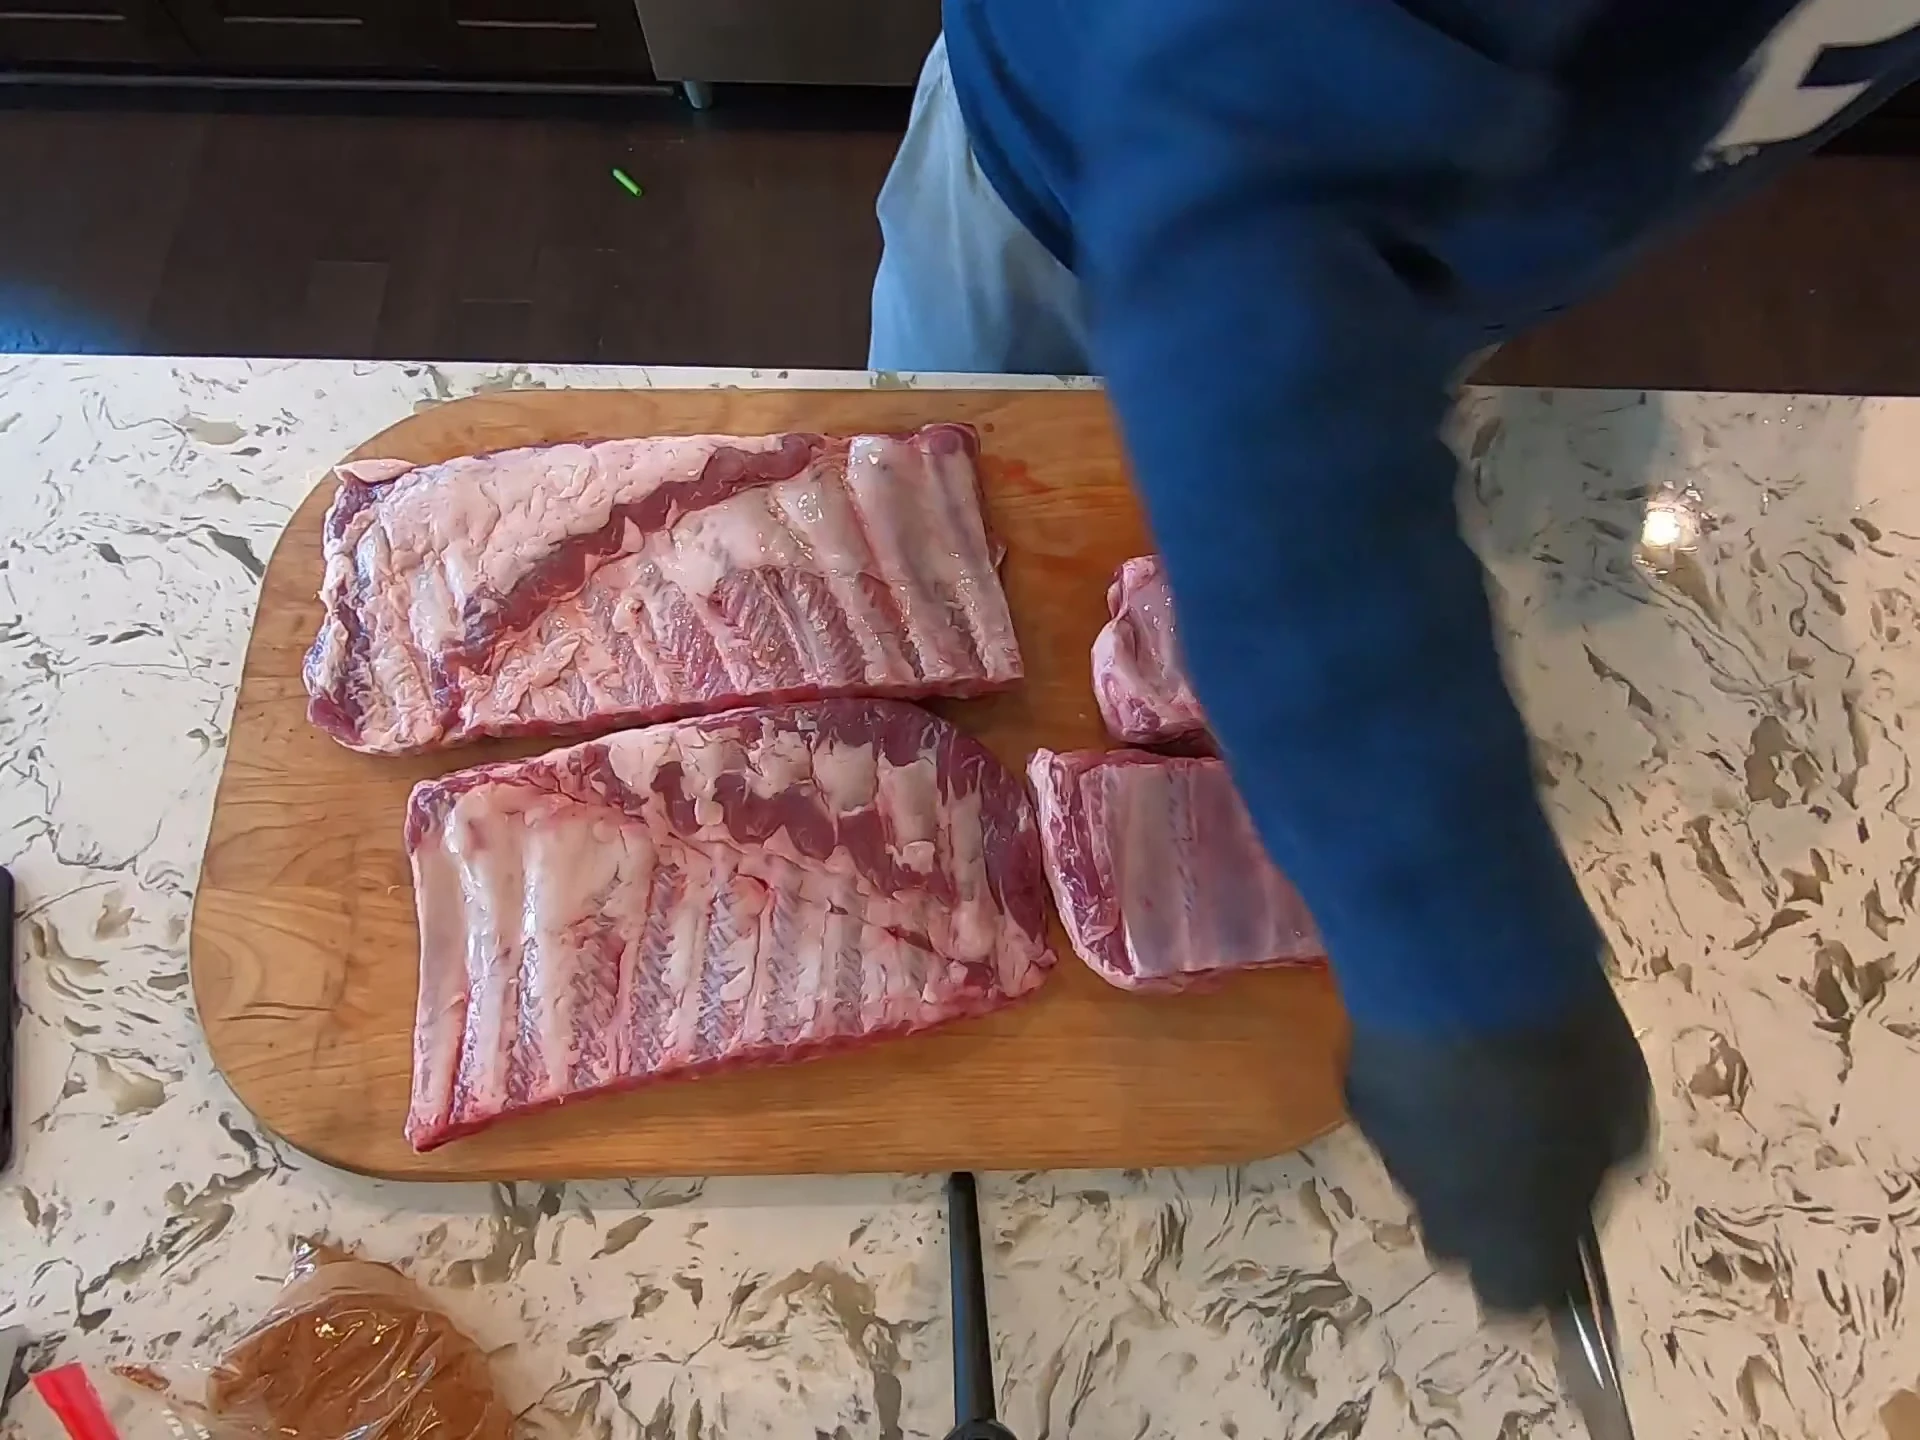
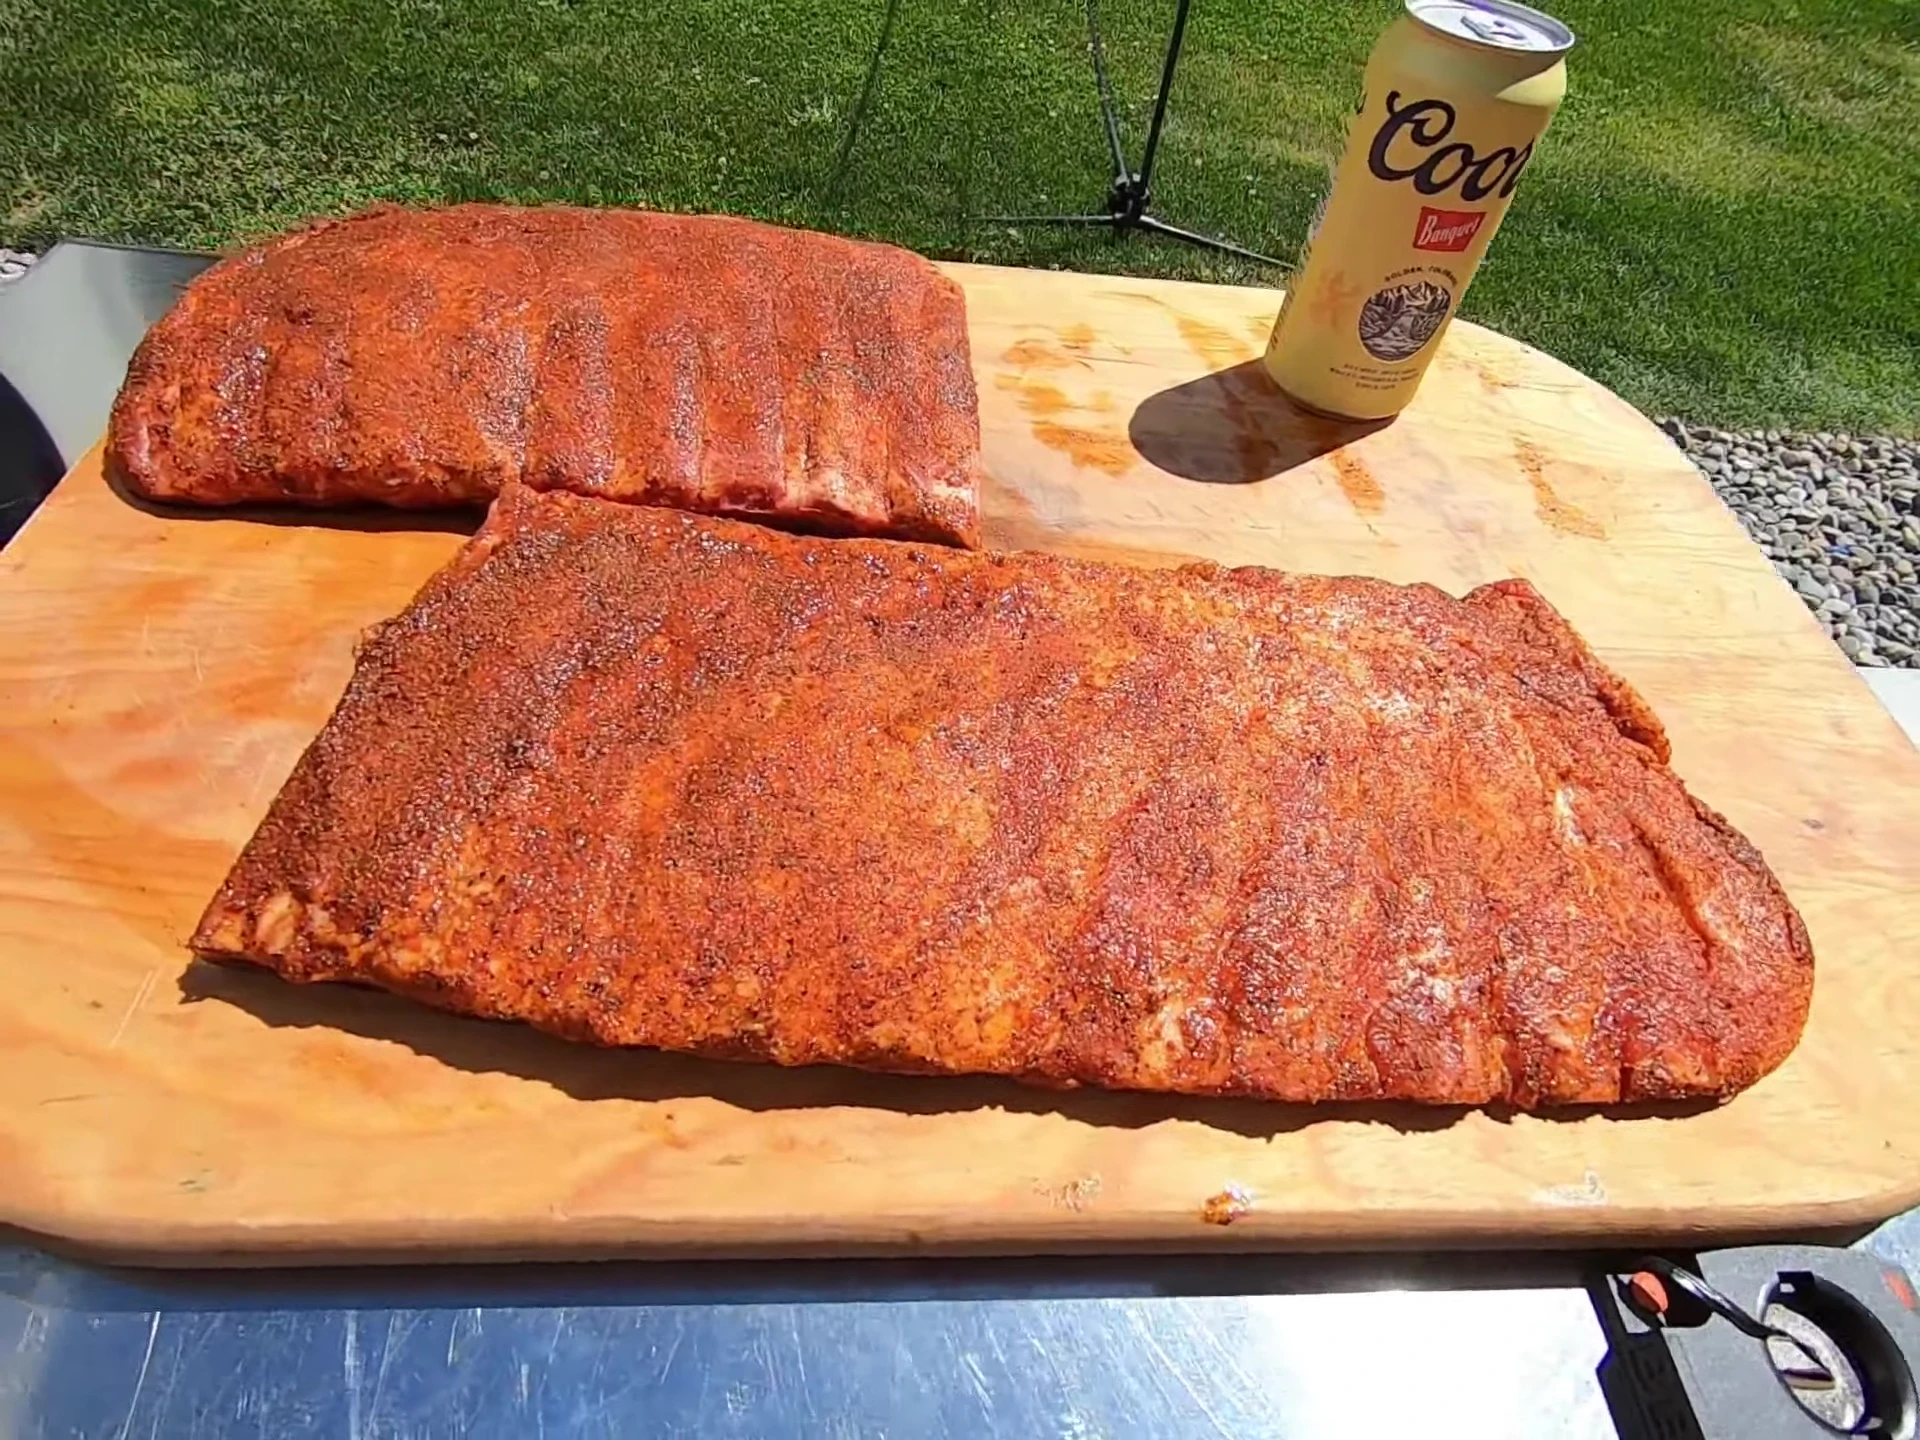
Rib Preparation: Membrane Removal and Seasoning
The first step in achieving perfectly tender and flavorful ribs is proper preparation. This involves removing the membrane from the back of the ribs to ensure even cooking and prevent a tough, chewy texture. A sharp knife or even a butter knife can be used to carefully separate the membrane from the bone.
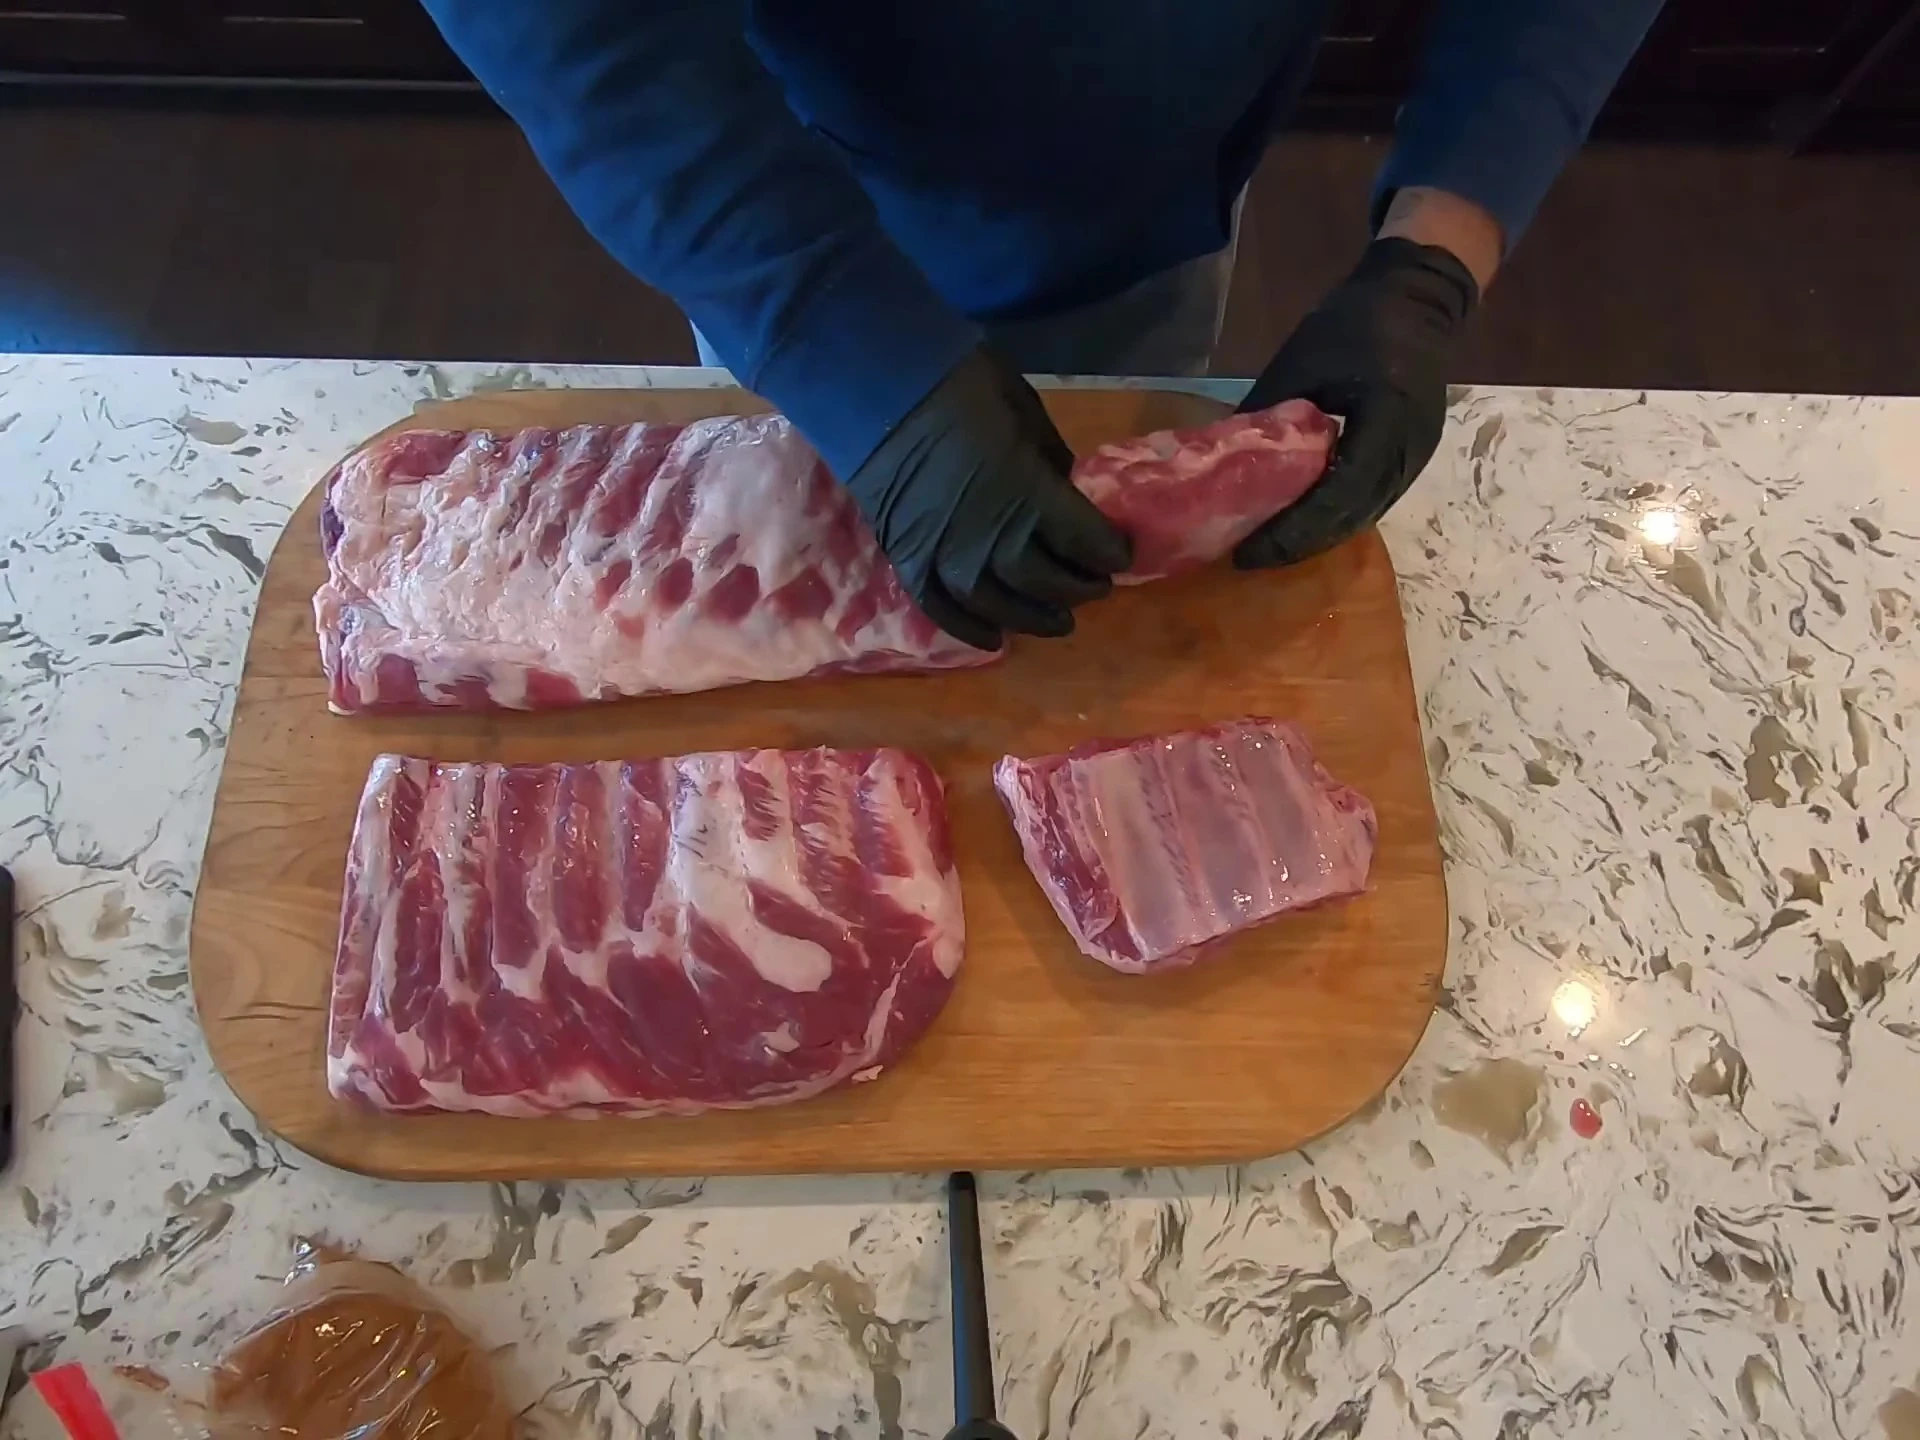
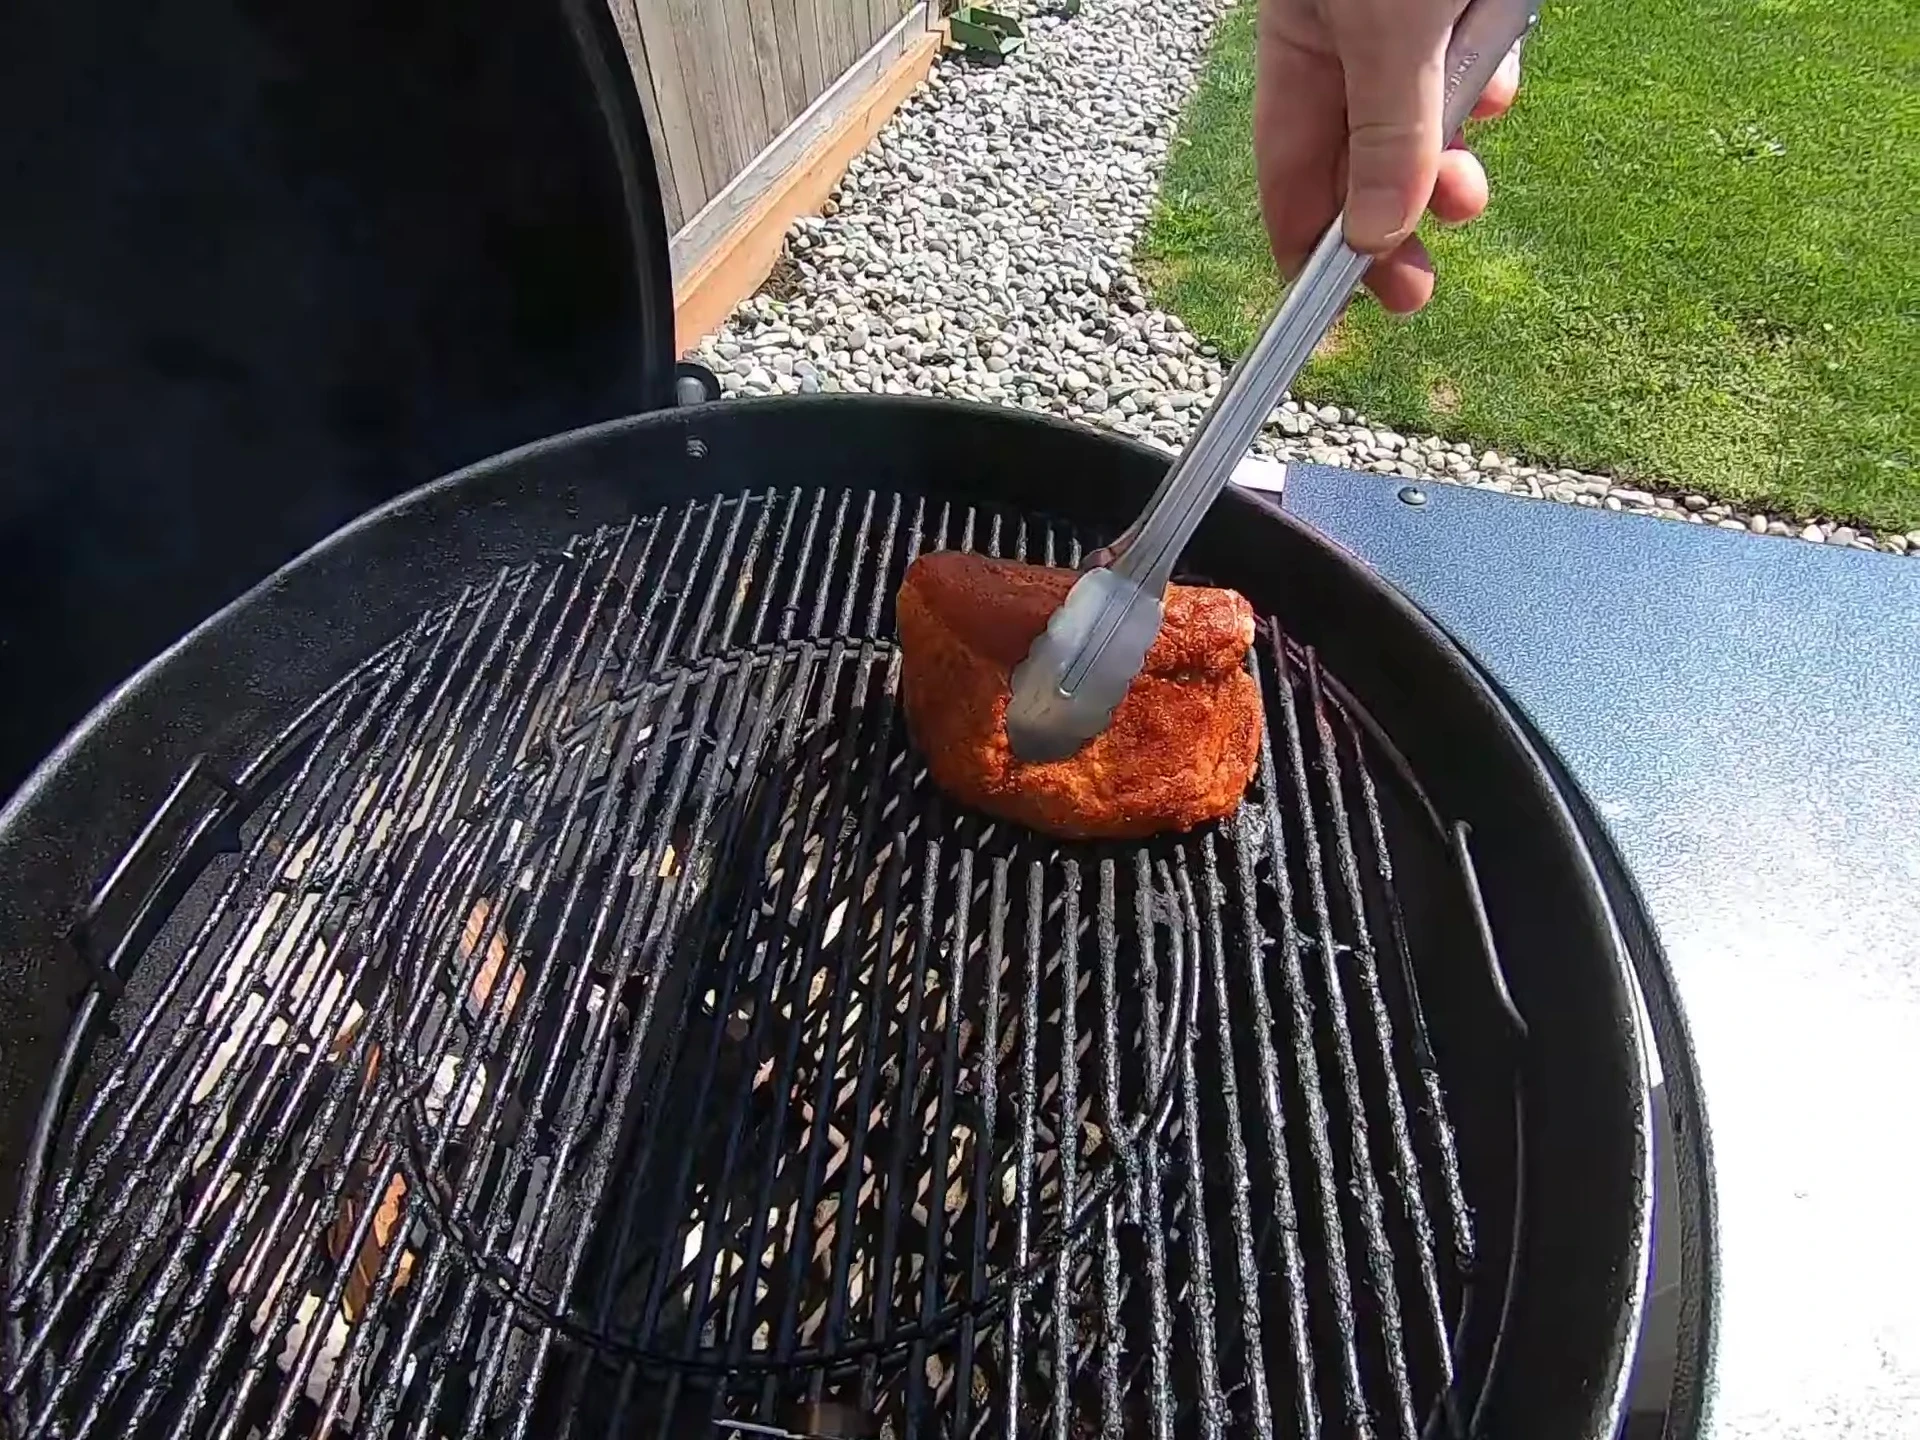
After removing the membrane, it's time to generously apply a flavorful rub. I created a simple, yet effective rub that caramelizes beautifully during cooking. The key is to ensure even coverage across every piece of meat, avoiding overly thick application to prevent a cakey consistency.
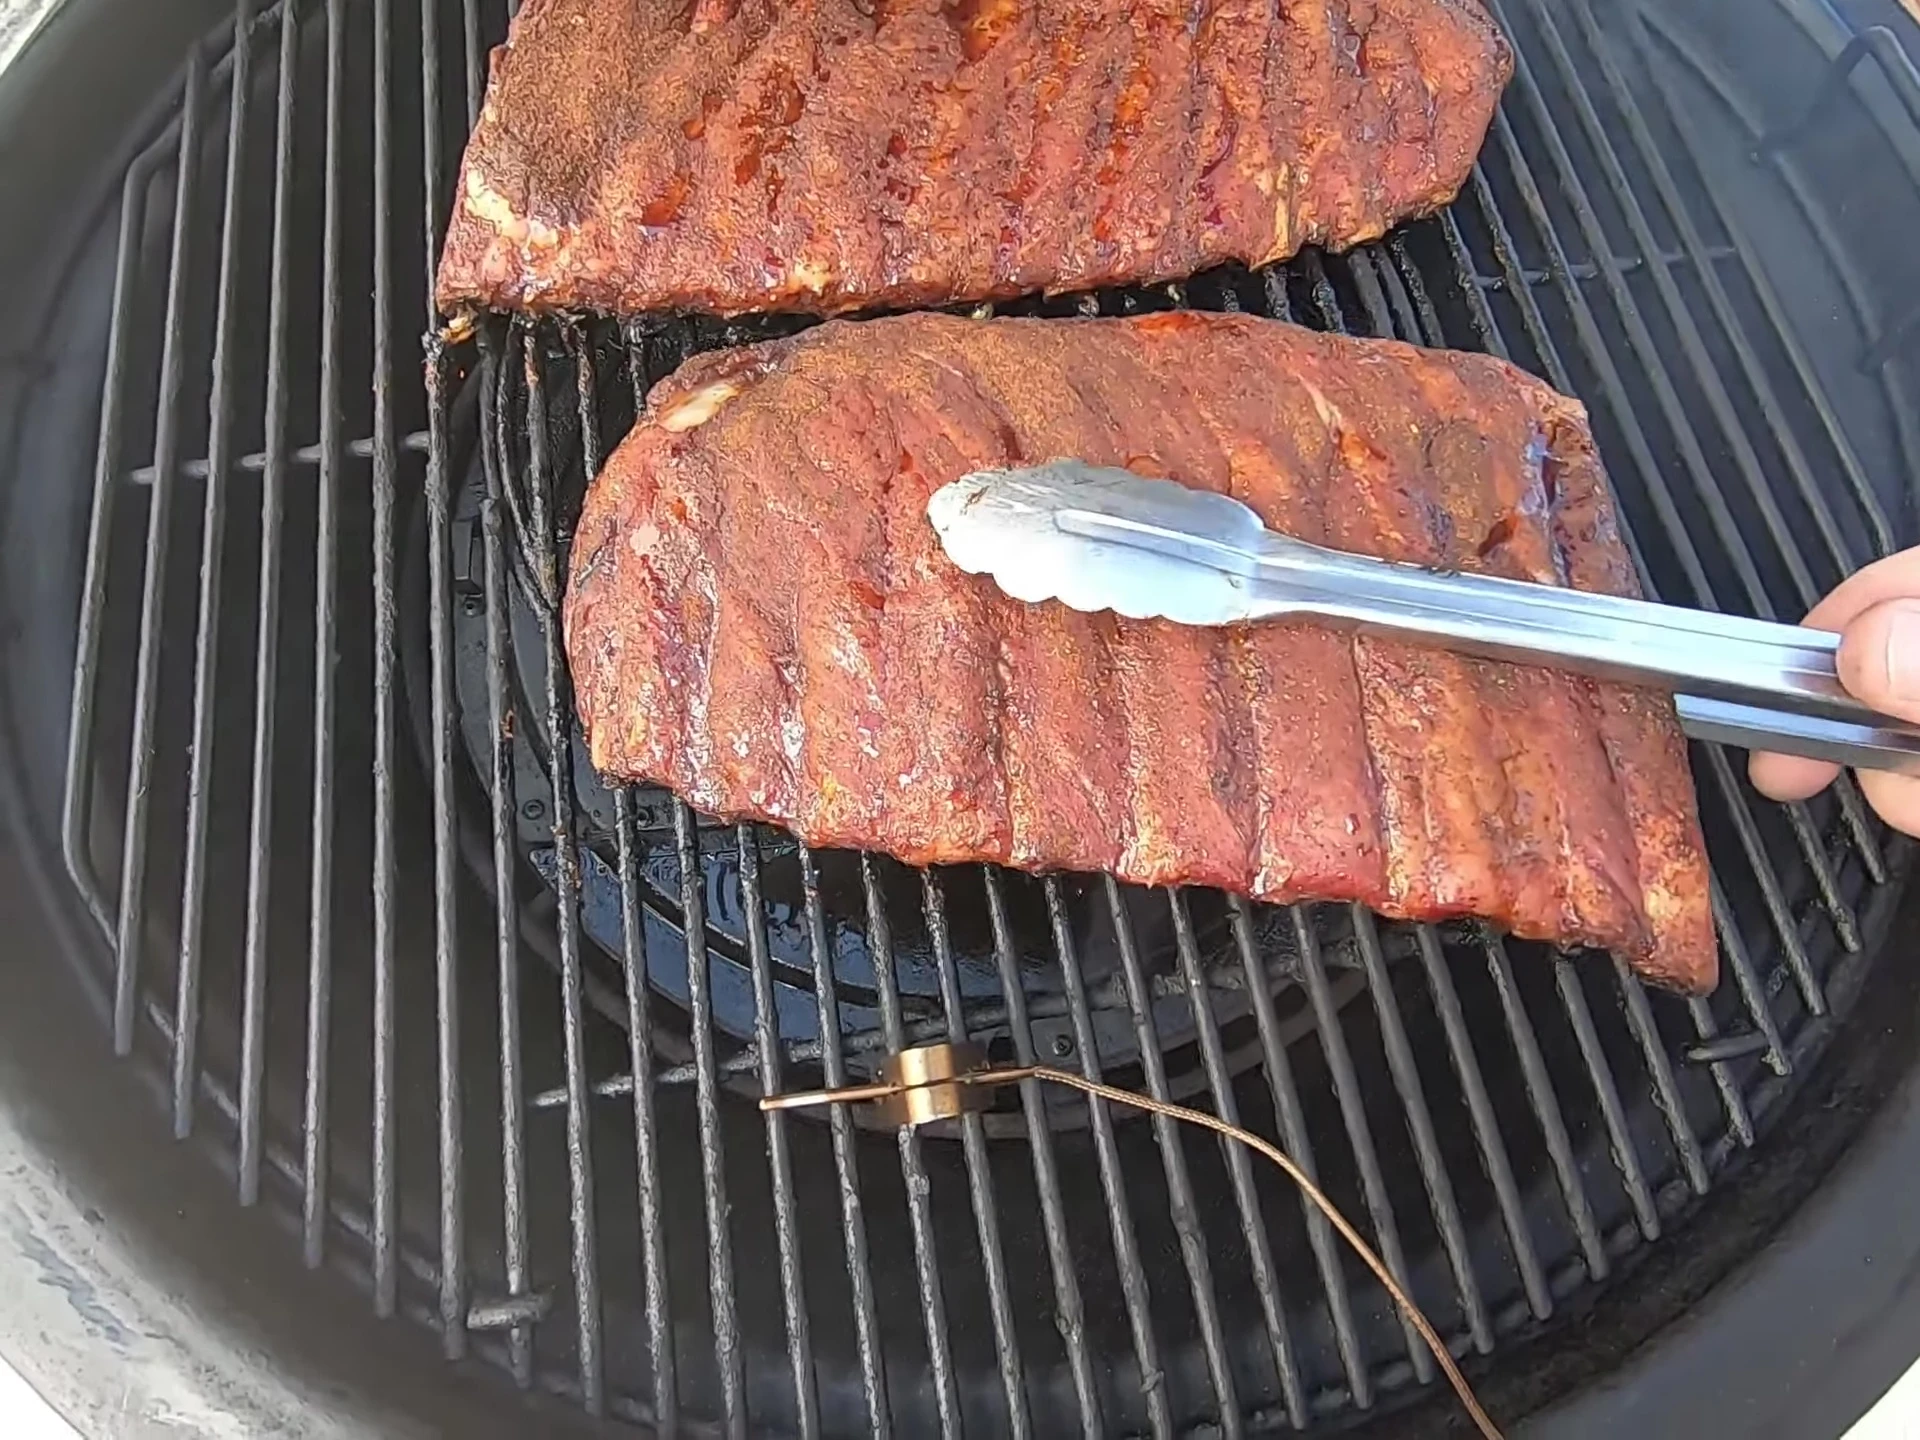
Grilling Setup: Weber Kettle vs. Weber Summit
For this cook-off, I used two Weber grills: the classic Weber Kettle and the high-end Weber Summit Charcoal grill. The Weber Summit, with its superior temperature control, provides a more consistent cooking environment. It's similar to a Big Green Egg or Primo, but I find it holds temperatures even better.
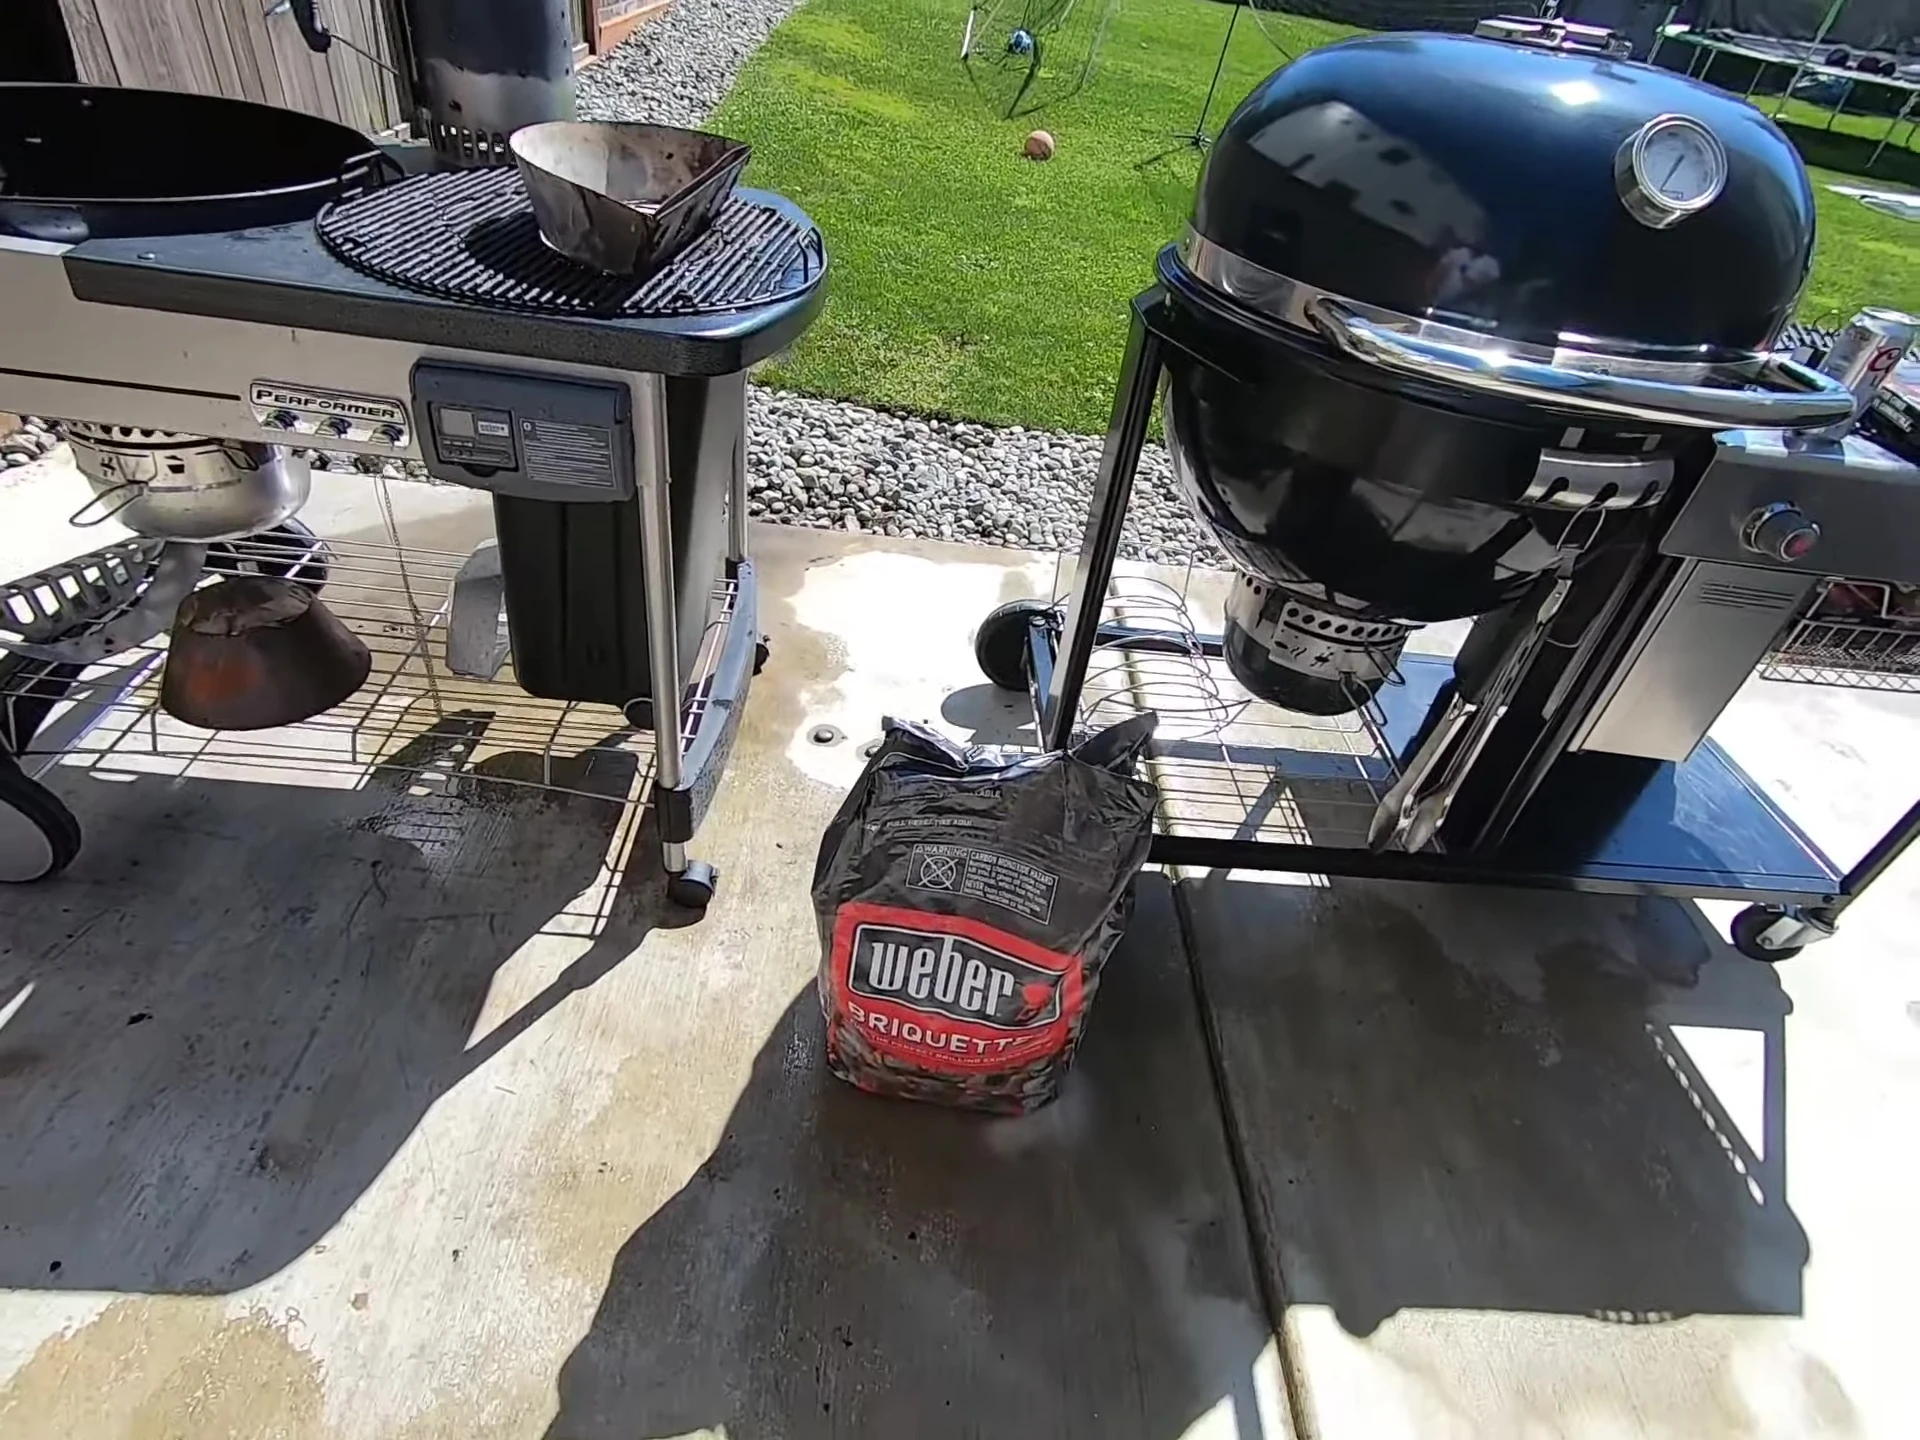

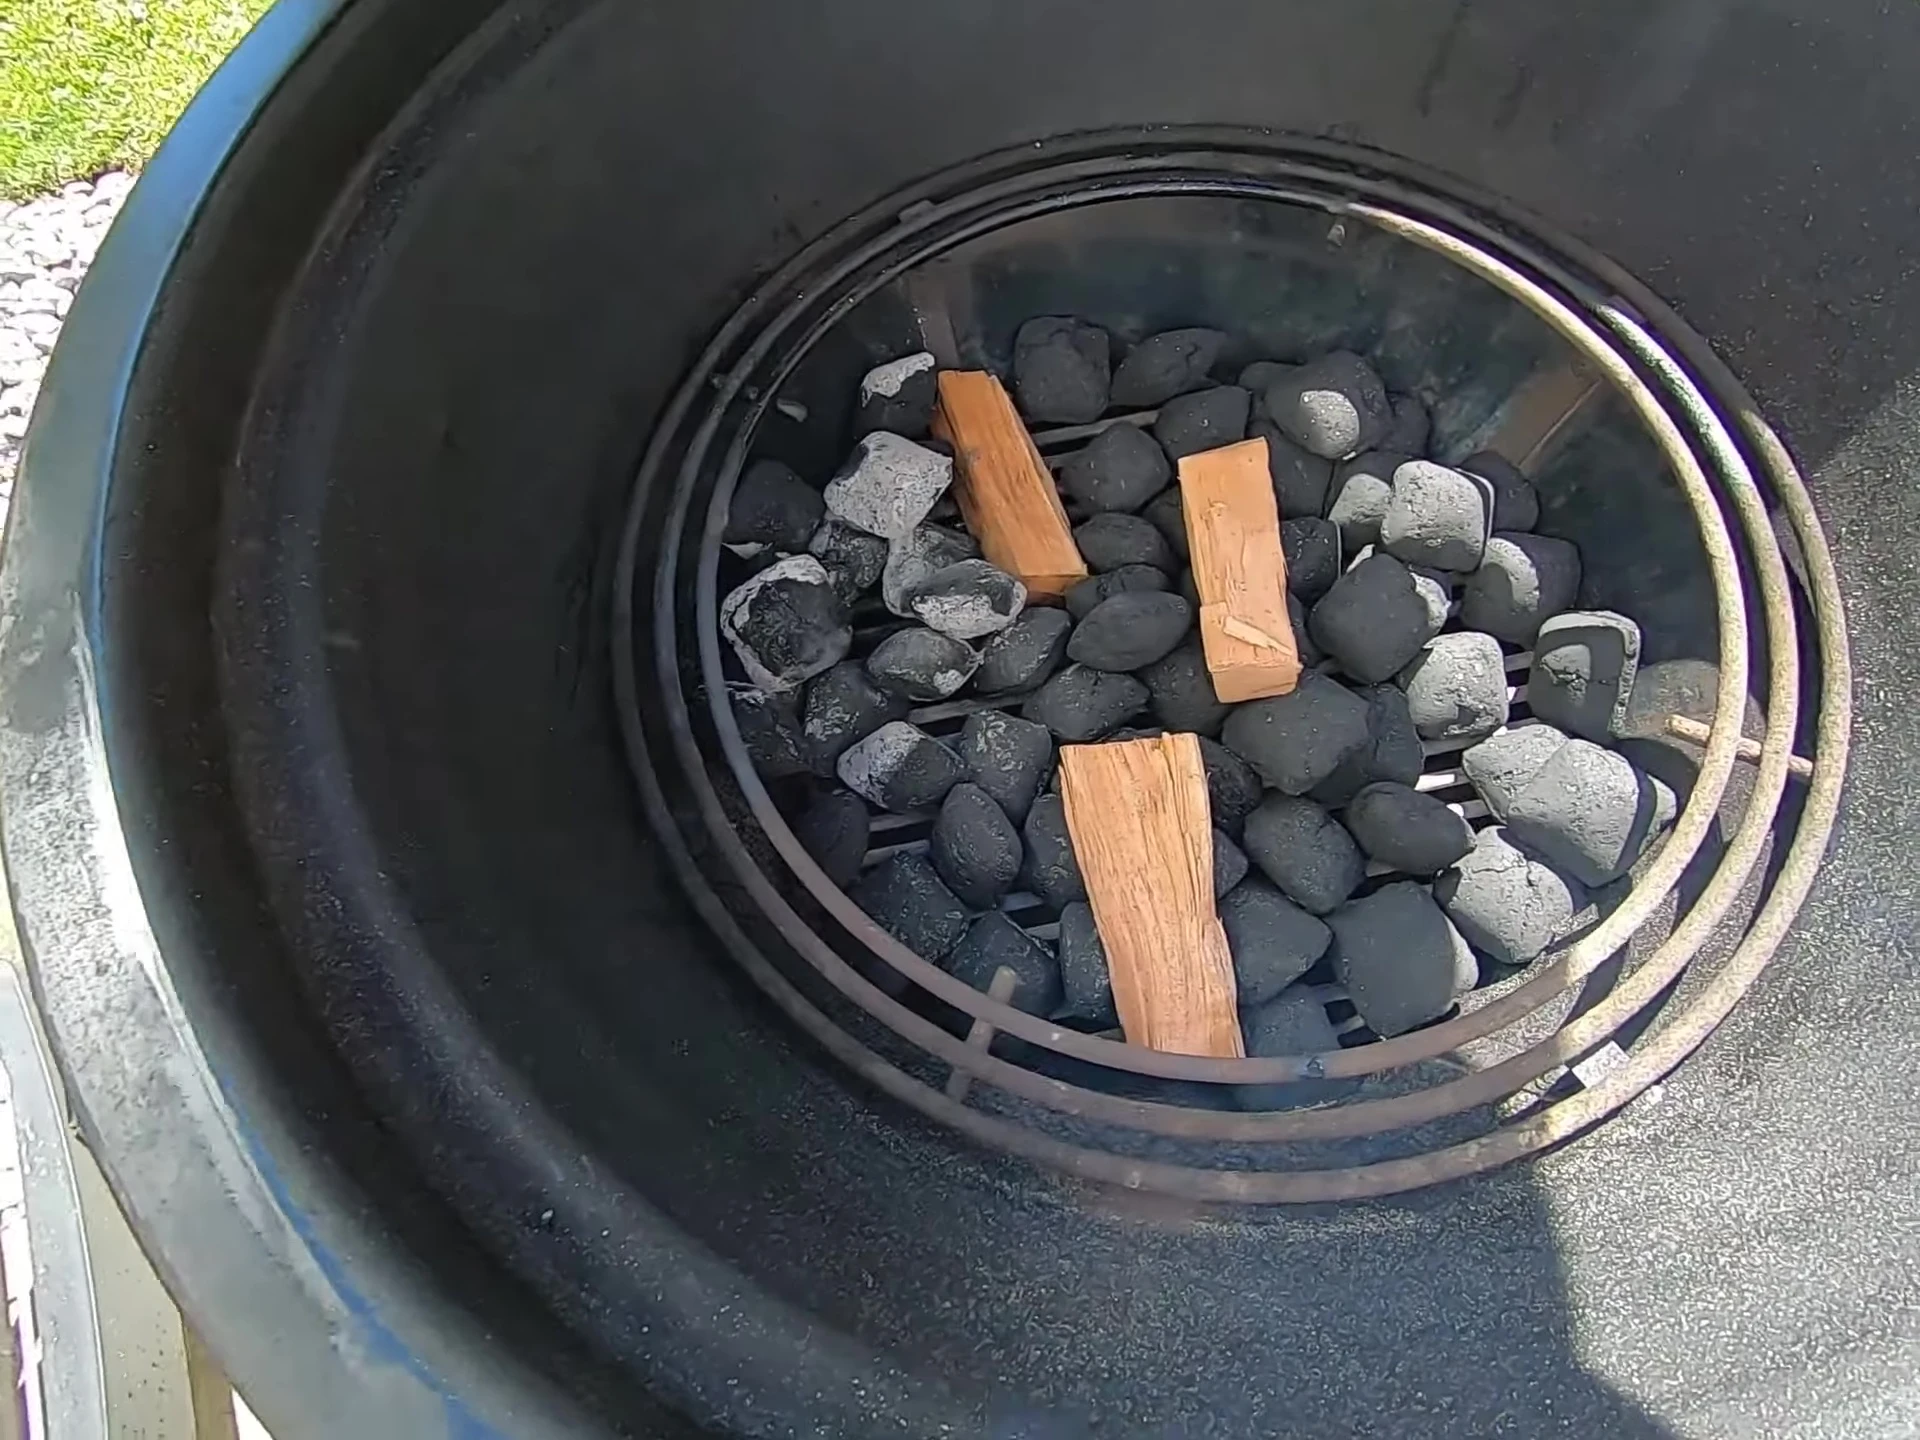
Both grills were set up for indirect cooking. The Weber Kettle used the Slow and Sear insert with a few briquettes and cherry wood for a subtle smoky flavor. The Weber Summit utilized its built-in heat deflector, eliminating direct heat and ensuring even cooking throughout the ribs.

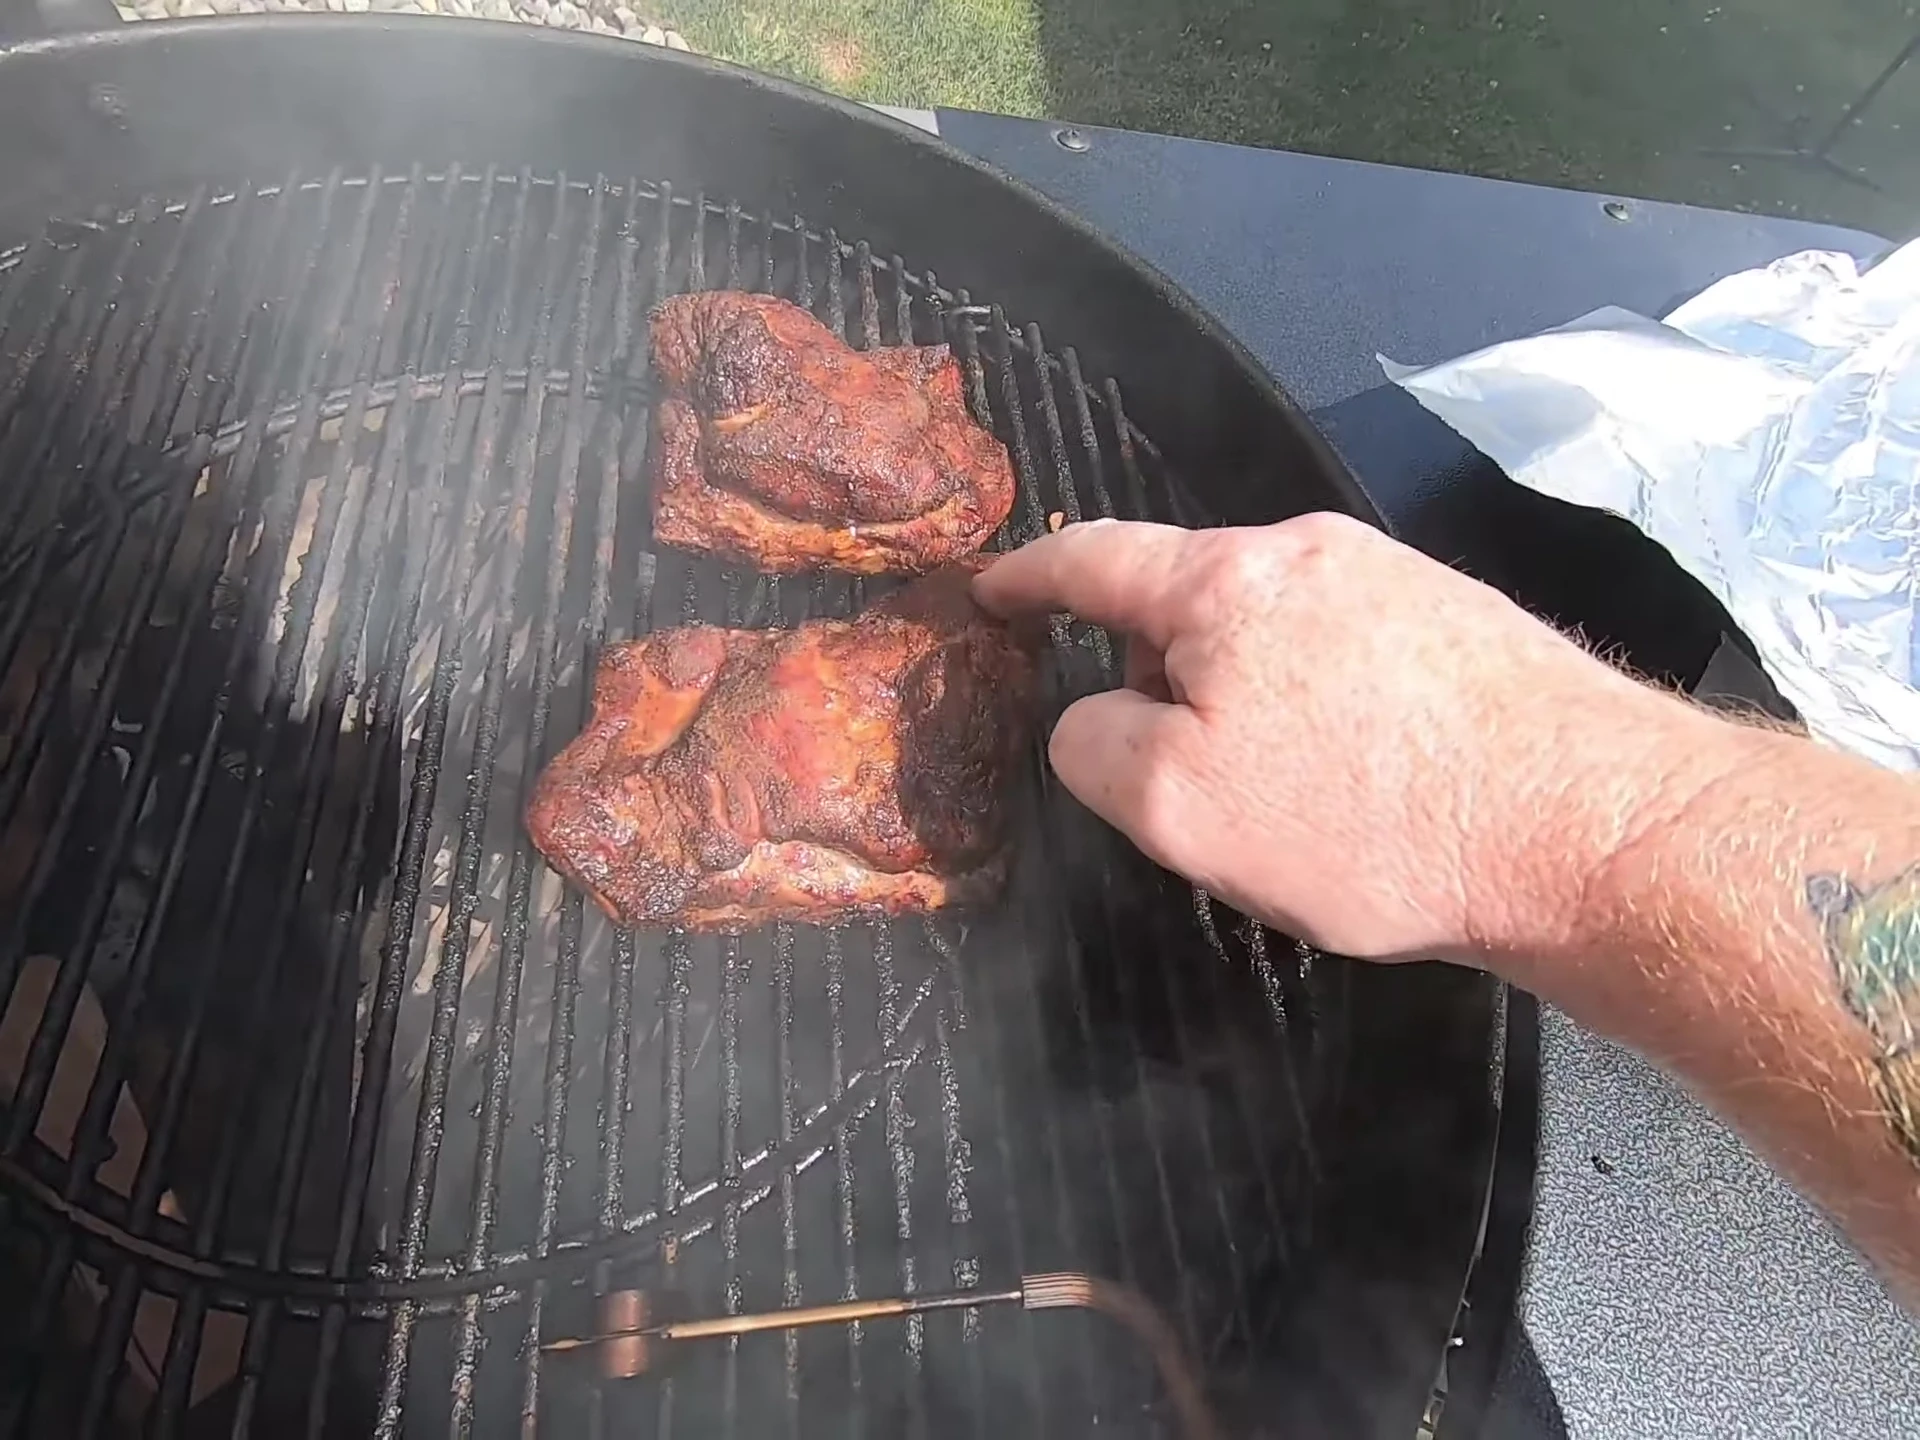
Cooking Process and Temperature Monitoring
The short ribs were cooked first, placed away from the direct heat in the Weber Kettle to maintain a low and slow cooking temperature (around 250°F). Spare ribs were added to the Weber Summit, targeting a temperature of 225°F. Both grills utilized a temperature monitoring system (Inkbird and Barbecue Guru) to accurately control the temperature.
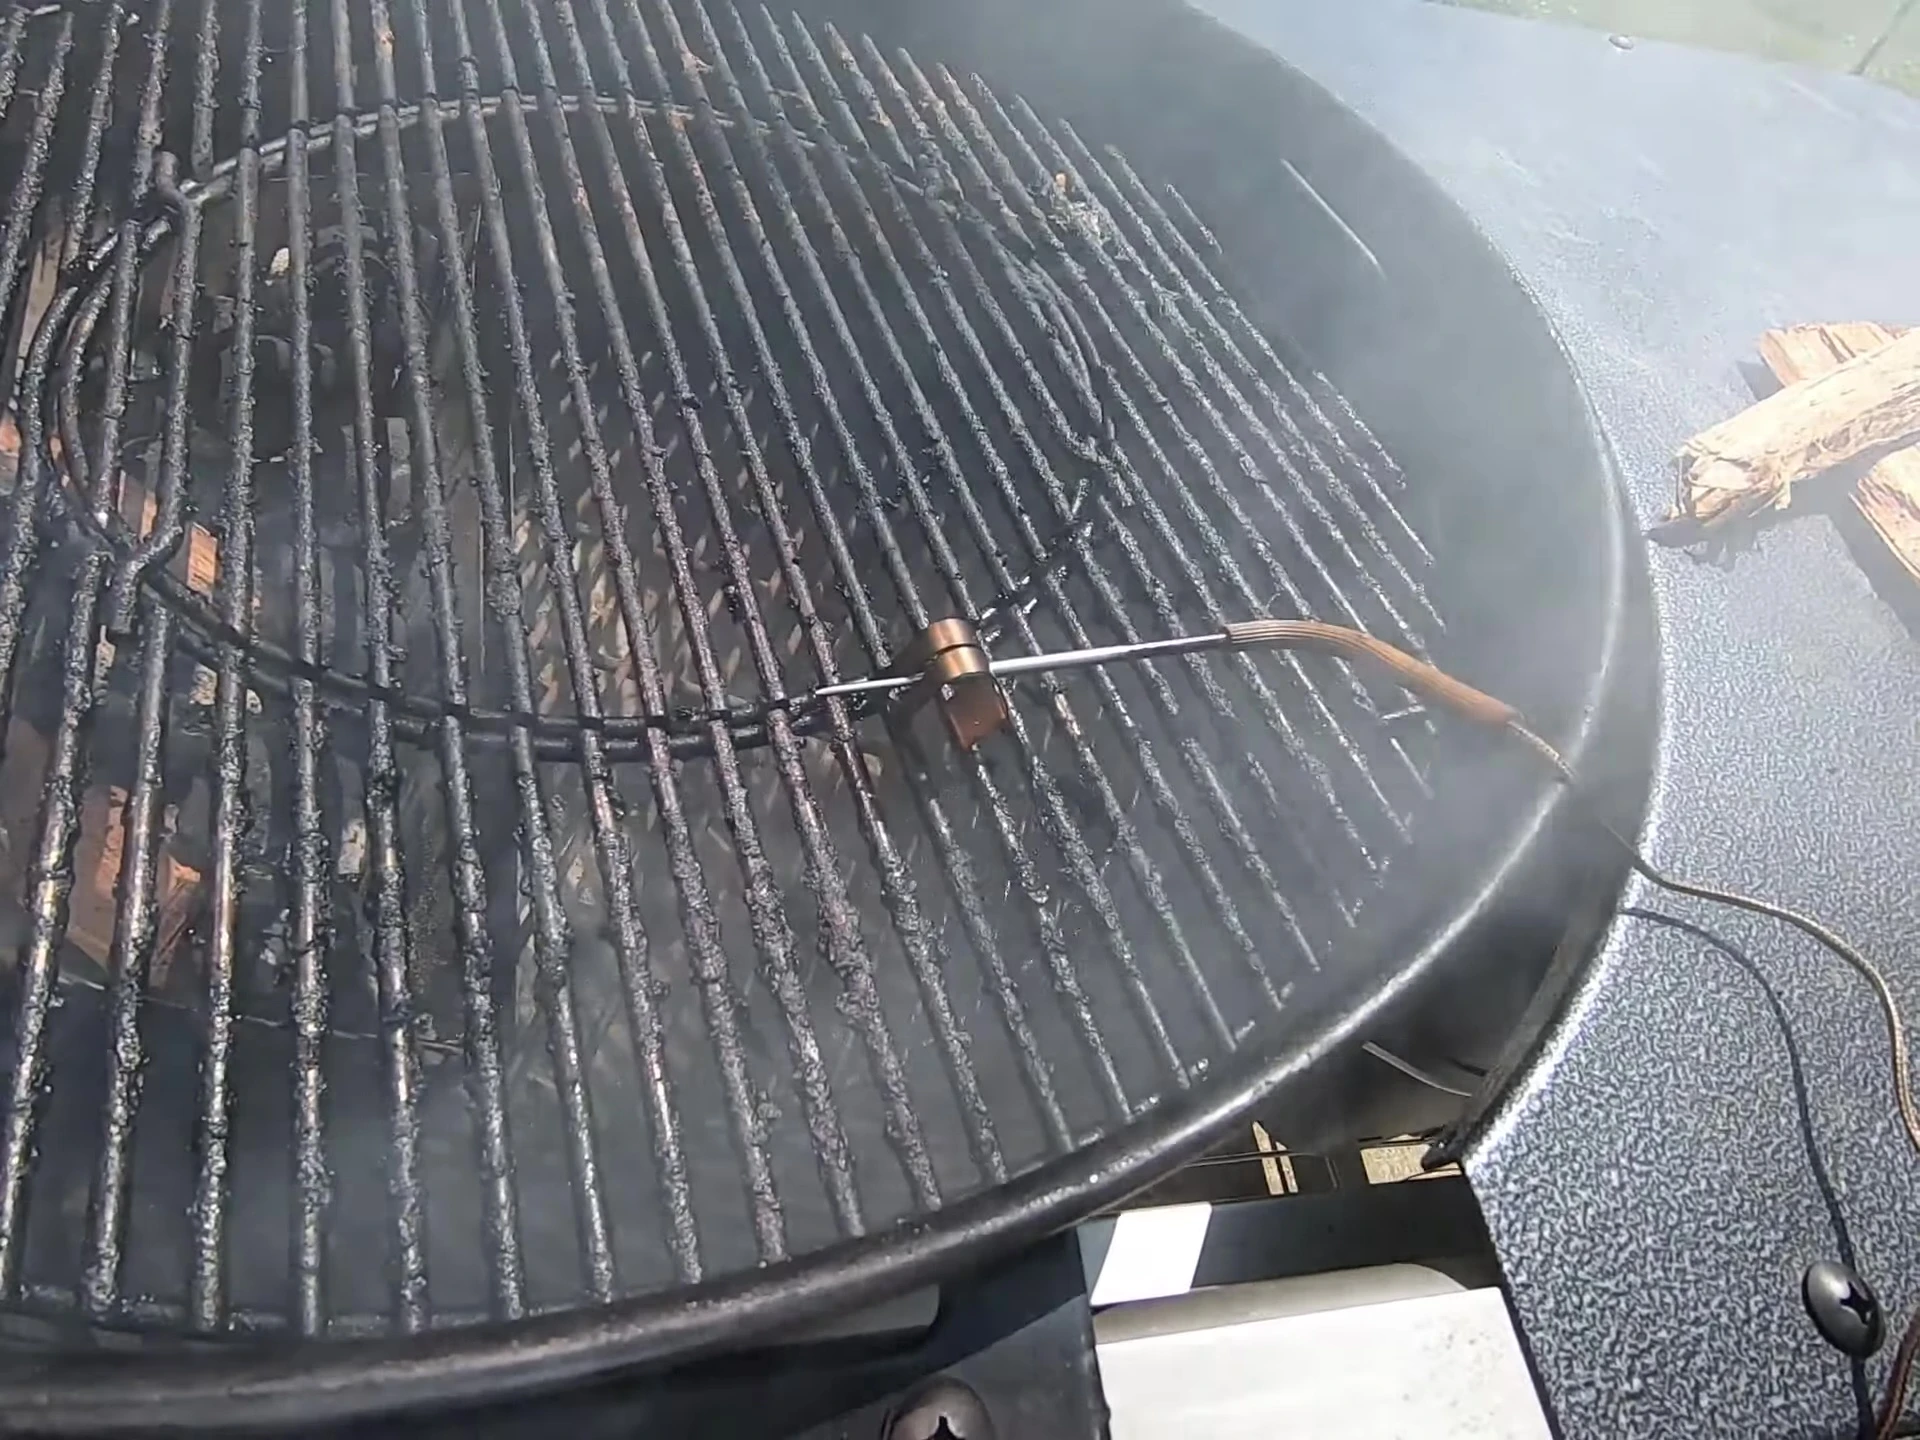
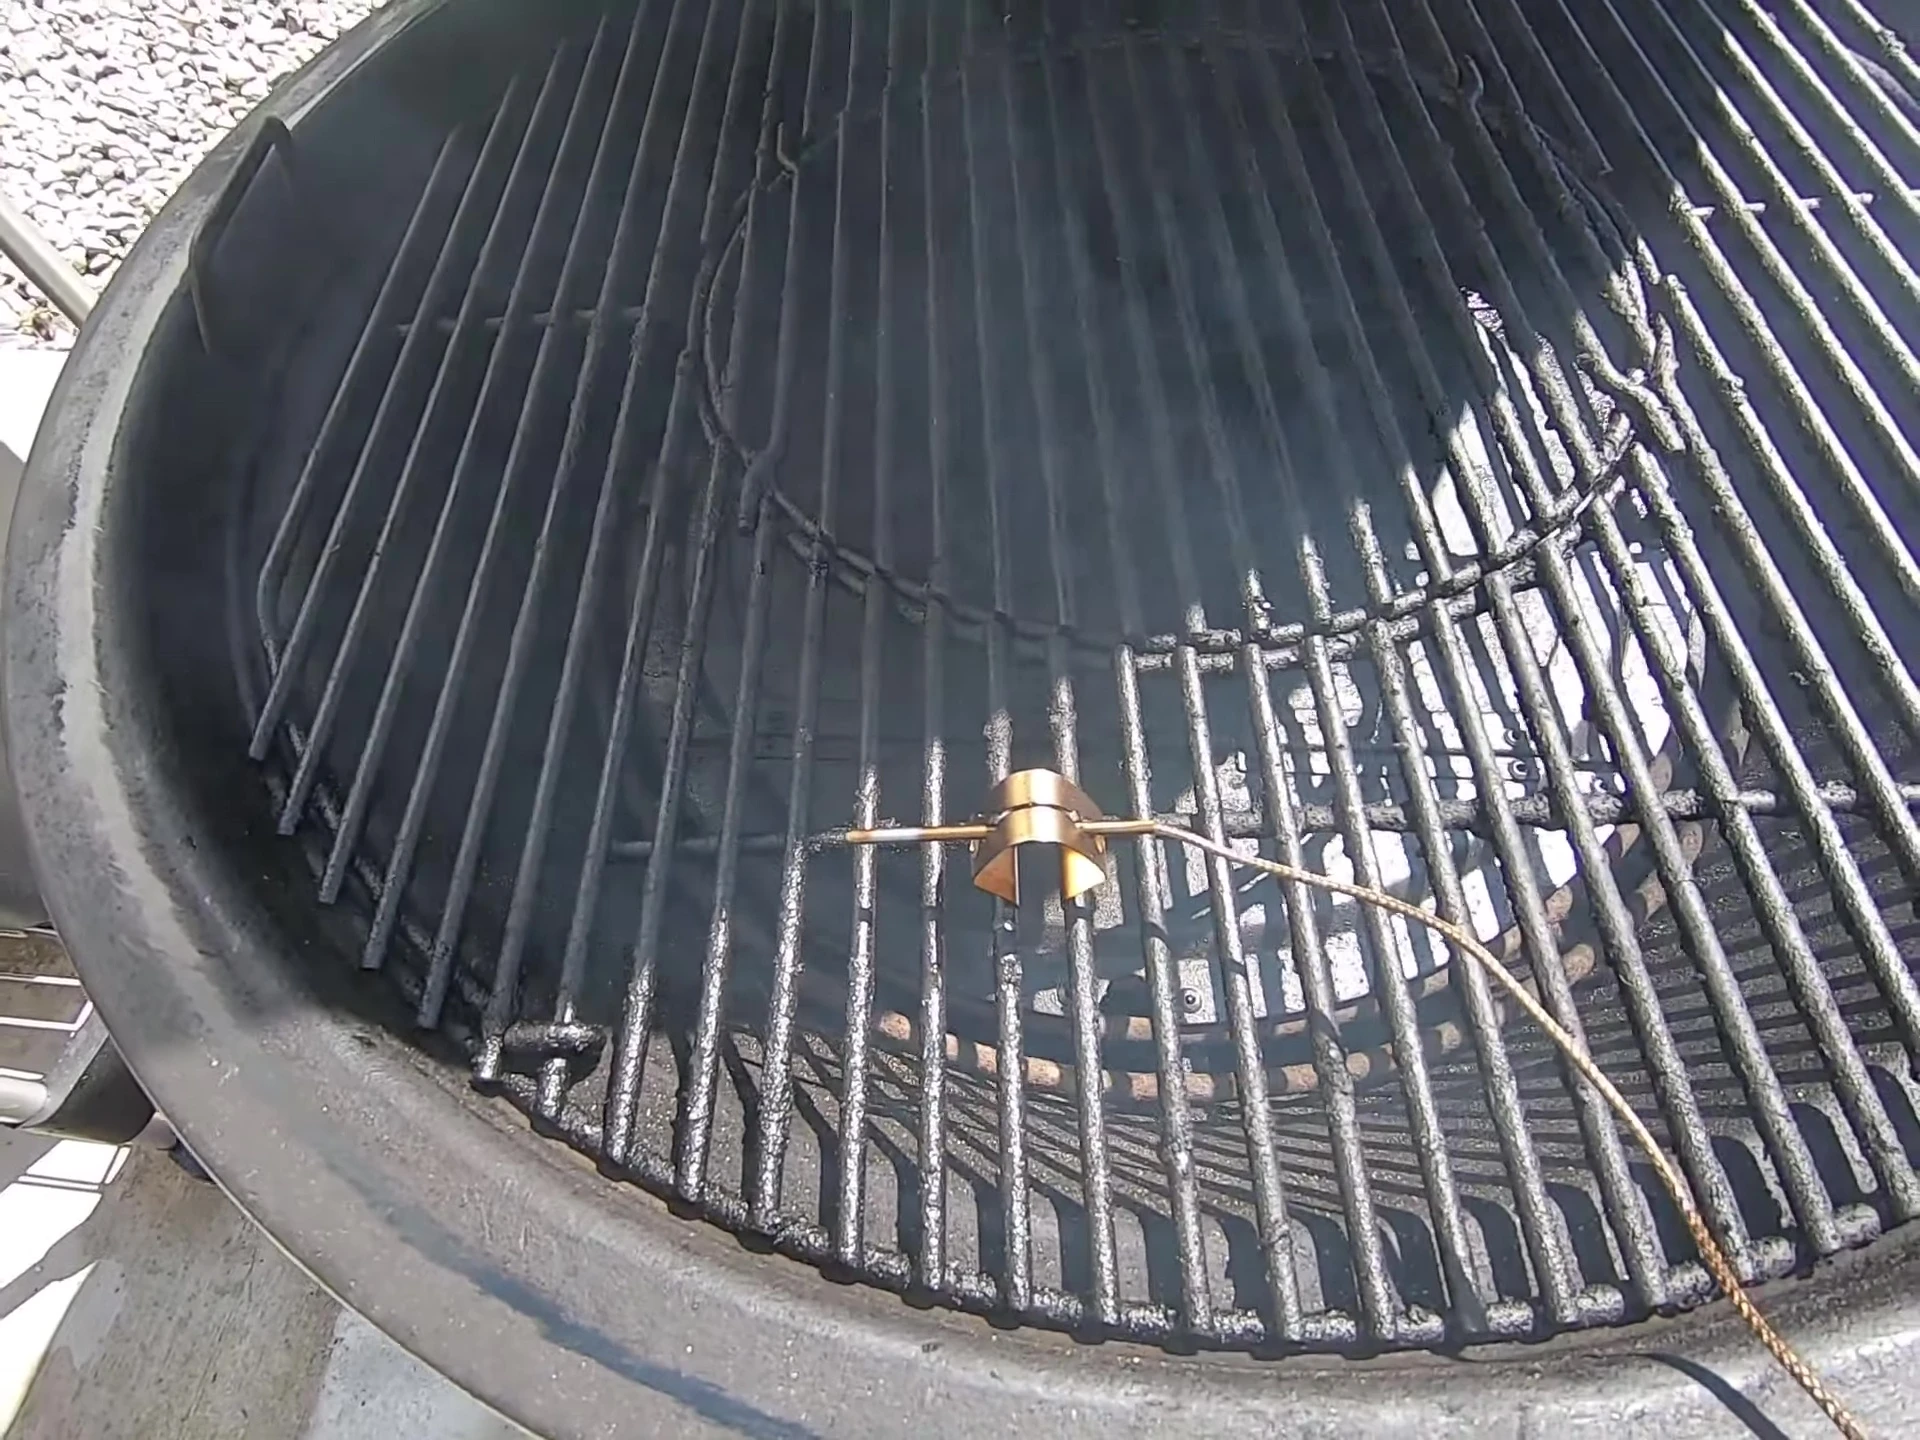
Maintaining consistent temperatures is crucial for tender ribs. The temperature monitoring systems allowed for real-time tracking and adjustments via smartphone apps, ensuring perfect cooking throughout the process. The low and slow approach prevents overcooking and preserves the juicy tenderness of the meat.
Wrapping and Finishing
After approximately 3.5 hours, the spare ribs developed a nice bark. Wrapping the ribs in foil helps the meat to braise, rendering the fat and keeping it juicy. Adding beer to the foil packets adds steam and accelerates the cooking process.
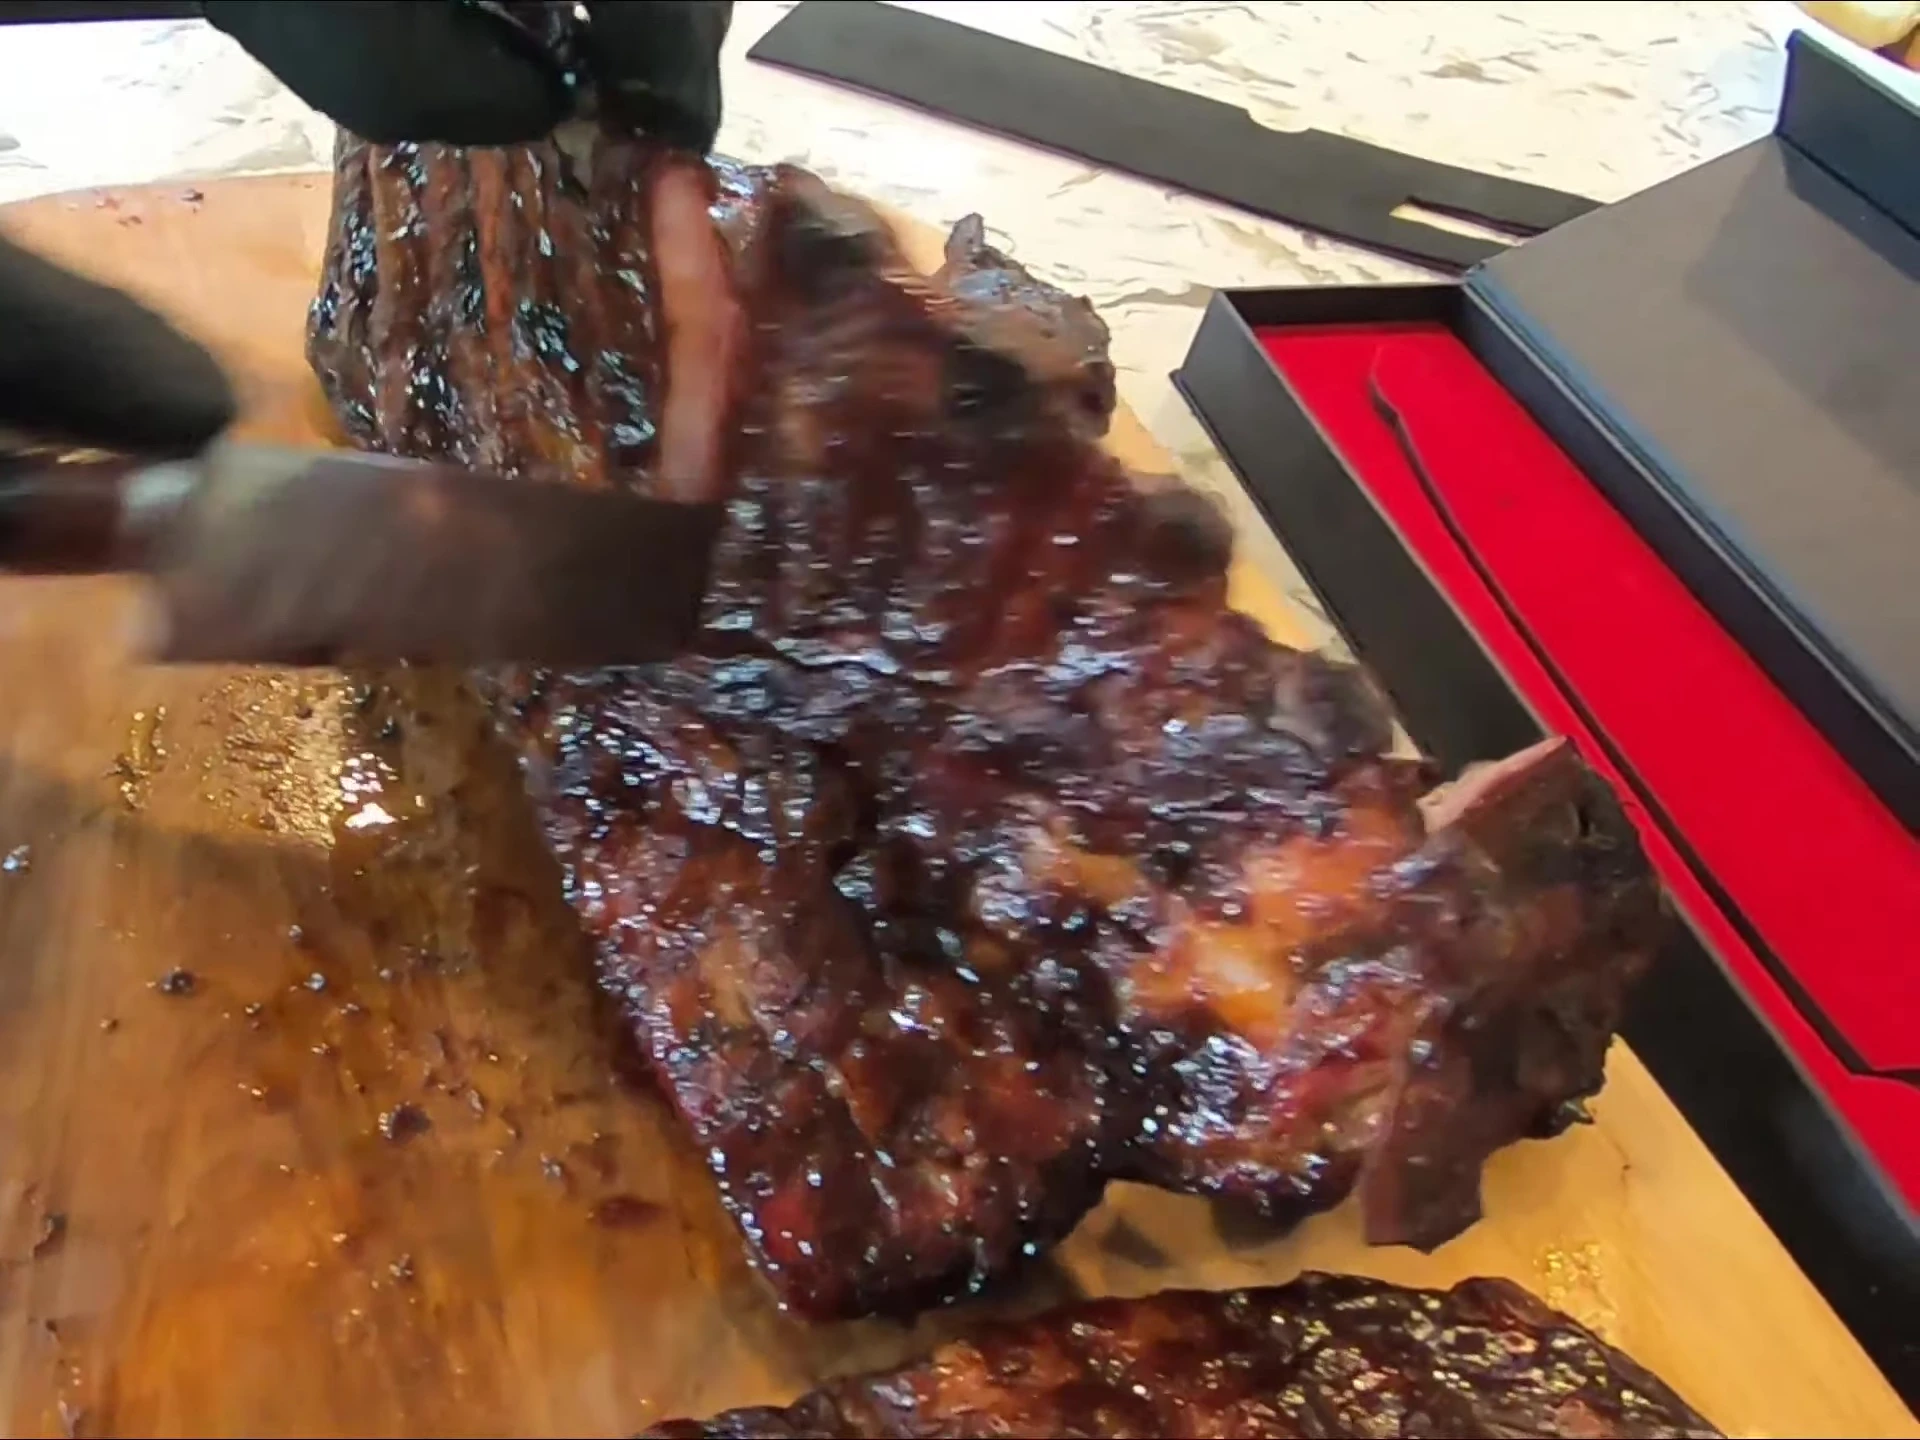
Once the ribs were wrapped, they were returned to the grills for another hour to hour and a half. The short ribs were also wrapped at a similar point in their cooking time. After unwrapping, a generous coating of barbecue sauce was added for the final caramelization.
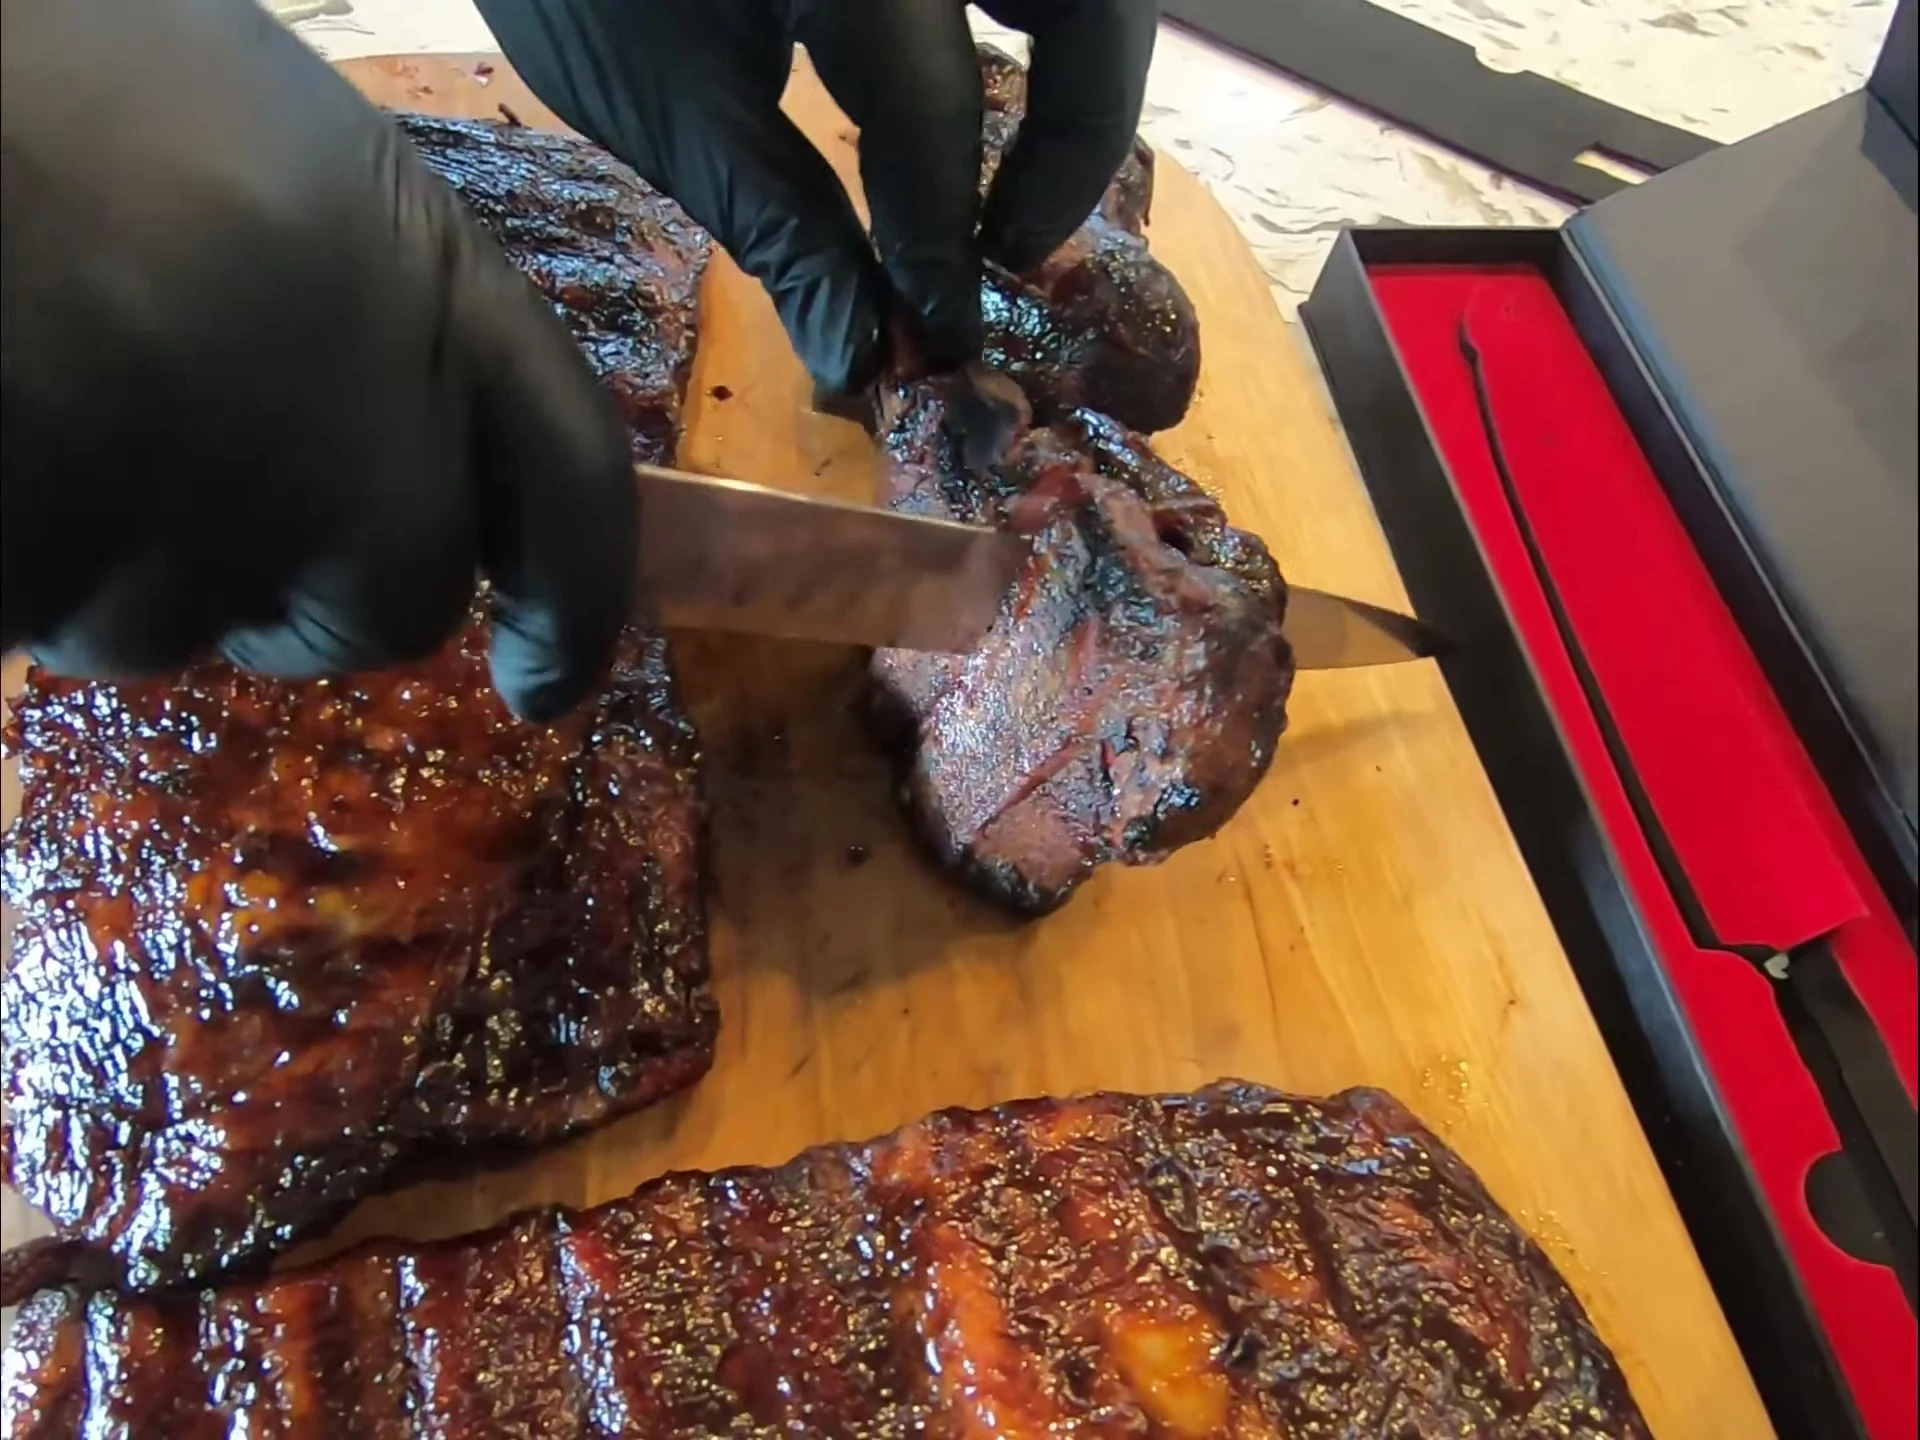
Results and Conclusion
The final product was incredible! Both the spare ribs and short ribs were fall-off-the-bone tender, with a beautiful bark and smoke ring. The Kurobuta pork offered a unique flavor profile, enhanced by the low and slow cooking method.
The Weber Summit Charcoal grill excelled with its consistent temperature control and built-in heat deflector, making it a superior choice for maintaining the desired low and slow cooking temperatures. Although the Weber Kettle performed well, the Summit's temperature control offered a more predictable and controlled cooking experience. While both grills produced delicious ribs, the Weber Summit's features make it a worthwhile investment for serious barbecue enthusiasts.