This step-by-step guide will walk you through the process of creating mouthwatering Weber rib rack BBQ ribs. From meticulous preparation and spice application to expertly managing the charcoal grill and ensuring perfectly cooked side dishes, this recipe leaves no detail untouched. Learn how to achieve that coveted crispy bark and tender, fall-off-the-bone meat using a Weber kettle grill and a clever rib rack setup. This isn't just a recipe; it's a comprehensive guide to mastering the art of low-and-slow barbecue.Get ready to elevate your grilling game! This recipe combines classic techniques with innovative touches, such as utilizing an Instant Pot for perfectly steamed corn and potatoes alongside your main course. We'll cover everything from properly preparing the ribs and creating a flavorful spice rub to monitoring the grill temperature and achieving that perfect balance of smoky flavor and tender texture. Prepare for a delicious and satisfying meal that's guaranteed to impress.
Pros And Cons
- Tender
- Cooked nicely
Read more: 10 Best Big Green Egg Rib Racks: A Buyer's Guide
Preparing the Ribs
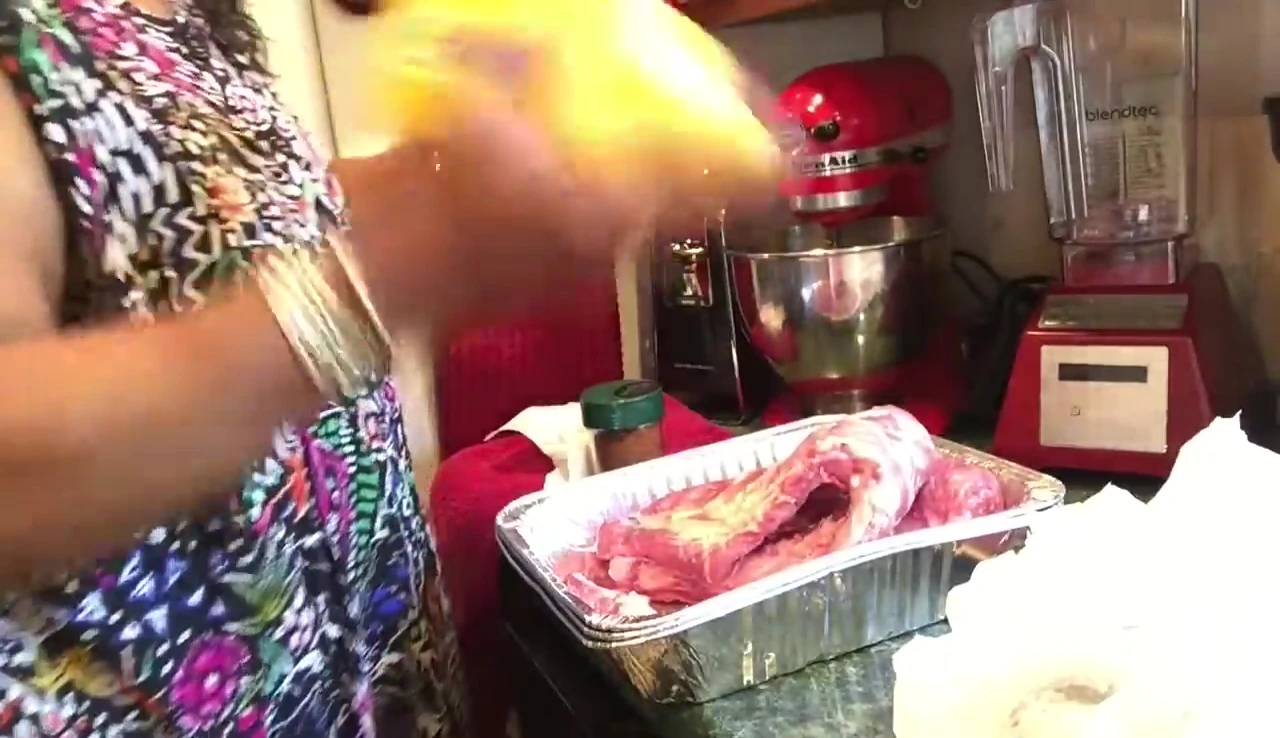
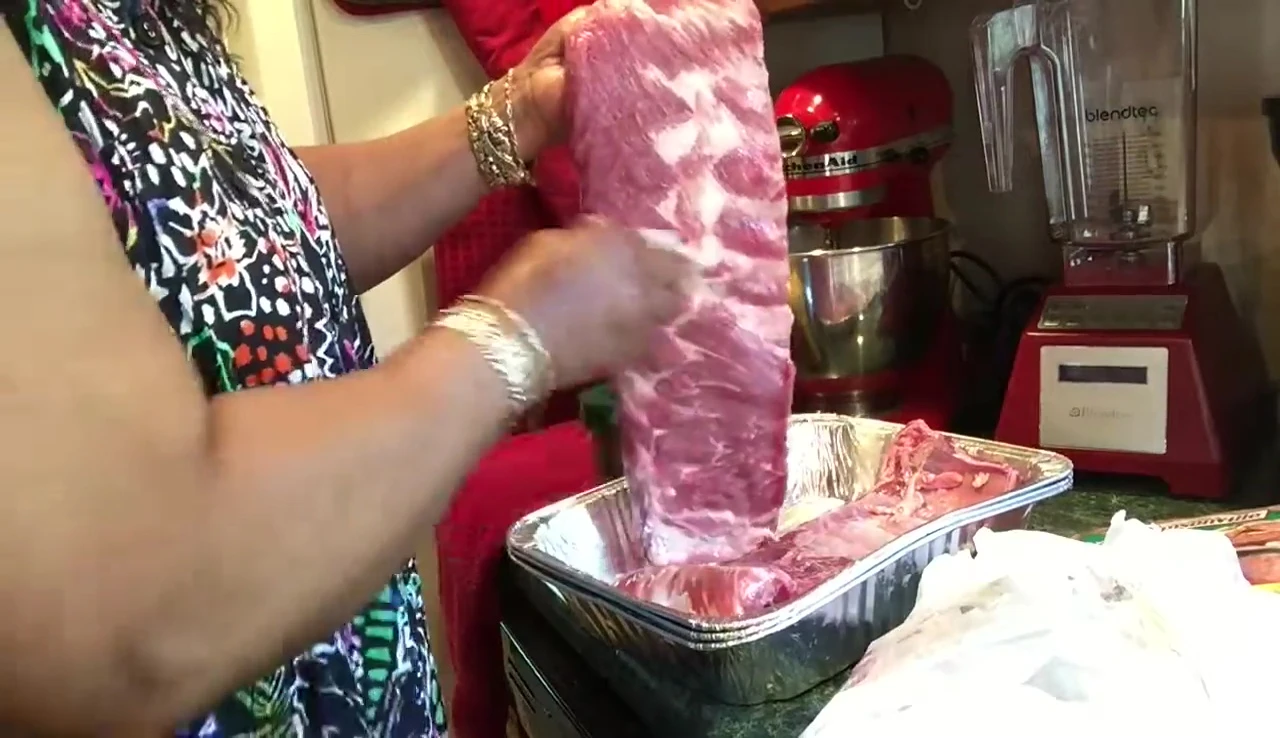
I started by washing my hands thoroughly, a crucial step before handling any food. Then, I carefully prepared the ribs, focusing on removing the membrane from the back. Instead of peeling it off completely, I opted for a crisscross slash, ensuring even cooking and preventing the membrane from shrinking and curling during the cooking process.
Next, I generously applied yellow mustard to the ribs. The mustard acts as a binder for the spice rub, preventing it from falling off and promoting a delicious, smoky flavor. After the mustard, I applied my custom spicy blend seasoning, ensuring the ribs were fully coated.
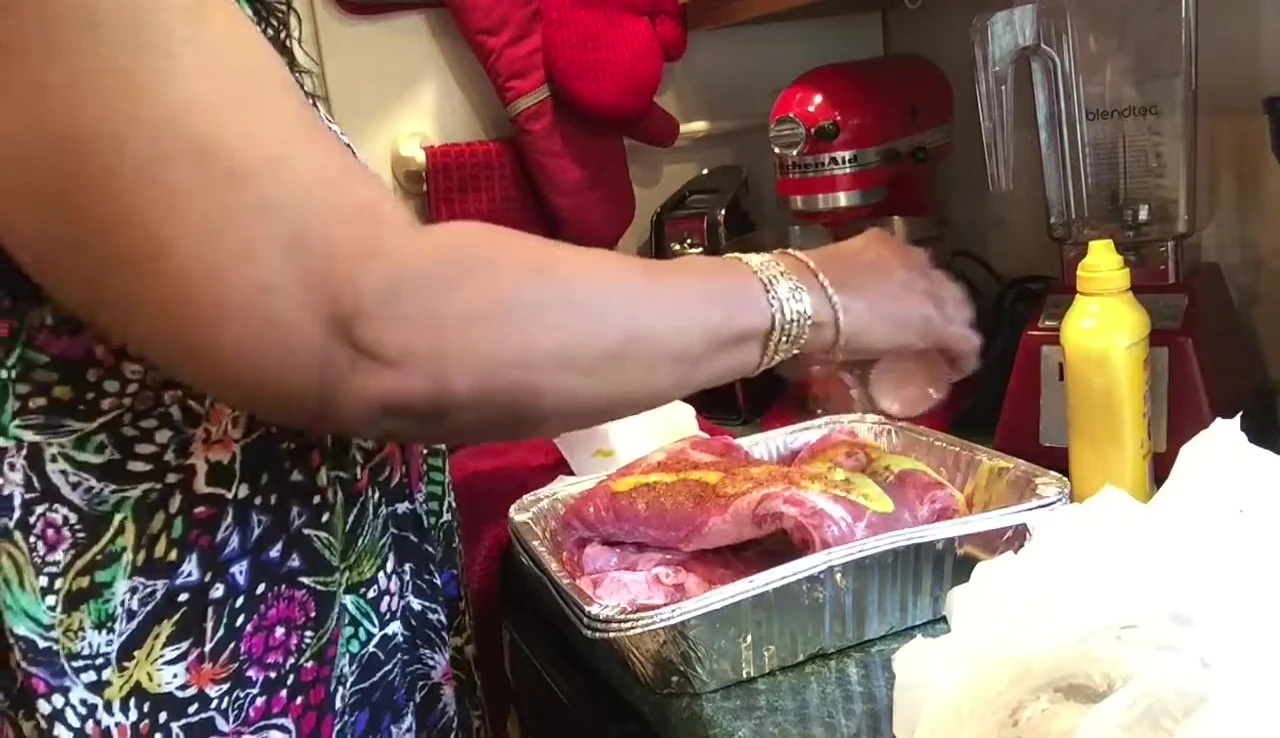
Finally, before placing the ribs on the grill, I gave them a quick pat down to remove any excess moisture. This helps to achieve that beautiful, crispy bark we all love on barbecued ribs.
Building the Fire
I used a small Weber kettle grill for this barbecue. I began by saturating the charcoal briquettes with lighter fluid, ensuring even ignition and preventing uneven cooking. I used a small amount of lighter fluid to avoid a flare-up.
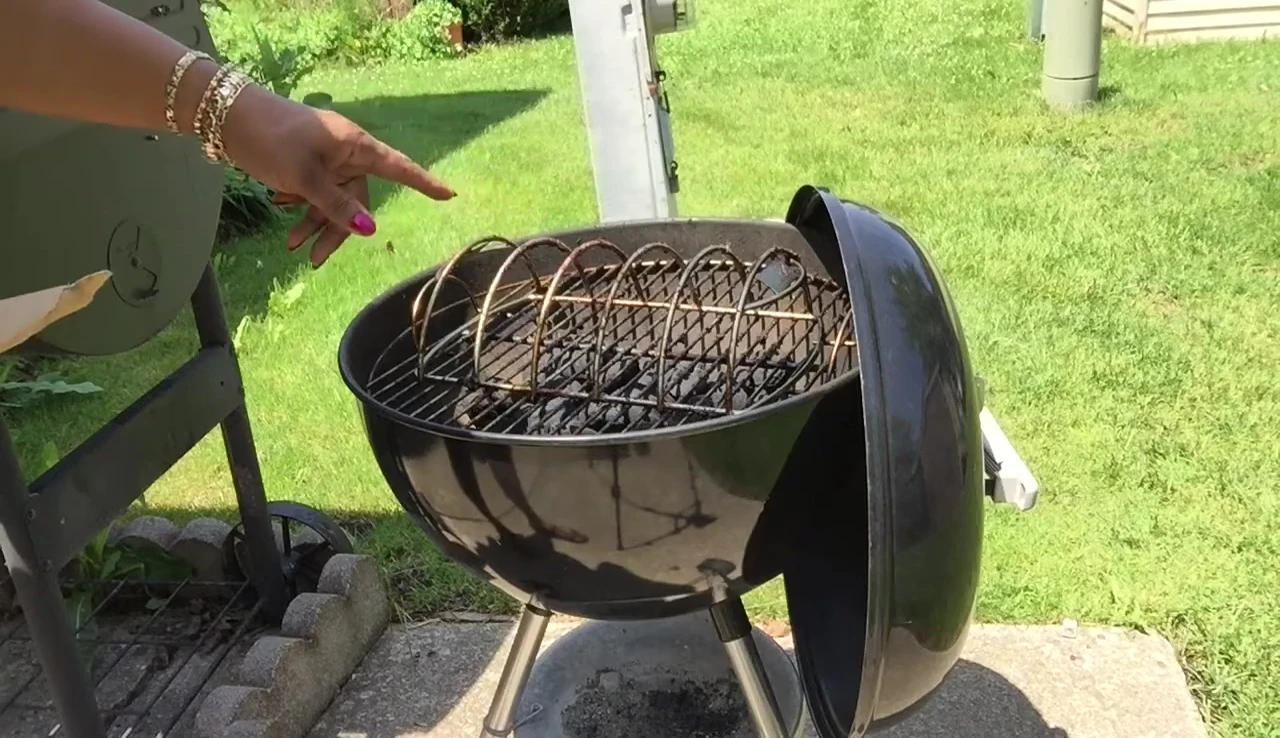
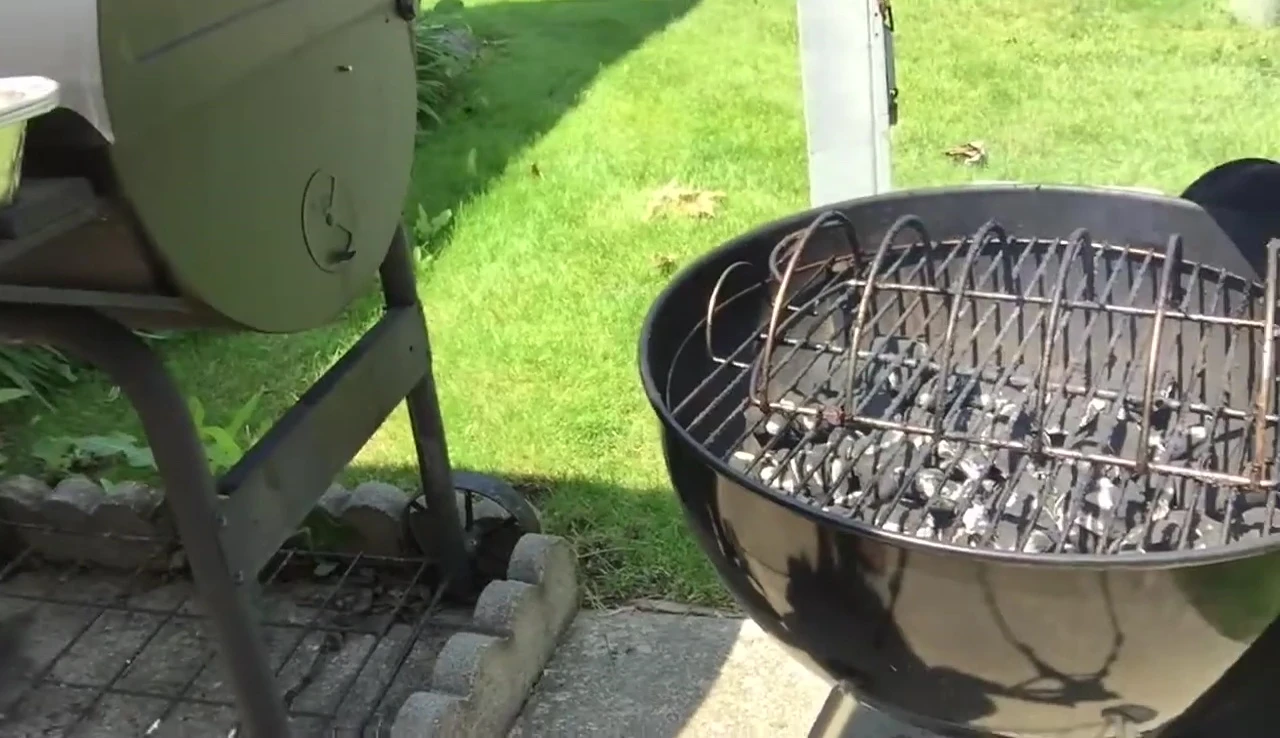
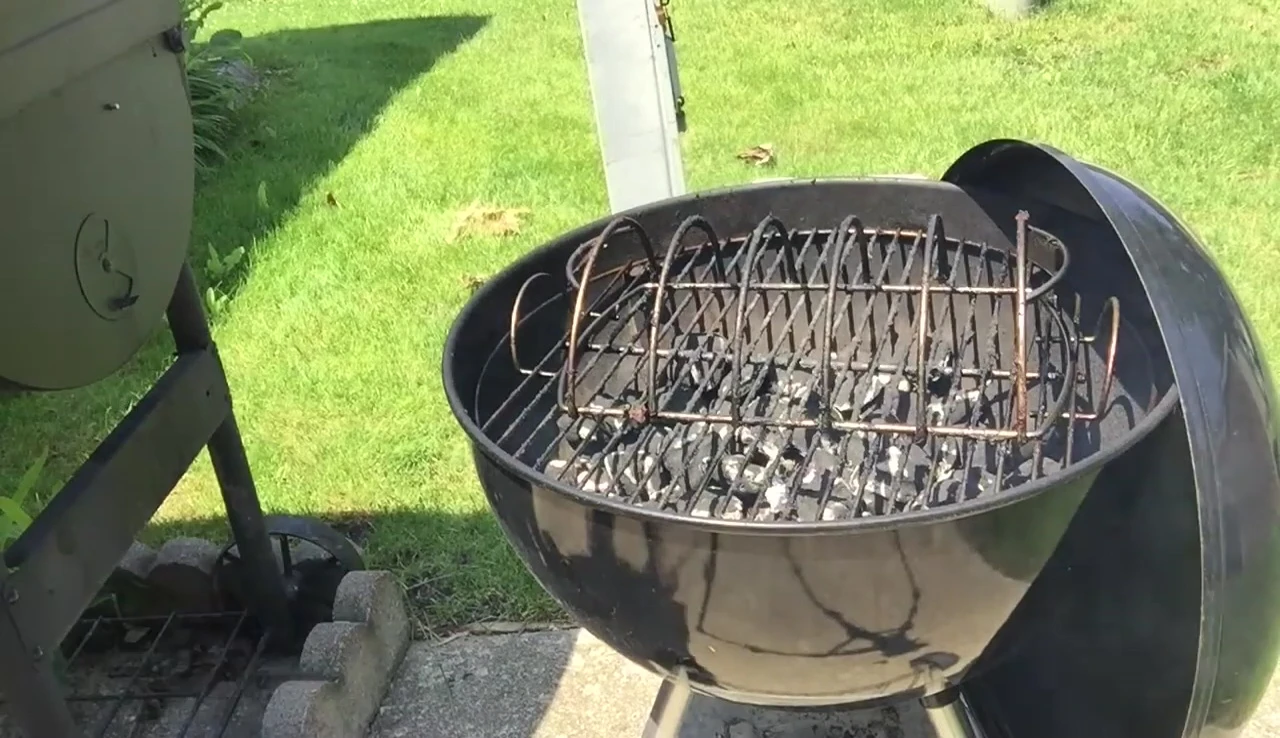
Next, I carefully arranged the charcoal in the grill, creating a good base for the ribs to cook evenly. The arrangement of the charcoal is important to maintain a consistent temperature throughout the cooking process.
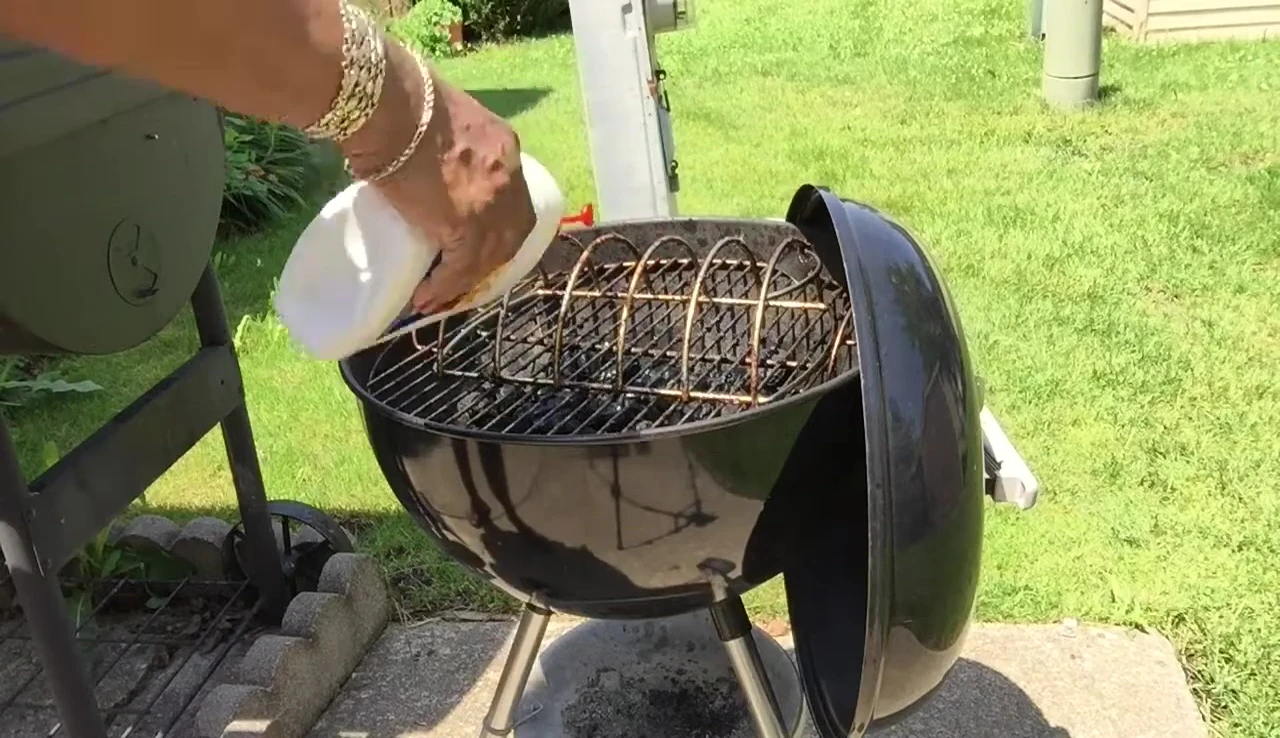
Once the charcoal was lit, I waited until the edges turned gray, indicating that the coals were ready for cooking. This ensures the ribs are cooked at an optimal temperature and avoids burning.
Cooking the Ribs and Sausage
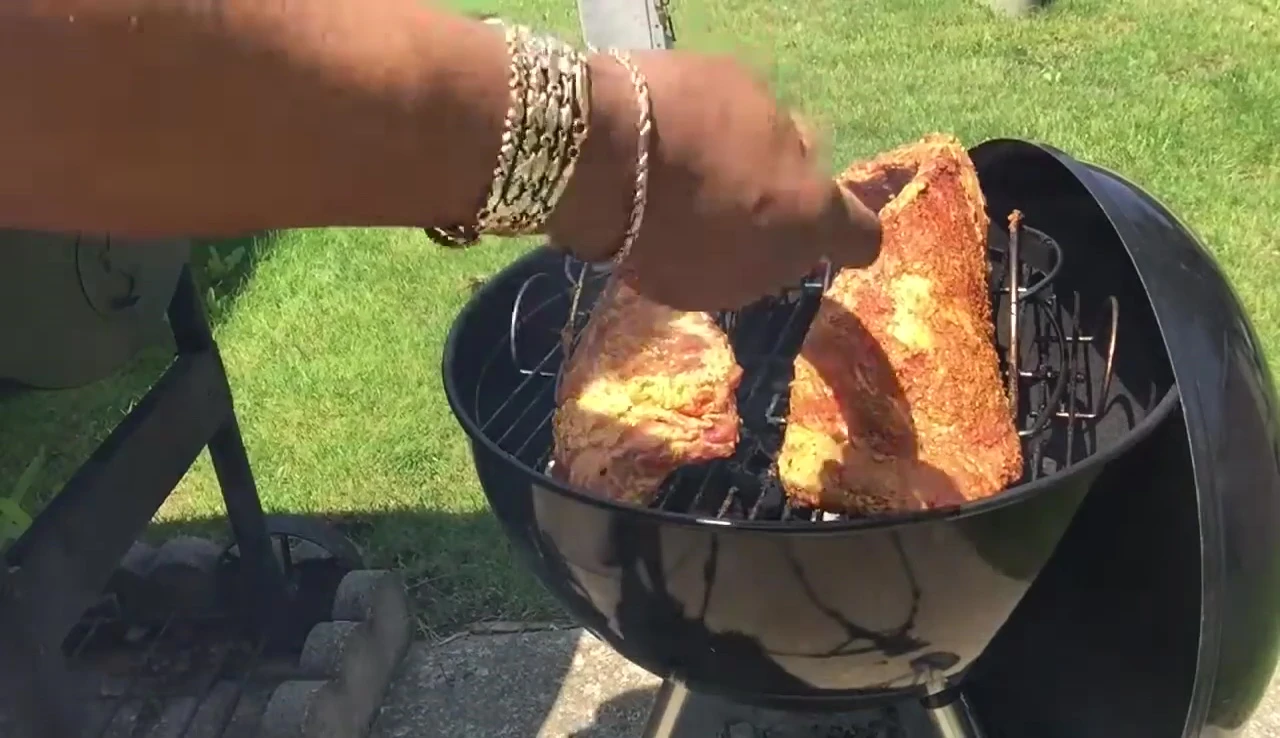
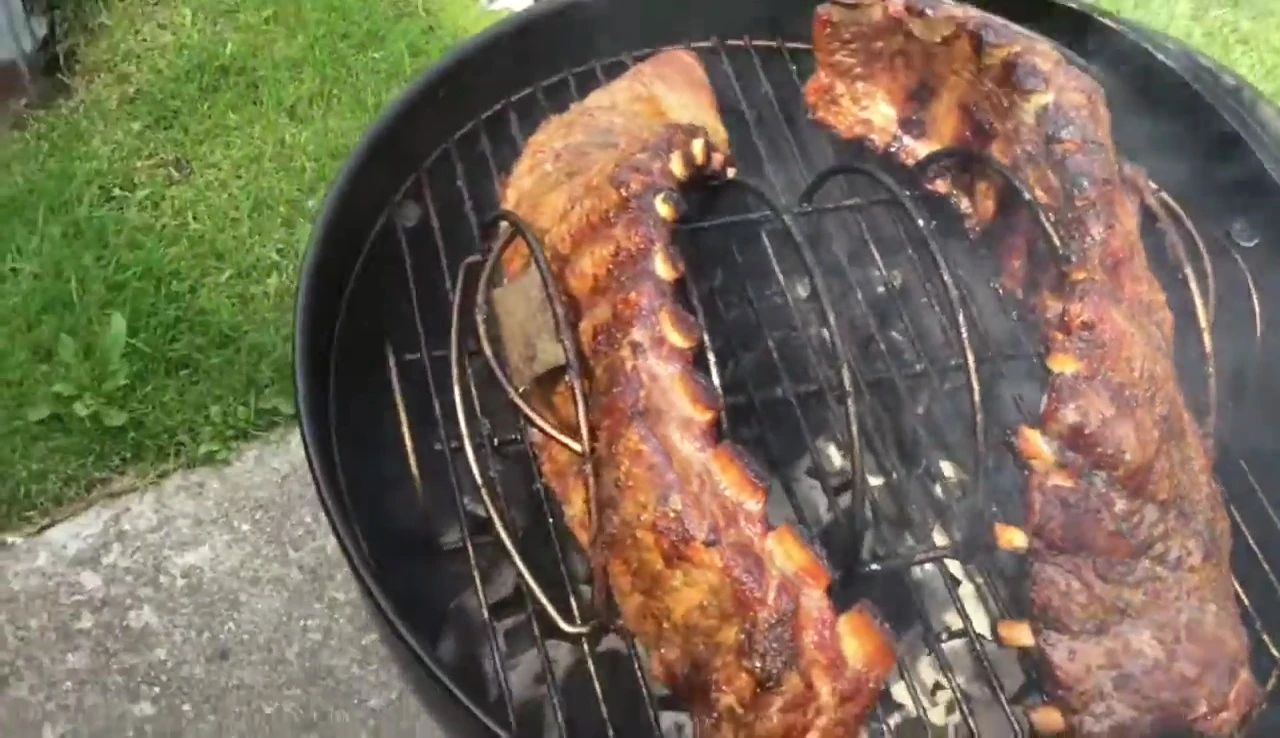
Using the Weber rib rack, I carefully placed the ribs, meaty side down, onto the grill. The rib rack ensures even cooking and prevents sticking. The sausage was placed in between the ribs on the rack.
I monitored the ribs regularly, basting them with additional barbecue sauce as needed. The cooking time depends on the thickness of the ribs and the desired level of tenderness. I kept a close eye on the temperature to ensure even cooking.
The sausages cooked alongside the ribs, absorbing the smoky flavors of the grill. I regularly checked the internal temperature of both the ribs and sausages to ensure they were cooked thoroughly.
Instant Pot Side Dish: Street Corn and Potatoes
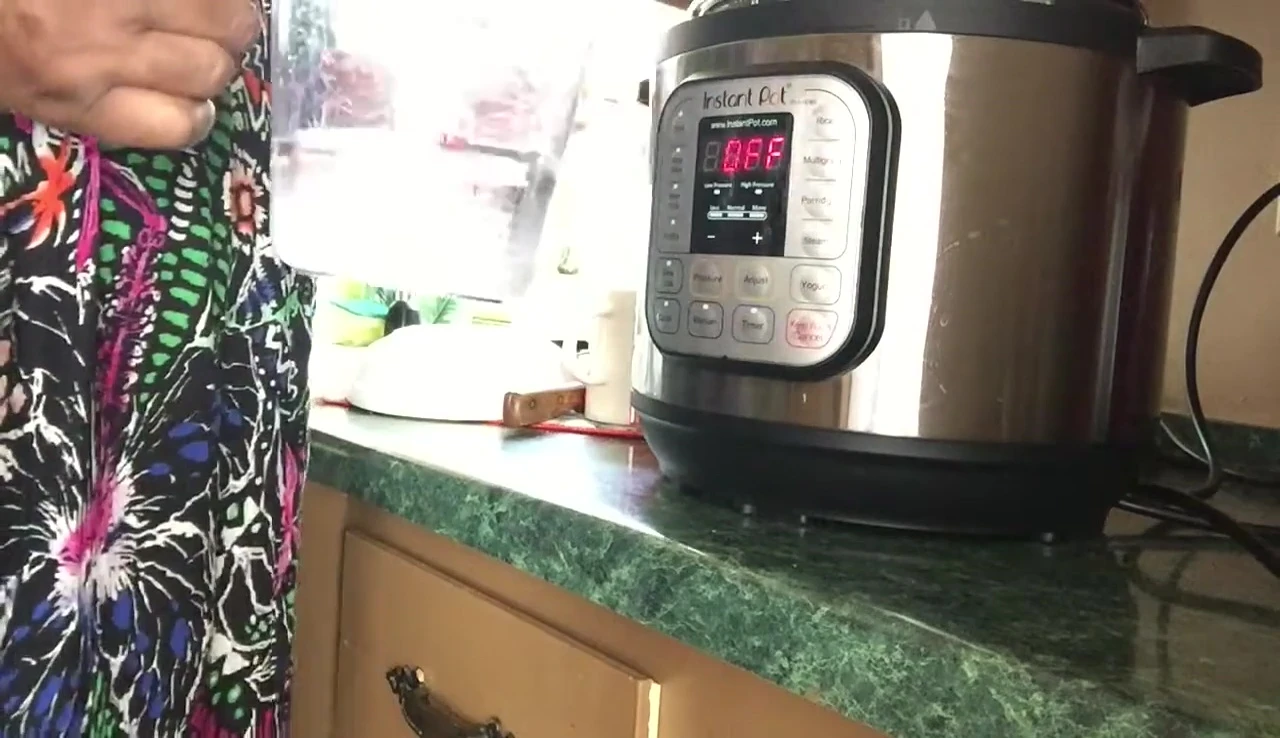
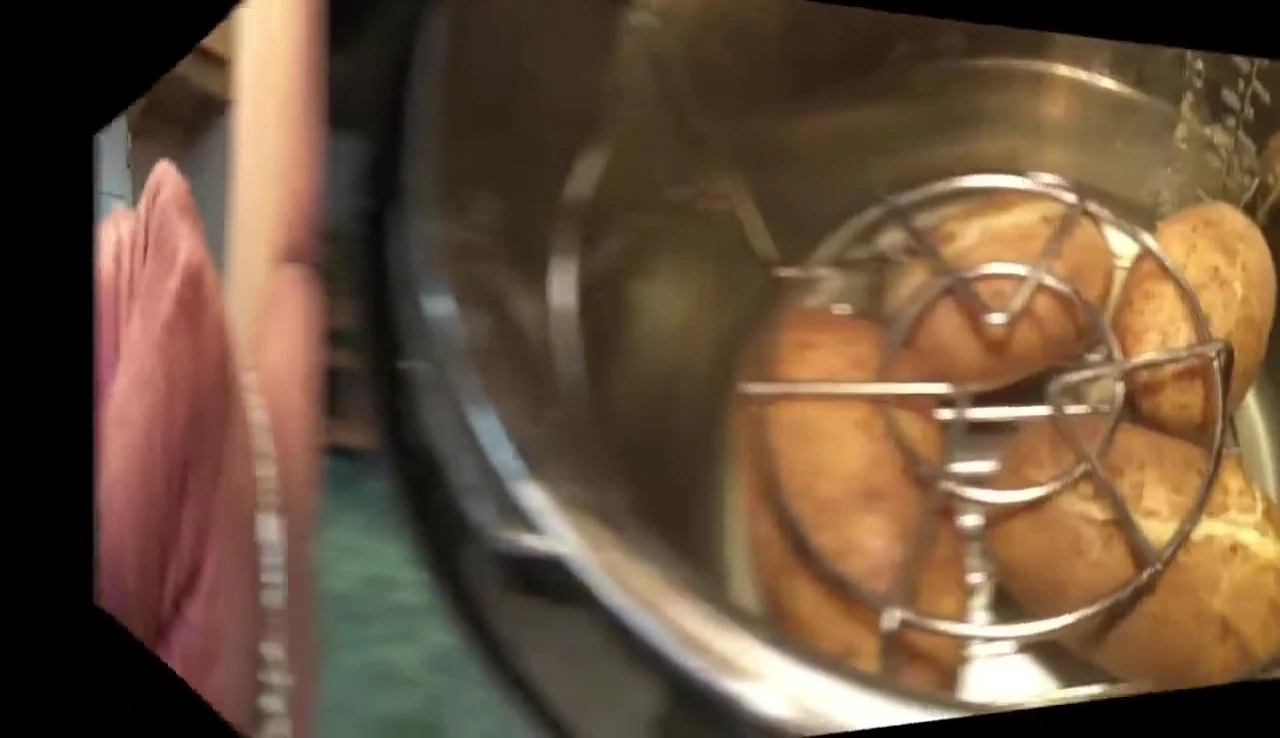
While the ribs were cooking, I prepared a side dish using my Instant Pot. I added two cups of water to the Instant Pot and placed the washed potatoes and pre-cooked corn in separate racks within the pot. This method allowed for efficient steaming of both items.
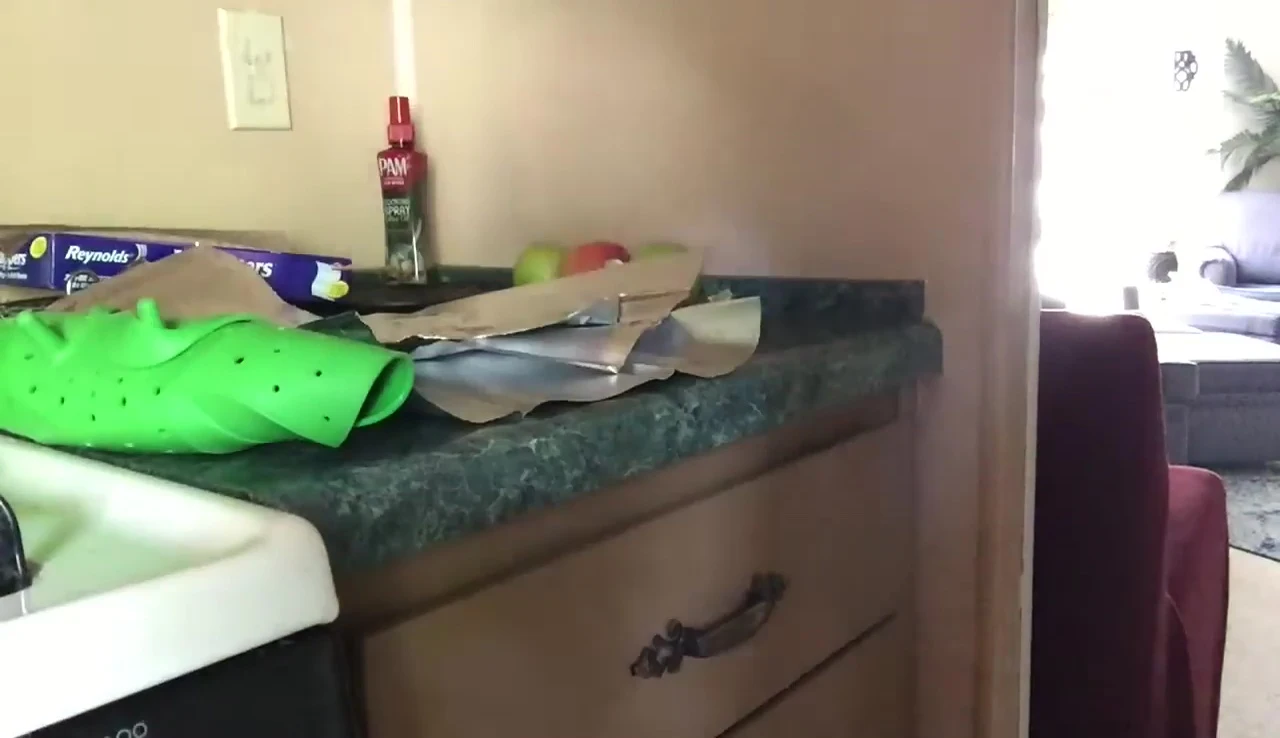
I used a custom street corn seasoning blend consisting of American cheese, mayonnaise, lime, tajin, and black pepper. This unique blend delivered a bold and flavorful side to complement the barbecued ribs.
After setting the Instant Pot to 5 minutes, I let the potatoes and corn steam until perfectly cooked. The Instant Pot ensures that the food is evenly cooked while preserving its flavors.
Final Touches and Taste Test
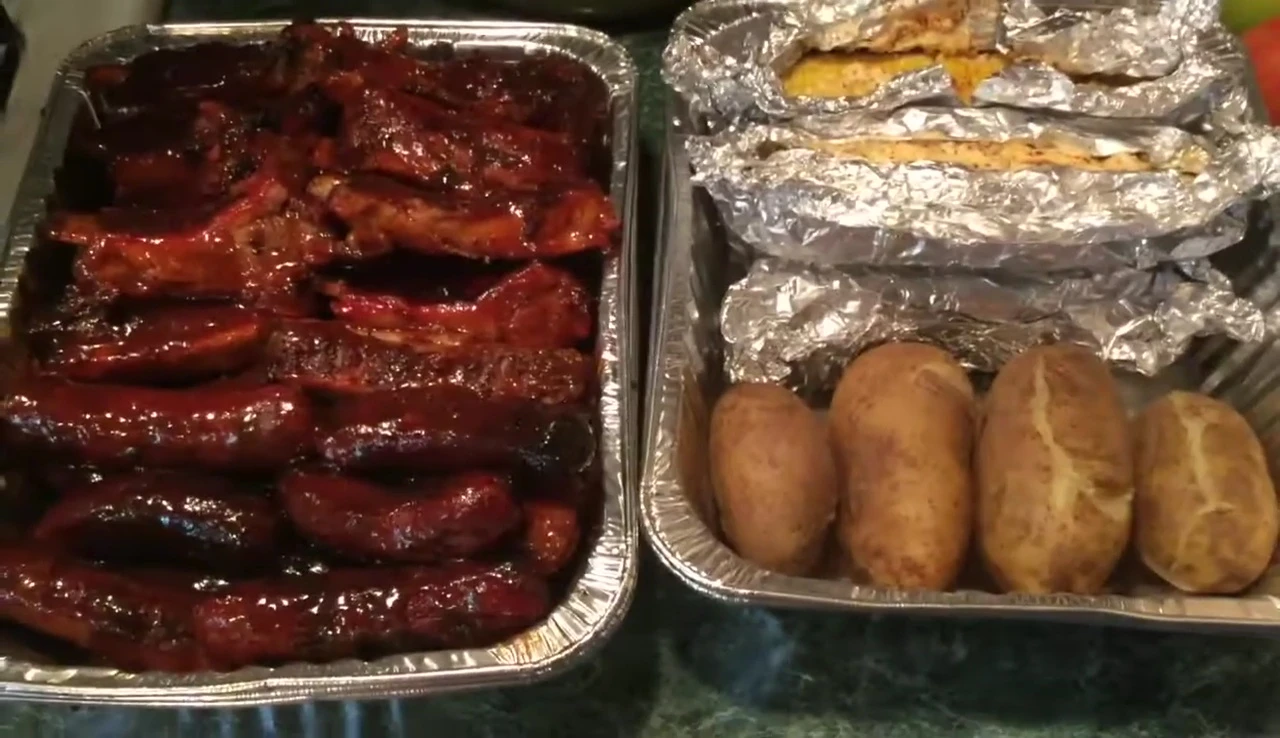
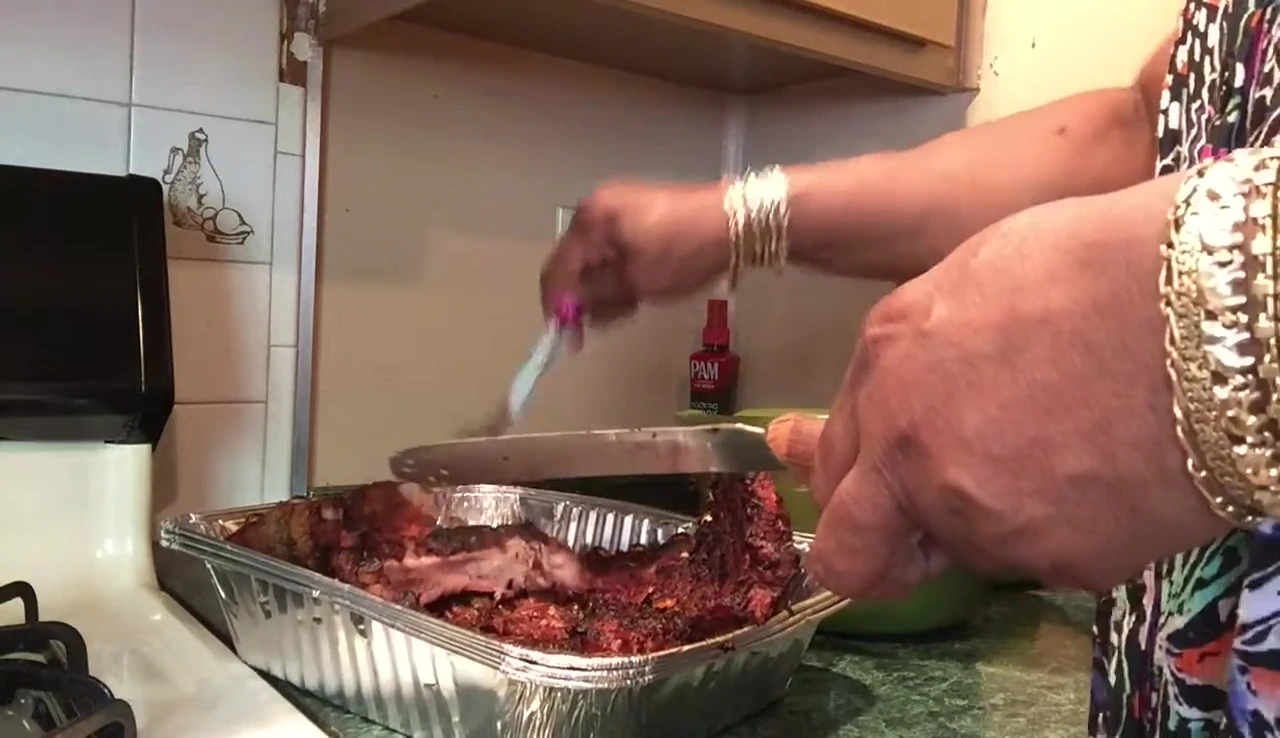
Once the ribs were cooked to perfection, I carefully removed them from the grill. The meat easily pulled away from the bone, indicating they were perfectly tender. I then applied a generous amount of my homemade barbecue sauce.
The homemade sauce, a blend of several different types of barbecue sauce, French dressing, and other seasonings, added a delicious depth of flavor to the ribs. The sauce was sweet, tangy, and slightly spicy, balancing the smoky taste of the ribs.
Finally, I served the ribs along with the perfectly steamed corn and potatoes. The meal was a delicious and satisfying testament to the magic of slow and steady barbecue techniques.